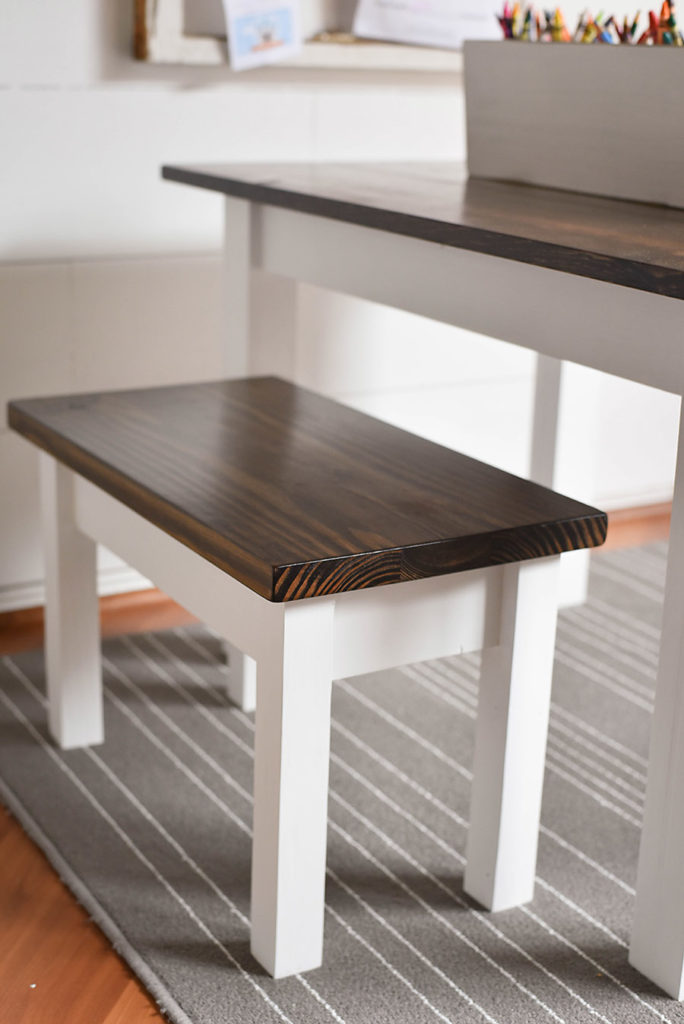
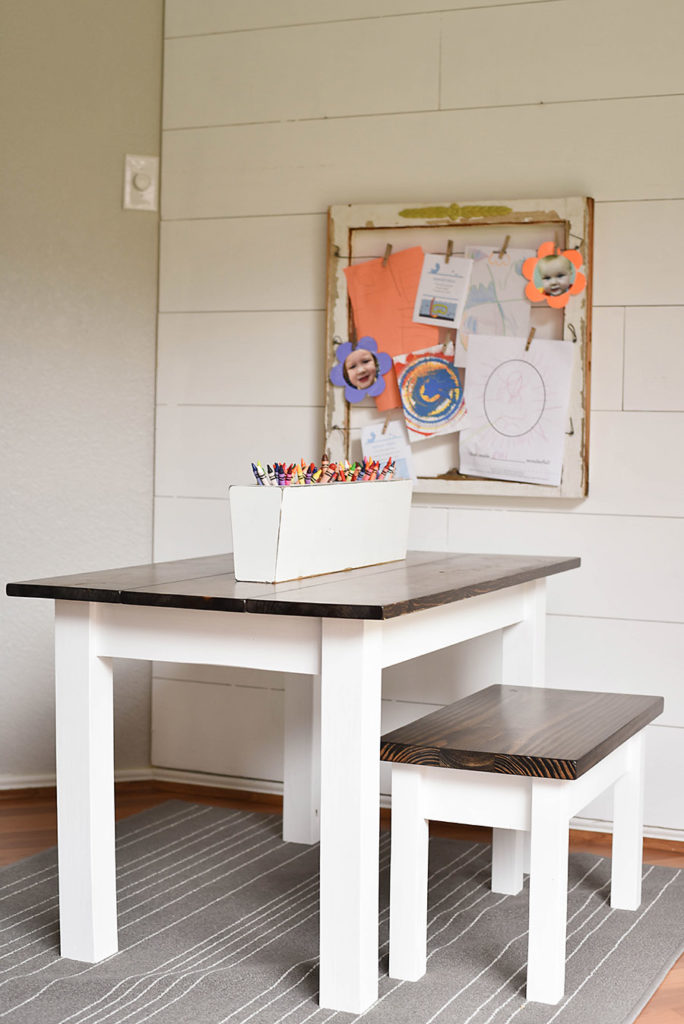
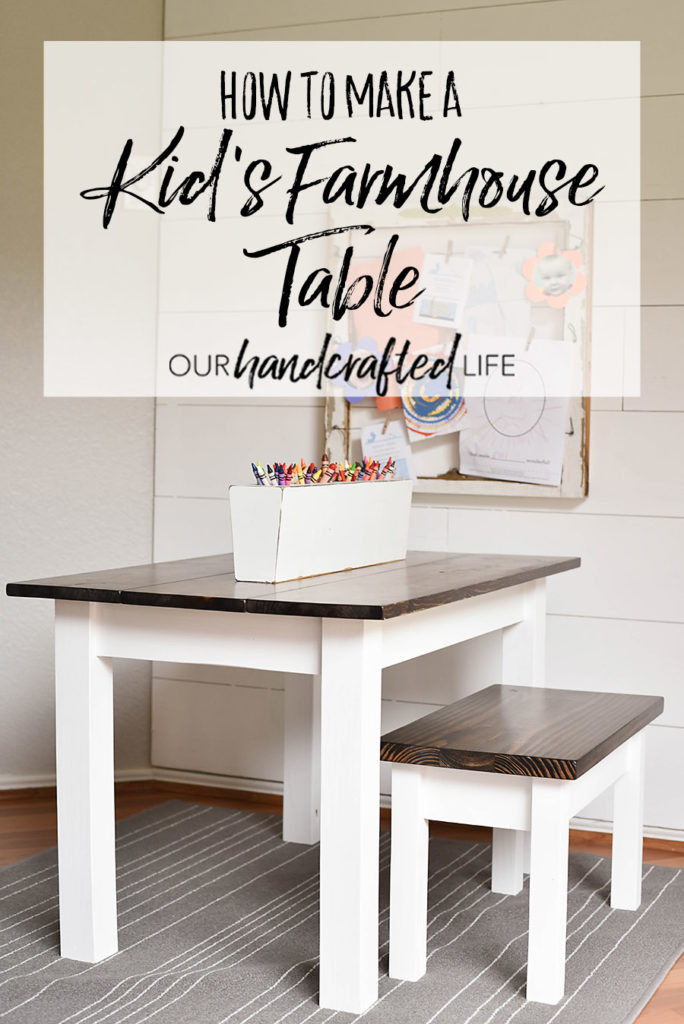
Make your own DIY Kid’s Farmhouse Bench and Table with this set of easy woodworking plans. If you missed the first part of this series, click here to read the post about making a Farmhouse Table, then come back to make the bench to match!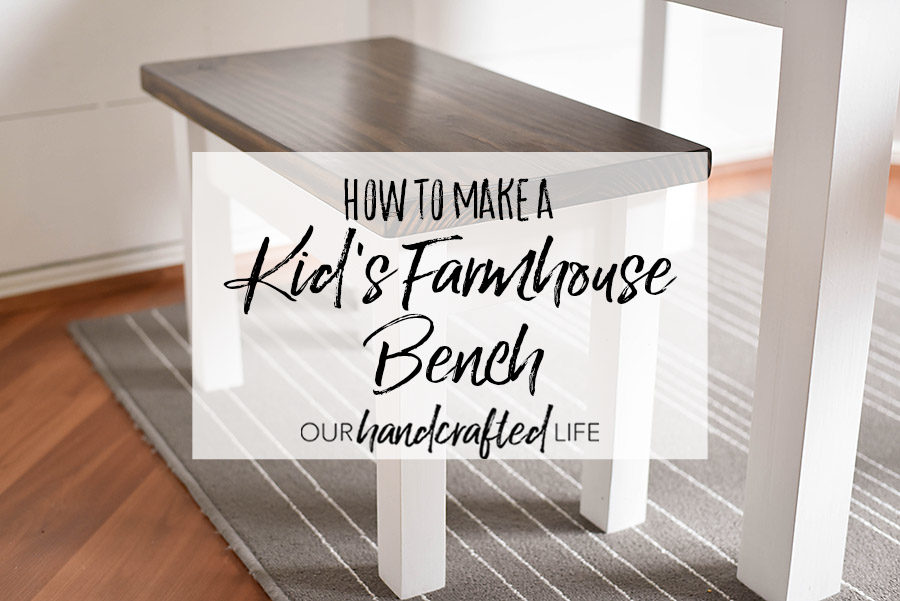
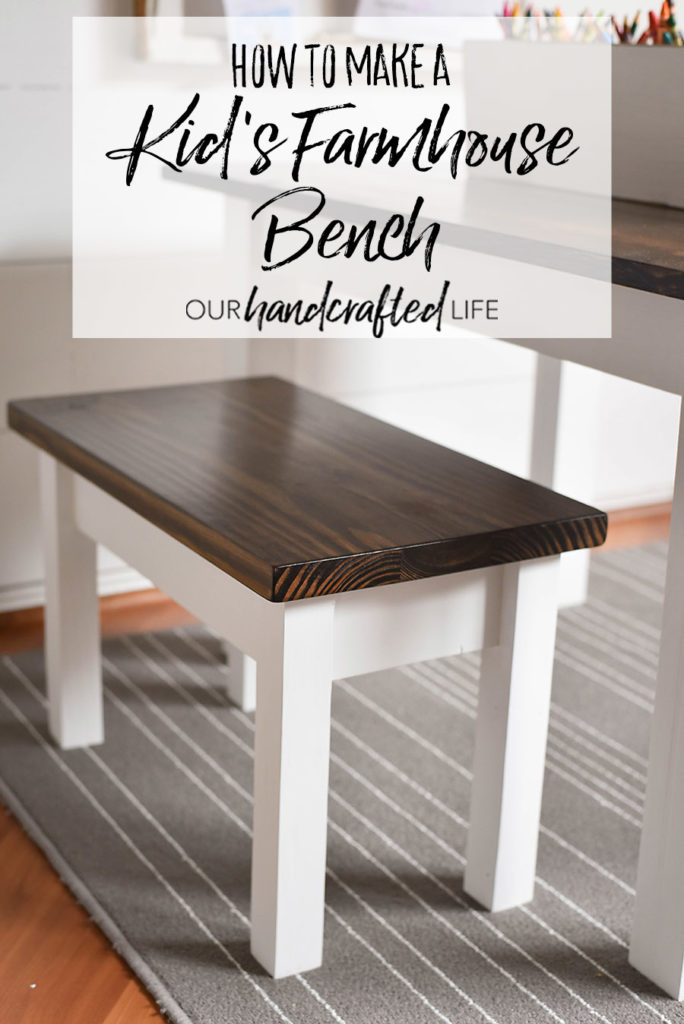
I shared plans for our DIY Farmhouse Style Kid’s Table and today I’m going to show you how to make an easy bench to match!
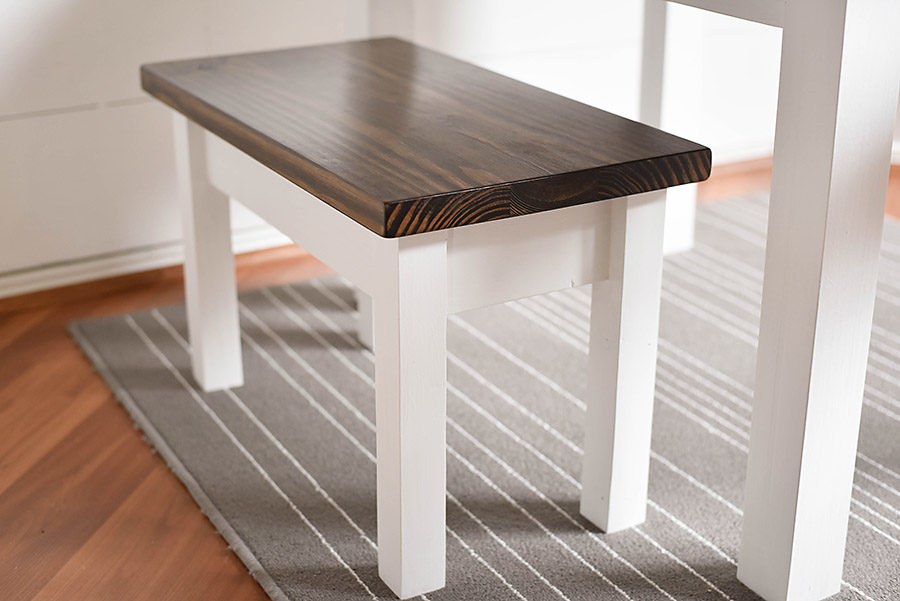
Kid’s Farmhouse Bench
There are lots of seating options for a kid’s arts and crafts table. If I were going to purchase chairs to coordinate with the Farmhouse Style Kid’s Table, I would choose these Eames style kid’s chairs or these industrial kid’s chairs, but ultimately I love that we decided to make our own farmhouse bench.
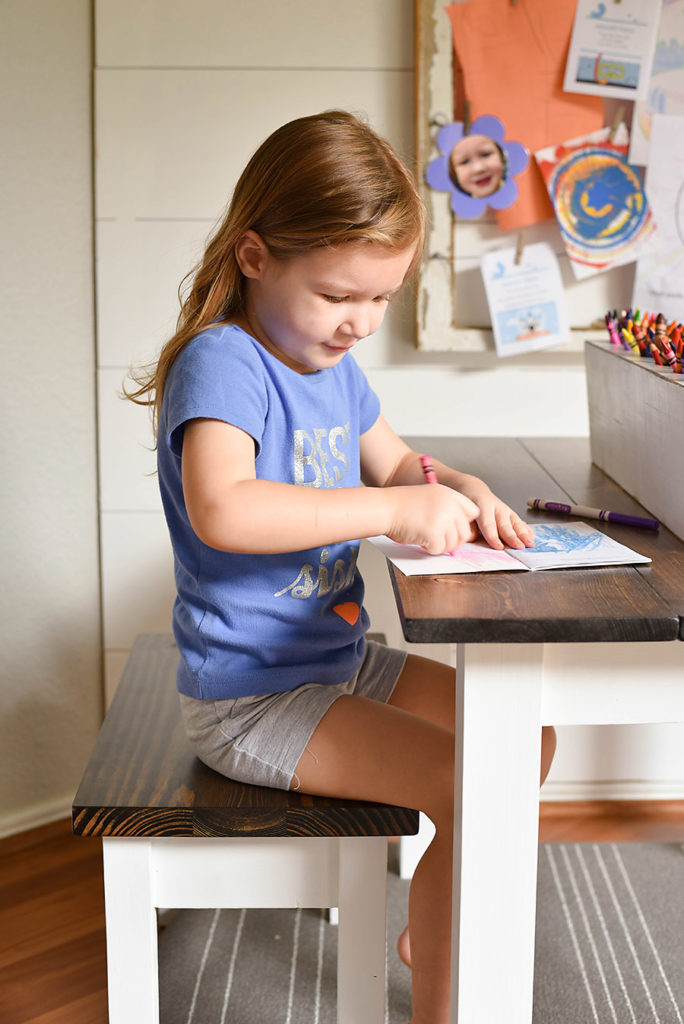
This DIY woodworking project is perfect for a beginner. You can make one to go along with your DIY Kid’s Farmhouse Table or to go with an art table you already have. I love it because it’s just the right size to be an art table in itself – so it can be a bench seat and an art table in one!
Supplies:
- 4 Table Legs – 1.5″ x 1.5″ cut to 13″
- 2 Long Apron Pieces – 1×4″ cut to 16 1/2″
- 2 Short Apron Pieces – 1×4″ cut to 5 7/8″
- 1 Top Planks – 1×12″ cut to 22″
- White Paint
- Stain
- Kreg Jig
Note: We made the legs for the bench by ripping (cutting with the grain) 1.5″ pieces from a 2×4″. The actual size of a 2×4″ board is 1.5″ x 3.5″, so to get the 1.5″ x 1.5″ boards, we cut the rounded edge off the 2×4″ using the table saw then moved the table saw fence to cut 1.5″. By taking this extra step, you won’t have two edges that are square and two edges that are rounded with the builders grade lumber shape.
How to Make a Kid’s Farmhouse Bench
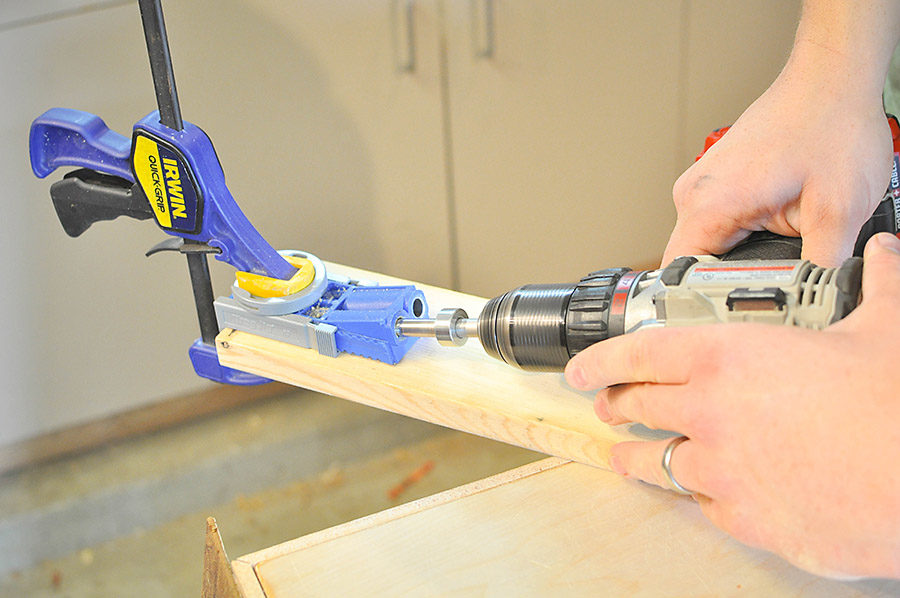
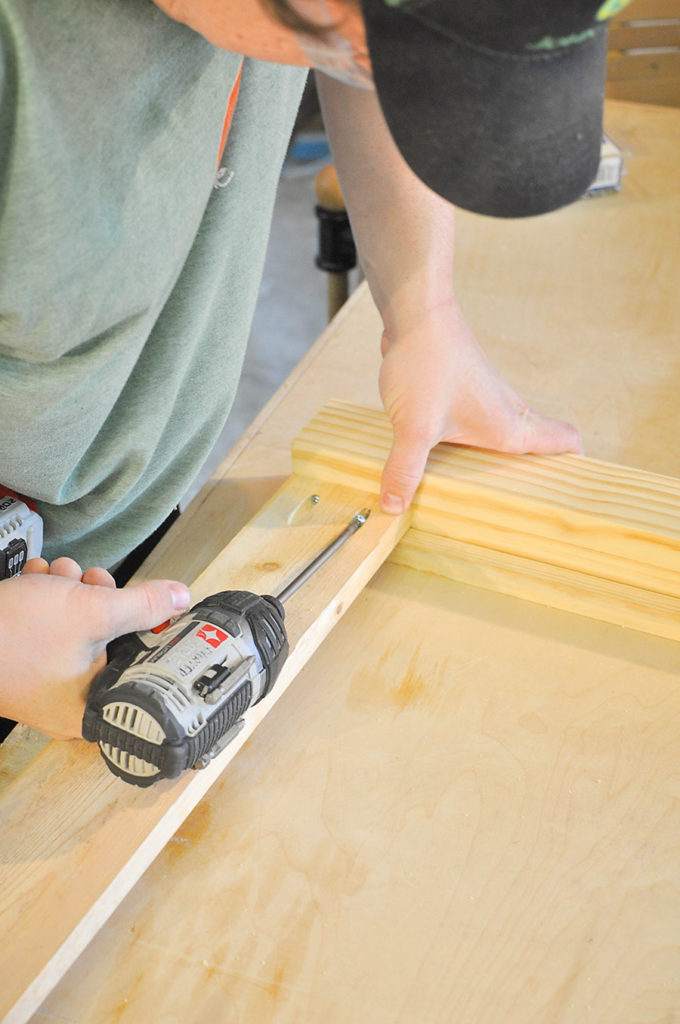
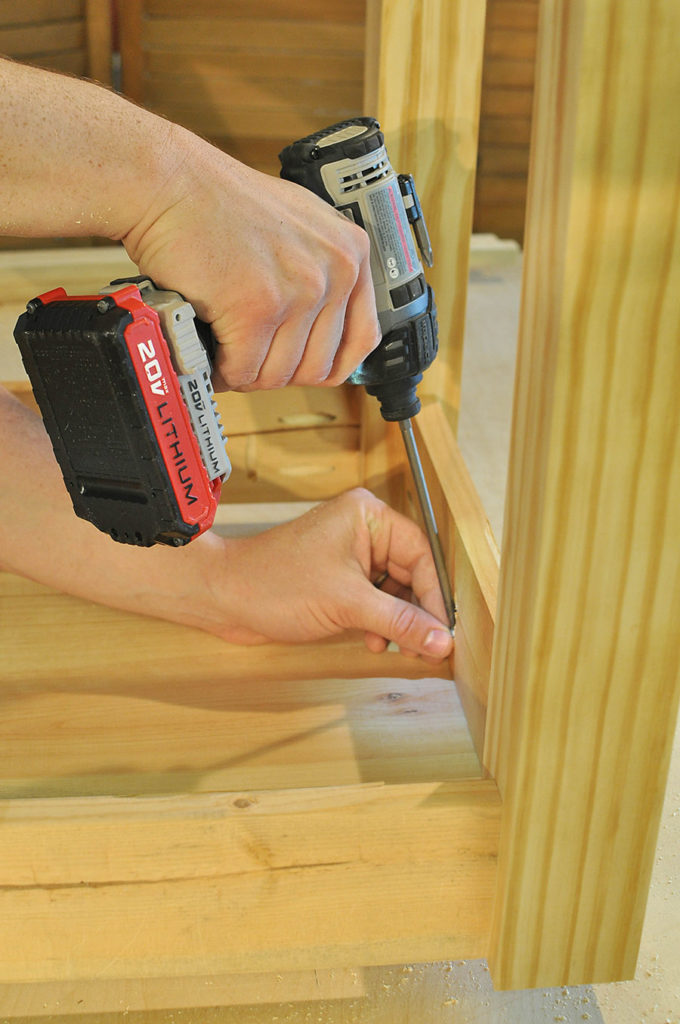
To build the frame, we put pocket holes at the edges of the aprons and attached them to the legs. To offset the legs, we put a piece of 3/4″ scrap wood down while screwing in the pocket holes.
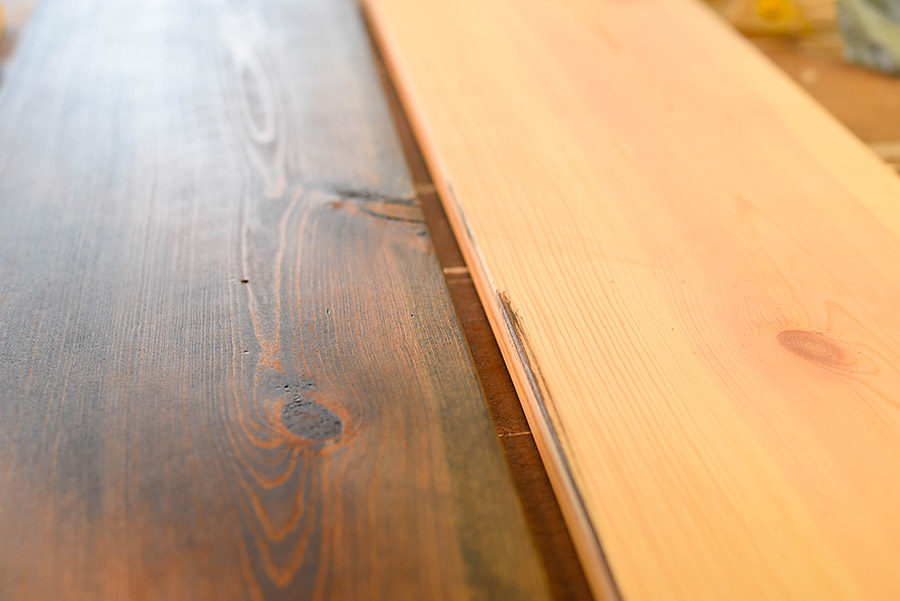
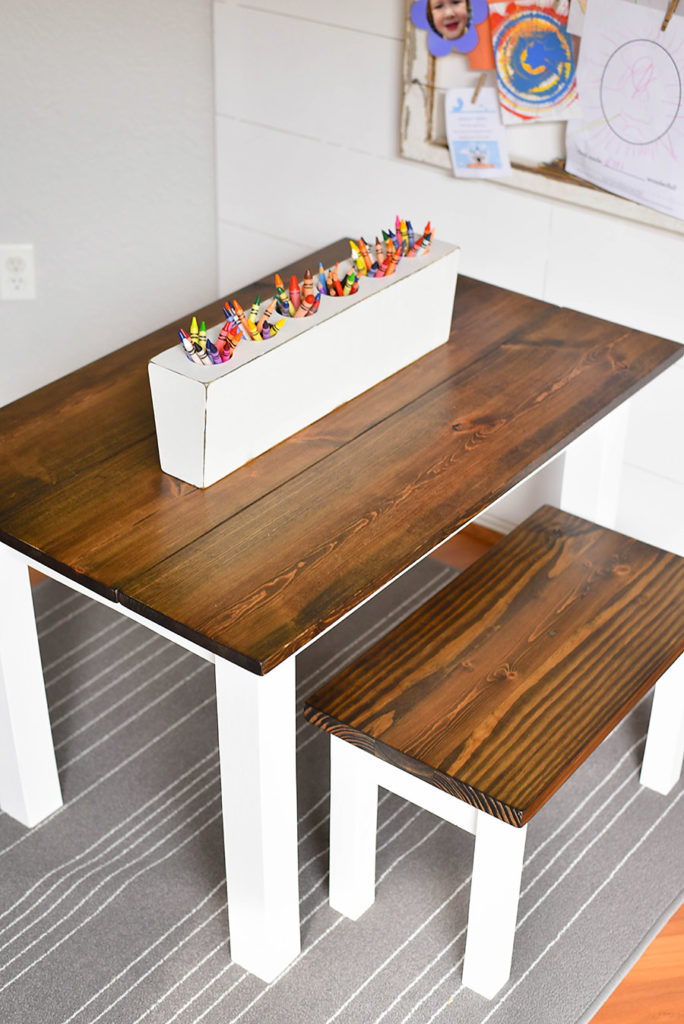
Then we painted the frame white and sanded and stained the top plank. When we were making our bench, we didn’t have any boards wide enough, so we glued three boards together and planed them down. So, our bench top is actually slightly wider than a 1×12″, but it would be much easier to just use a 1×12″.
Once the frame and bench top dried, we attached the frame to the table using pocket holes.
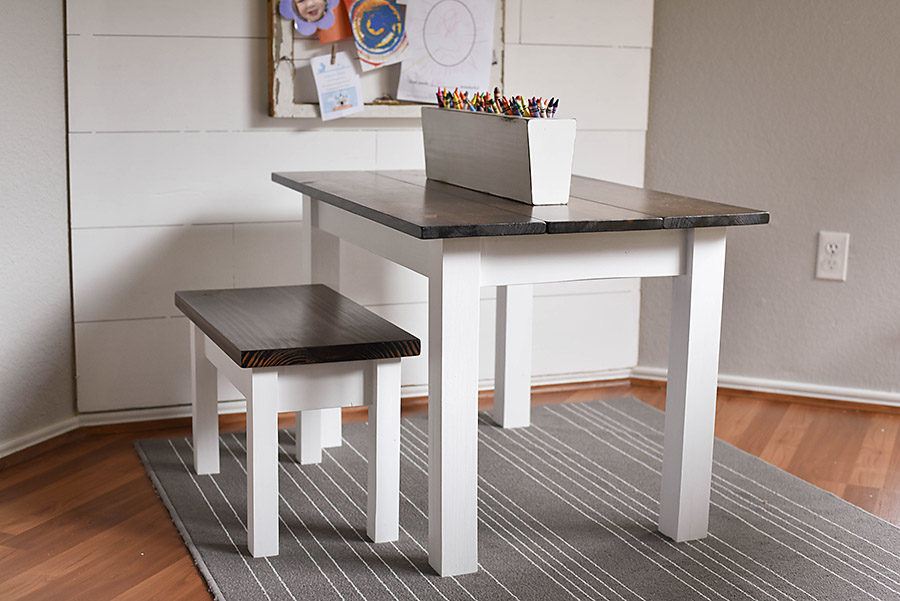
Aside from ripping the table legs, the whole project can be made using a chop saw, so it’s a pretty easy build. I love the way it coordinates with the farmhouse table, even though the measurements don’t perfectly match.
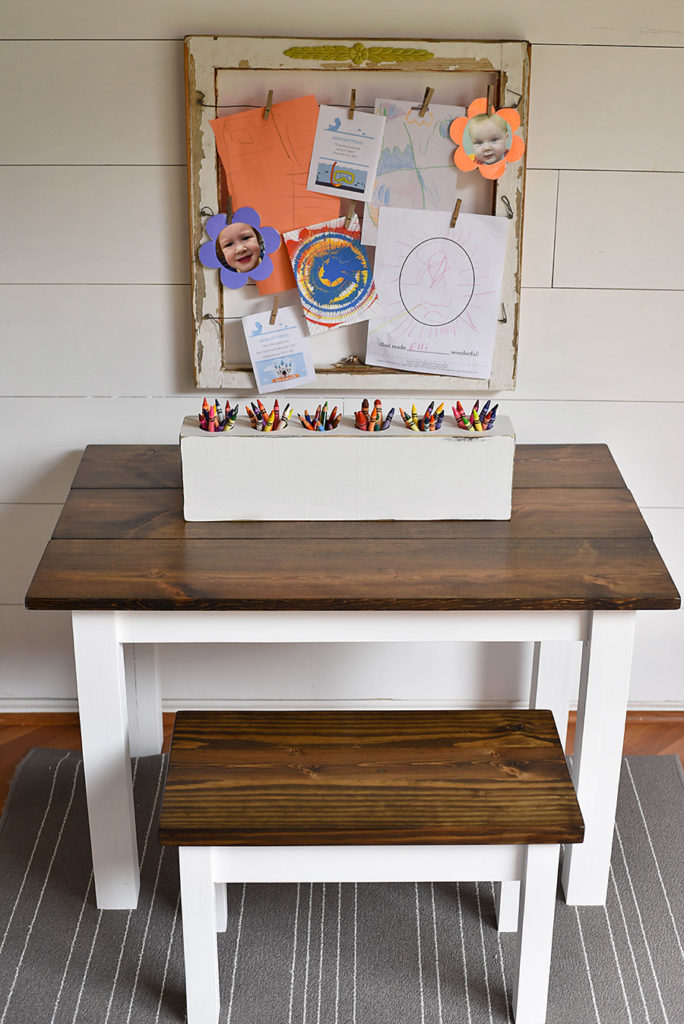
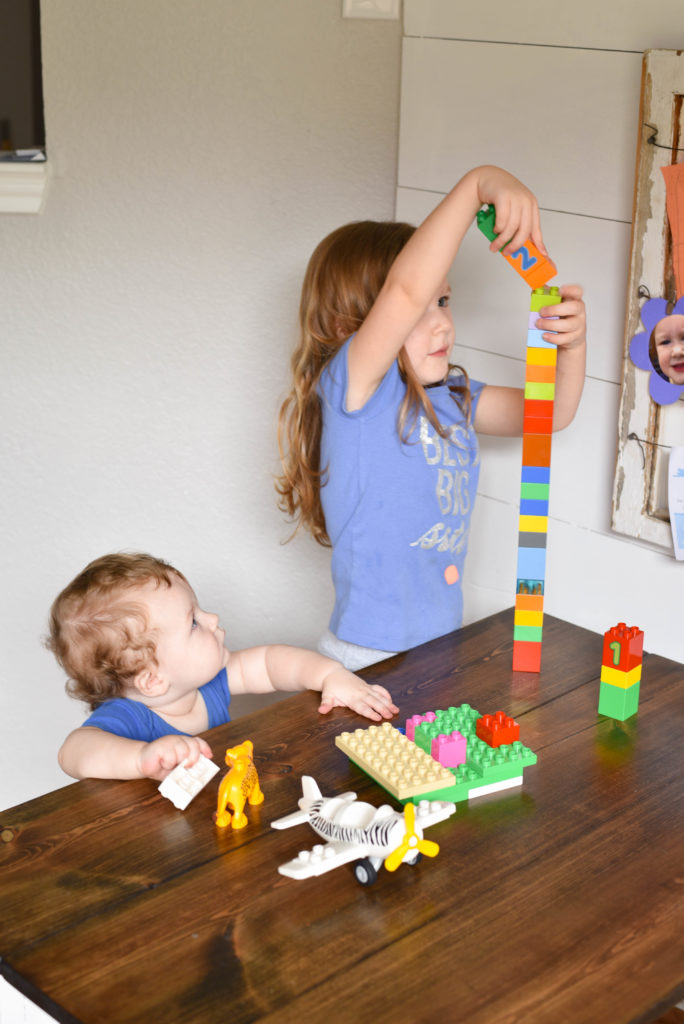
This farmhouse table and bench is such a sweet place for our kids.
They are free to build, create, and dream in a space designed just for them. I love giving them freedom in a controlled environment so that can explore.
I hope you enjoyed this DIY Farmhouse Table and Bench set! If there’s something else you’d like us to make, let us know in the comments below!
And don’t forget to check out the first part of this post – DIY Farmhouse Kid’s Table.

Were you able to use pocket hole screws for the short stretchers, or was it too tight of a fit to use a drill?
Thanks for asking! I remember running into that issue. We just assembled each end first. Then added the longer aprons between the two end assemblies so that we didn’t have to fit the drill in the tight space. Let me know if you have any other questions!
it would be amazing if you could add a video or something to explaining or the next time you make this! how long did it approx take you! Great job btw, its amazing!
Hey I just saw this and it is so cute. Do you have the dimensions diagram like you do for the table?
Can you share plans for crayon holder ?