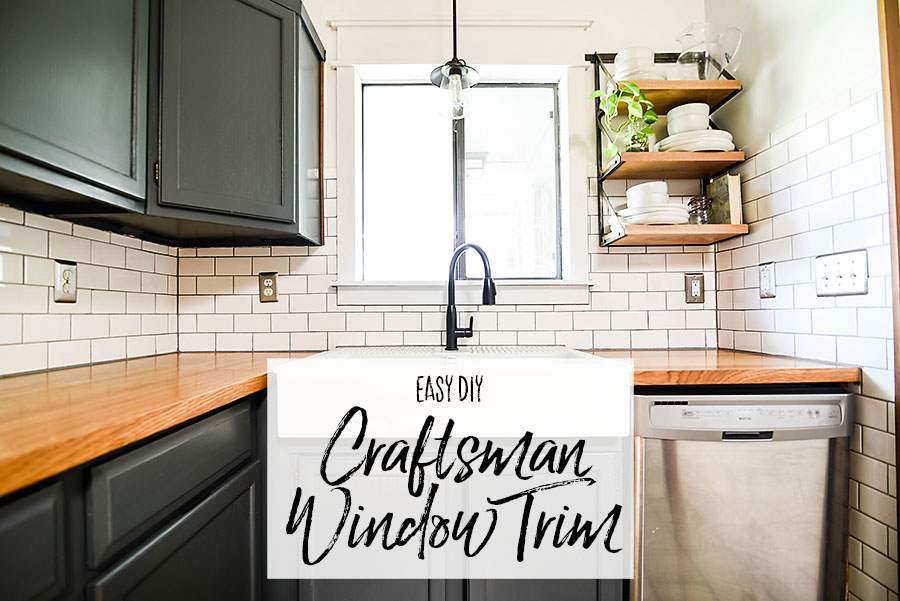
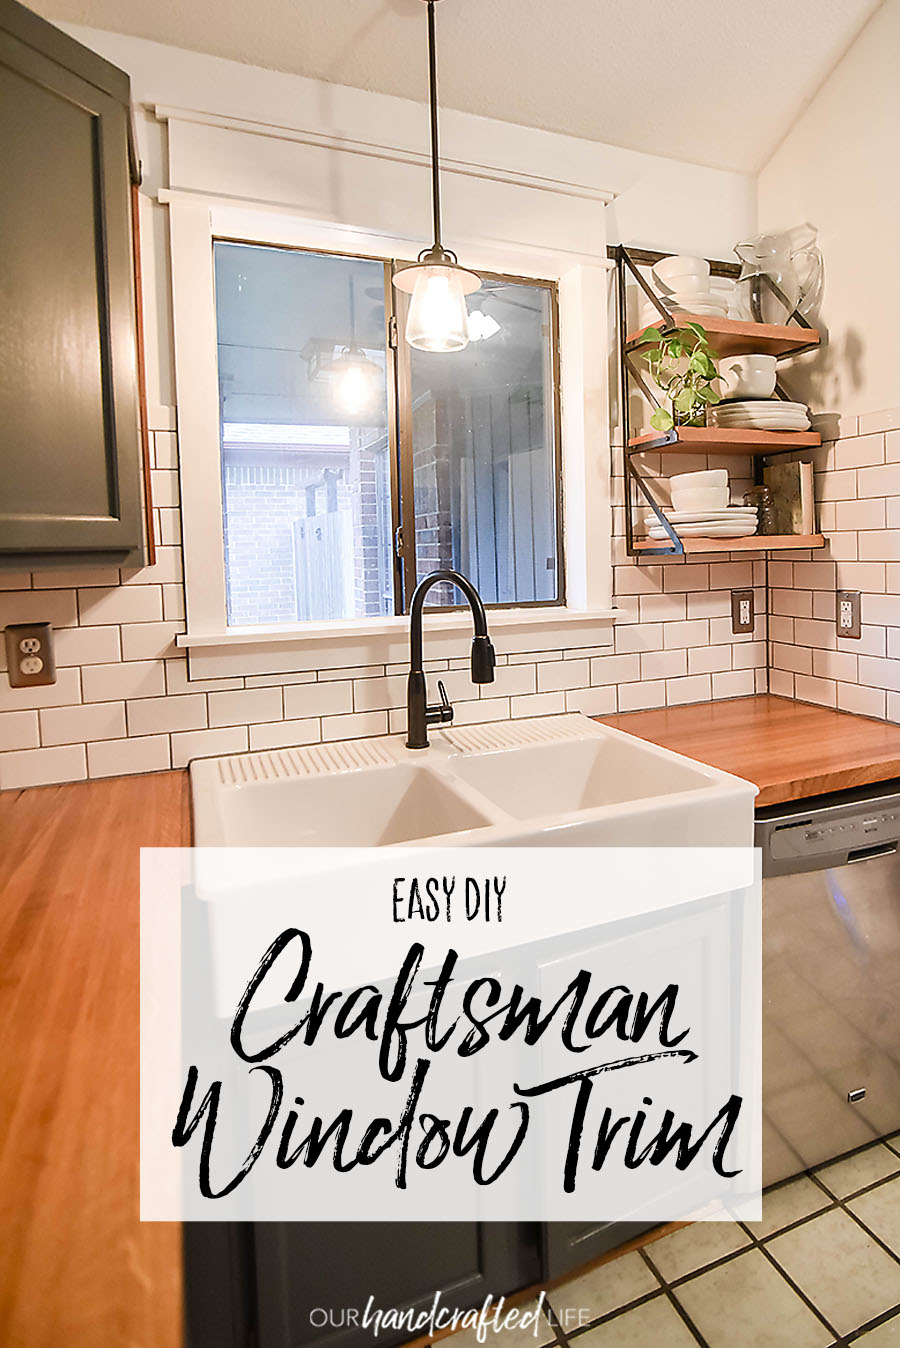
Easy DIY Craftsman Window Trim
How to install Easy DIY Craftsman Window Trim with no complicated angles. Just measure, cut, and install and you’ll have instant character.
If you’ve ever browsed a website with houses for sale, you’ll notice that one of the things that adds instant character to a home is the trim. From crown molding to board and batten, millwork is a great way to add a focal point and give a space lots of charm.
My favorite trim work is in 1920s craftsman homes. No matter what state the rest of the house is in, if it has those craftsman details – chunky baseboards, streamlined moldings, and especially those six paneled doors – the listing will definitely find its way into my husband’s inbox.
So what’s a girl to do when her house is built in the suburbs in the 80’s? Add it ourselves!
The best part about Craftsman trim is that it’s not complicated. You don’t have to make any plaster molds to recreate missing plinth blocks with tiny details. There aren’t any complicated angles. You just measure, cut, install, and paint. And boom – instant character!
How to Install Easy DIY Craftsman Window Trim
For this craftsman window trim, we focused on making it EASY. It was a quick and simple way to finish the look of our kitchen. Here are a couple of tips for making this project even easier:
- Reuse the Window Sill – If possible, reuse your current window sill. Ours was in great condition and it didn’t have any intricate details. It’s not particularly difficult to make a window sill from scratch, but this did save us a step.
- Buy pre-primed boards – Again, this isn’t necessary, but it did save us a step and it saved us some time in priming and waiting for the boards to dry before installing them. This is one of those times you can measure the expense vs the time saved.
Measuring for DIY Craftsman Window Trim
Each window is going to be unique, but you should be able to use these wood dimensions for any window and just adjust to fit your window measurement.
You’ll need:
- (2) 1″ x 4″ boards measured to your window height (vertical trim)
- (1) 1″ x 4″ board measured the width of your window + 7″ (apron)
- (1) 1″ x 6″ board measured the width of your window + 7″ (header)
- (2) 1″ x 2″ boards measured the width of your window + 8″ (header) – These need to be ripped to be 1 1/4″ wide
- (1) 1″ x 2″ board measured the width of your window + 9″ (header) – This needs to be ripped to be 1 3/4″ wide
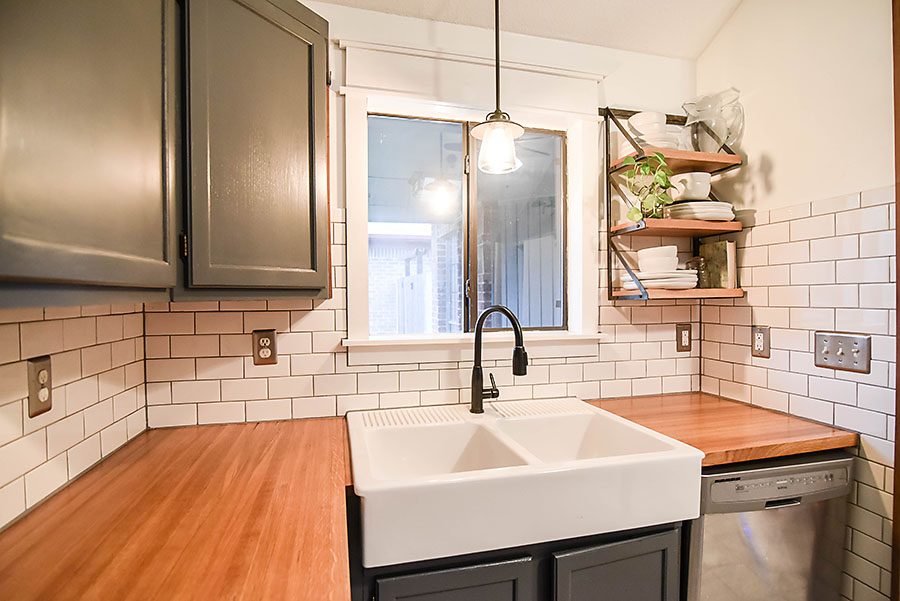
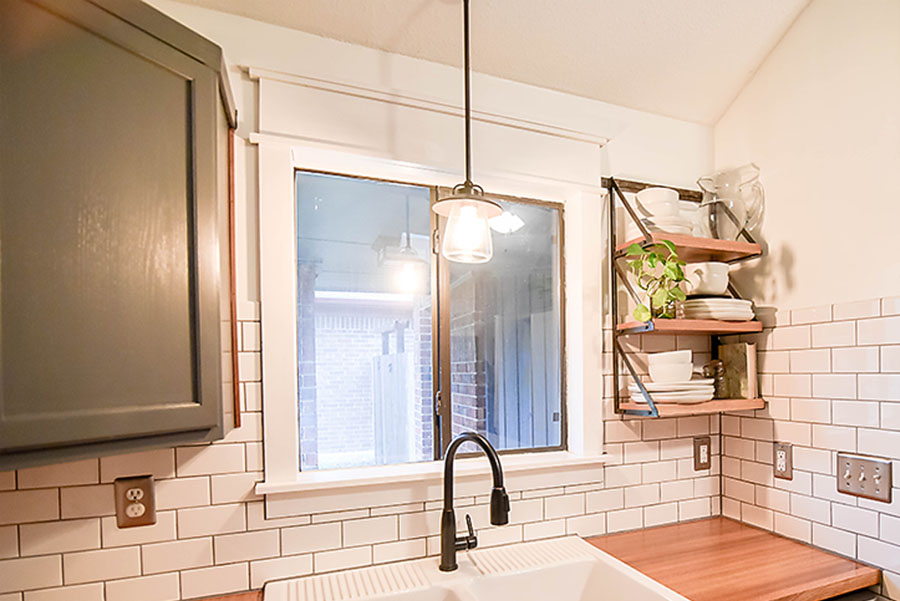
The first thing we did was construct the header. We attached the two 1×1 1/4″ boards to either side of the 1×6″ board. These should stick out 1/2″ on the sides of the board. Then we attached the 1×1 3/4″ board on top, again allowing it to hang over 1/2″ on the sides. We centered that to the middle of the window and installed it.
Next, we attached the 1×4″ boards that were measured to the window height. These are the vertical boards on either side of the window.
Because we were reusing our window sill, the next step was to install the apron – the piece that runs along the bottom of the window sill. This is the 1×4″ board that is cut to the width of the window + 7″. It should align with the vertical trim and the 1×6″ board on the top.
I hope this was helpful! Next week I’m sharing all the details of our kitchen in one succinct post so you can find every detail if you decide to renovate your kitchen. See you then!