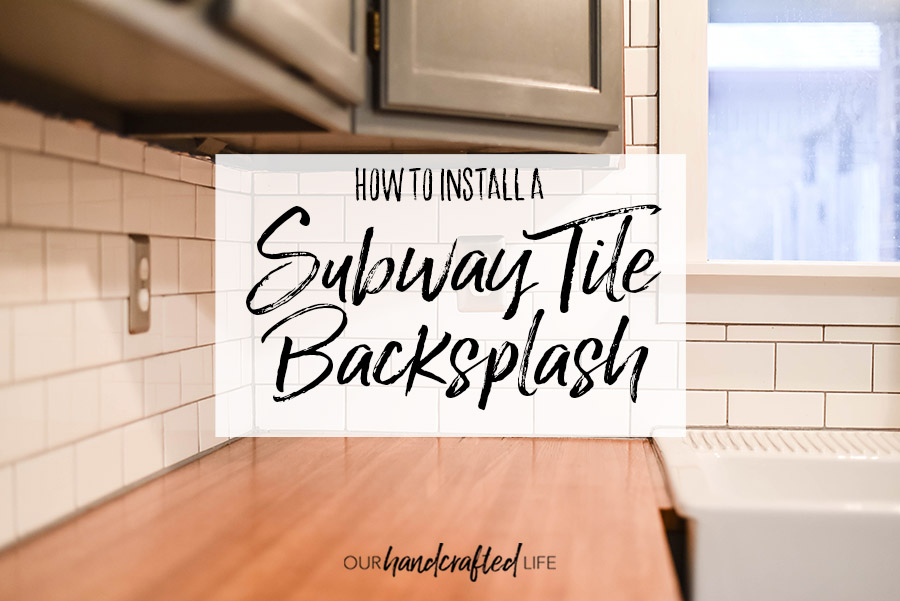
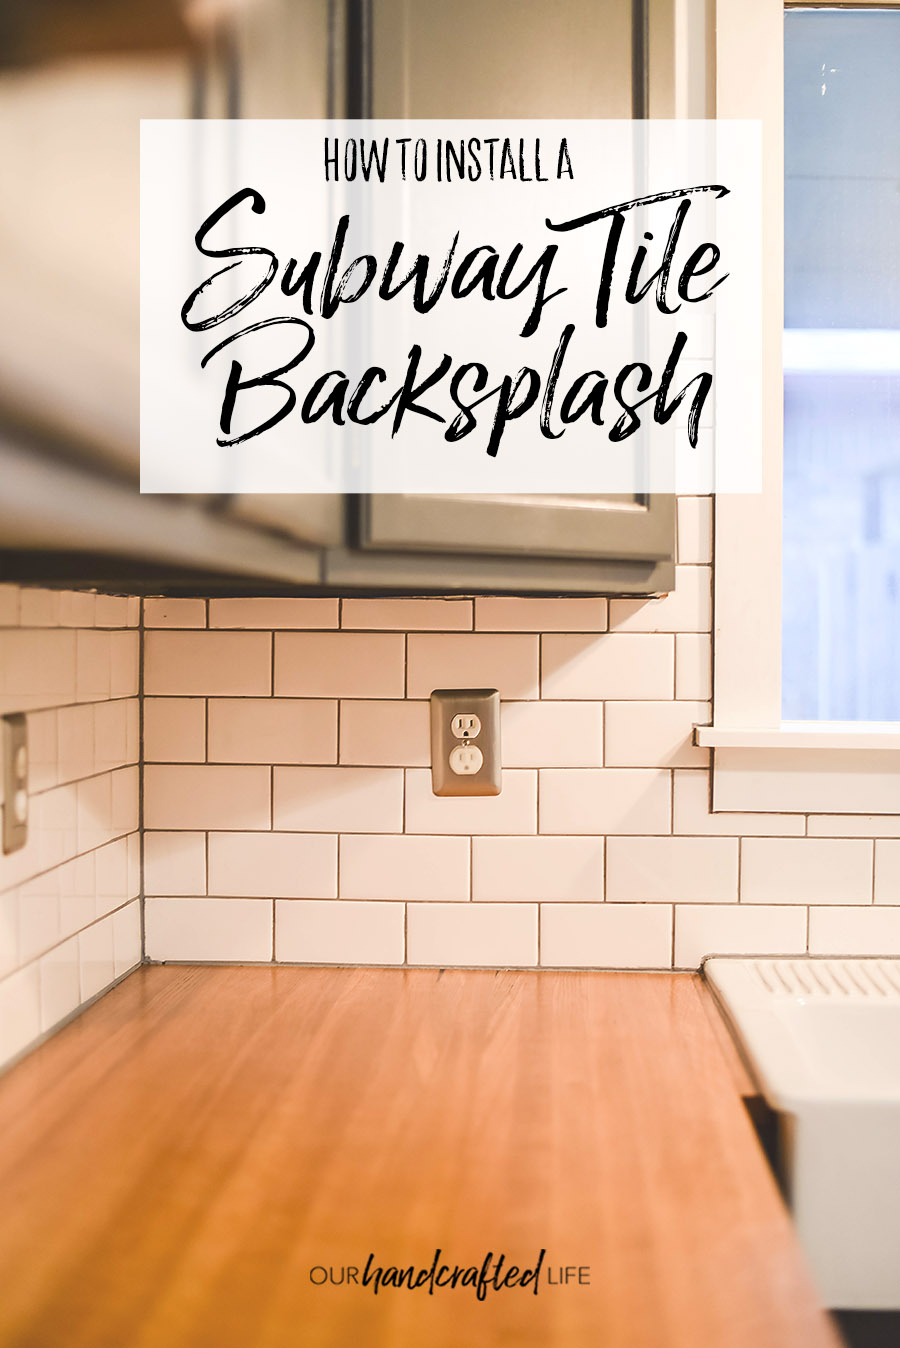
How to Install a Subway Tile Backsplash in the Kitchen
Subway Tile is a dream for a DIYer on a budget. I’m going to walk you through the steps to install subway tile on your own, saving you hundreds of dollars in labor cost.
I love subway tile for so many reasons – the simplicity, the classic style, and the price. They are easily the cheapest tile option on the market, which makes it a total winner in my book.
Installing tile isn’t very difficult, but it is tedious. It will take several days to complete your project, but I really think just about anyone can do it as long as you think through the steps. I’m going to tell you everything we did step-by-step (and what we would do differently next time). Ready? Let’s get started.
Step 1: Choose Your Tile Size, Grout Color, & Layout
There are a few decisions you’ll have to make ahead of your project. I suggest talking about these before you get to the home improvement store so that you don’t spend 20 minutes standing in the tile aisle only to come home empty handed. (That might be the first on the list for “what we would do different next time”, ha!)
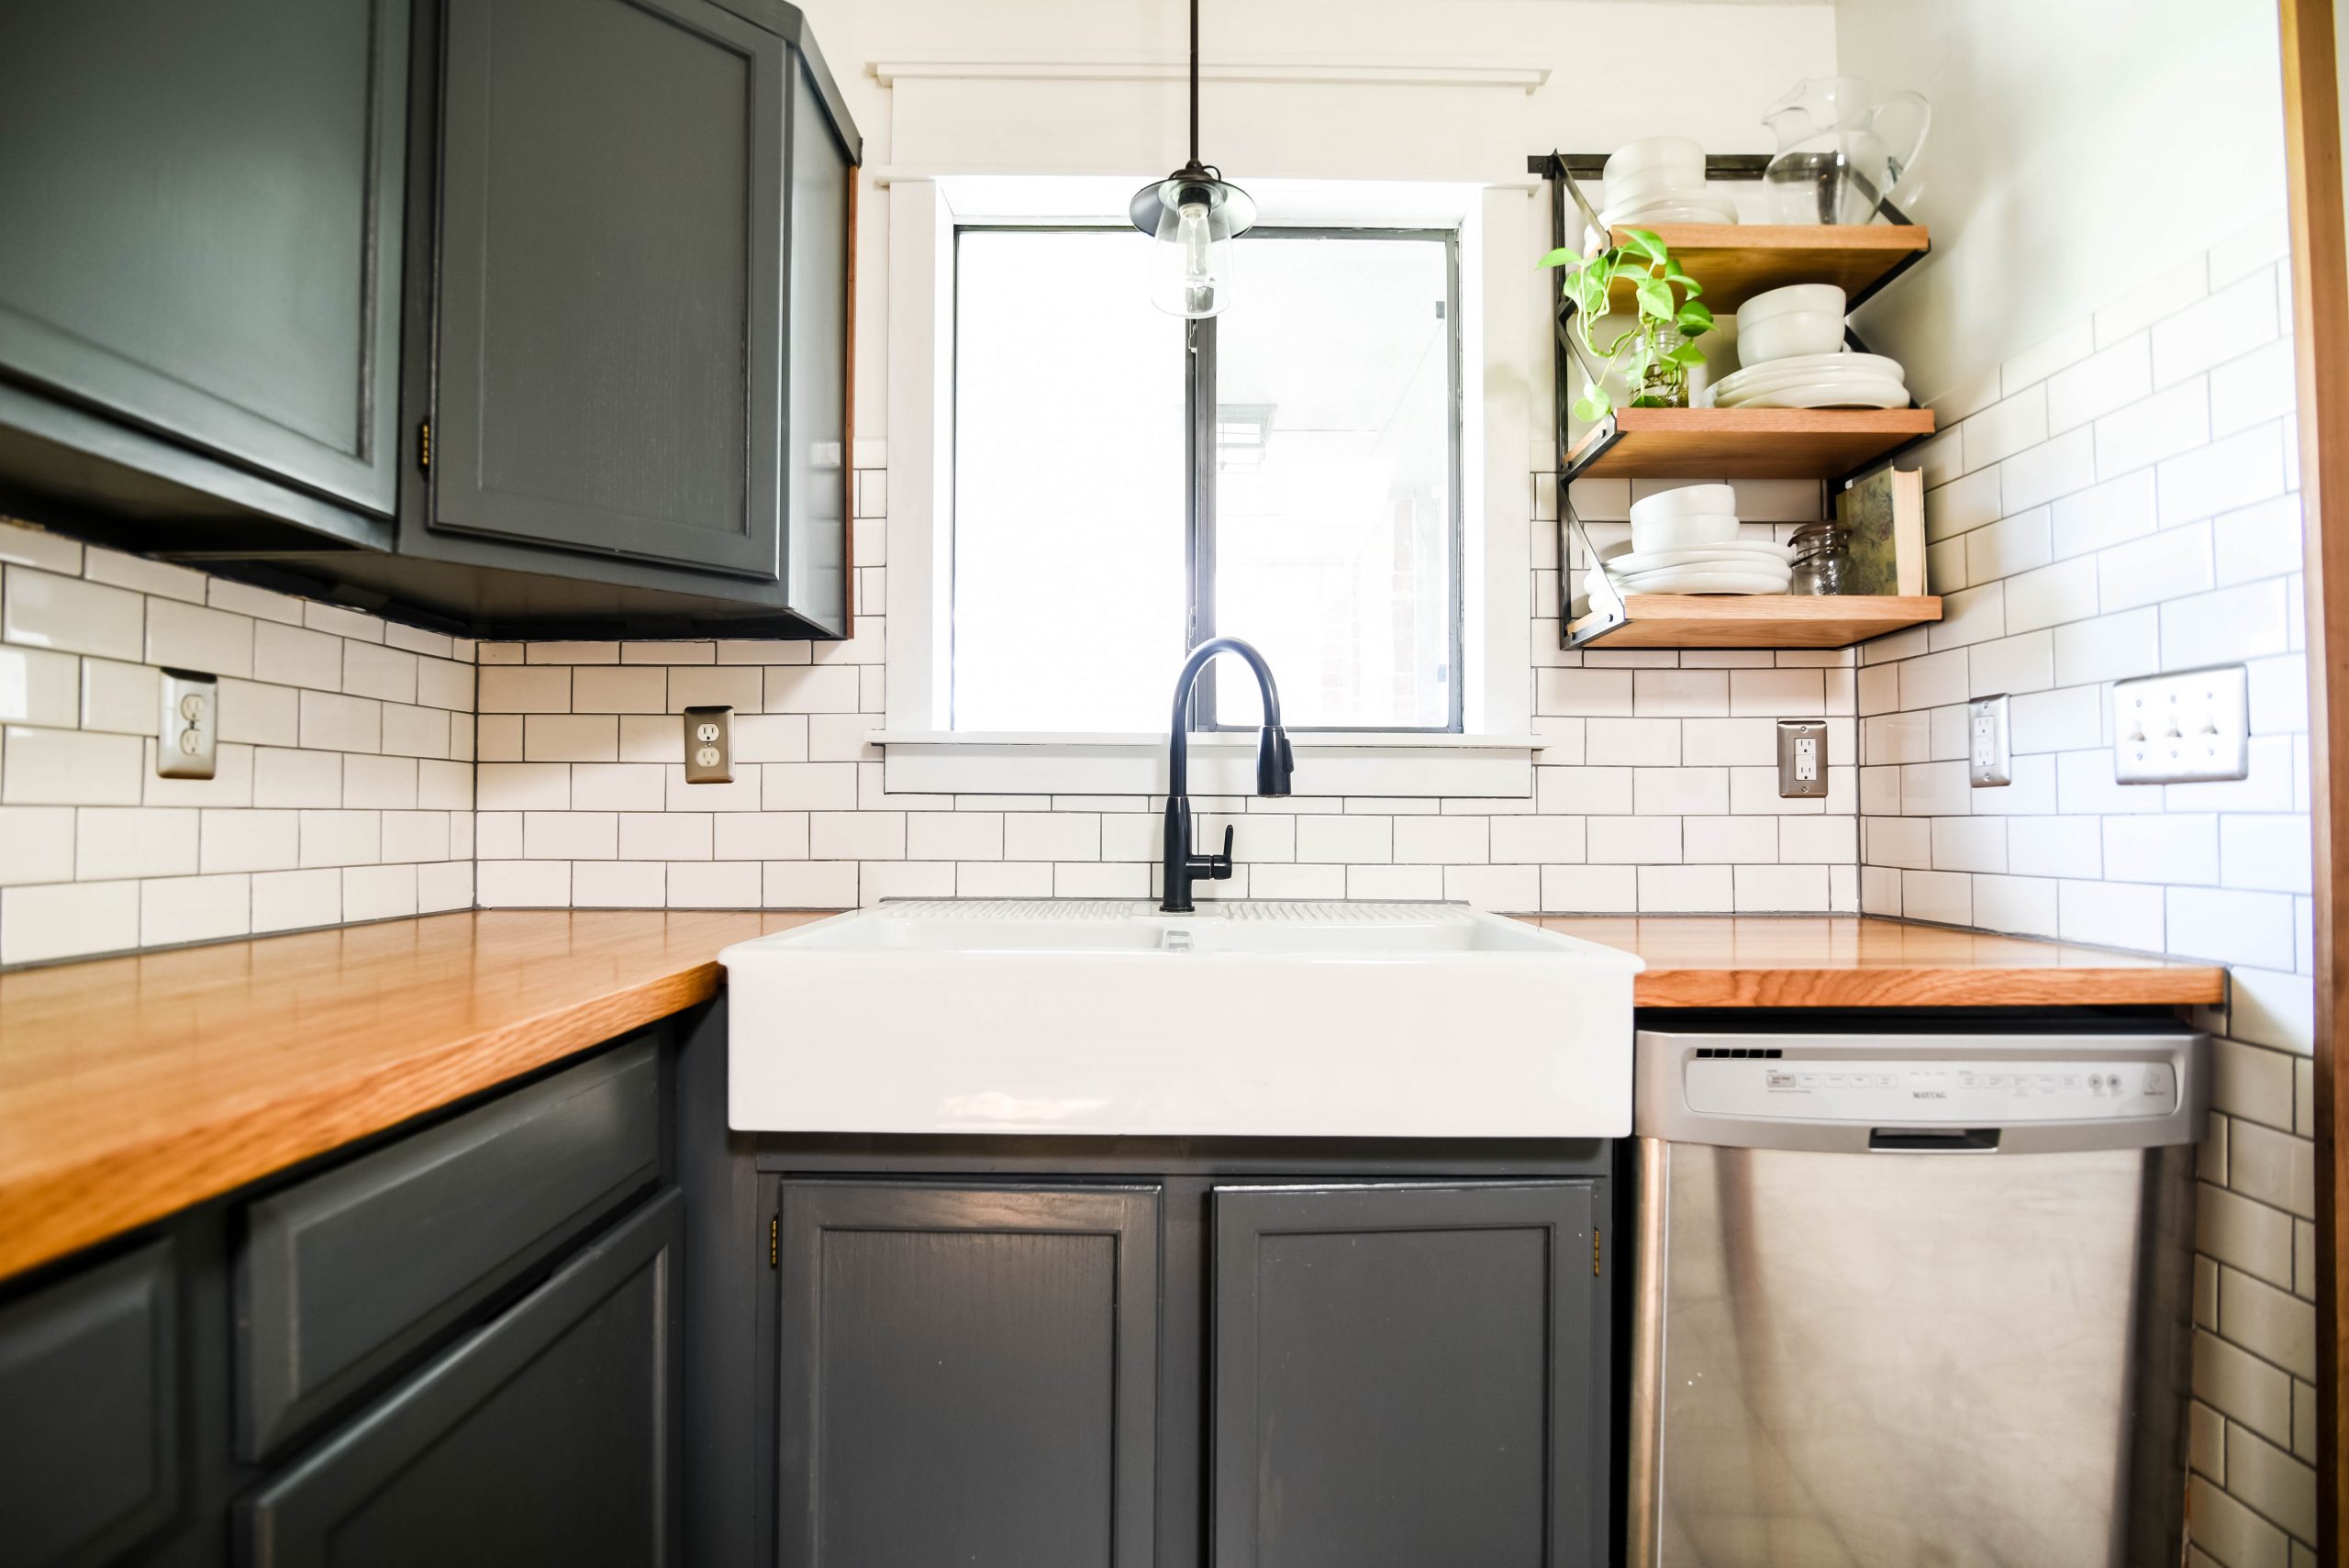
The first decision you’ll need to make is the size of your tile. Typically subway tile is 3″ x 6″. This is going to be the cheapest option and the most classic look. They also sell subway tiles that are twice as long – 3″ x 12″ or quite a bit bigger 4″ x 16″. We went with 3″ x 6″ tiles, which at the time were $1.20/sq foot. We also got about 15% more than we needed, which is a good idea for most projects.
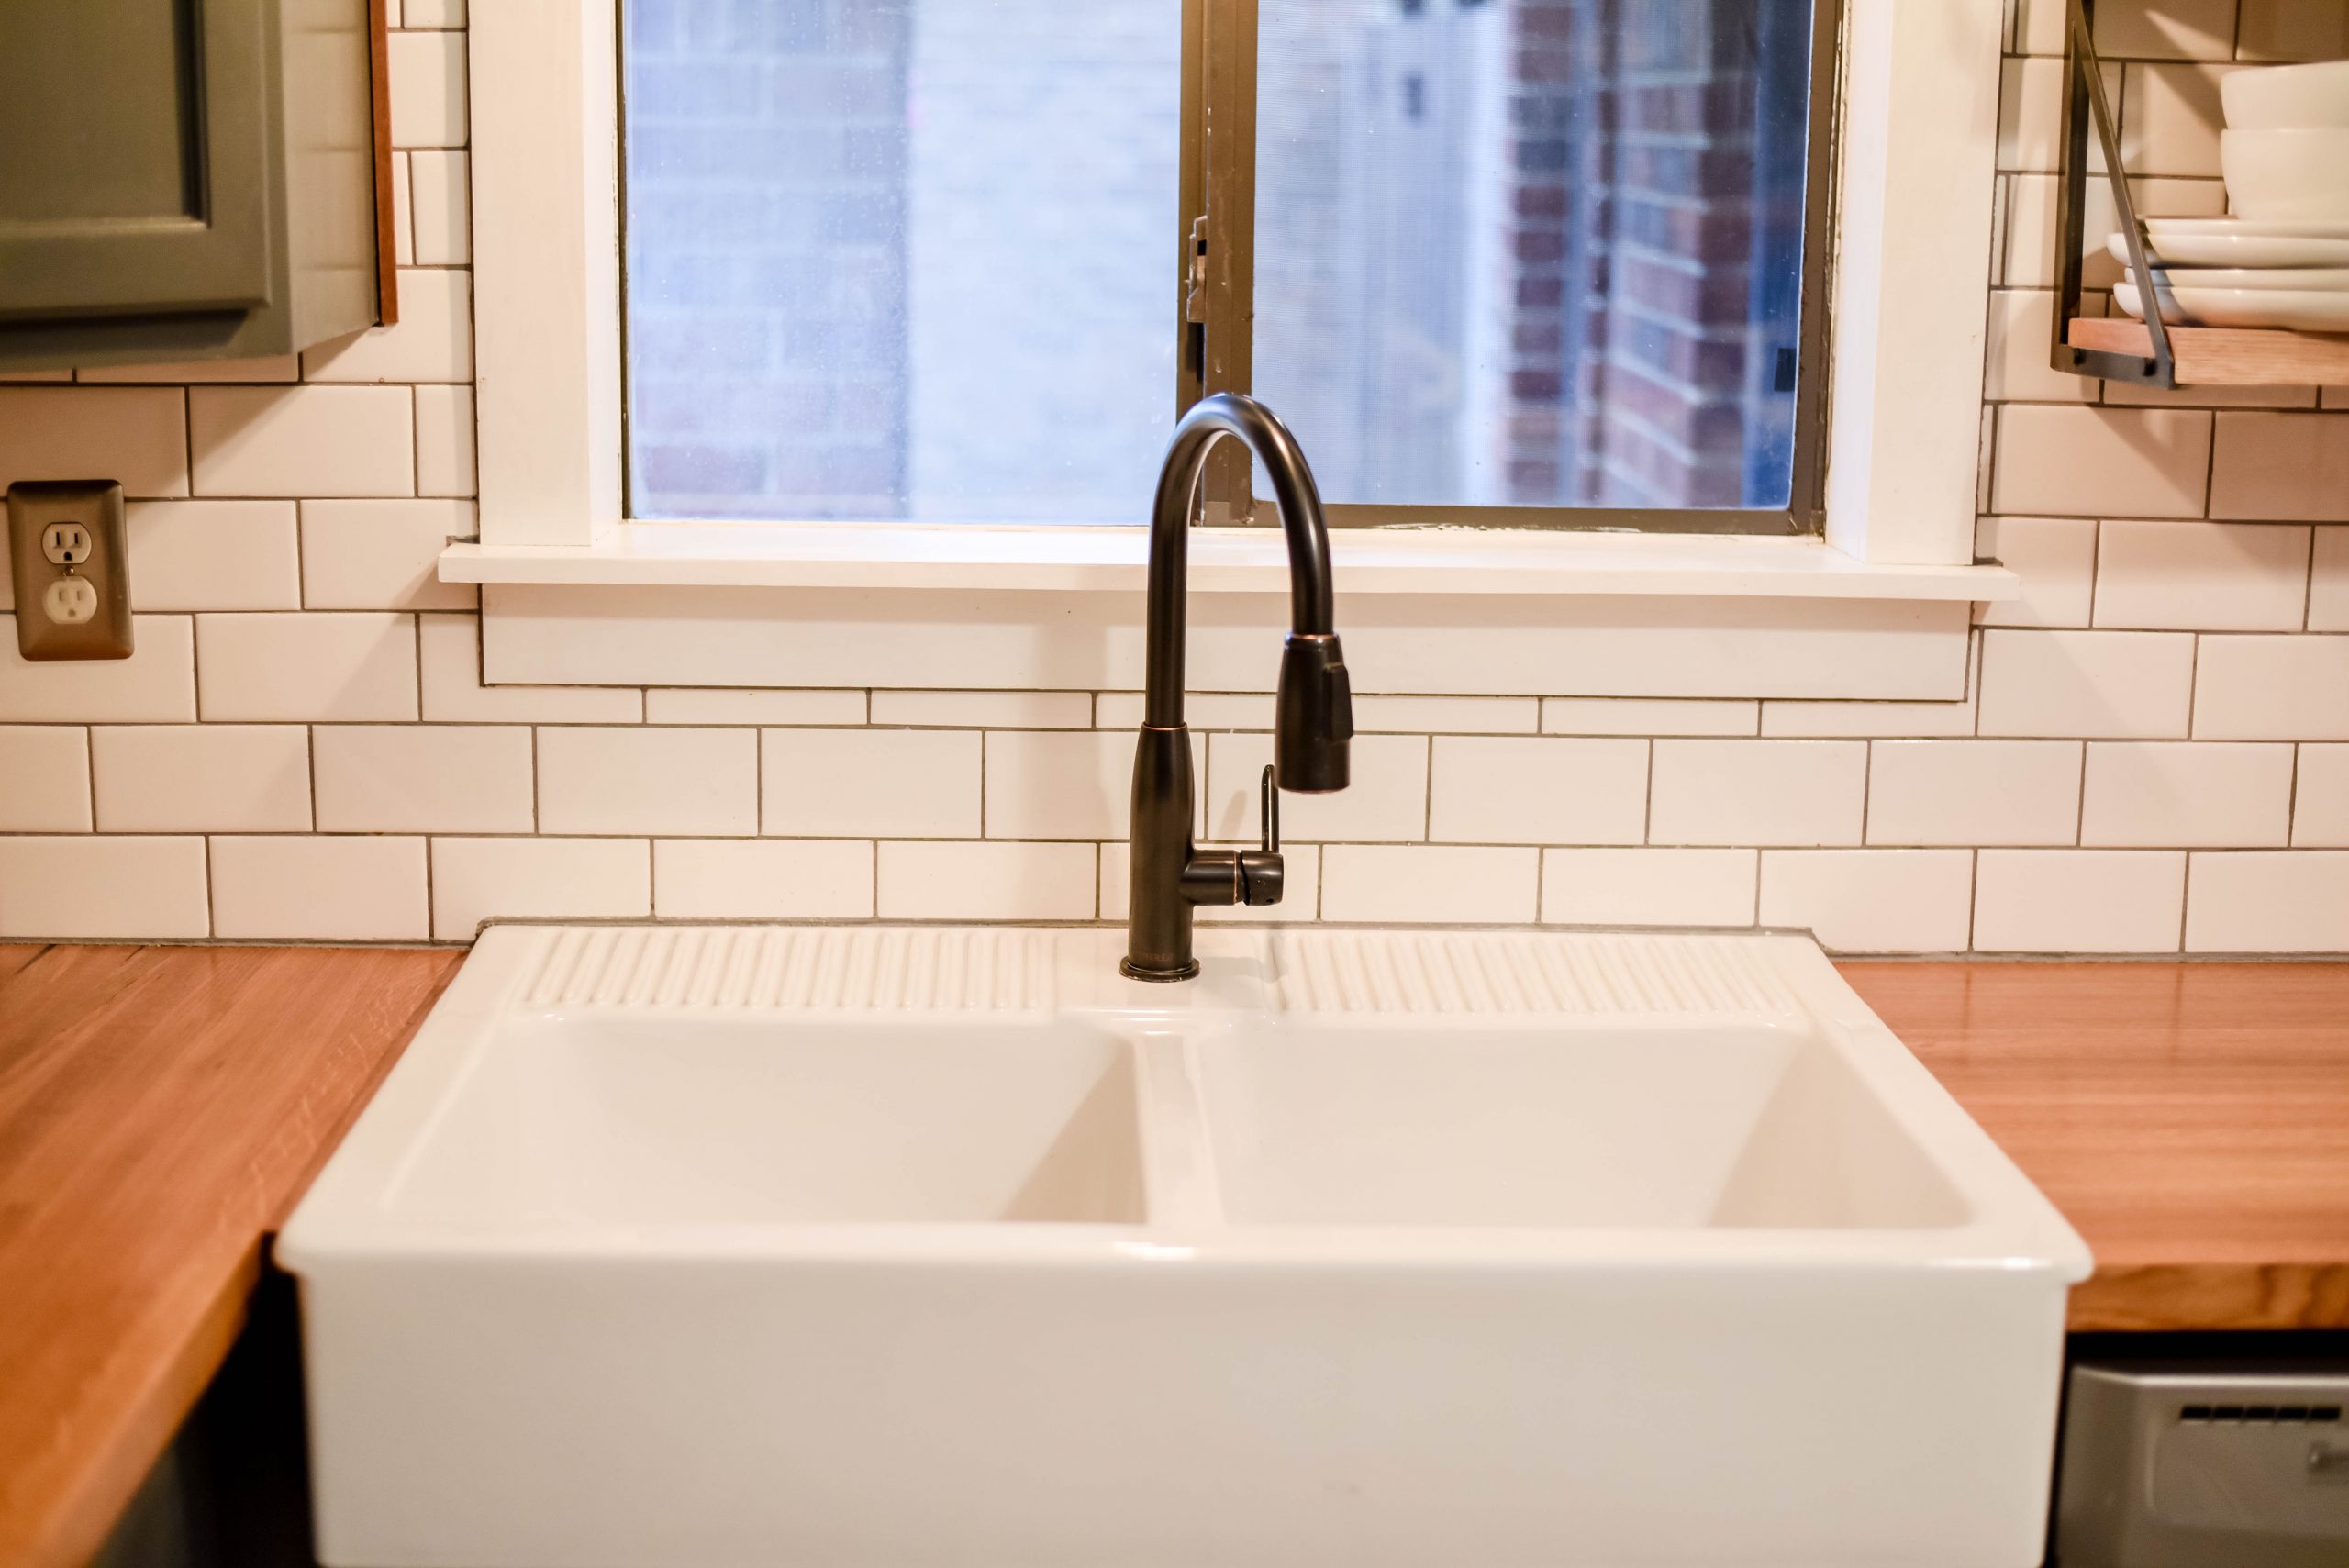
Then you’ll need to decide on what color you would like the grout to be. We chose a darker color (Timberwolf), but a lighter grey or white would look nice as well.
We also had to decide how much of a gap we wanted in between our tiles to purchase the correct spacers. We got the 1/8″ spacers, but we just used the very end of them so that we would have a slightly smaller gap.
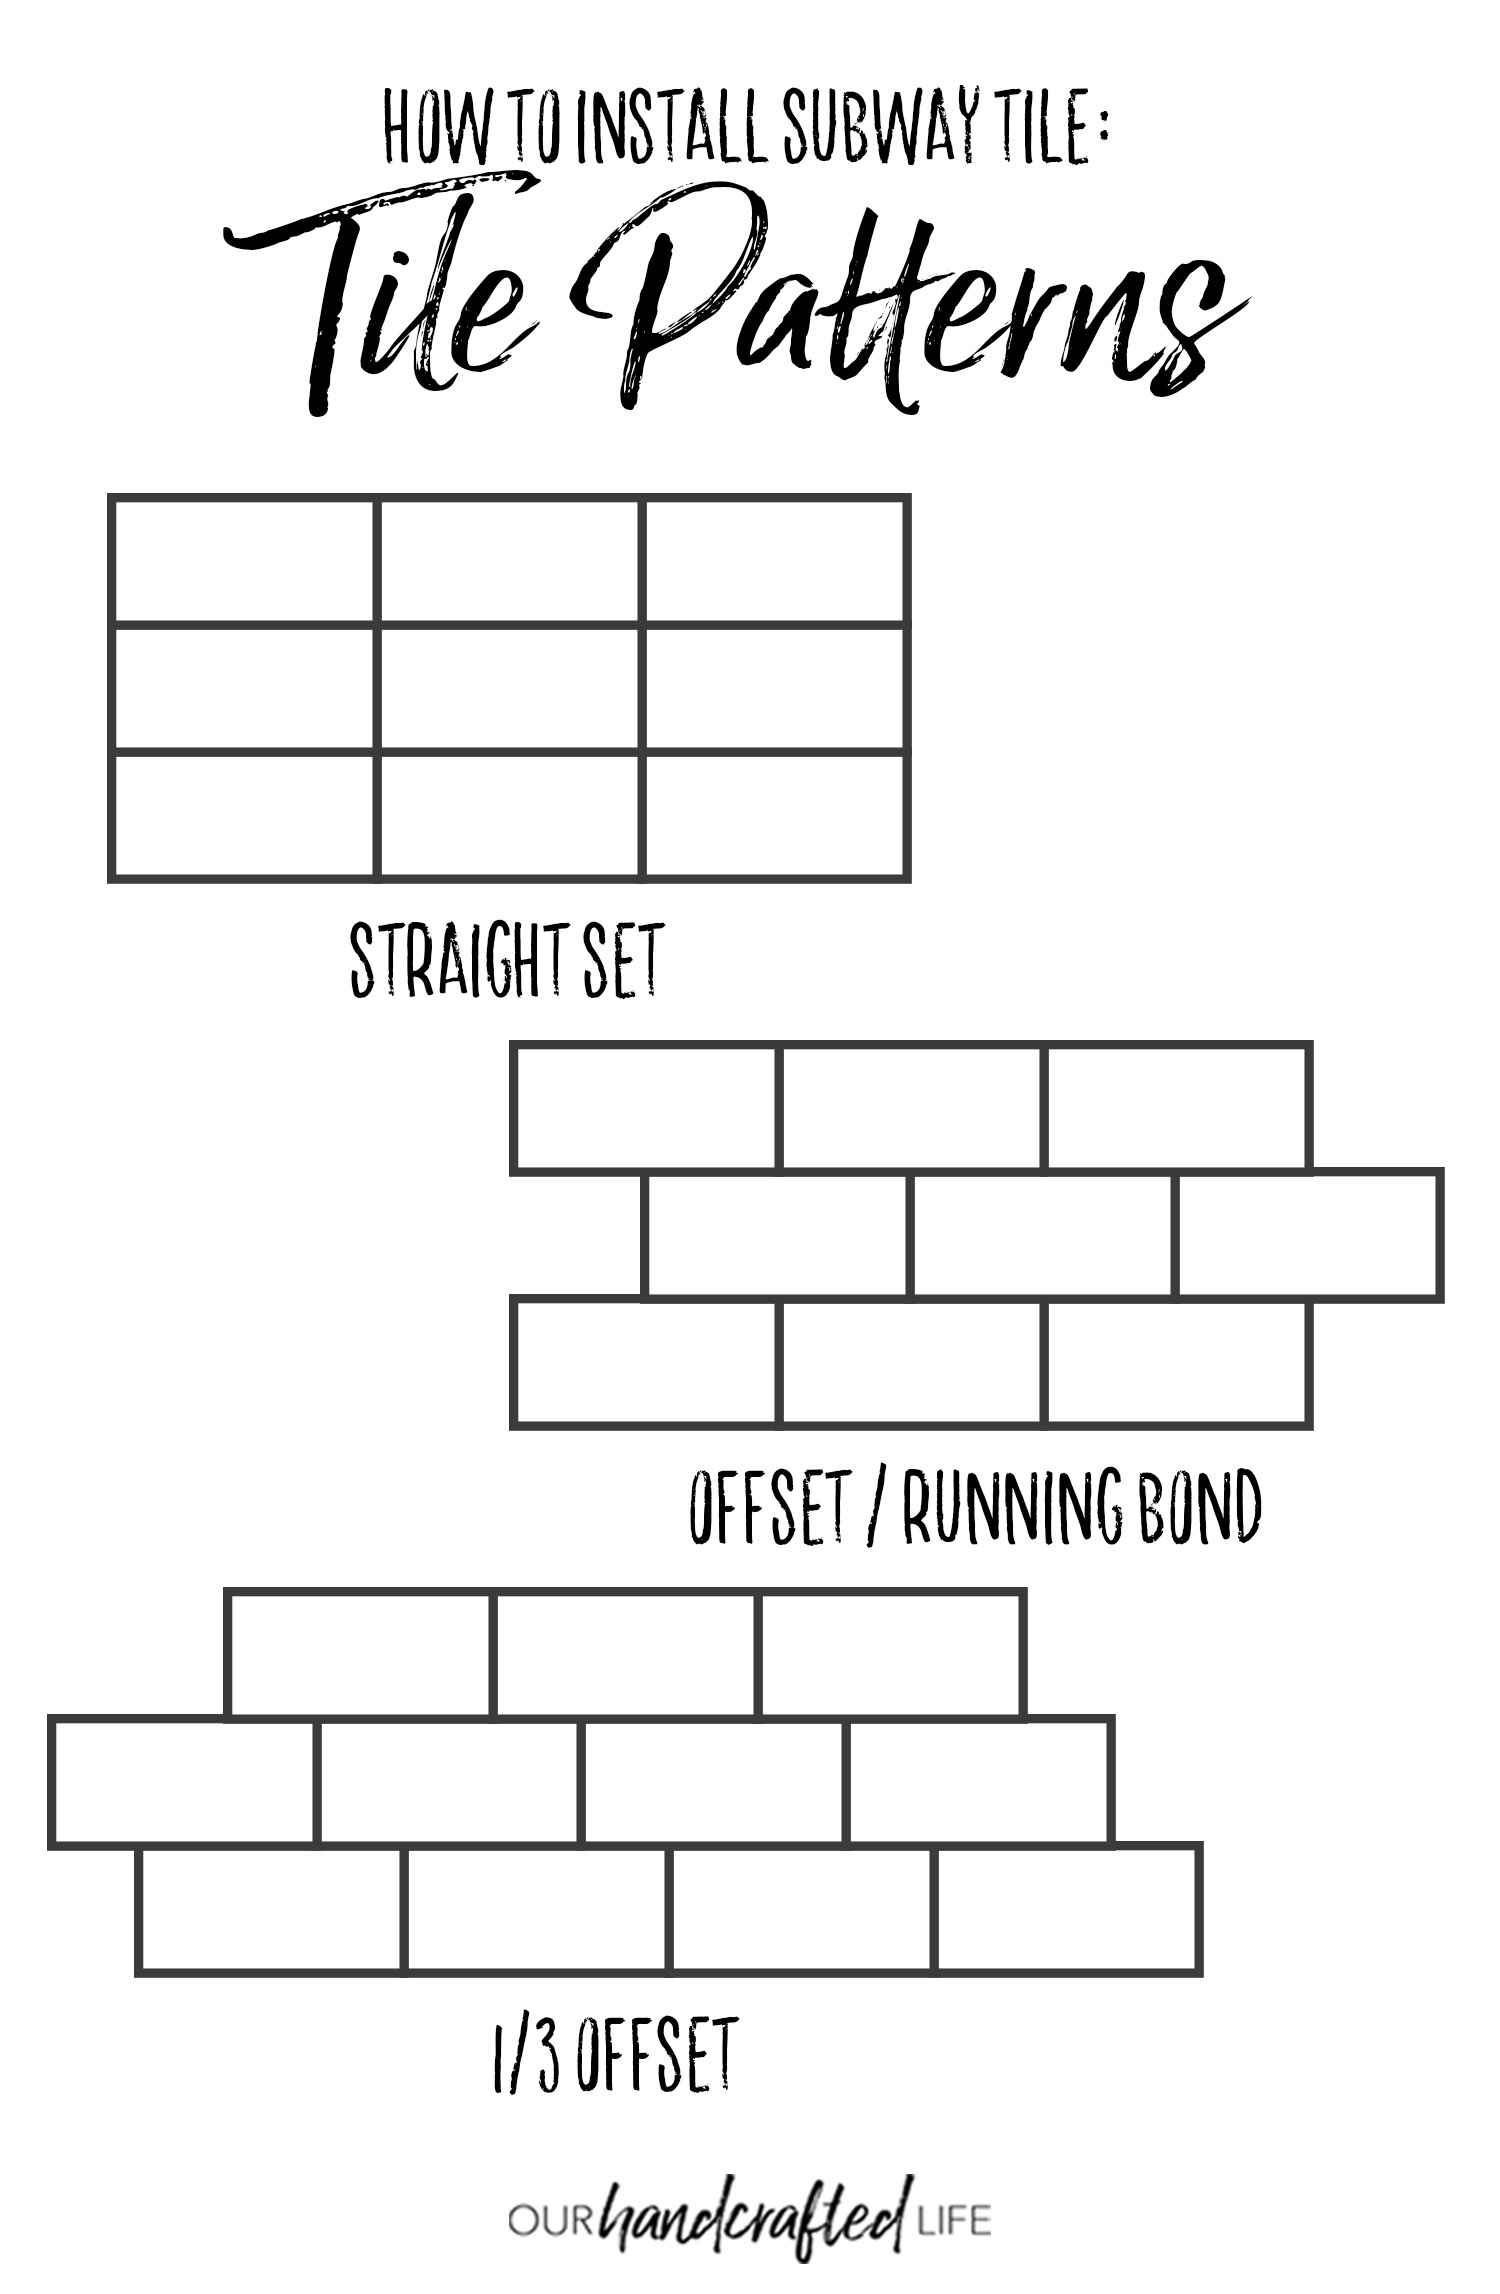
Finally we had to choose a tile pattern. I knew for this project, I didn’t want them to stand right on top of each other like a checker board, called straight set. I went back and forth between a 50% offset (or traditional running bond pattern) and a 1/3 offset. We ultimately decided on the 50% offset, because the 1/3 offset made a strange pattern to my eye. Ultimately, when you’re working with smaller tiles, it’s just a personal preference.
To recap, here are all the products we purchased for our Subway Tile Installation:
- 3″ x 6″ Subway Tile
- Timberwolf Grout
- 1/8″ Tile Spacers
- Timberwolf Silicone Caulk
- Clear Silicone Caulk
Step 2: Gather Your Tools
Here are the tools you’ll need to tackle the DIY subway tile backsplash:
- Level
- Utility Knife
- Tile Cutter or Tile Nippers
- Wet Tile Saw
- Grout Float
- Grout Sponges
- Notched Tile Trowel
Step 3: Lay the Adhesive
Spread a thin layer of adhesive on the wall. We used mastic tile adhesive, but you could also use thin set mortar. Don’t work too far ahead of yourself, because you don’t want the adhesive to dry. Using a notched tile trowel, scoop out some adhesive and spread it on the wall. You’ll want to hold your trowel at about a 45 degree angle and be able to see the wall through the trowel lines. This will help you to get an even coat, which is important for your tile to lay flat.
Step 4: Lay the Tile
Place the spacers on top of the counter, so that your tile doesn’t sit directly on top of the counter. This will give the backsplash and countertops enough room to expand without cracking your tile. Begin to lay your tile by gently pushing or tapping it into place. Check that your tiles are level as you go.
At this point, I just put on my favorite audiobook (Pride and Prejudice read by Rosamund Pike can get me through anything…) and worked for hours. It was pretty monotonous, but simple enough.
Step 5: Cut the Tile
When you get to a corner or an outlet, you’ll need to make some cuts in your tile using a wet saw. If your tiles are small and the lines are straight, you could use a manual tile cutter or a handheld tile cutter. If at all possible, though, you’ll probably want to rent or borrow a wet tile saw for corners or larger tiles.
Step 6: Grout
After waiting 24 hours for the tile to set, apply the grout with a grout float. We got pre-mixed grout, which cut out the step of mixing the grout with water to get to the correct consistency. Make sure the grout gets all the way into the joints. After waiting about 10 minutes, wipe off the excess grout with a wet grout sponge.
Tip – Don’t rinse the grout sponge or empty the bucket in your kitchen sink – it can clog your pipes and scratch the surface of your sink.
Step 7: Caulk
I typically see white silicone, but we chose a silicone that matched our grout around the edges (Timberwolf Silicone Caulk) and a clear silicone around the sink. Caulking is pretty simple – basically, you draw a line of caulk smooth it out with a wet finger. For a cleaner look, Daniel taped a smooth edge before squeezing a small line of caulk and pulled off the tape before the caulk had fully dried.
The project will set up over the next 24 hours and then you can enjoy your new tile backsplash.
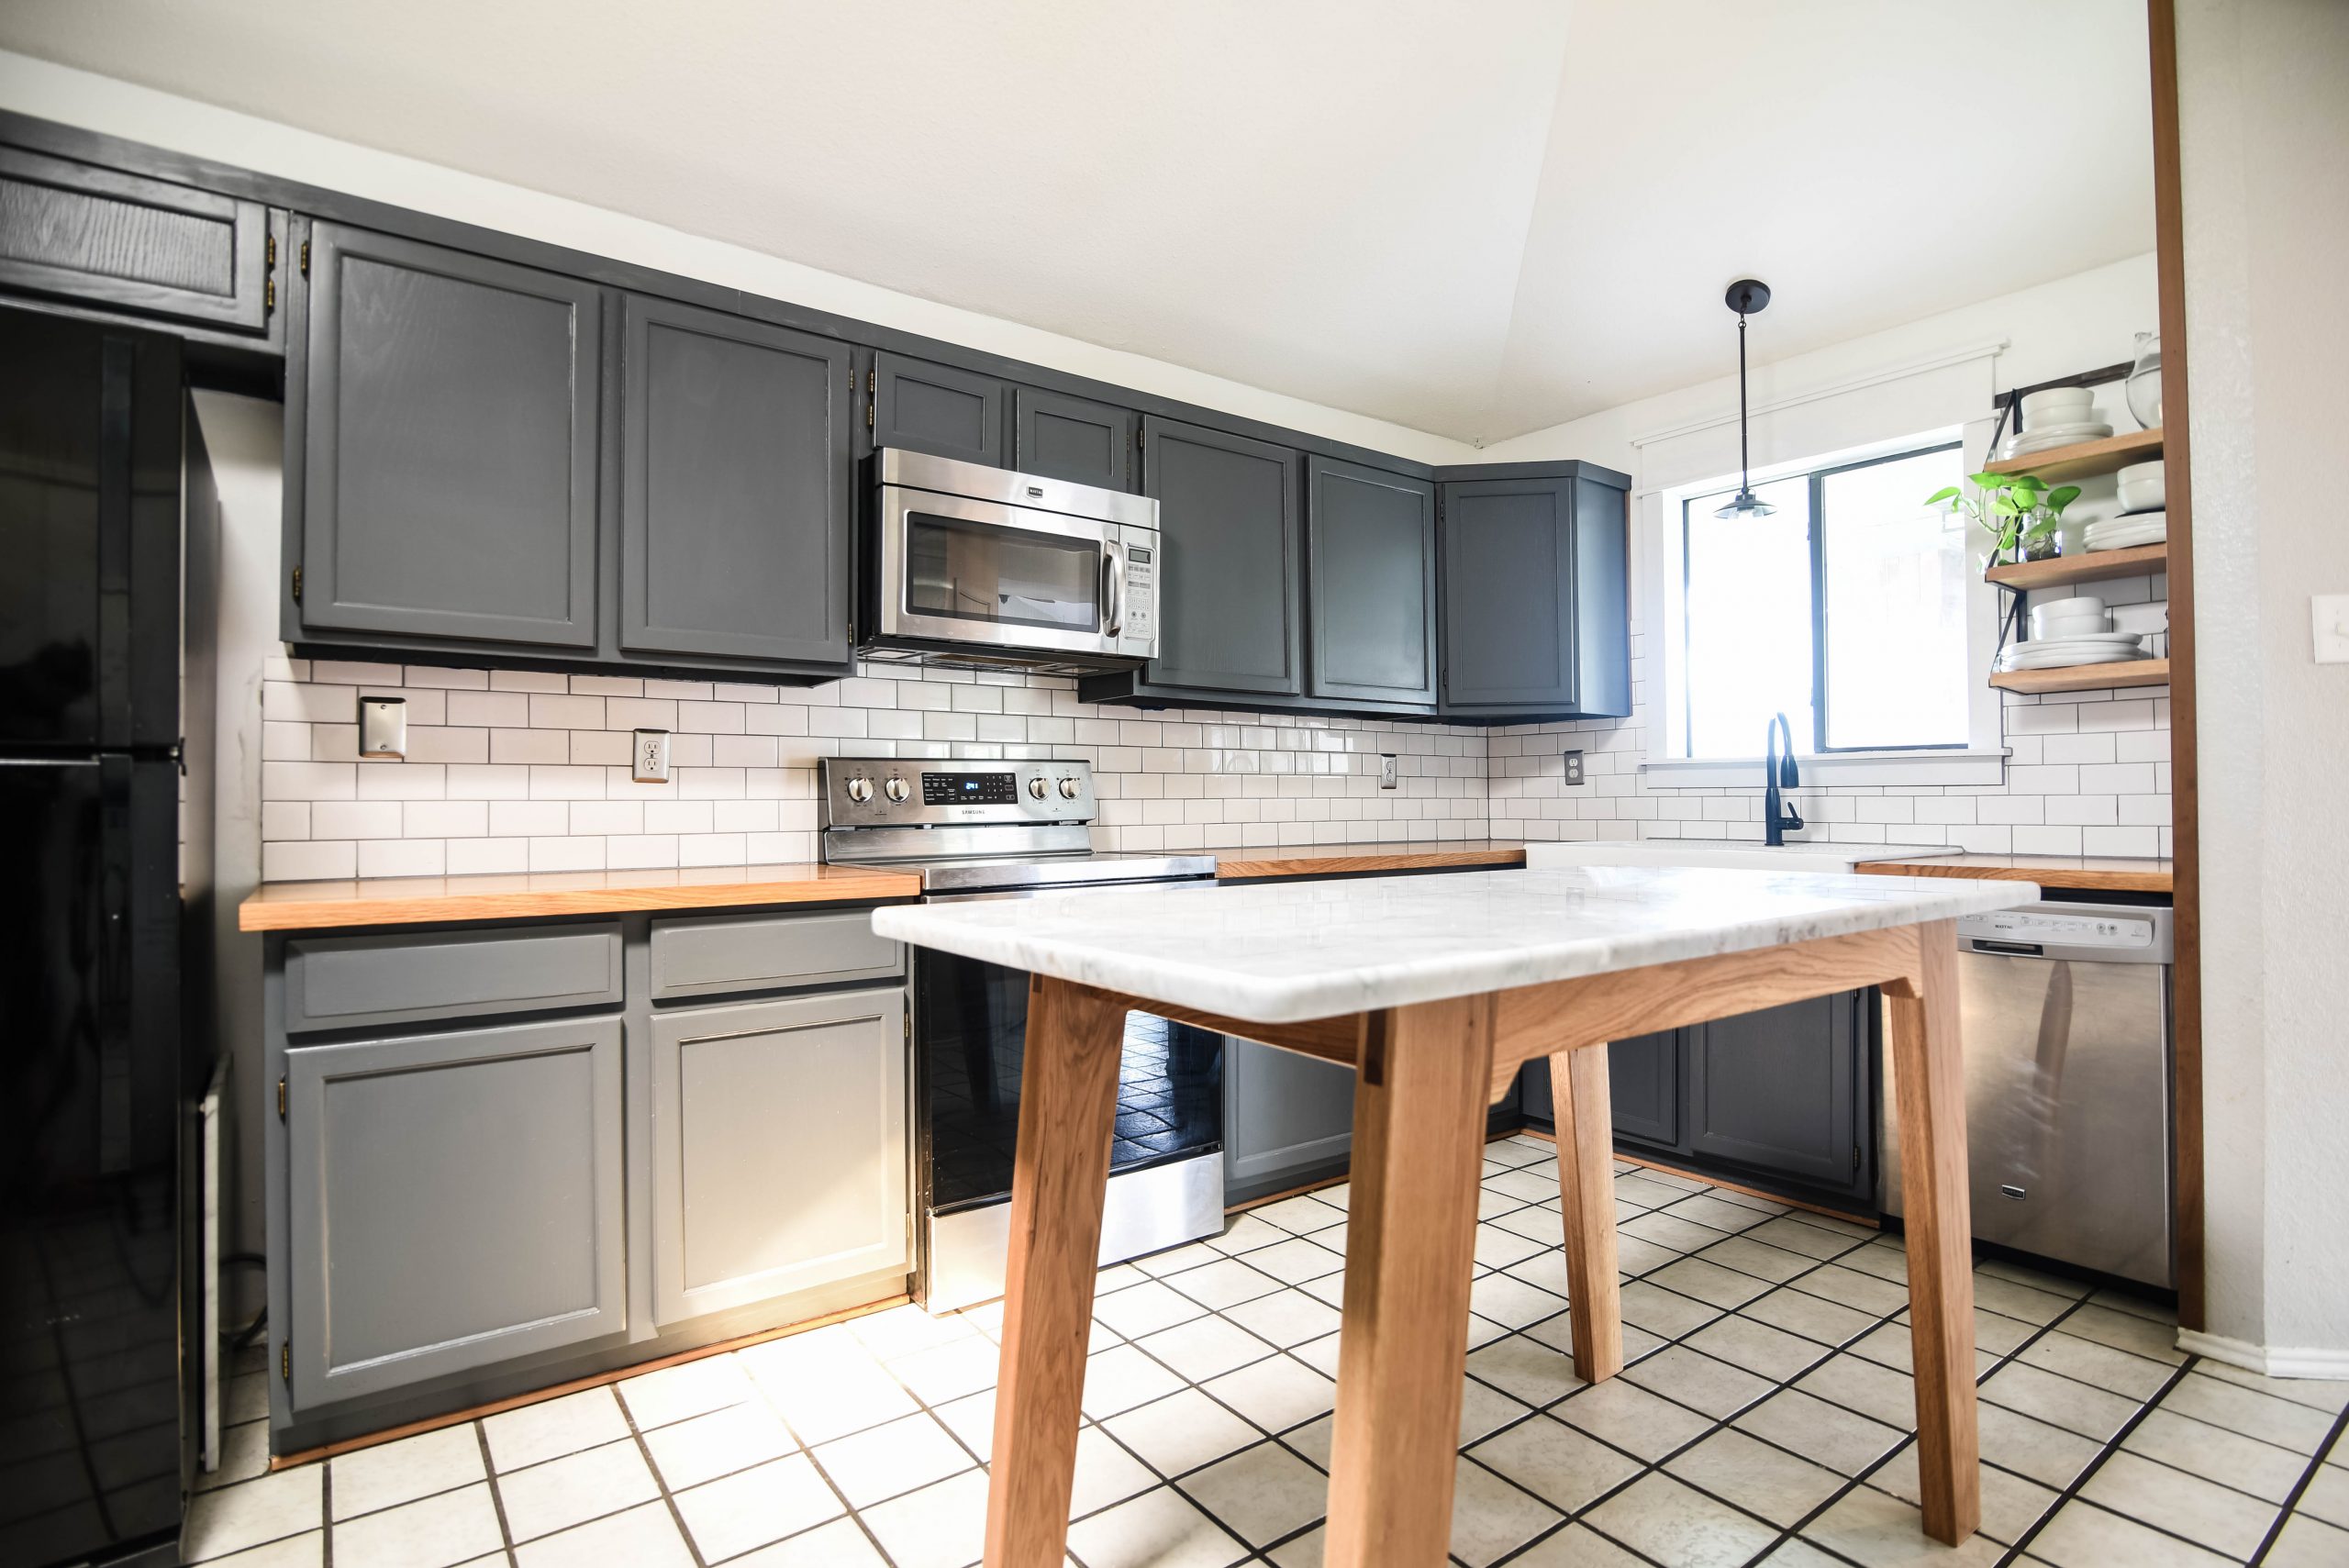
So, that’s our whole adventure with our subway tile backsplash! It was quite a ride, but we both love it. It’s gorgeous and simple and it goes with everything. I can’t wait to show you the rest of our kitchen! Up next is the Craftsman Window Trim and then the Marble Topped Kitchen Island.
Let me know in the comments what you want us to show next!