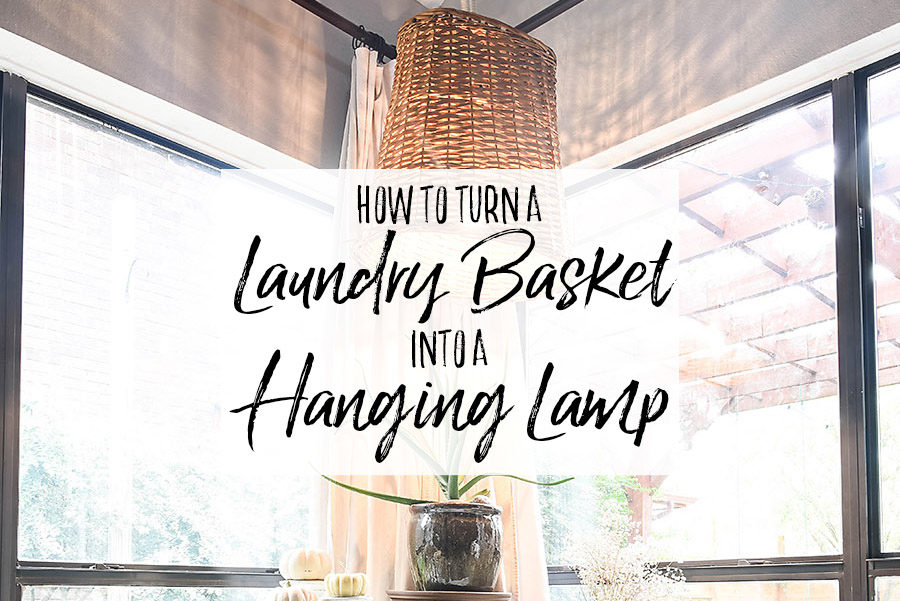
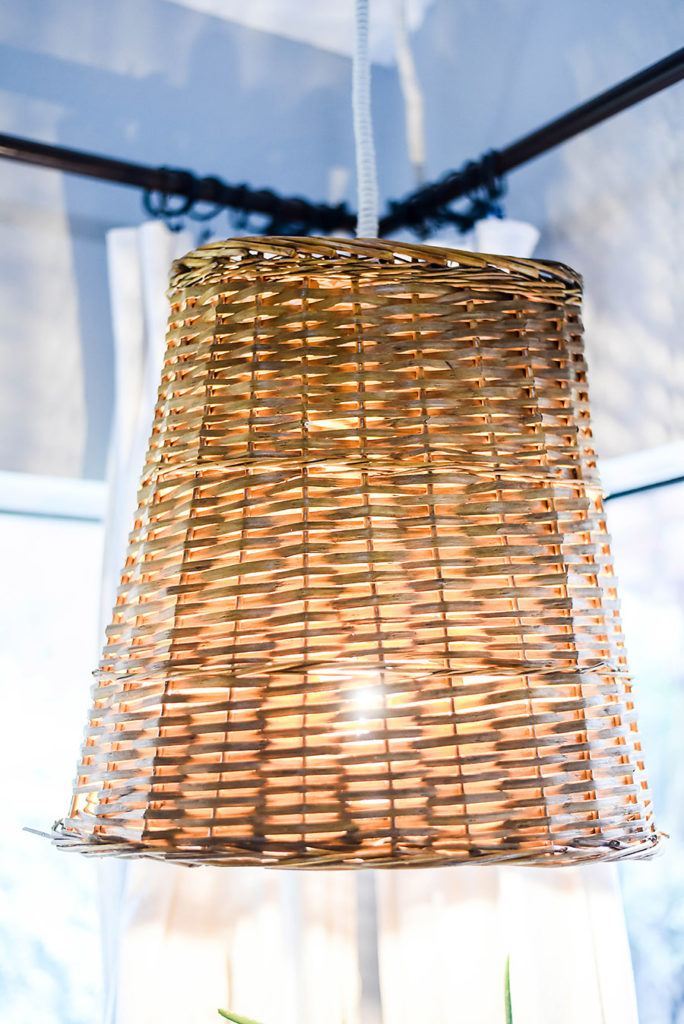
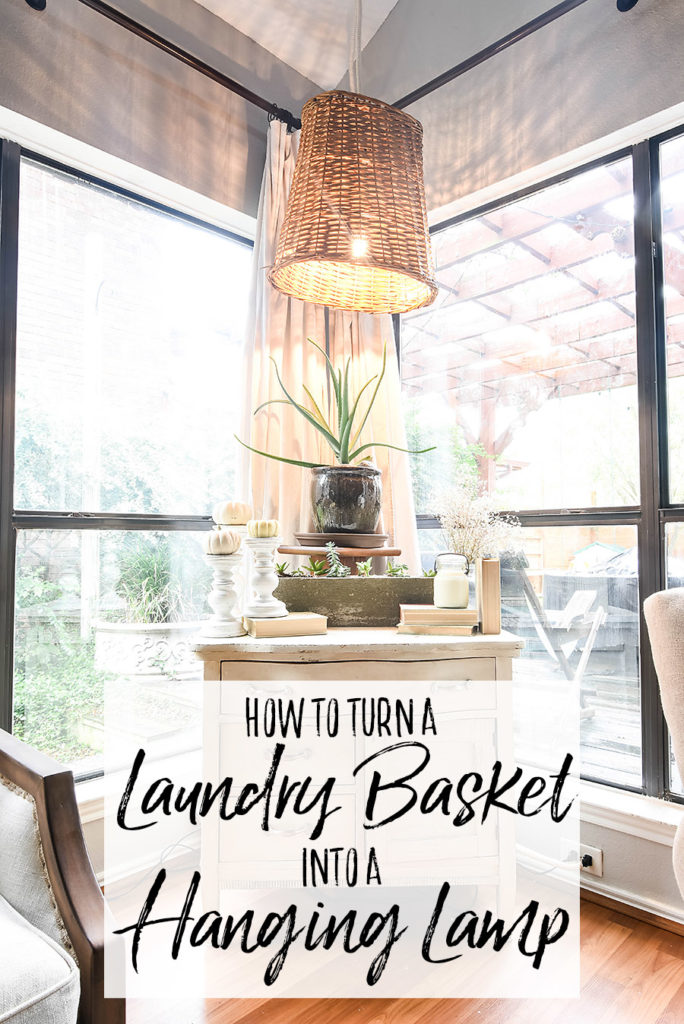
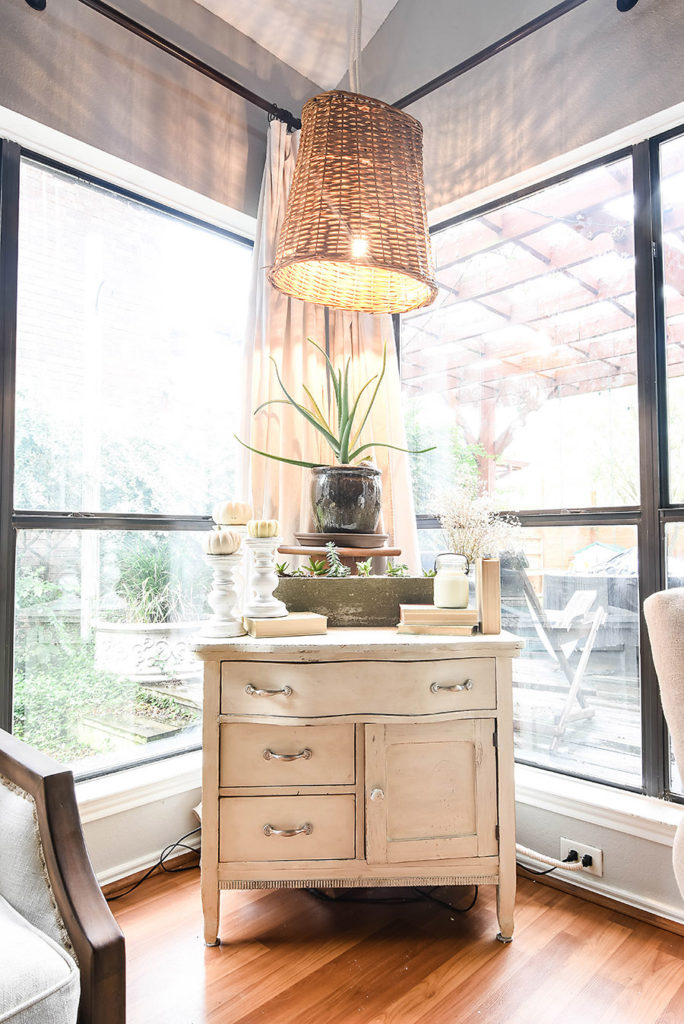
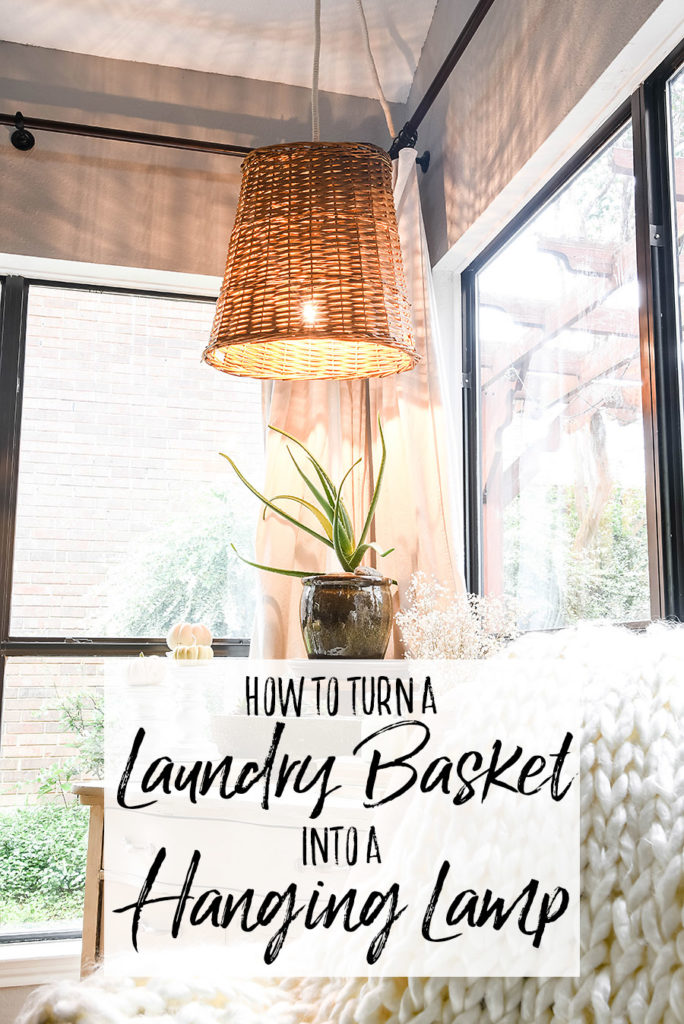
Today we’re transforming a thrift store laundry basket into a DIY Hanging Lamp. This tutorial is part of the transformation of our living room for the One Room Challenge. Catch up on the rest of the One Room Challenge here:
- One Room Challenge Week 1 – Living Room Design and Inspiration
- One Room Challenge Week 2 – How to Turn a Dresser into a TV Stand
- One Room Challenge Week 3 – Living Room Rugs and Furniture
- One Room Challenge Week 4 – DIY Woven Pendant Lamp
- One Room Challenge Week 5 – Hymnal Wall Art Instillation and “New” Piano
I love basket lamps. I’ve been seeing these gorgeous large, woven lamps in several stores this season and they were just never quite in the budget. In fact, I could barely afford a pendant in this style!
So, of course I decided that I could make my own! I scoured thrift stores for the perfect basket. I actually never found exactly what I was looking for, but the beauty of this project is that it costs about $25. That means I can change out the basket if I find something I like better.
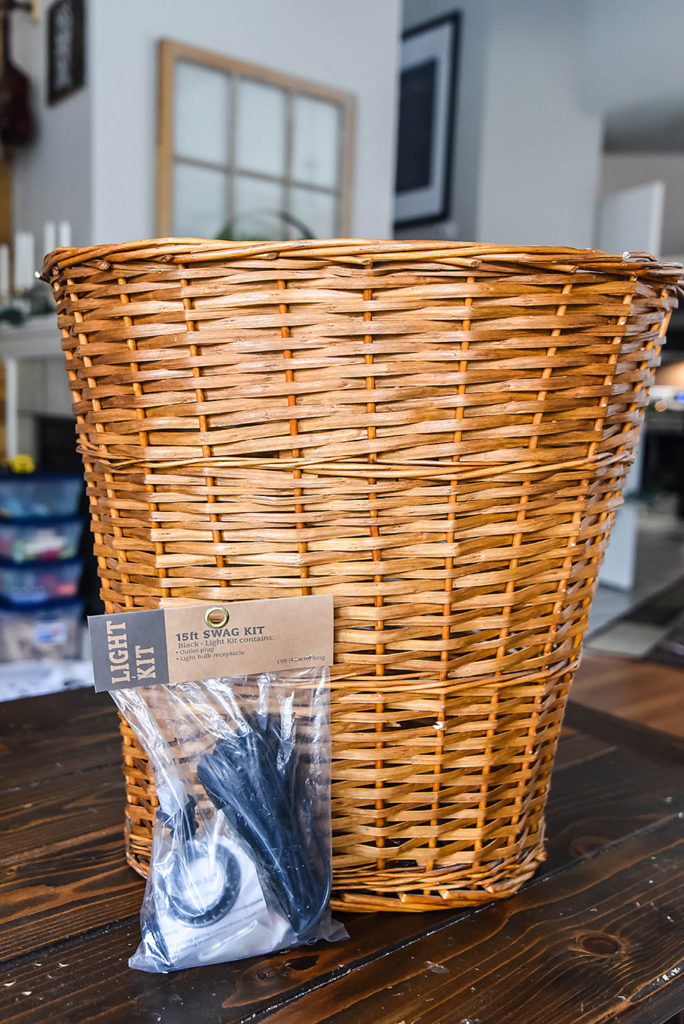
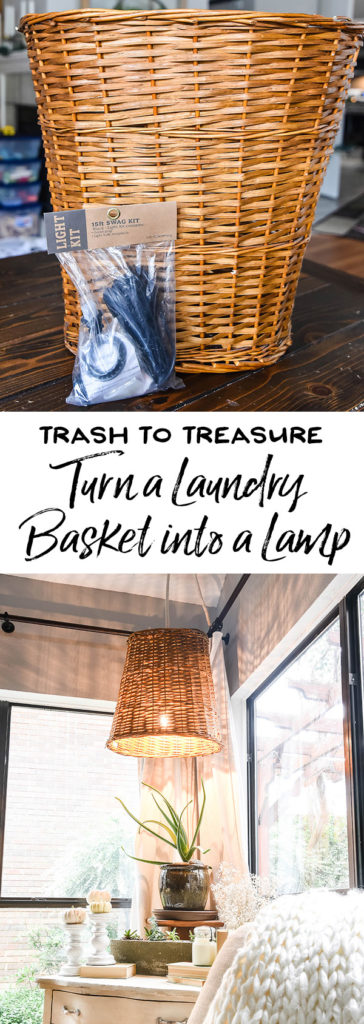
I found this laundry basket at our local thrift store for $5. I don’t love that it has handles, but the way our living room is shaped, I knew I could disguise them.
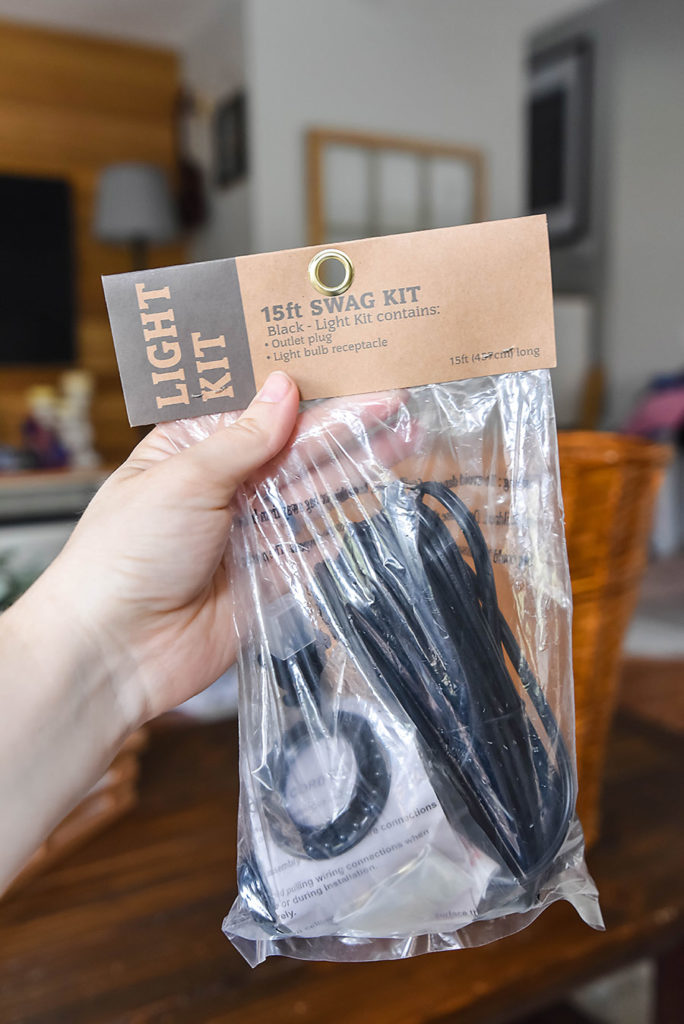
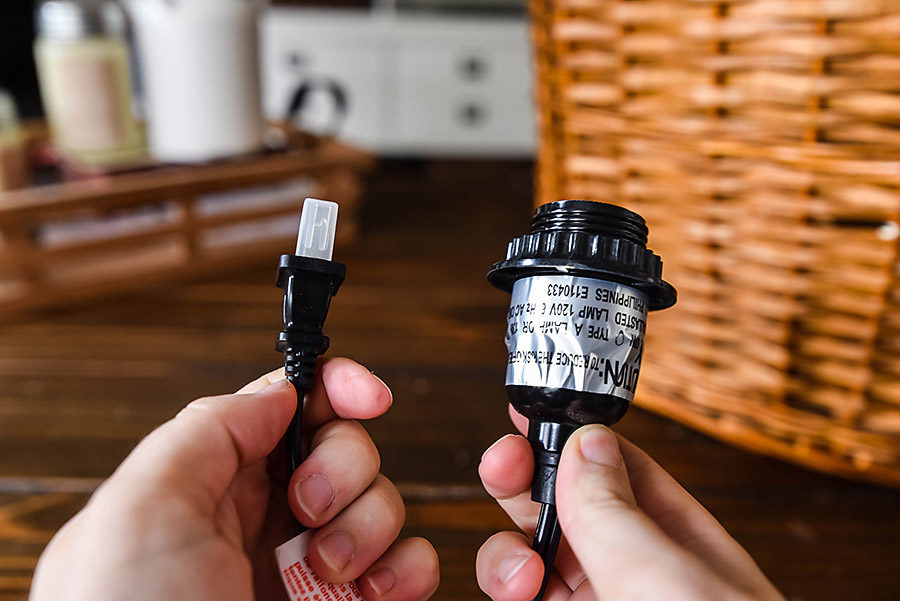
I found this lighting swag kit (yes, that’s what it’s called in the store – that’s not the name I would have picked!) at World Market for $10. They also have some that are covered in jute or white cord for a bit more. You could hardwire this into your house, but my husband drew the line at cutting into the drywall for this project because I have a tendency to change my mind.
How to Turn a Laundry Basket into a Hanging Lamp
This is a very simple project that will take you less than an hour from the first cut to when you finish hanging.
Gather Supplies
As I mentioned, you’ll need to find the perfect basket and grab a lighting swag kit. You’ll also need a couple of zip ties to keep the basket away from the heat of the light bulb. Don’t forget to get a lightbulb.
Cut the Bottom of the Basket
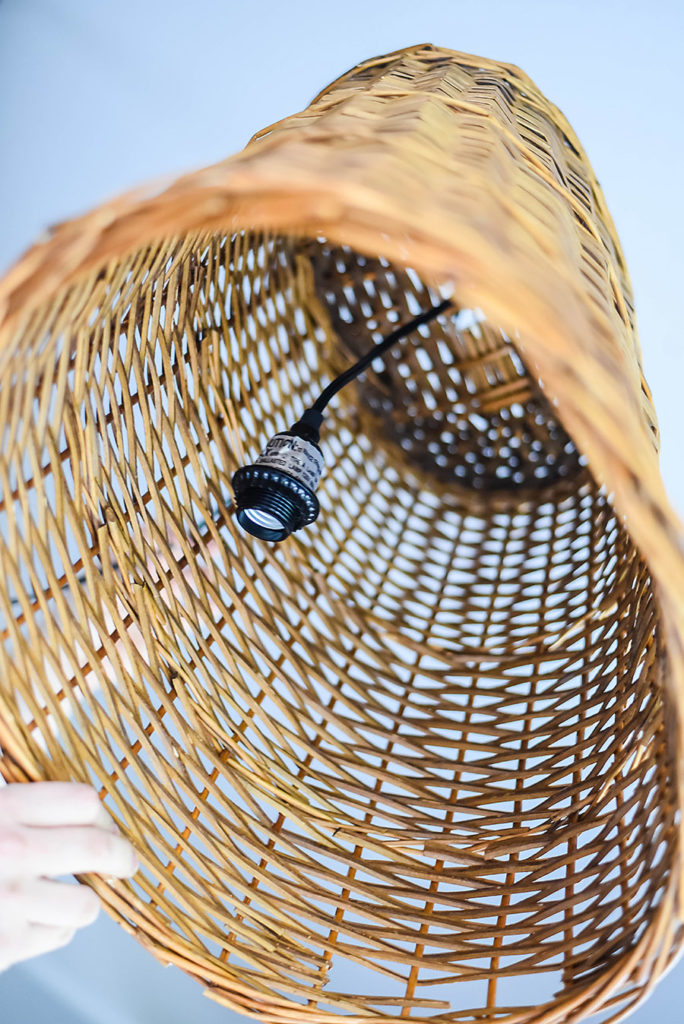
Cut a hole in the bottom of the basket that’s large enough for the plug to fit through, but small enough that the light socket won’t slip through.
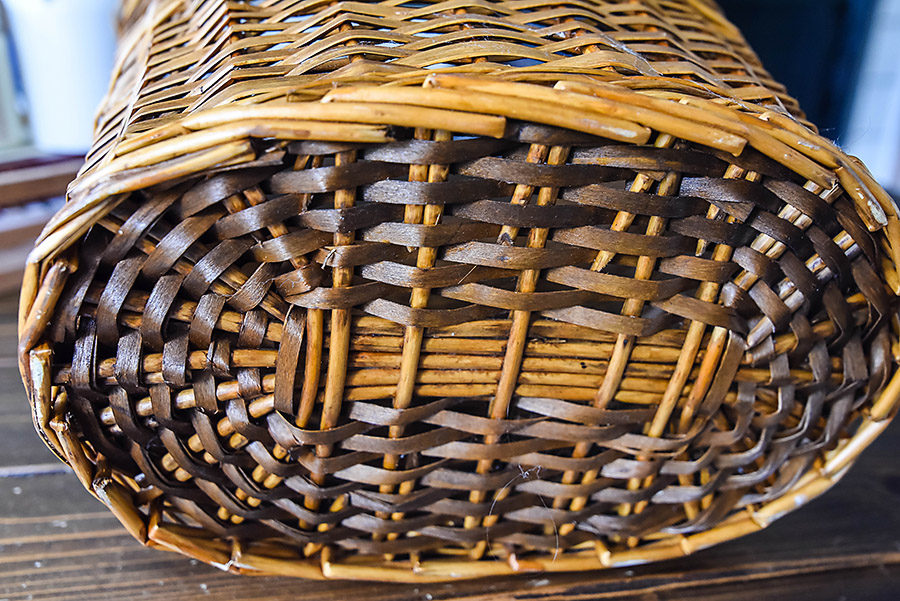
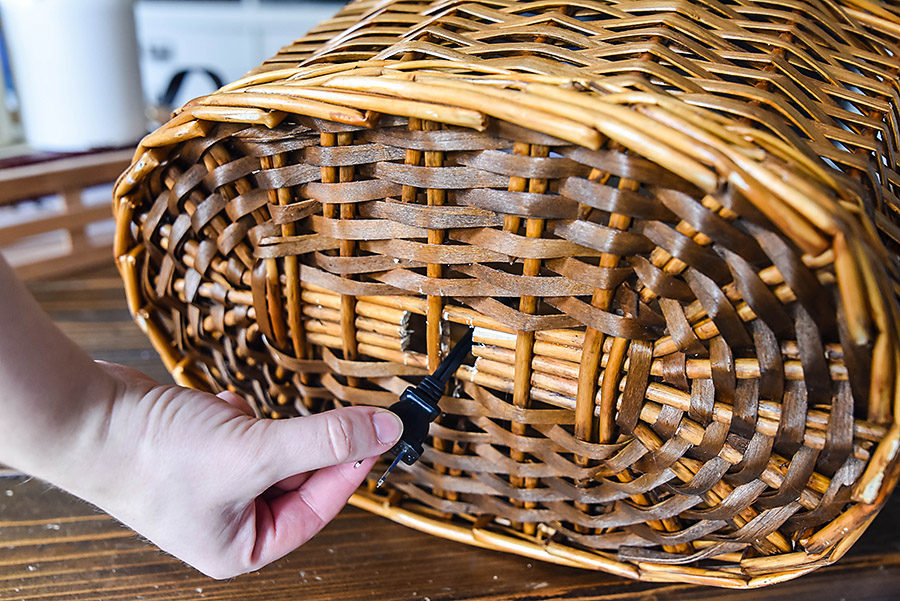 (Let’s not talk about the fact that I had to cut two holes because my basket was woven off-center and I chose the wrong side first, ok? We’ll just keep that between us.)
Insert the Light Cord
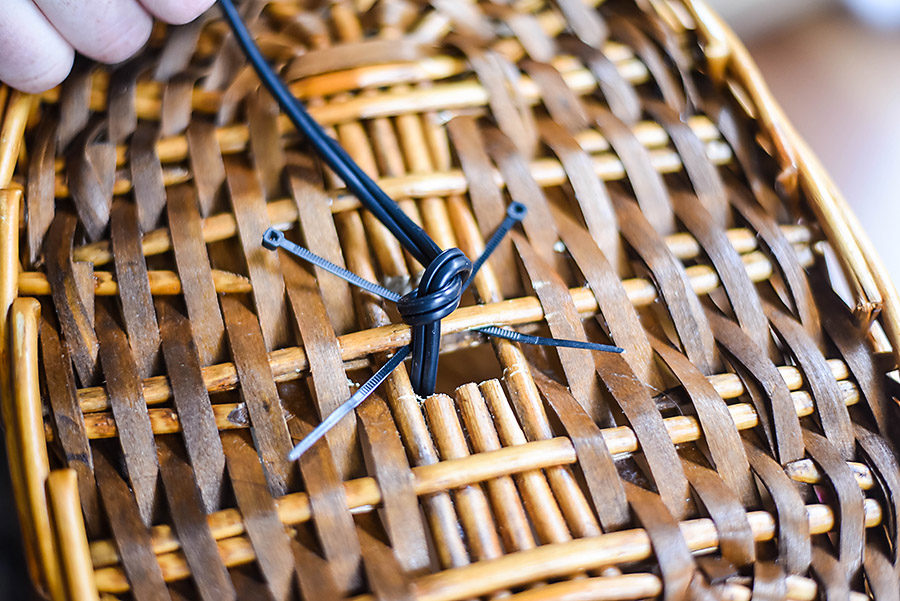
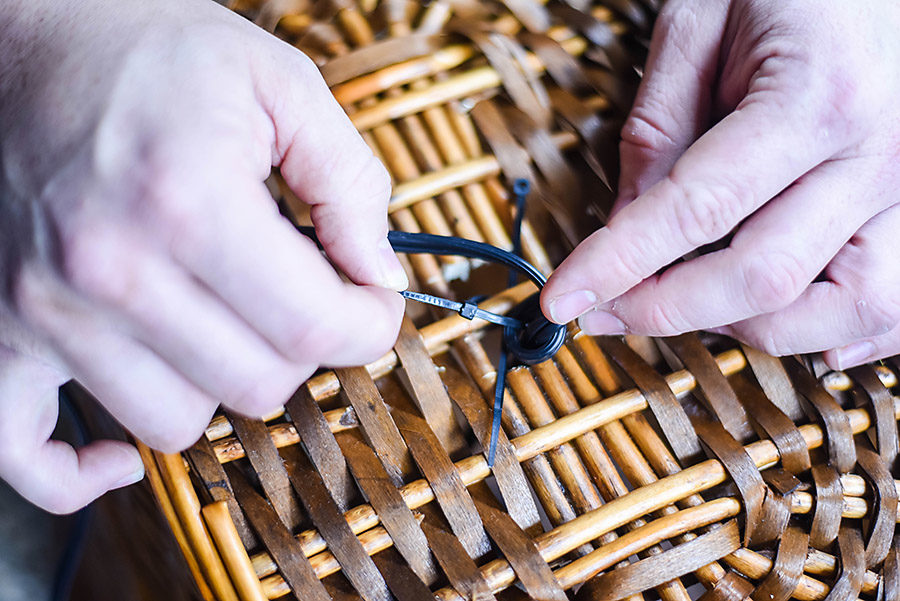
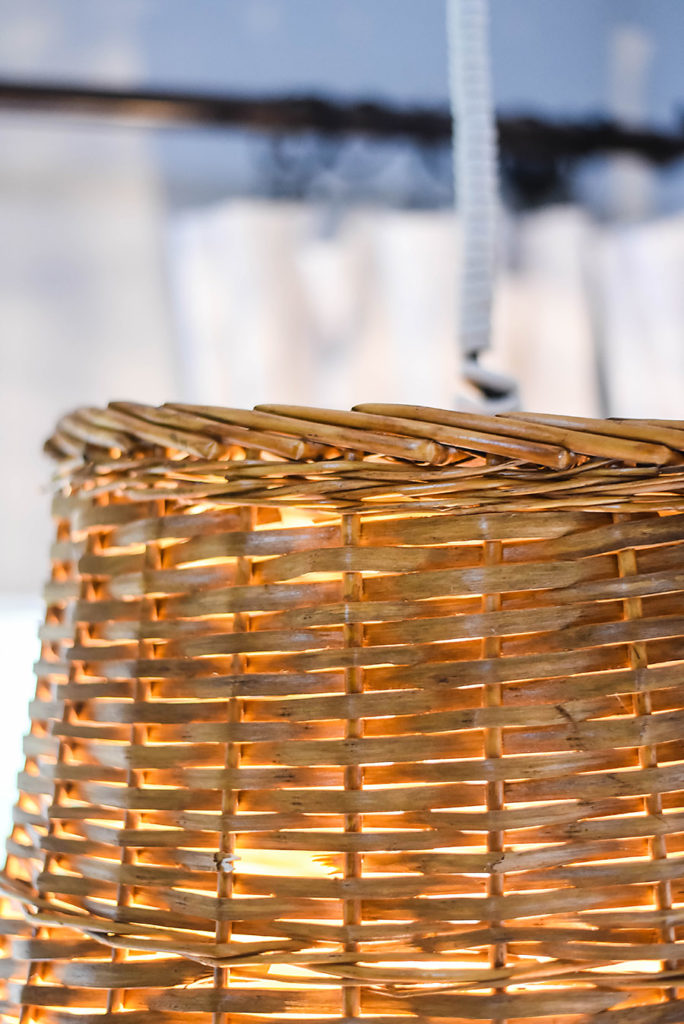
Insert the cord plug side first. We wanted the light to hang down in the shade a bit. This is totally optional, but since our basket didn’t have a very loose weave, we didn’t want to take any chances with creating a fire hazard. So, after we threaded the cord through the hole in the bottom of the basket, we made a knot about a foot above the light socket.
Then we used some zip ties to secure the knot to the bottom of the basket. It won’t win any design awards, but it’s functional! If you think ahead, attach the knot and the zip ties on the inside of the basket so they won’t be seen.
Cover the Cord
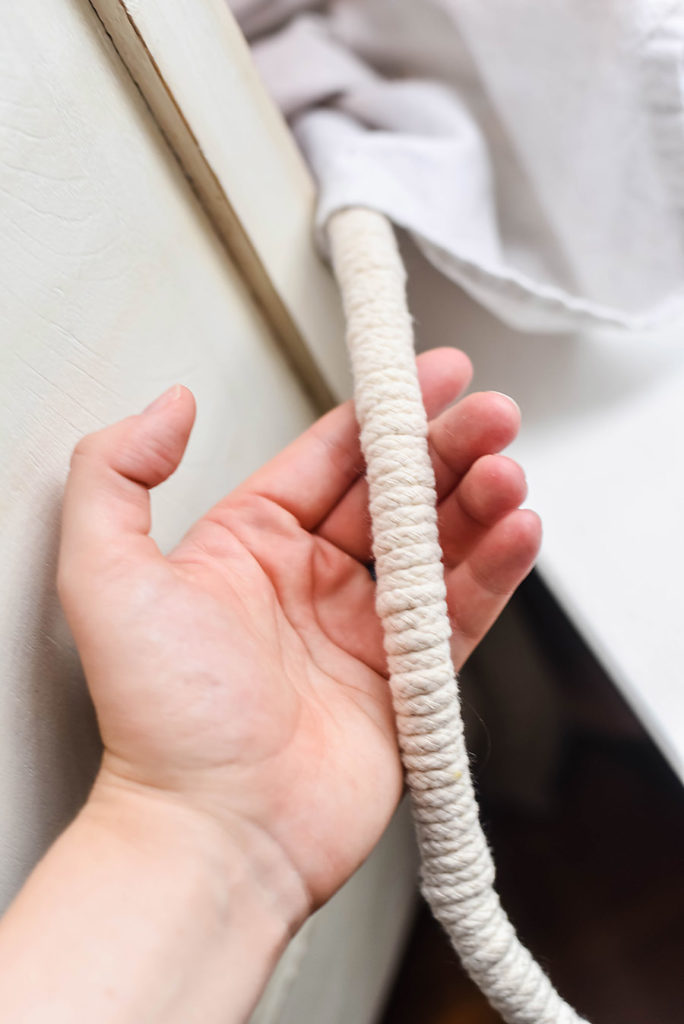
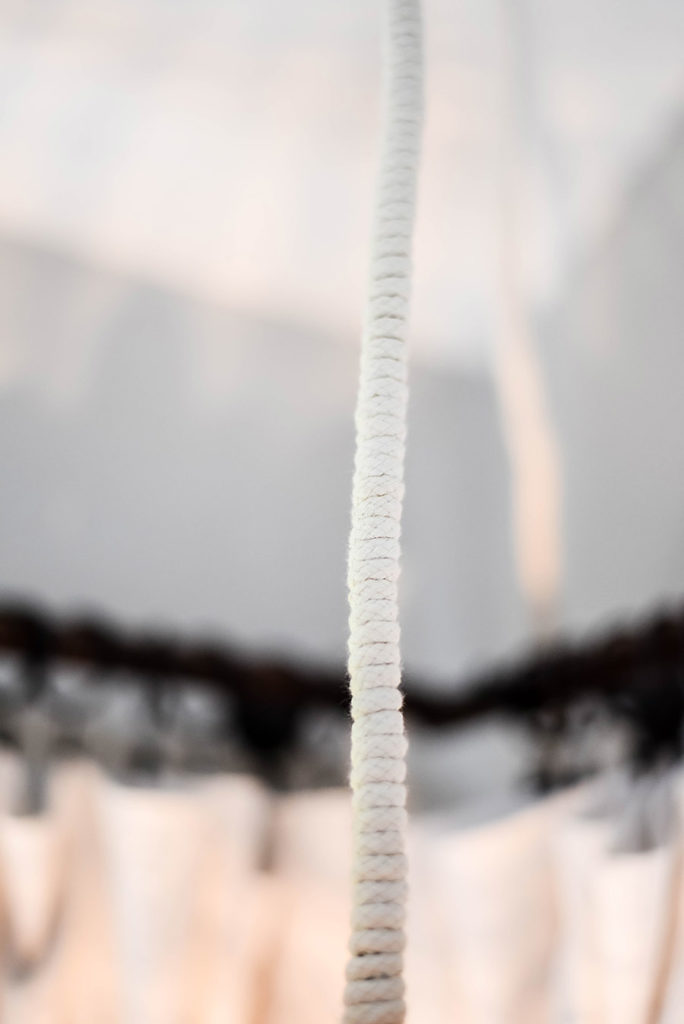
I decided to cover the light cord in white corded rope to create an interesting look. You could also use jute or twine. I just used hot glue at the beginning and end and wrapped the white cord tightly around the cord.
Hang from the Ceiling
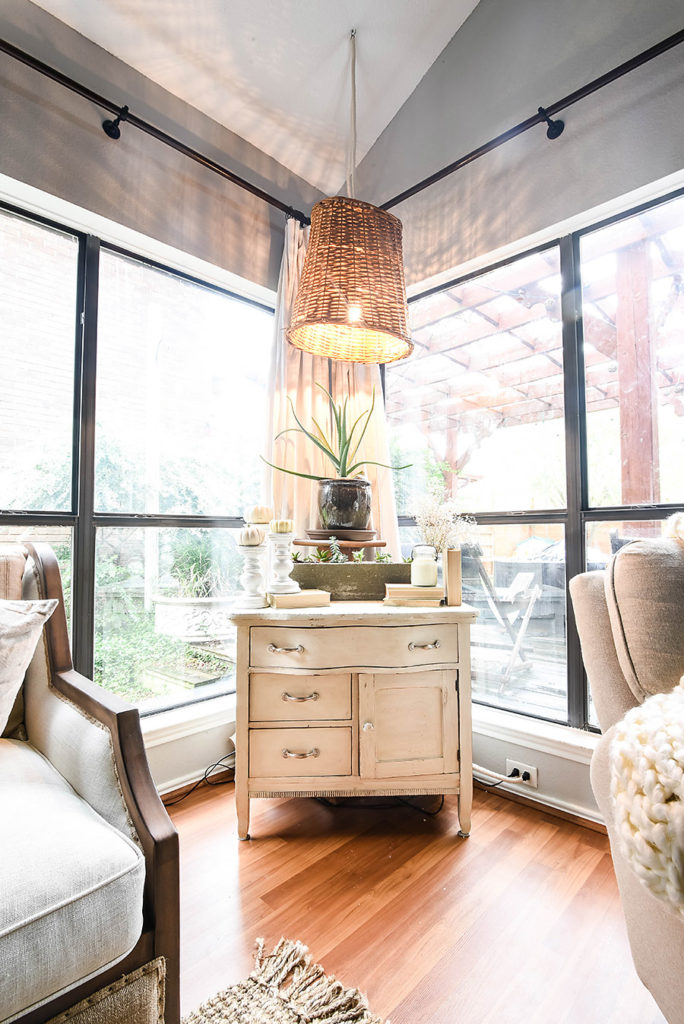
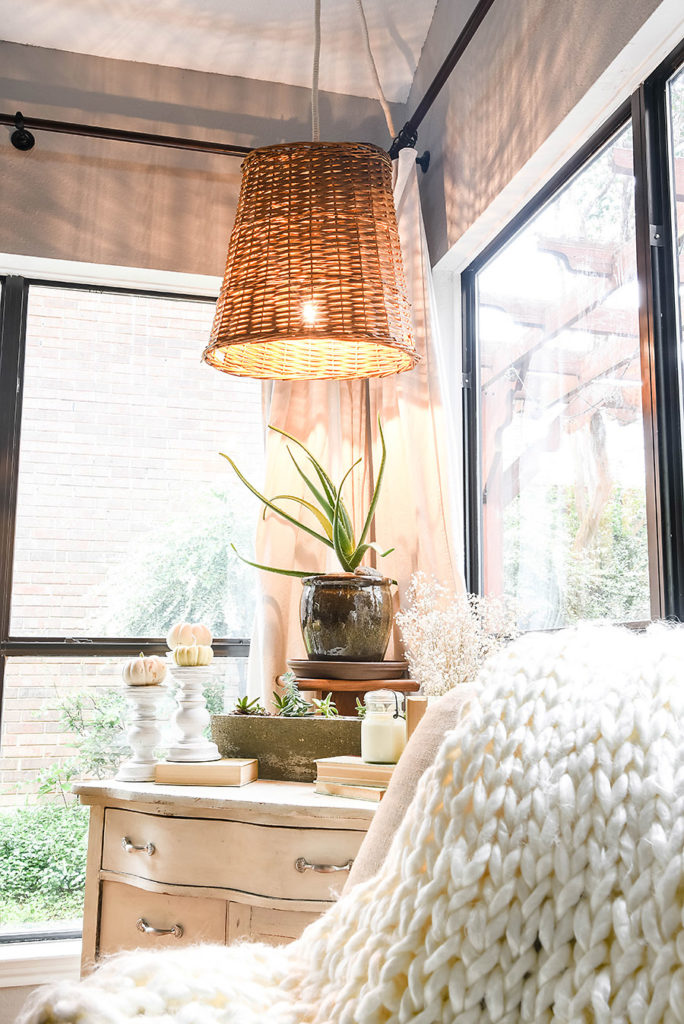
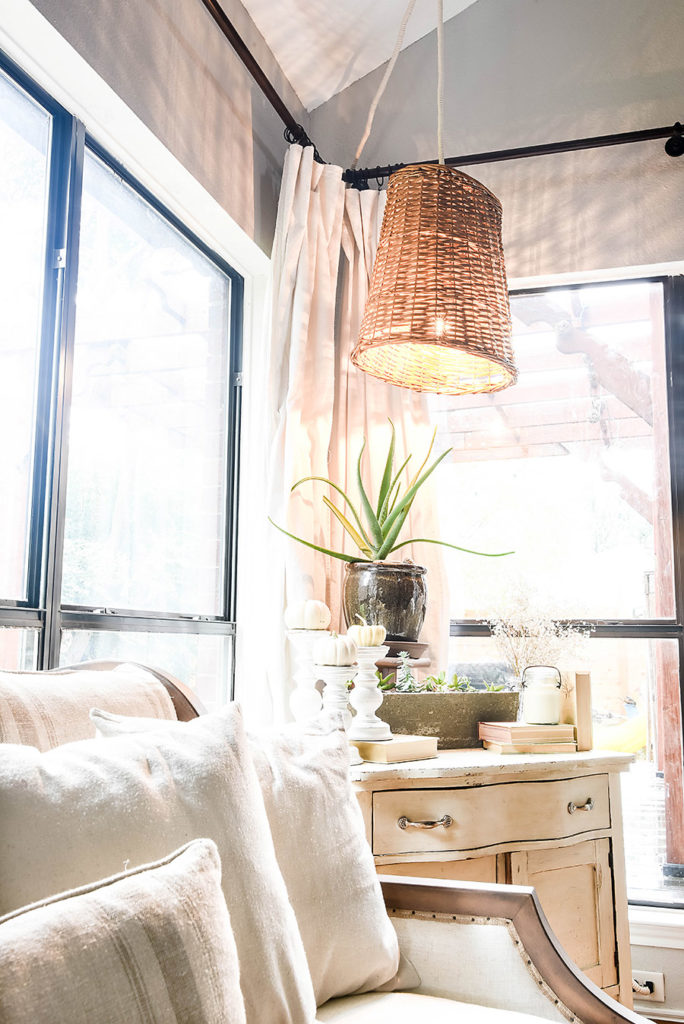
We used a cup hook screwed into the stud to hang this lamp from the ceiling. Then we placed the cord so that it would mostly be hidden by the curtains. Paying attention to the cord running down the wall will determine whether your hanging lamp looks professional or slapped together, so make sure to get it nice and tight in a straight line along a corner or behind a curtain.
What do you think of the finished product? For less than $30, I’m thrilled! I have so many ideas for other things I could turn into hanging lamps now, so I’m sure this isn’t the last you’ll see of this project!
Check out other rooms for the One Room Challenge here!
- Greenery: Hobby Lobby
- Jute Rug: Similar
- Chair: Softline Leather Chair and a Half
- DIY Basket Light
- DIY Dresser to Media Console
- Top Rug: Gray Print Cotton Dhurrie Ariana Area Rug
- Sofa: Foundation Sofa


It looks great. Very creative!
I have this basket, BEAUTIFUL idea. Thank you so VERY much. Great idea
Pingback: High-End Decorating Looks Even If You Are On A Budget