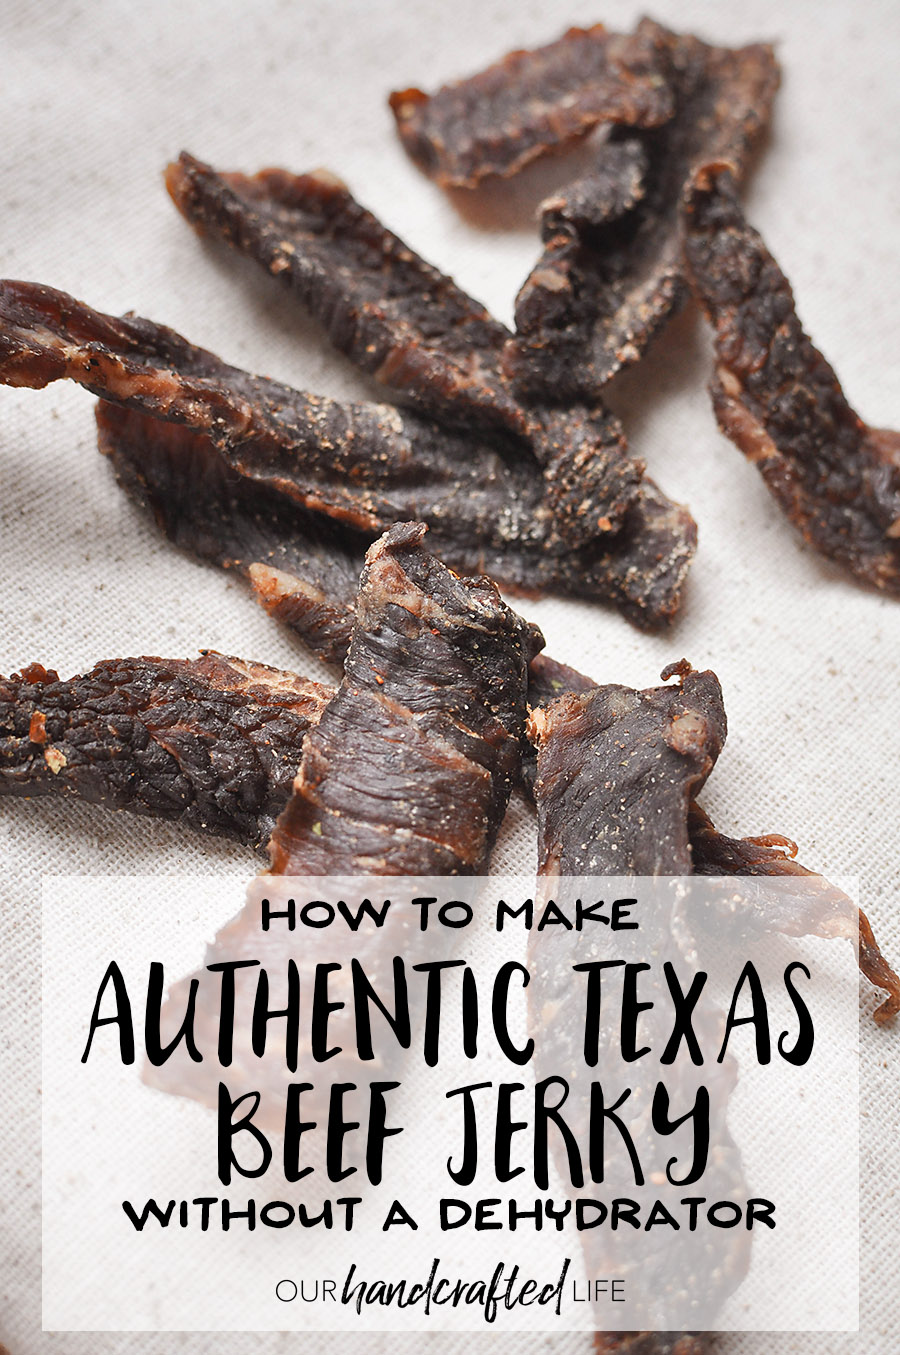
How to Make Authentic Texas Beef Jerky (without a dehydrator)
Authentic Texas Beef Jerky without a dehydrator
 We recently took a trip. I feel like the word “trip” is not good enough to describe the 11 day journey with 24 hours of driving and 4 different stops along the way. Did I mention we also have a preschooler and a 7-month-old? I know some of you are seasoned travelers with large families, but this was quite the undertaking for us.
After we packed our clothes and necessities, we began the pantry raid to find the tasty treats that would nourish us on our adventure. Maybe it goes back long summer days spent at Silver Dollar City, but nothing says a road trip snack like Beef Jerky.
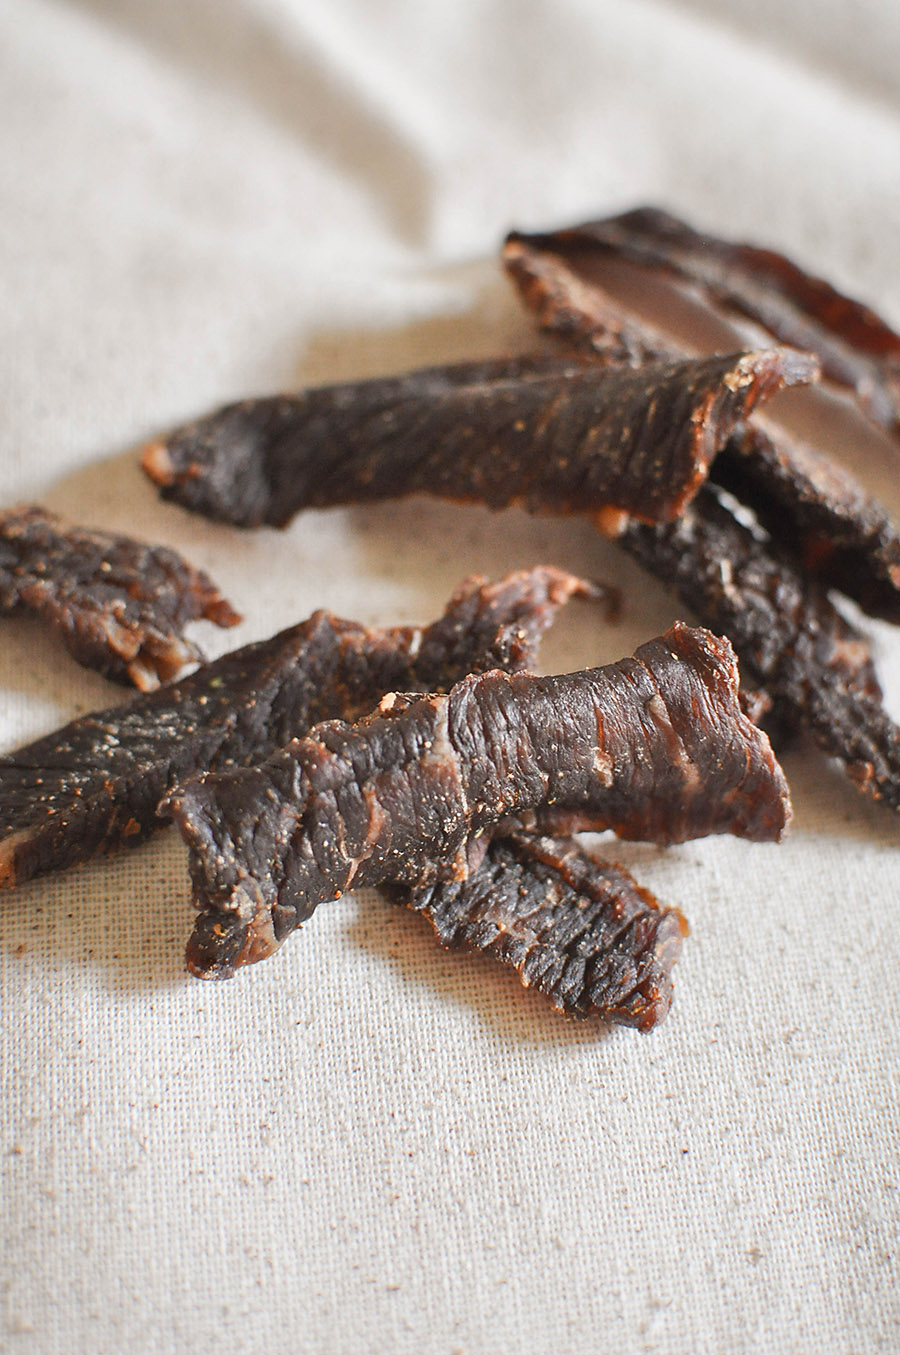
We’ve fallen out of love with store-bought jerky. Moist pouches filled with artificially flavored beef-chips just don’t cut it anymore. This homemade beef jerky is flavorful and the perfect texture. I will admit that it’s not the easiest recipe, but it is totally worth it. Here’s how you make Homemade Authentic Texas Beef Jerky (without a dehydrator).
Homemade Texas Beef Jerky
Good beef jerky starts with good beef, but not good beef like you would choose for your steak. The best cuts for beef jerky are top round or bottom round because the fat is generally along the edge (instead of marbled through the middle), so it’s easily removed. A bigger cut also allows you to choose which direction you’d like to slice the grain (more on that later…)
 For our beef jerky, we chose bottom round because that’s what was available at our local shop.
To begin, trim off all the fat around the edges and try to remove any large fat veins running through the middle of your cut of beef. Then wrap your beef in cling wrap and stick it in the freezer for an hour to firm up. This will make slicing it into thin strips a ton easier.
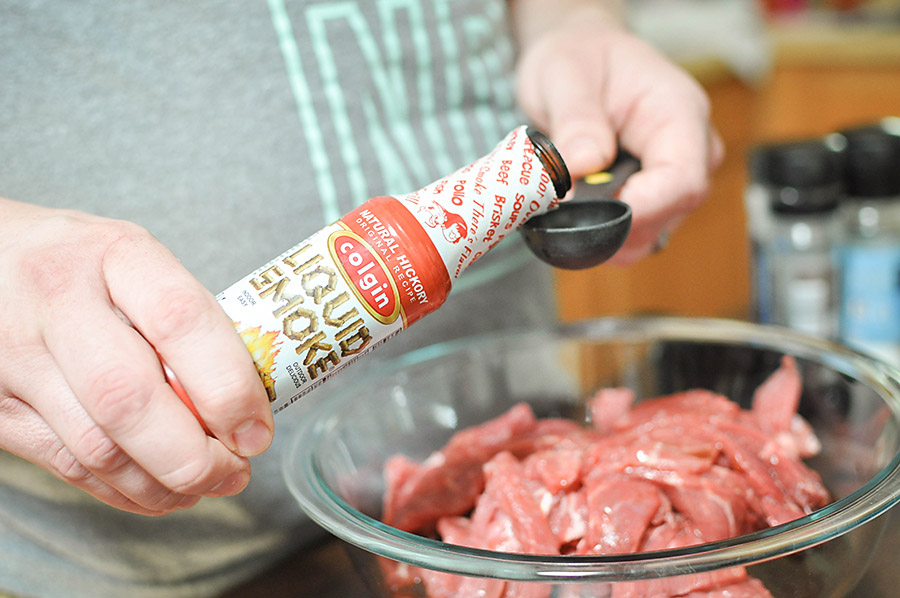
While the beef is in the freezer, mix we mixed up our marinade. You can see the exact measurements in the recipe below, but basically it’s a combination of soy sauce, Worcestershire sauce, brown sugar, liquid smoke, and spices.
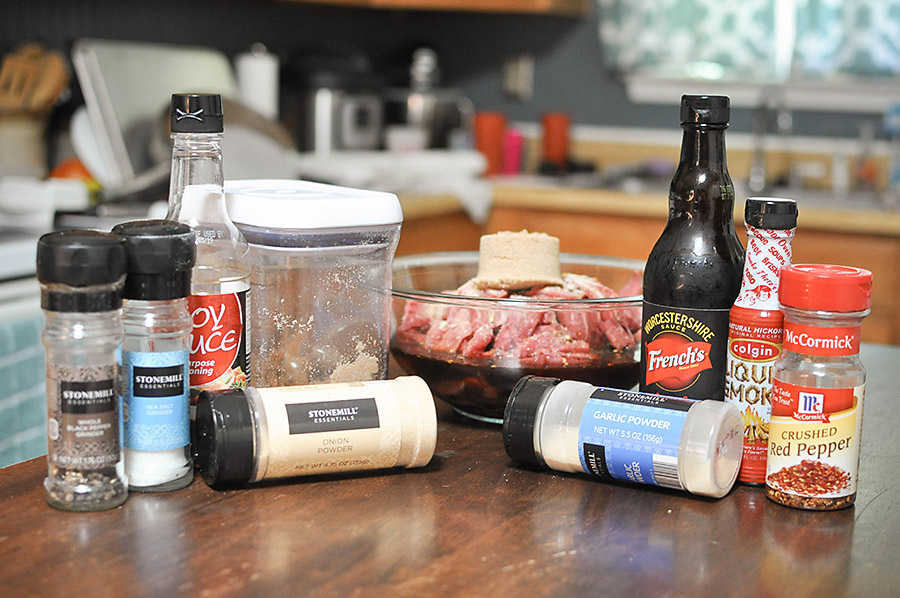
You can change the flavoring of the marinade based on your preference (add BBQ sauce, teriyaki flavoring, spice, etc.), but the key is that the marinade needs to be very salty.
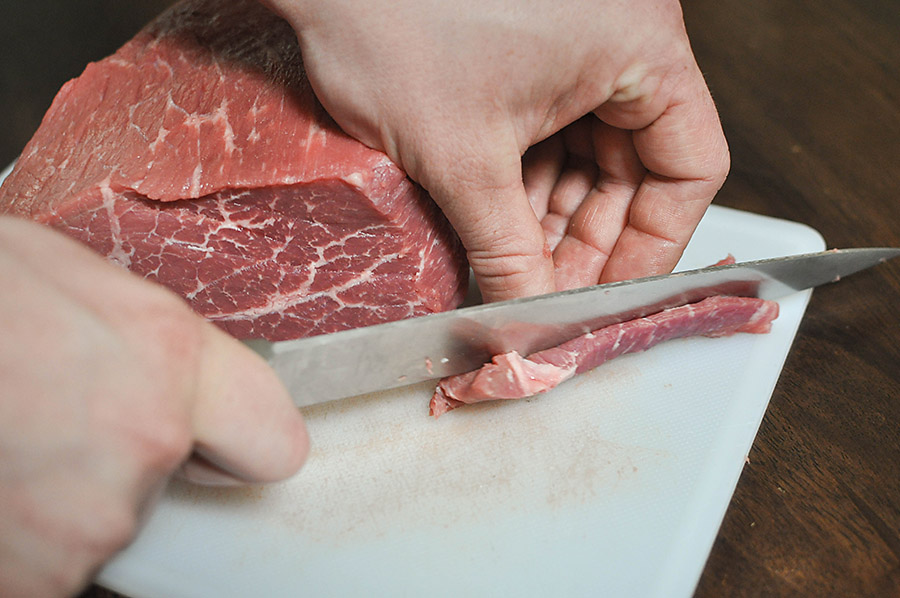
After about an hour in the freezer, take out the beef and choose which direction you’d like the grain to run in your jerky. You have two options – the grain can either run parallel to the length of the jerky or perpendicular. We chose to have the grain run perpendicular so that it’s easier to tear off while you’re eating it, but it’s totally a personal preference.
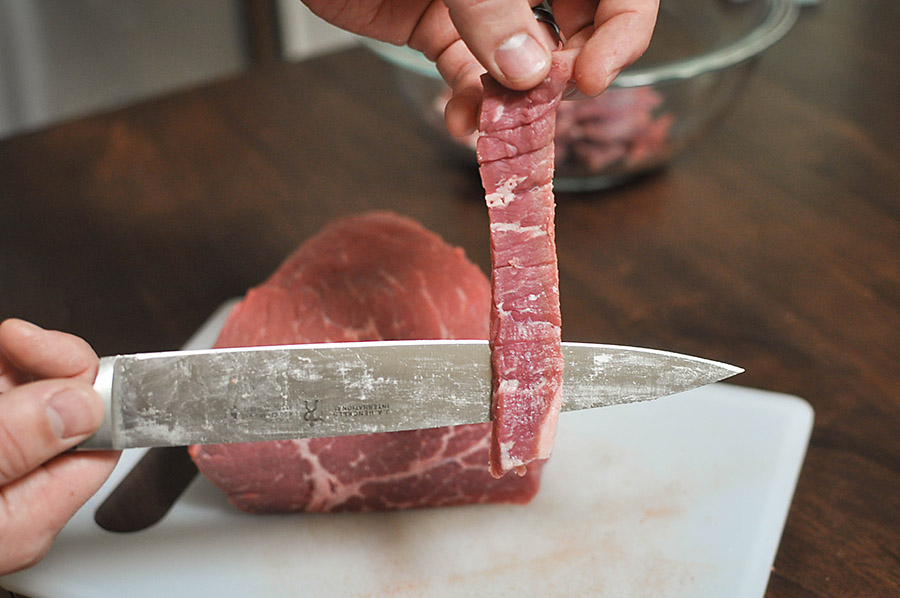
Using a sharp knife, slice the beef into one inch thick steaks. Then lay the steak down and cut of 1/8 inch strips. The thinner the slice, the faster your jerky will dry.

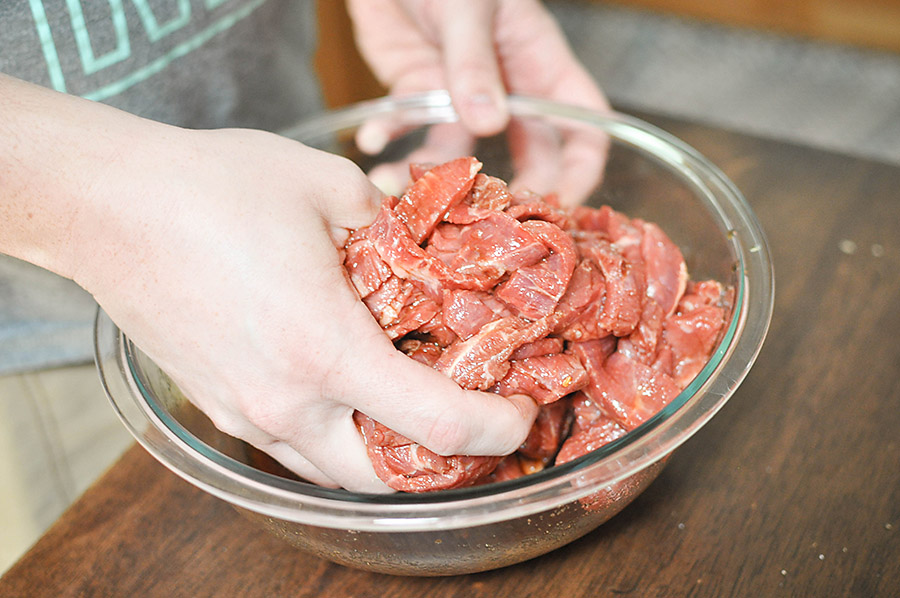
Next, we put all of strips into a large glass bowl and poured the marinade on top. We like to use our hands, but the important thing is that it’s mixed really well. Then it goes in the fridge for 24 hours, with one more mix about halfway through.
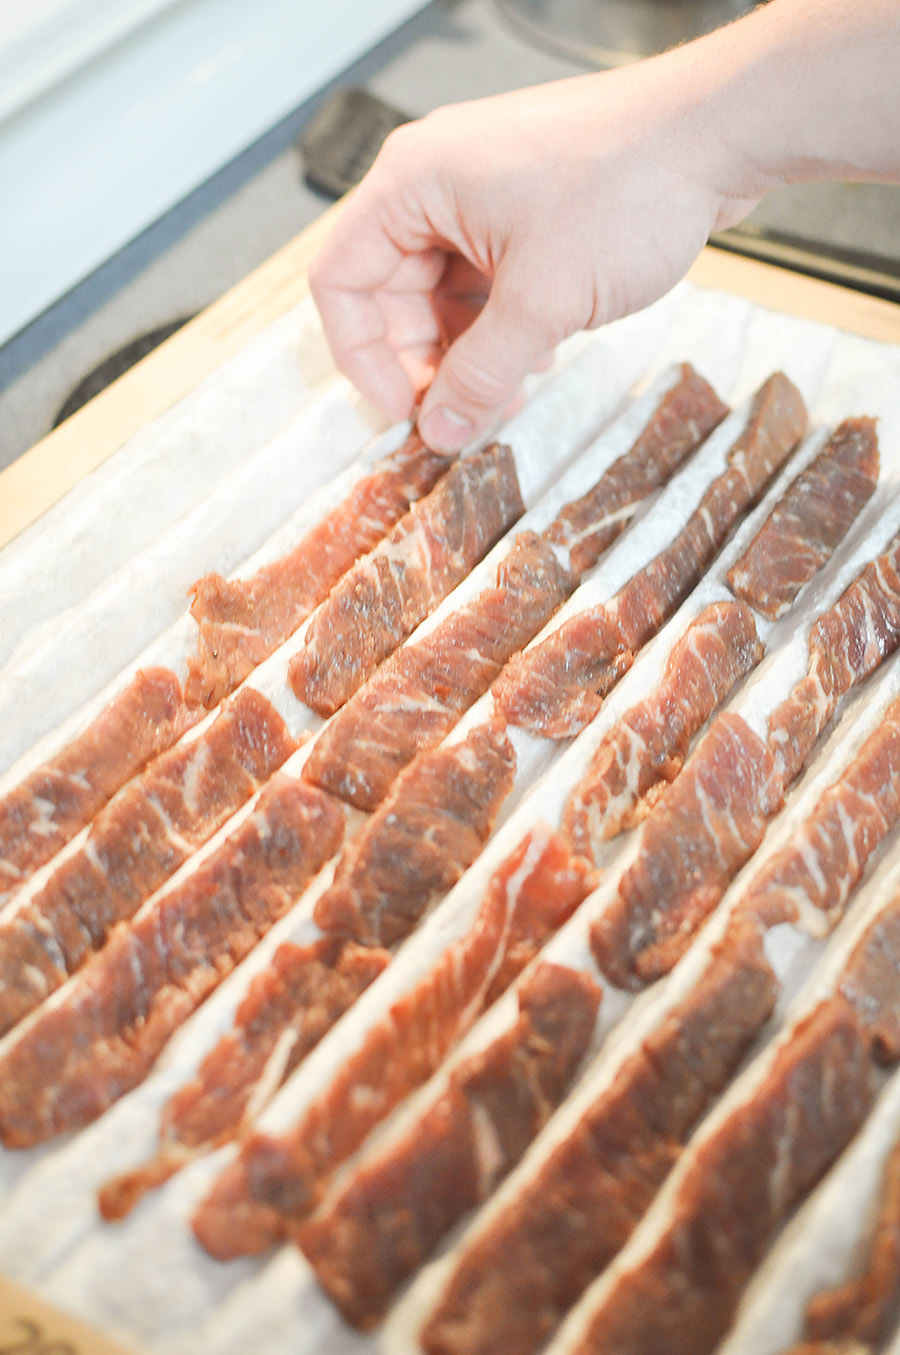
After 24 hours, the beef is layered in several layers of paper towels to dry off the excess moisture on the outside of the strips. It is just a pat dry – this whole process should take less than five minutes.
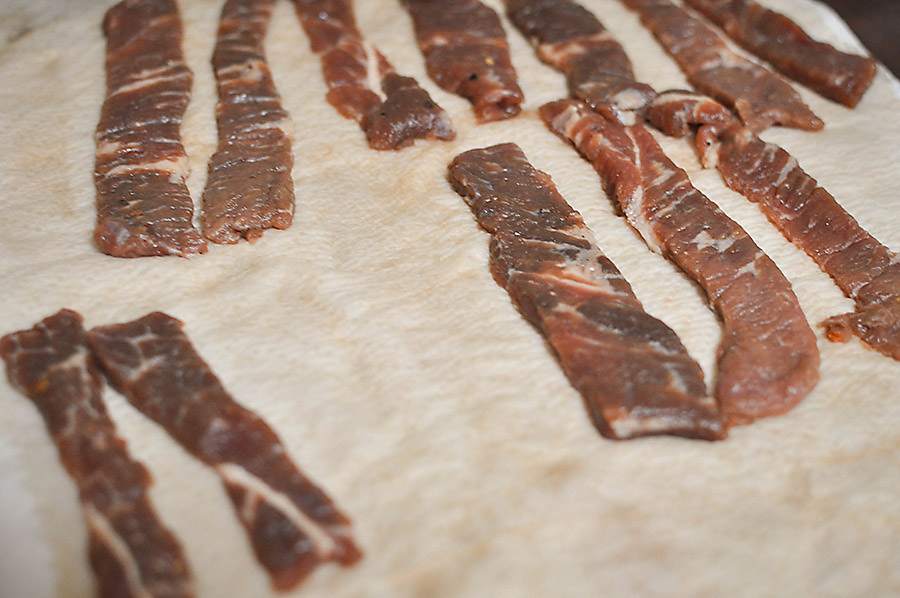
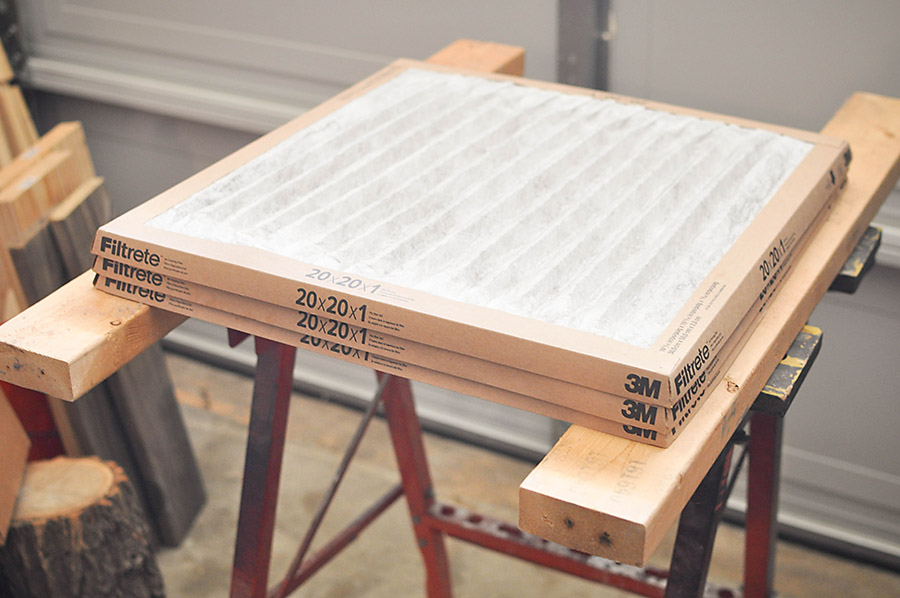
Once the beef is dry, it’s time to break out some furnace filters (use cellulose filters)! Lay the beef strips in the valleys of the furnace filter.
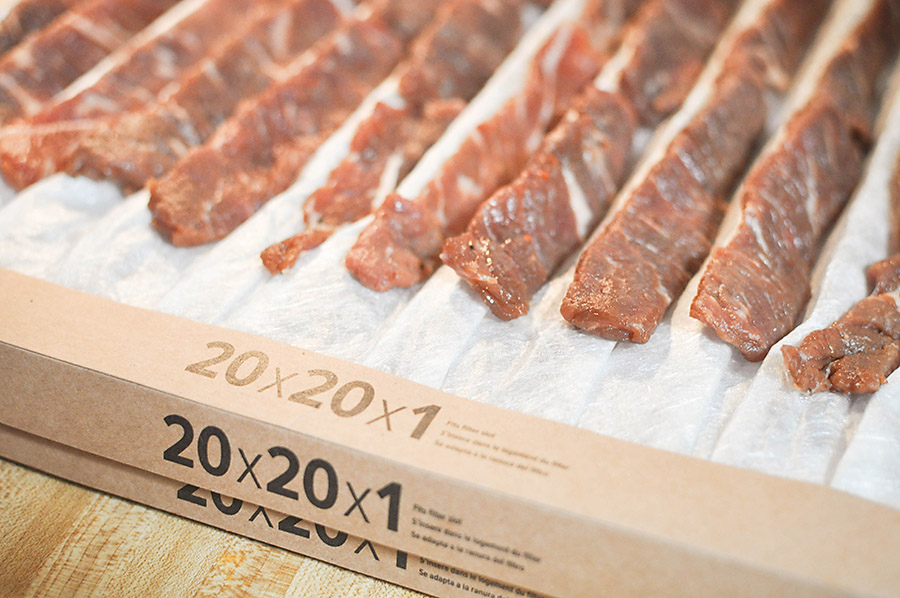
On the side of the furnace filter, you should see an arrow that notes which way the air will pass through it. Make sure that arrow is pointing down when you lay your beef strips on top of the filter. If you are wondering how many filters you need, our bottom round cut was about 2 1/2 pounds and it covered two furnace filters.
Stack the furnace filters as you fill them and add a final filter to the top to cover the beef. This will prevent anything from getting on the beef like dust, bugs, and fingers belonging to over-eager onlookers.
Once the filters are assembled, it’s time to dry the meat. While you can do this inside, I prefer to dry it in the garage or on the porch. We made jerky in our kitchen in our last house and I felt like the scent was a bit overwhelming, but it is perfect in a garage or on a patio.
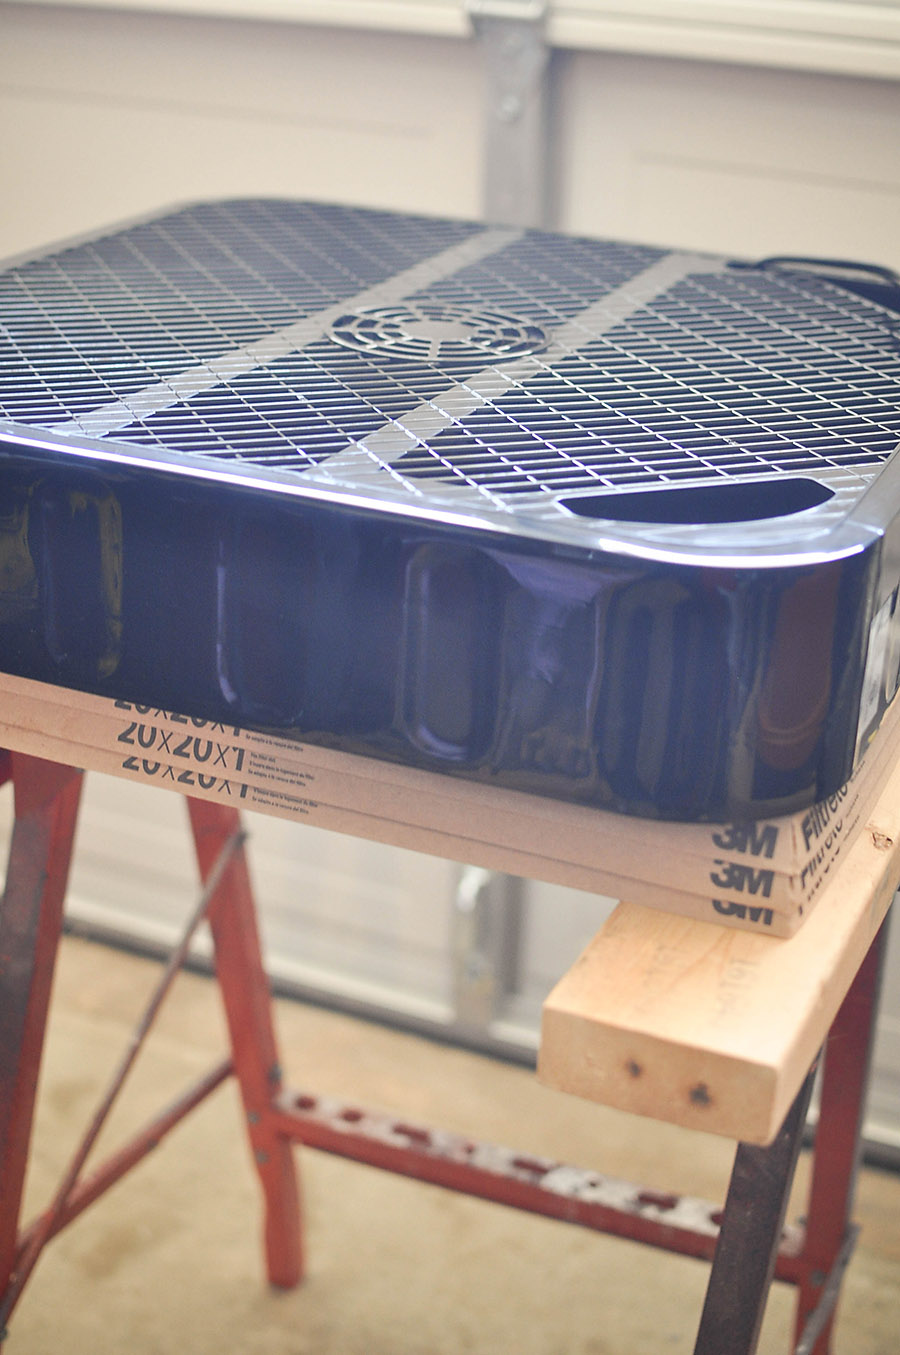
With the filters in a stack, put them on a flat surface that allows air to flow through the bottom. We used saw horses, but you could put it on a counter with a couple of blocks of wood to hold up the filters. Then lay your box fan on top of your stack so that the air is blowing through the filters.
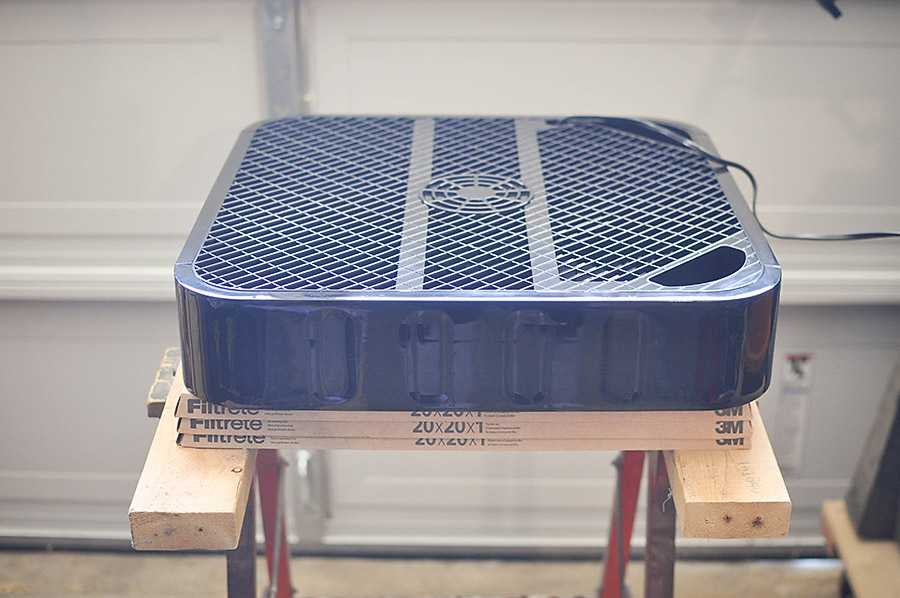
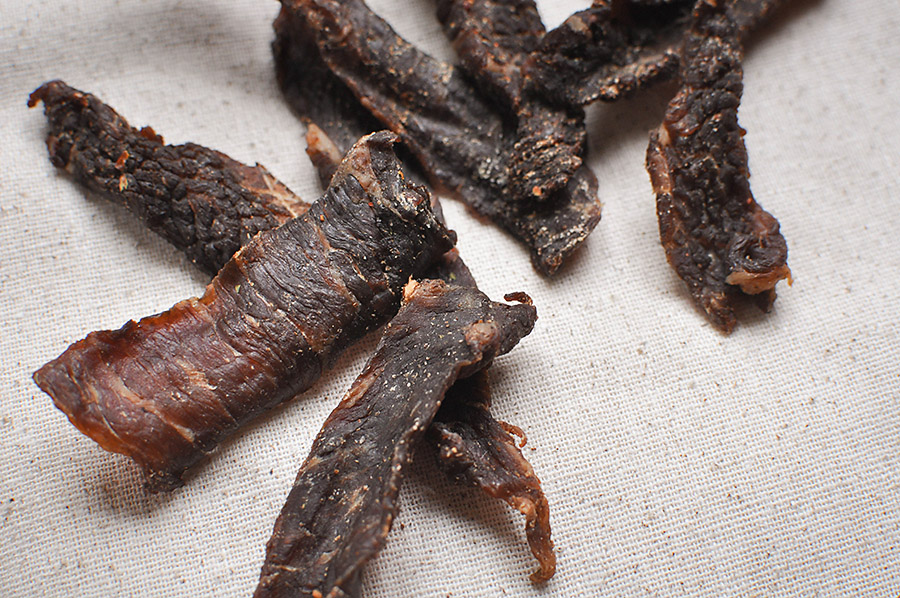
It will take 12-24 hours depending on humidity and how thick the meat was sliced. You might switch the top and bottom filter halfway through the drying process to make sure they’re evenly dried. When you’re taking off the upper filters, watch for stray beef jerky slices stuck to the bottom.
After 24 hours, you’re ready to eat! If you can’t eat it all in one sitting, store it in a breathable container. Opt for parchment paper instead of a plastic bag or container so that it won’t spoil from trapped moisture.
Are you ready to make your own beef jerky? Here’s the handy printable recipe:
[yumprint-recipe id=’29’]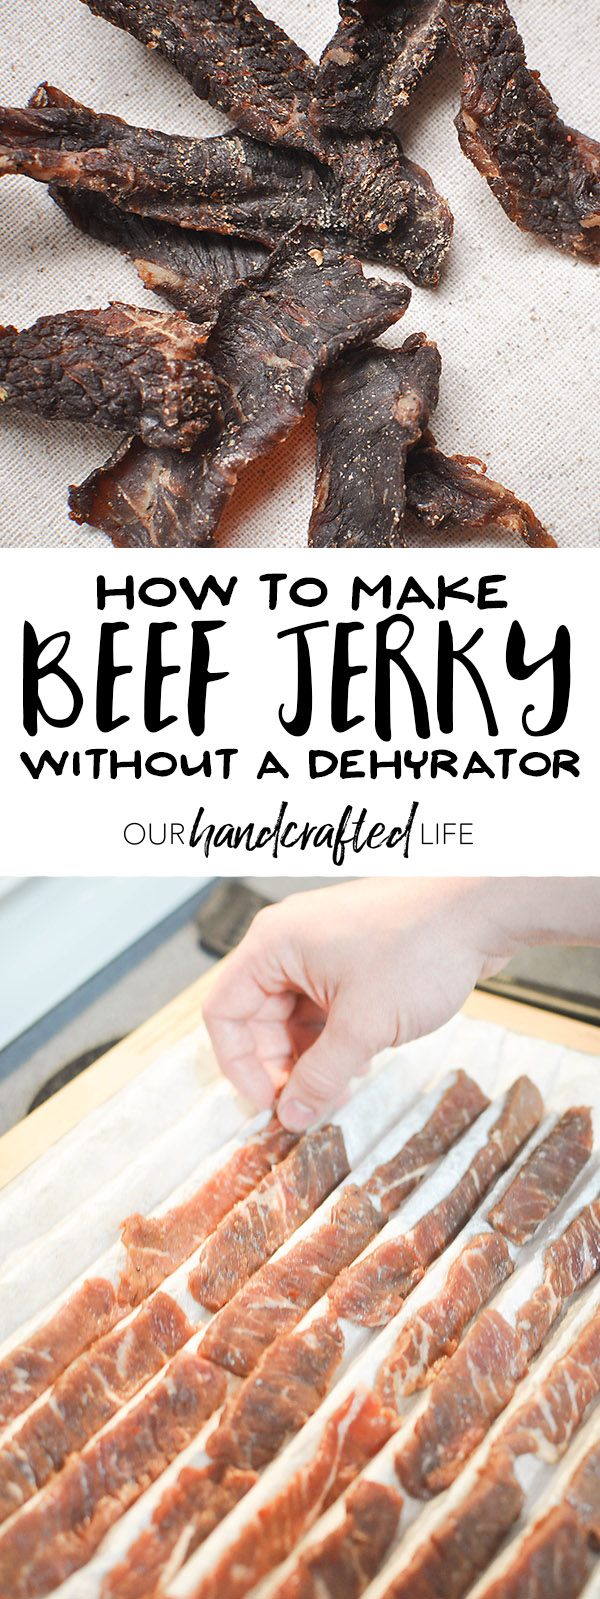
This is super tasty!
This looks yummy. My family loves beef jerky, especially my son. To be able to make this ourselves would be great!