DIY Instagram Magnets
Confession: This is definitely not my easiest project. I almost gave up on these adorable little magnets about four times over three days because they just weren’t cooperating (I am in denial that it was user error!) Thankfully, I stuck with them and now I am totally in love my new Instagram Magnets. So, if you dare, I challenge you to make these magnets and show off your hard work serious crafty skills all over your fridge!
I love taking my photos, but I hate it when they get stuck on my phone or my computer. Because they are so easy to snap and forget about, I hardly ever print physical pictures out to enjoy around our house. This little DIY is a great way to get the Instagram photos you love and turn them into magnets you can see every day.
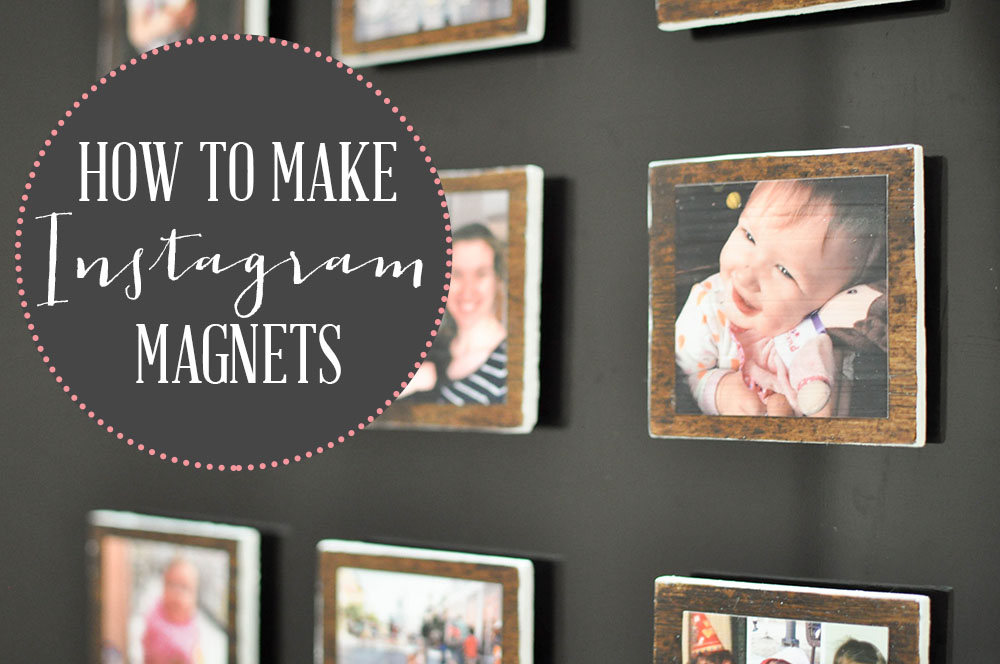
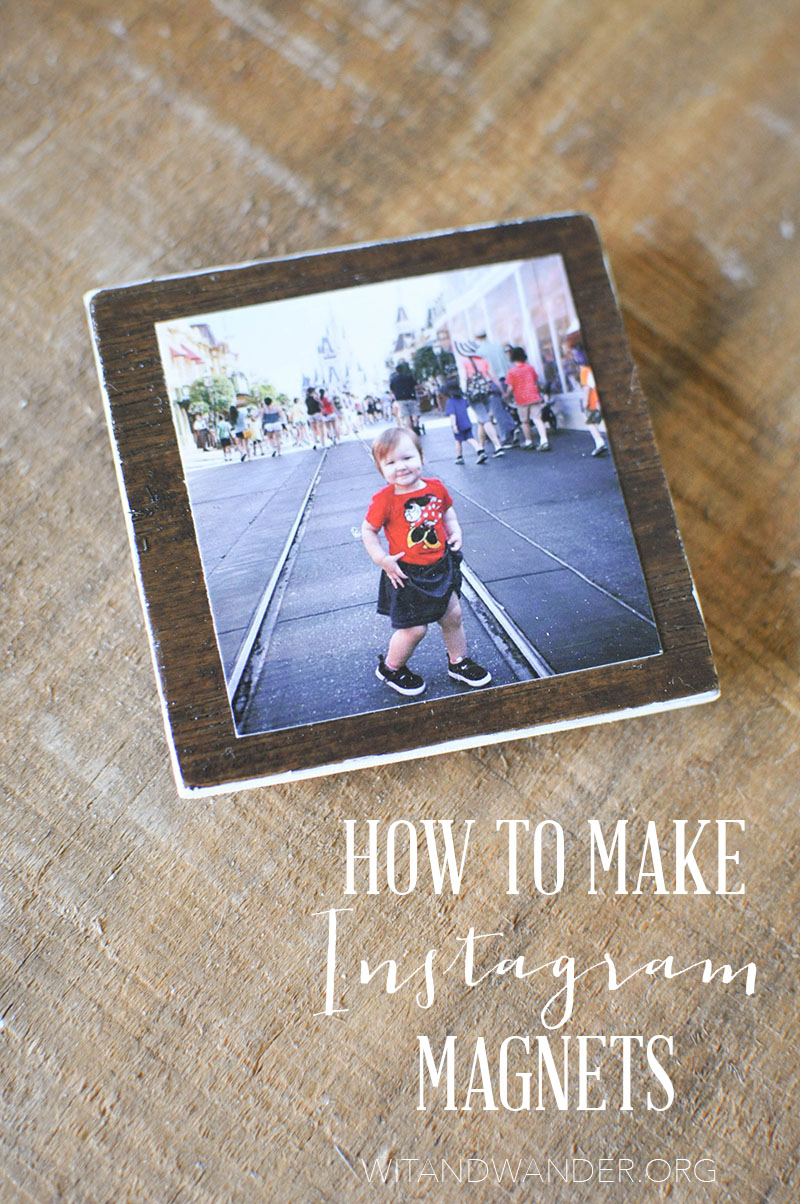
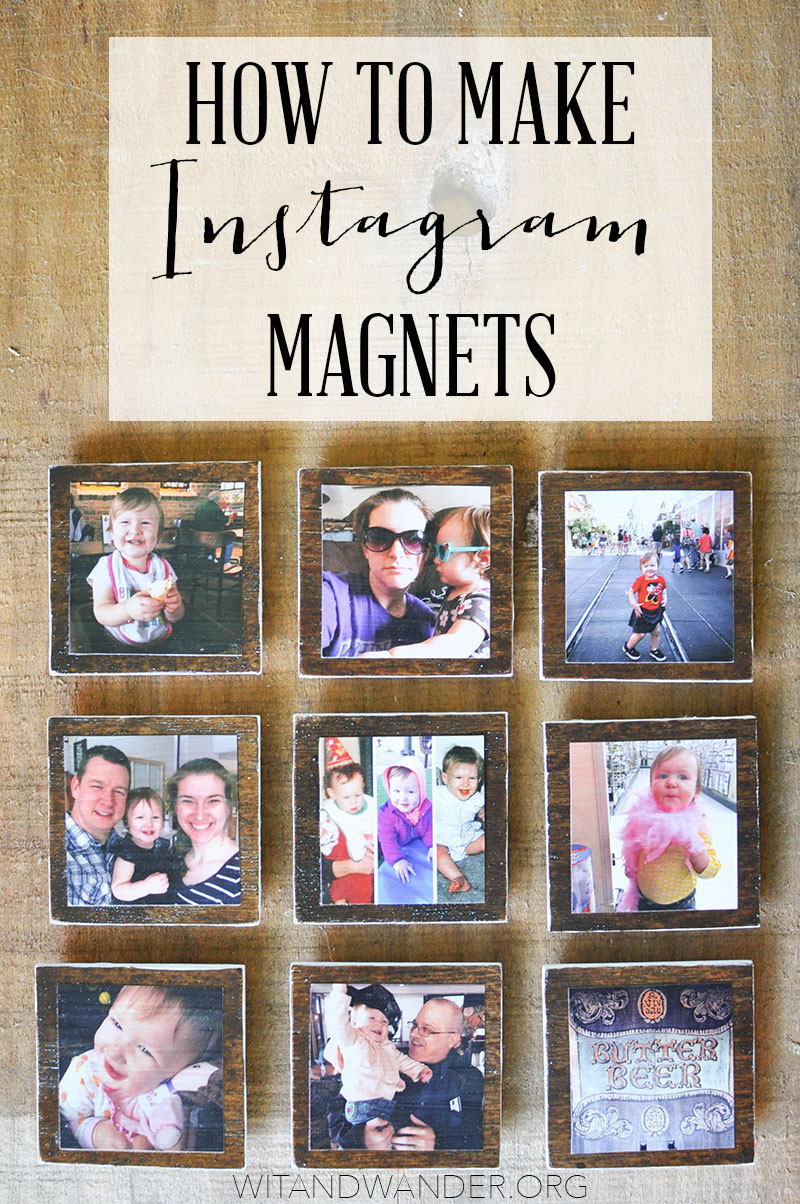
Here is a look at the finished DIY Instagram Magnets:
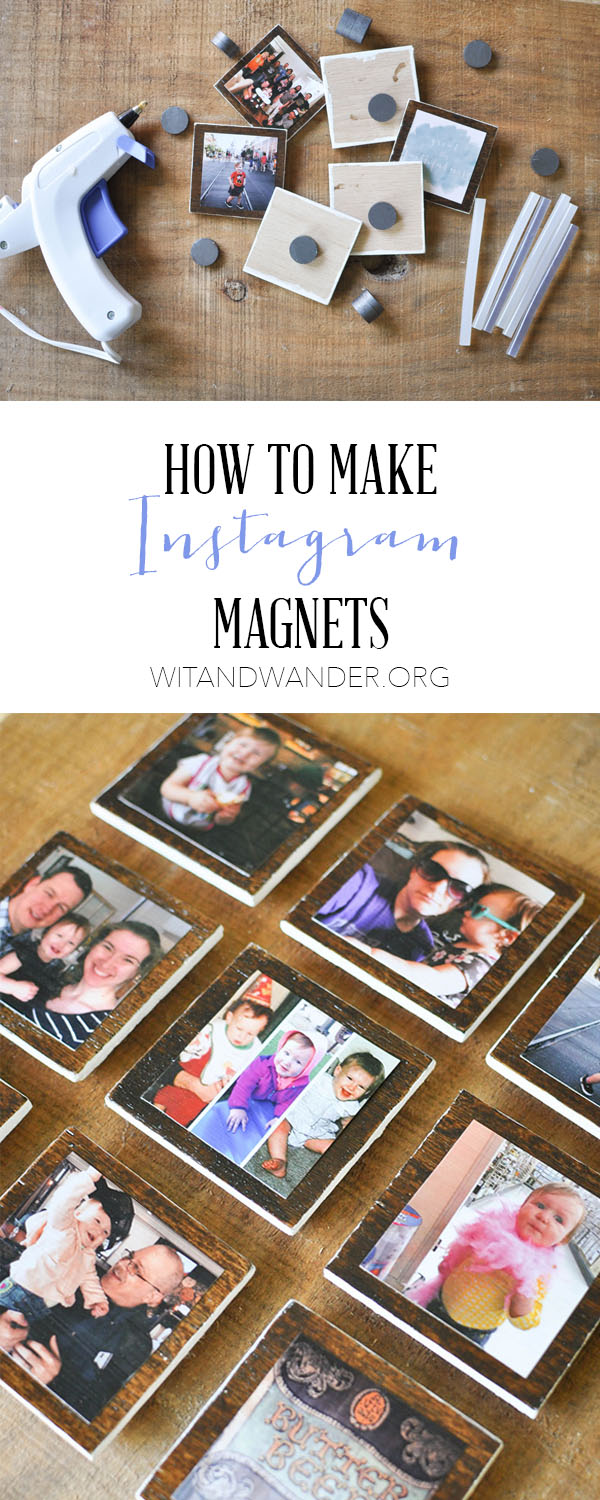
What you need to make DIY Instagram Magnets:
- (9) 2.5″ x 2.5″ Squares of 1/4″ Oak Veneer Plywood
- Printed Instagram Photos
- Stain + Sealer (I used Cabot Premium Wood Finish Stain + Sealer in Aged Leather)
- White Craft Paint
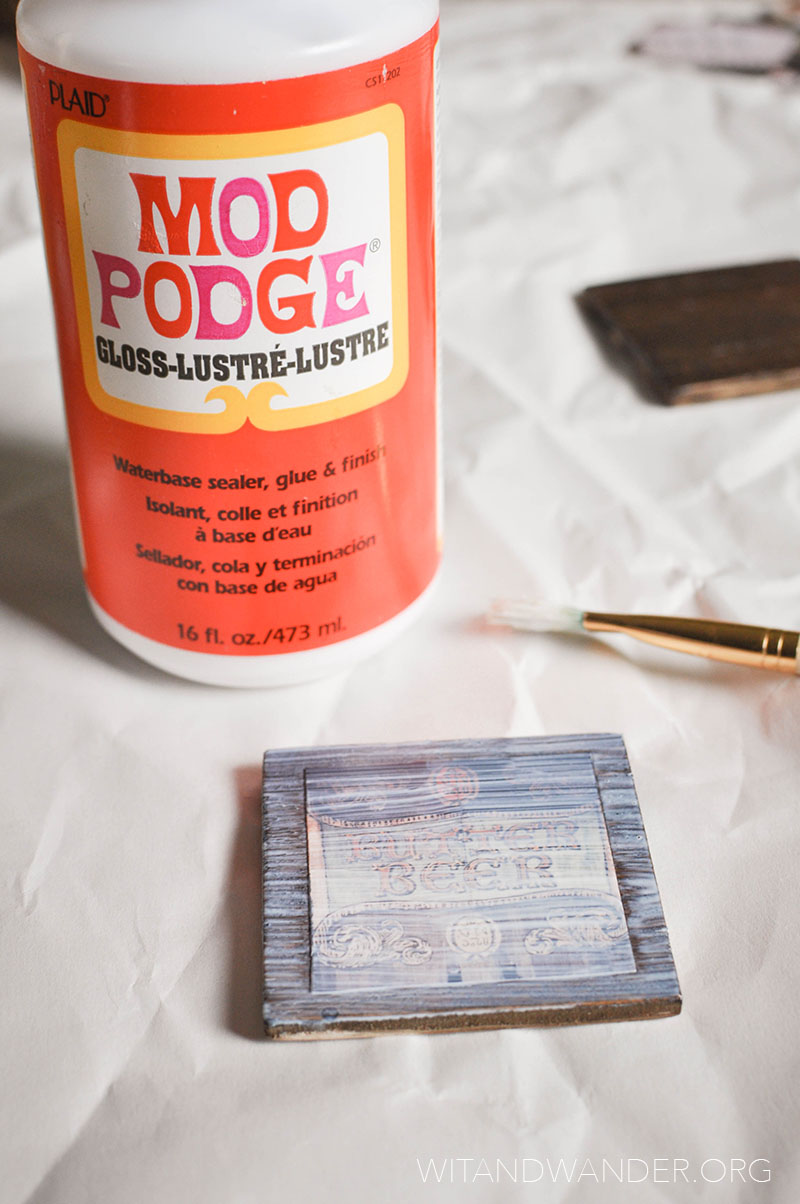
- Mod Podge
- Strong Round Magnets (I got mine from my local craft store, but these are similar)
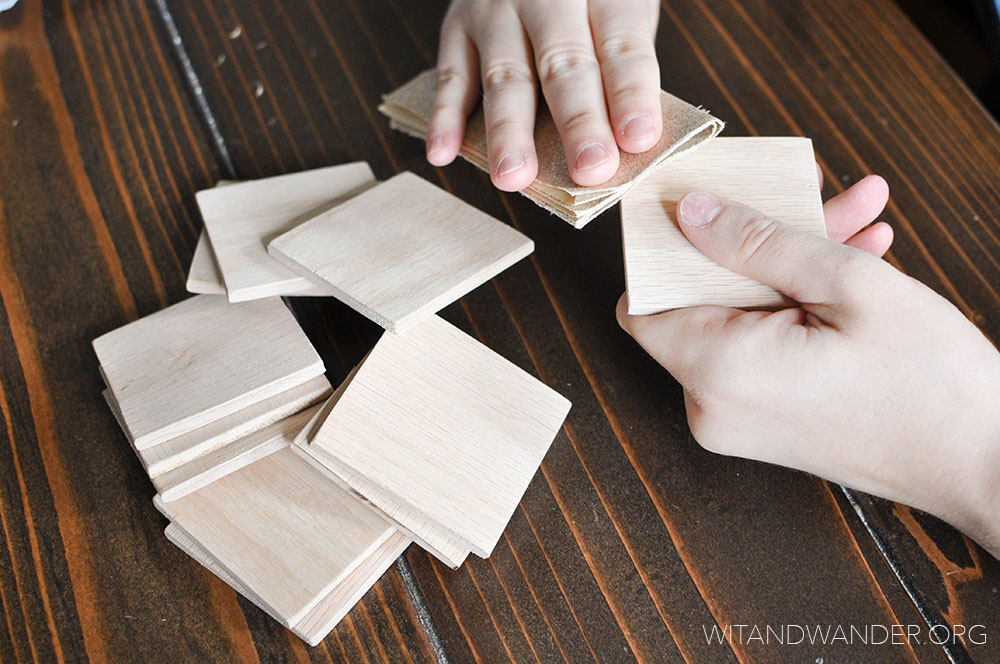
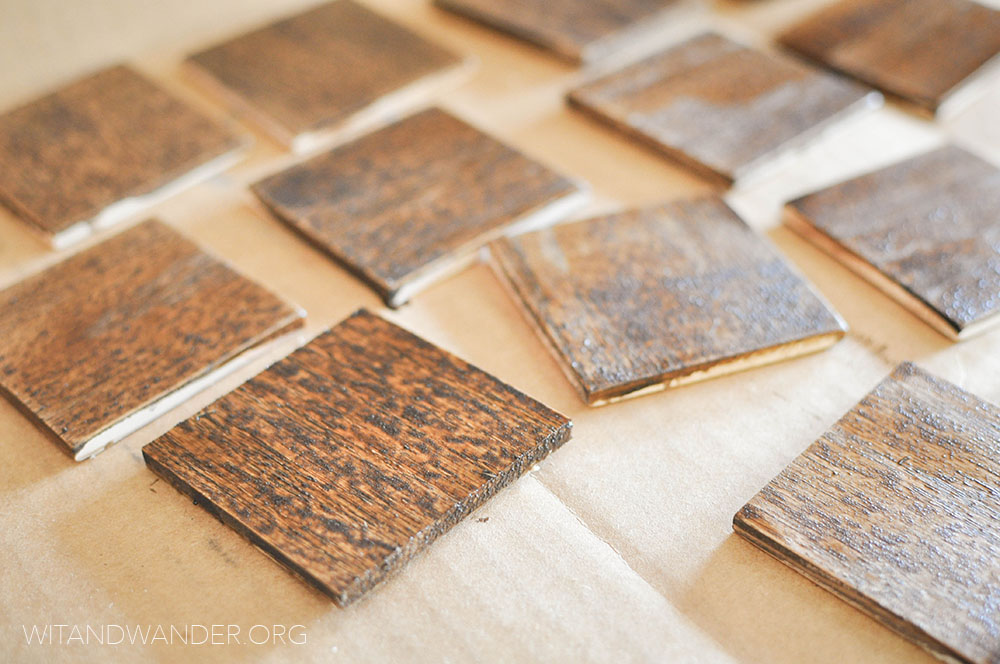
To make these Instagram Magnets, cut the wood (or bat your eyelashes and ask your husband to cut it for you – he always says my projects aren’t DIY, they are DIWYH…Do It With Your Husband!) and sand the edges to remove any splinters or rough spots.
After you wipe the dust off using a rag or old t-shirt, apply the stain to the face of the wood squares with a foam brush following the directions on the can. I didn’t think this project was big enough to justify using a stain and a clear coat, so I used an two-in-one stain and sealer. Once it dries, give it a second coat of stain if you feel like they need it.
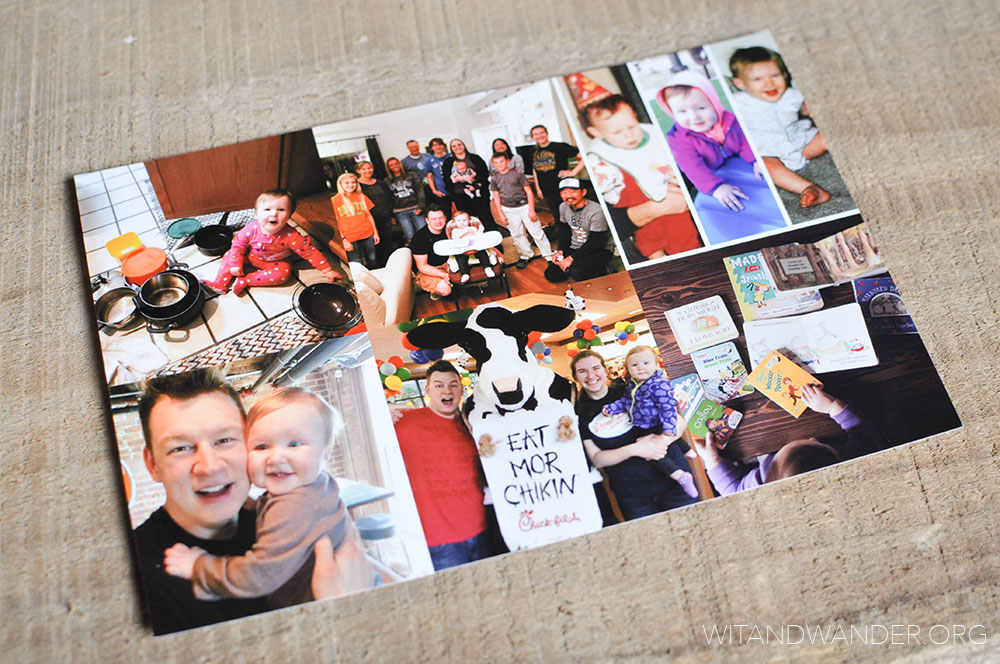
Print your Instagram pictures in 2″ x 2″ squares. I used Photoshop to add 6 photos in a single 4×6 print, but you could print them off using Social Print Studio.
After you’ve cut out your photos, layer Mod Podge on your dried, stained blocks of wood. Carefully place your photos in the center of the blocks on the wet Mod Podge. Then spread a thin layer of Mod Podge over the top of the photo and the block.
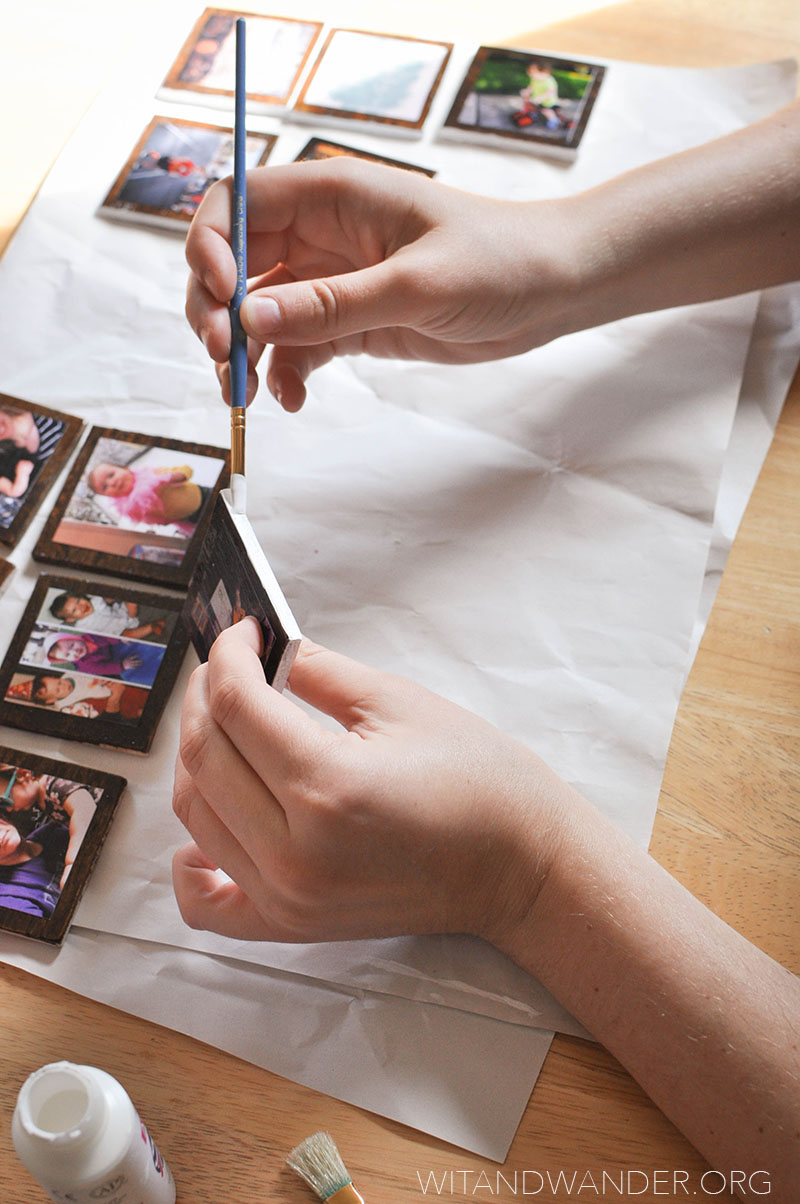
Allow the blocks to dry overnight. Paint the edges of the blocks with white craft paint, then attach magnets to the back with hot glue.
That’s it! Now you have gorgeous DIY Instagram Magnets! These are the best way to display your favorite family Instagrams. They would also make a great gift for anyone from a college student to a grandparent! Do you have any great ideas for getting your Instagram pictures out of your phone? Share them in the comments below!
—
Like what you see on our blog? Join our mailing list to receive emails with freebies, projects, coupons and decor ideas to help you live a creative and joy-filled life. You can also follow us on Facebook, Twitter and Pinterest.
I love this. I want them for home, my office and to put in my travel bag for when I’m away!
LOVE these! I am going to have to add them to my to-make list…but maybe when I have some extra patience. 😉
these are so good. Thanks for sharing this with us. I need to pin this.
So cute! I love this idea and will be making some for gifts. Thanks for sharing, Haley at http://haleysvintage.com
This looks like so much fun!! And so meaningful — I have so many great photos I’d love to display but didnt know how from Instagram.
These turned out so cute! I love printing off photos… so this might be an awesome project to tackle! P.S. I loved your DIWYH reference… I think most of my projects aren’t DIY either!
These are way cute! Cant wait to try them!
These are adorable and AWESOME!! I definitely need to make some of these… and SOON!
Such a brilliant idea! Thank you for sharing!
SO cute! And my hubby always gets dragged in to my DIY too- I mean, they should’ve known when they married crafty people! lol
These are so cute! Absolutely doing these 🙂
These are so adorable. I have a fear of not using the pictures I take, so this is perfect!
Oooh, I love these! Definitely going on my to do list 🙂
I love them! Thanks for sharing.
Great idea!! This is a perfect craft to do with my daughter! Thanks!
Rosemond Cates
http://www.bighairandbooks.com
This is so cute!! Love this a great idea to put just about anywhere in your house. Thanks for sharing! I know that I will be in the same boat as you were at first. It takes me about 3 times to get anything right! Thanks for sharing!
I’m so glad you didn’t give up, these couldn’t be cuter! I usually get my IG pics printed with a service, and this would be a fun thing to do with them. Thanks!
Esther
http://blog.cuteheads.com
Cute idea! I’m bookmarking this for later. I’d love to have my little Instagram pictures all over my fridge! 🙂 Thank You for sharing!
Those are super cute. Anytime I can use Mod Podge is a good day:))
Am I the only one who is Mod Podge-challenged? I think it’s due to my impatience, but I can never get it to dry clear or without wrinkling. I might try this though – it’s a super easy/cheap gift for a grandparent. Thanks for the idea!
Ok I am SERIOUSLY obsessed with this!!!!!! So creative!!! I’m SOOOO excited to do this! We buy a house soon and this is gonna be at the top of my must DIY project list! It looks fairly simple. I love that you stained the wood, it adds a rustic feel. I pinned it to my “feelin crafty” board 🙂 Thanks
Danielle Greco
AccordingtoD.com
This is the best DIY I’ve seen in a while! What a great way to display your most cherished memories 🙂
These are so adorable! I have to try this 🙂
My husband does a lot of ‘armstrong’ work, too! They must really love us.
I actually got some Instagram magnets from a site that I can’t for the life of me remember the name of. I like them ok, but they’re just thin little prints glued to a magnet sheet. Yours are so classy looking…I love stained wood. I’m sure it was quite a chore!
I haven’t had great luck with hot-gluing magnets to flat glass marbles, because sometimes the magnet is stronger than the glue. I had trouble with the marble popping off the magnet. The wood, being more porous, may not have that problem, but I use E-6000 and it works great! It takes about 24 hours to completely dry, though. Just a tip, in case the magnets do pop off when you move them around.
Also: I have a stainless fridge, and magnets won’t stick except on the sides (of course my fridge is inserted between stuff). I take full advantage of my metal French doors! It’s cool to look at my sweet girls on the way out the door in the mornings! We also have a huge gun-safe, but the hubs won’t let me put anything cutesy on that one…only manly stuff! Lol!
Love your blog! 🙂
I love these and my hubby and I are making them for our widowed daughter using photos from her Insta before our son died. They will hopefully bring great memories for her. Thanks for sharing this.