Today I’m turning a $15 dresser from Craigslist into a gorgeous and functional TV stand! This DIY entertainment center from a dresser is part of the One Room Challenge, where we are completely transforming our living room in 6 weeks. Catch up on the rest of the One Room Challenge here:
- One Room Challenge Week 1 – Living Room Design and Inspiration
- One Room Challenge Week 2 – How to Turn a Dresser into a TV Stand
- One Room Challenge Week 3 – Living Room Rugs and Furniture
- One Room Challenge Week 4 – DIY Woven Pendant Lamp
- One Room Challenge Week 5 – Hymnal Wall Art Instillation and “New” Piano
When I can’t find exactly what I’m looking for in a store, my first thought is always “Let’s try to make it ourselves!”
It doesn’t always work out, but in this case – I love it!
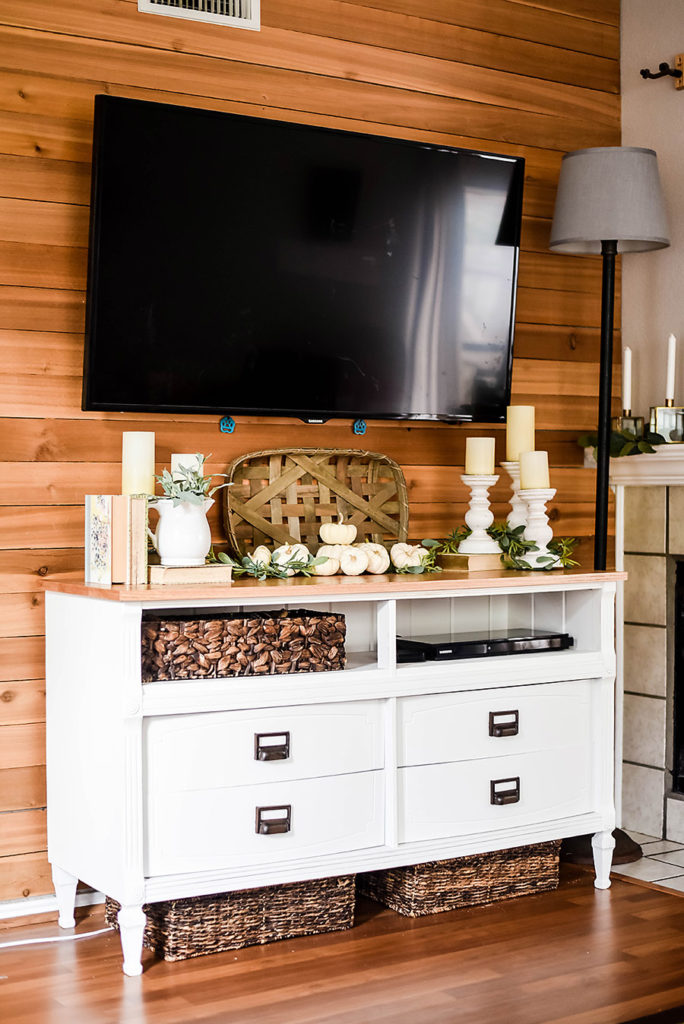
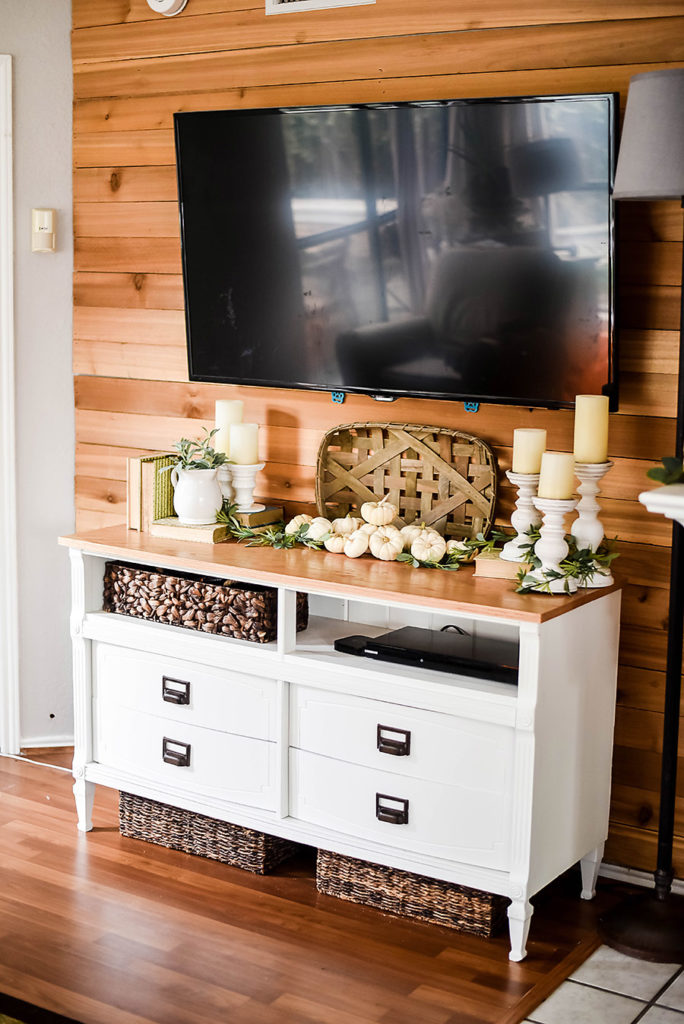
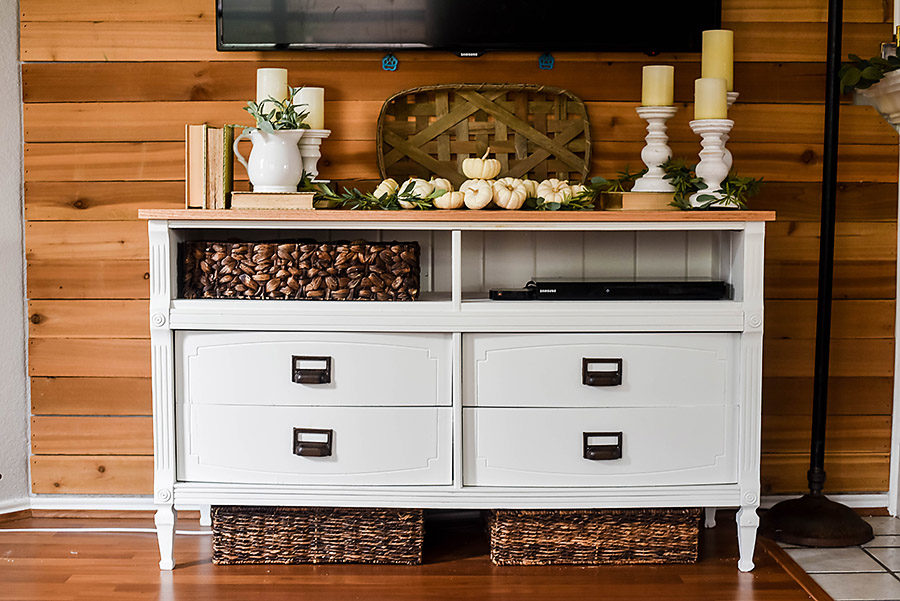
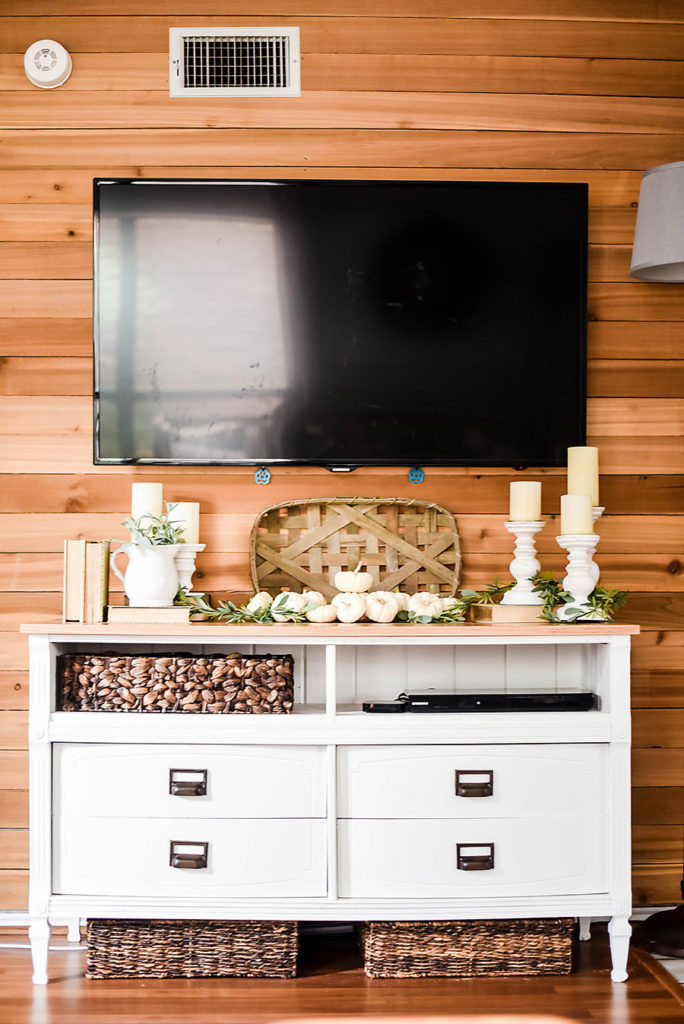
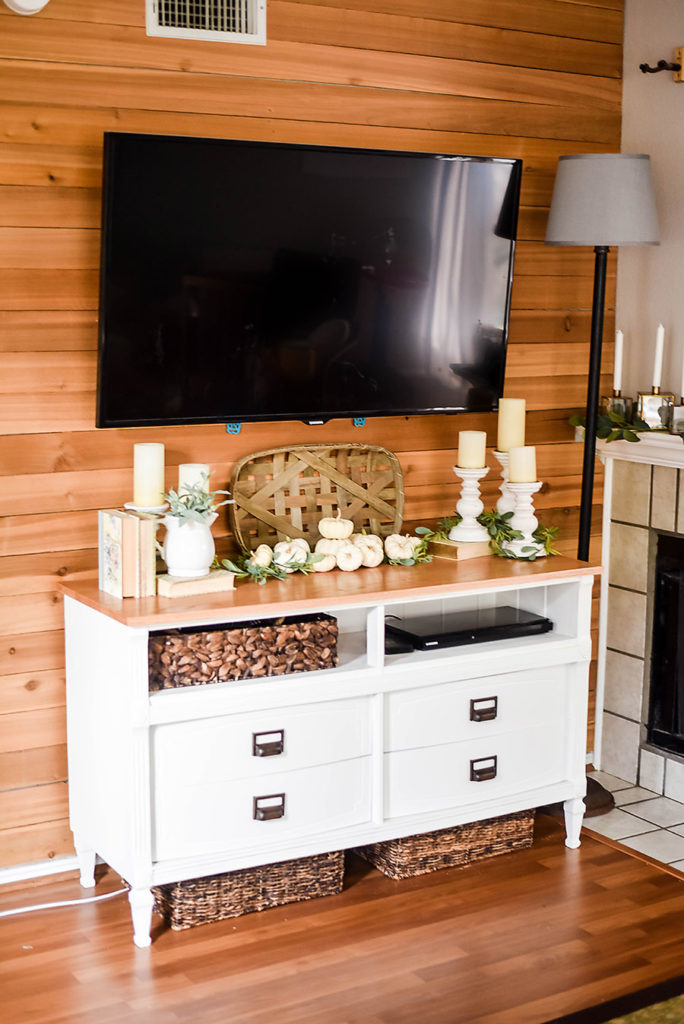
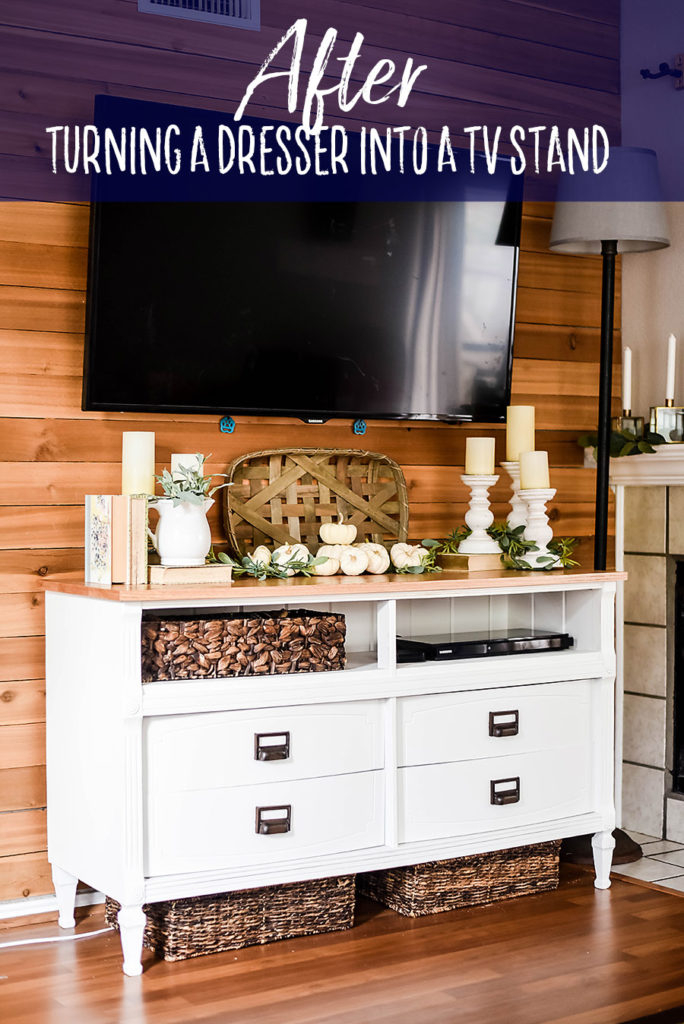
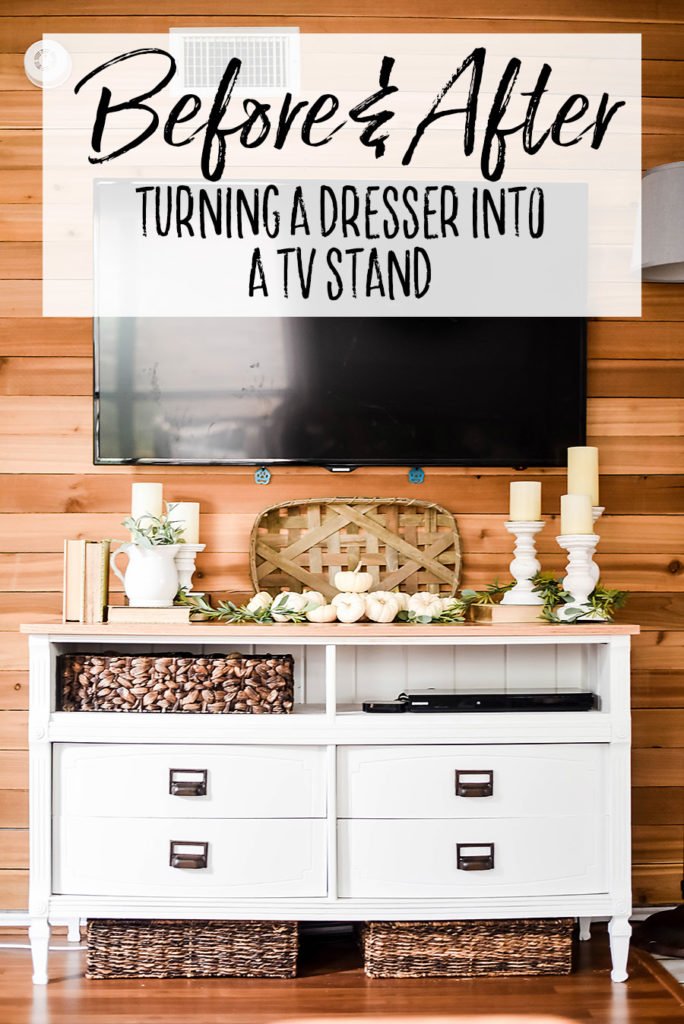
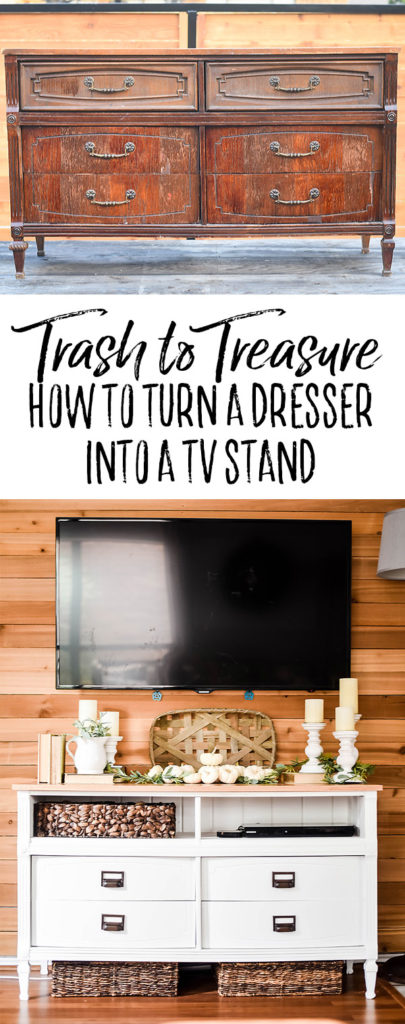
Can you believe this gorgeous farmhouse style TV stand used to be a dresser?
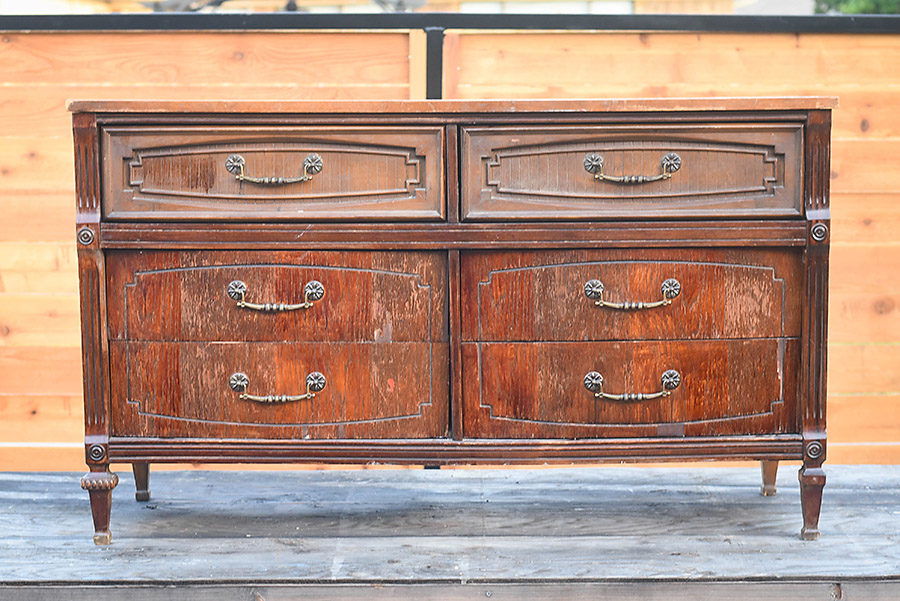
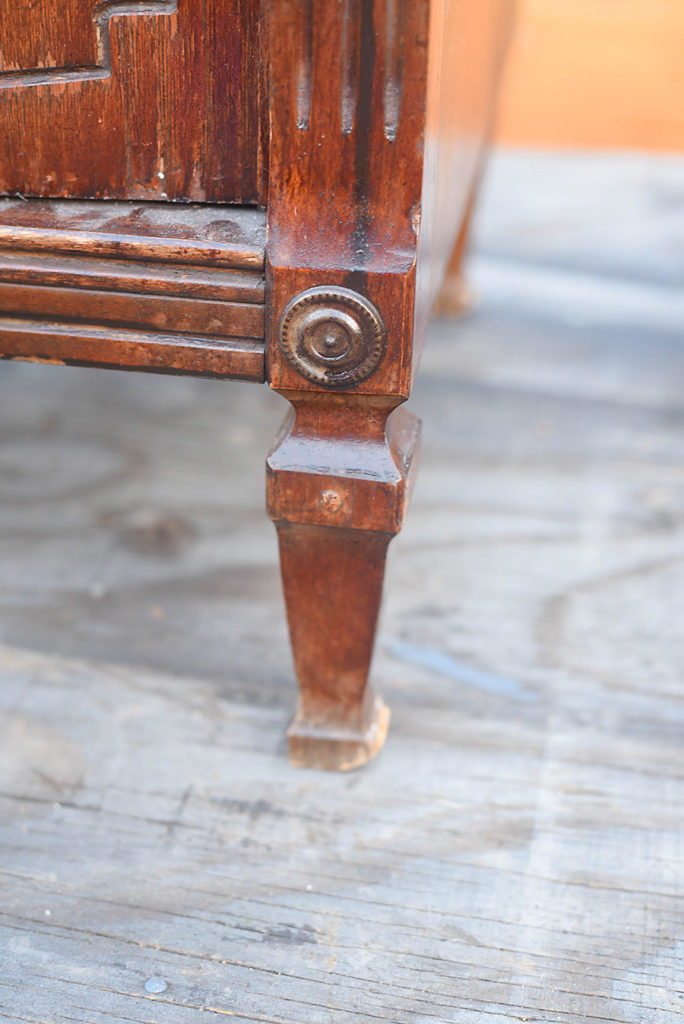
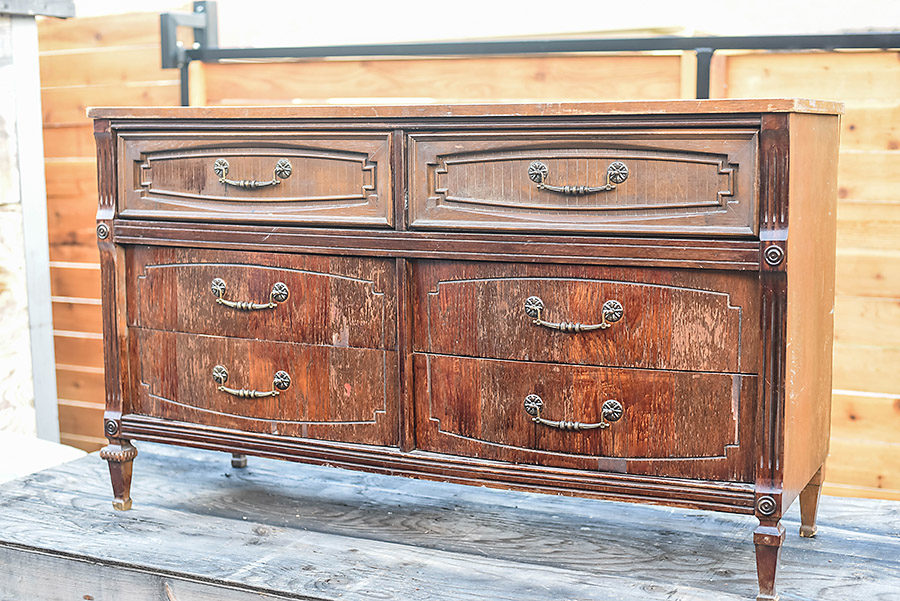
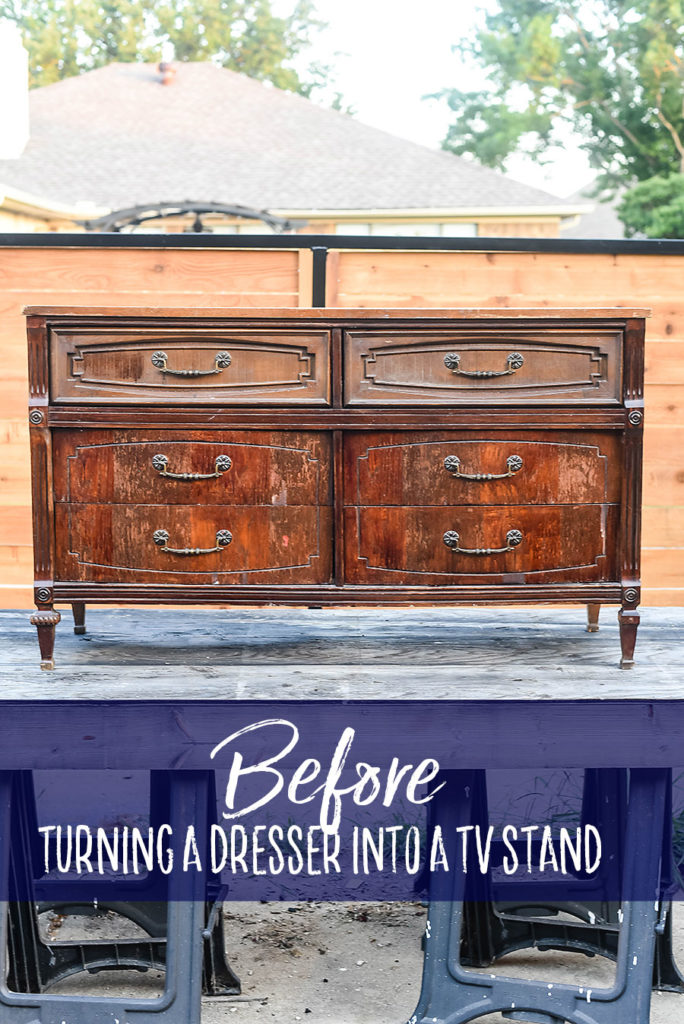
Here’s a picture of what it looked like before – it wasn’t totally hopeless, but it definitely needed some new life.
I bought it sight unseen on Craigslist, so once we got it home I gave it the old once-over and decided this would be a perfect candidate for a fresh coat of paint!
(Now, before all my wood-purists try to tar and feather me, it was covered in veneer and in pretty rough shape. Painting was the only option.)
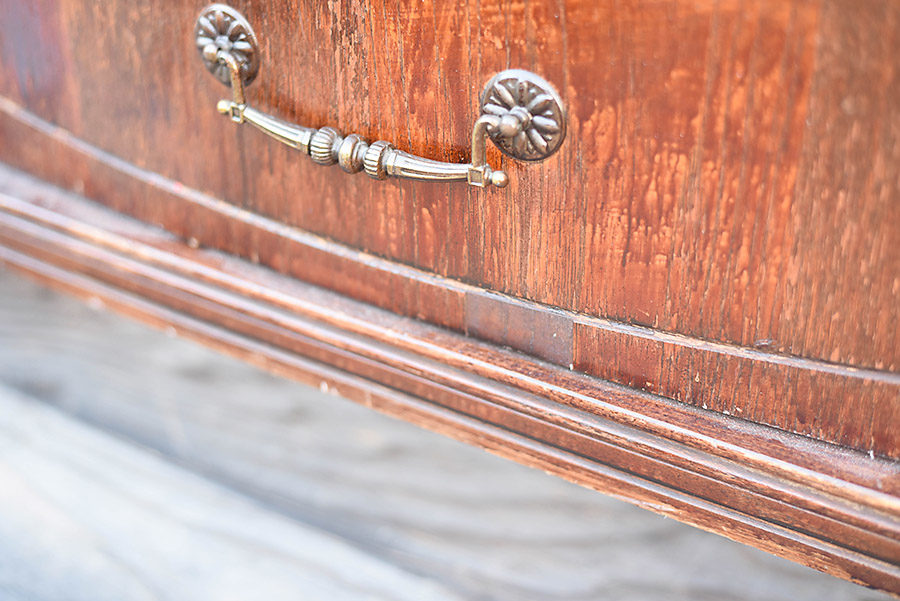
The top of the dresser was also in pretty rough shape, so we decided to build a top from scratch.
Once we figured out the plan, it was demo time!
How to Turn a Dresser into a TV Stand
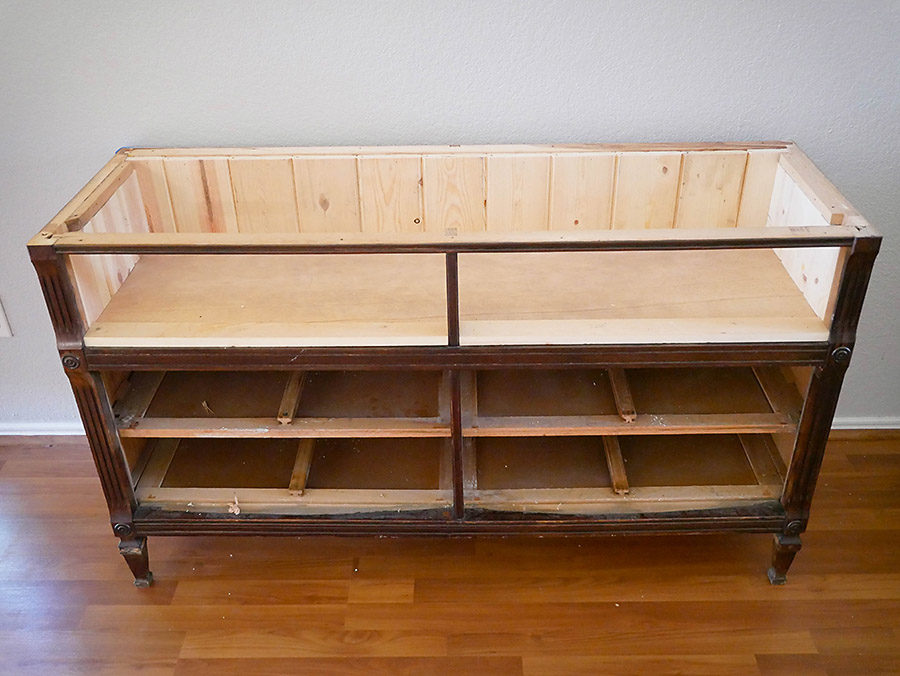
Deconstruct the Dresser
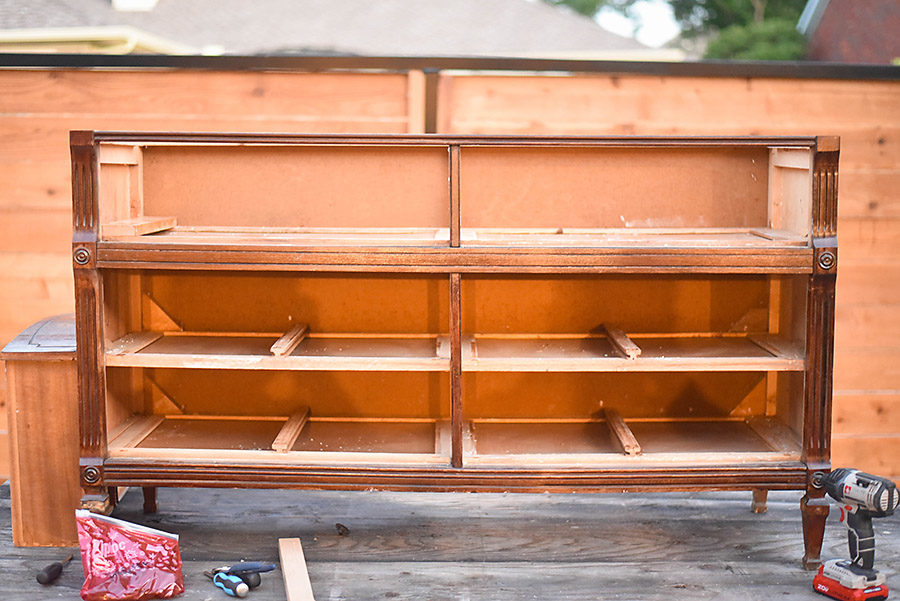
We started by removing all the drawers, hardware, top, top two drawer runners, and a few decorative elements that were damaged on the piece. This might have been my favorite part…I love being a little destructive.
 Sand and Patch
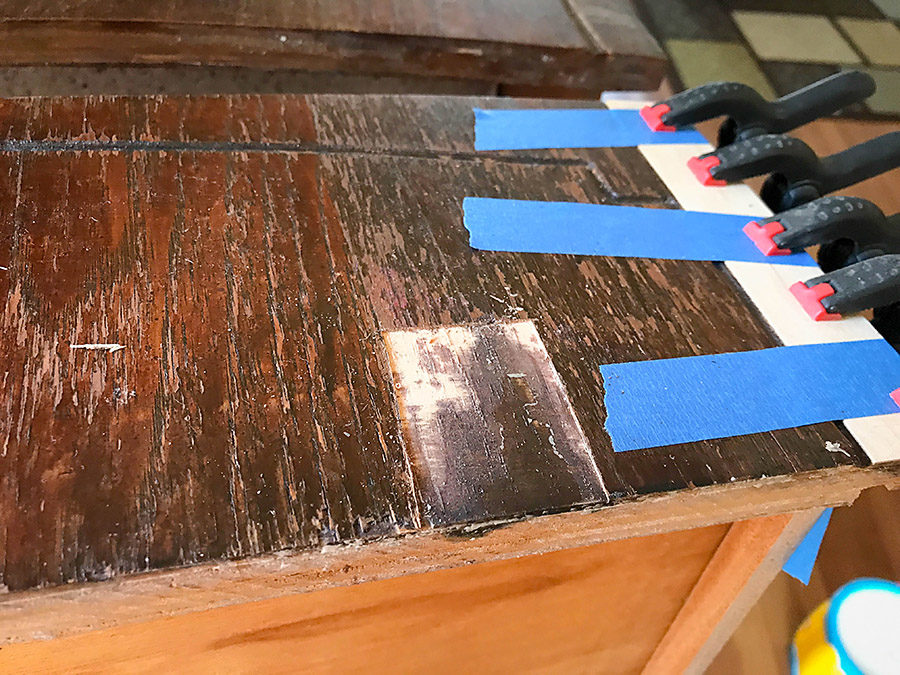
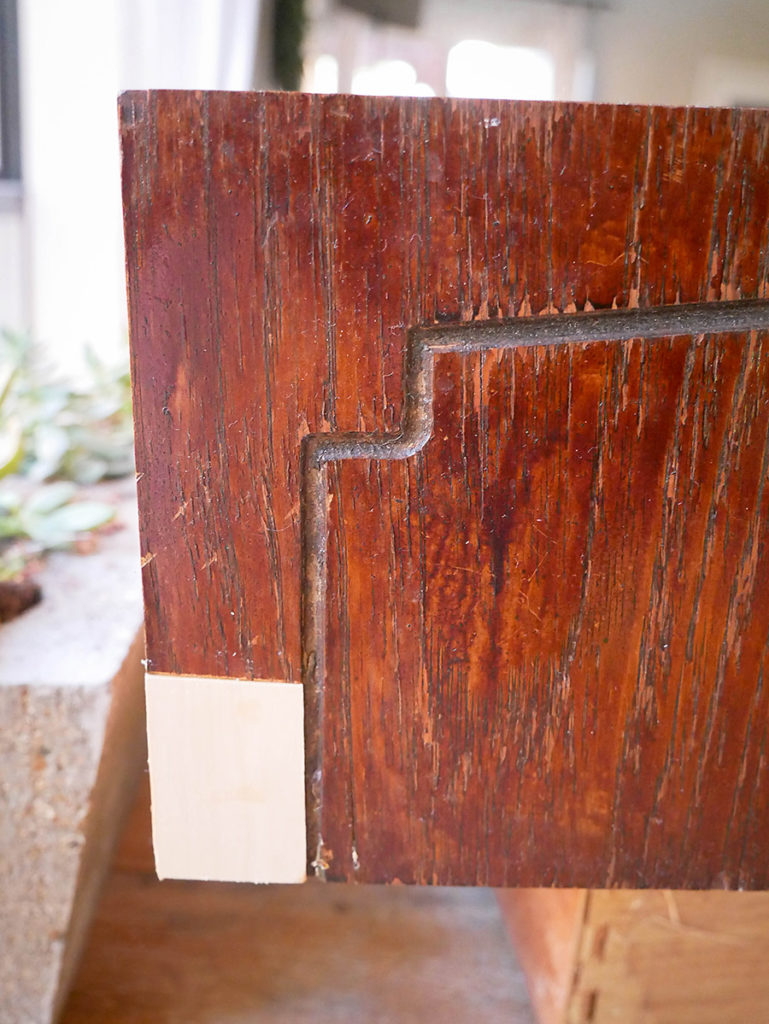
We lightly sanded the entire dresser and had to patch damaged areas.
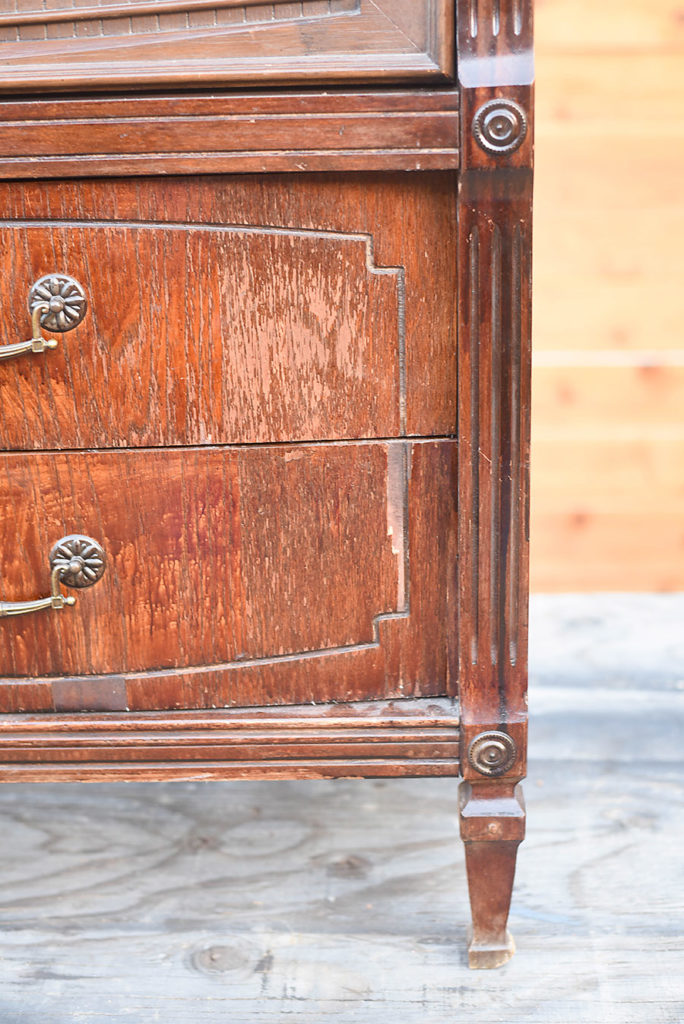 There were also some spots where the veneer had chipped off, so we repaired those as well and sanded down the rough spots.
Then we used the shop vac to vacuum all the sawdust and dirt out of the dresser.
Rebuild the Structure
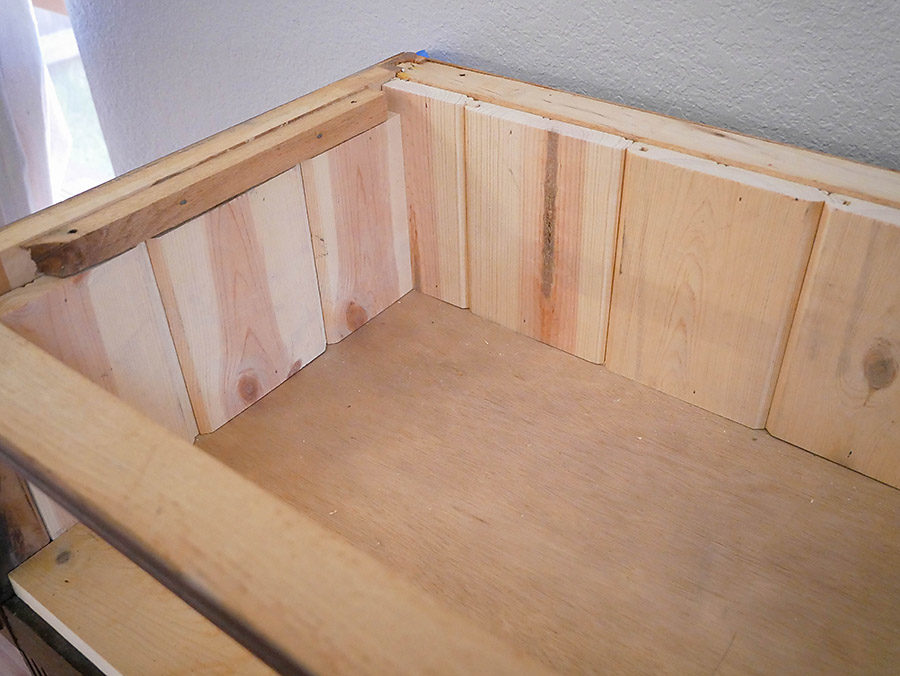
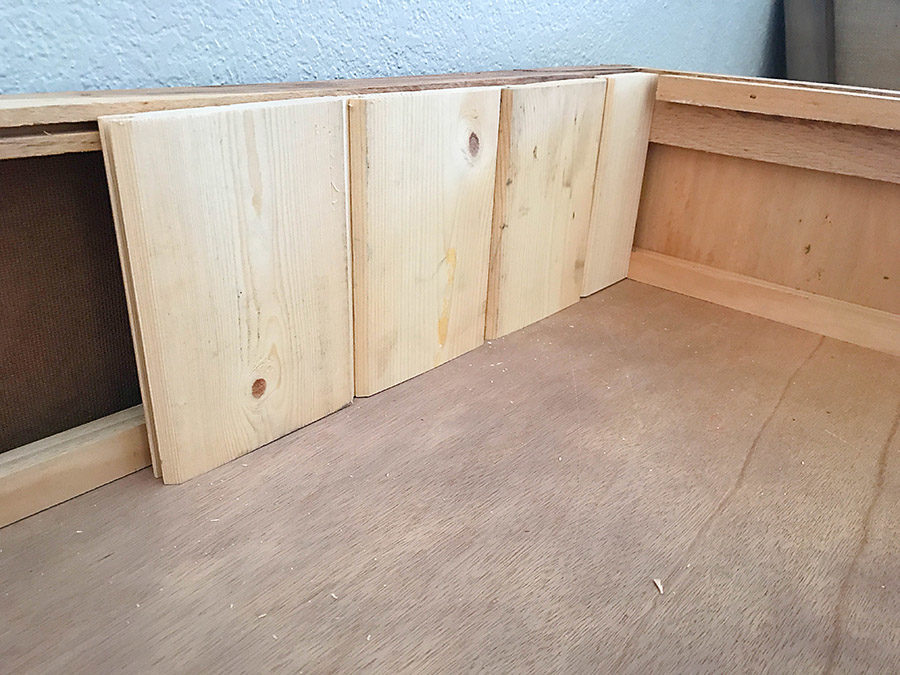
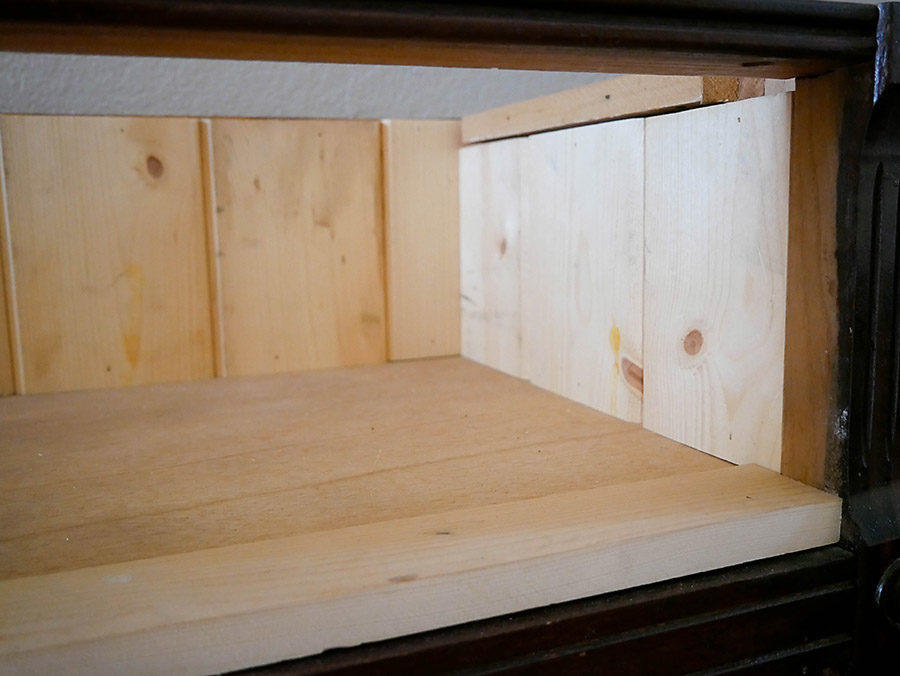
We were planing to leave the drawers out of the top two spaces, so we rebuilt the cubbies. We put a piece of 1/4″ plywood across the bottom of the space.
We had some extra tongue and groove boards lying around, so we attached them vertically around the sides and backs of the compartment.
Then, we added wood trim pieces across the front and sides and a bit of caulking to fill some remaining gaps.
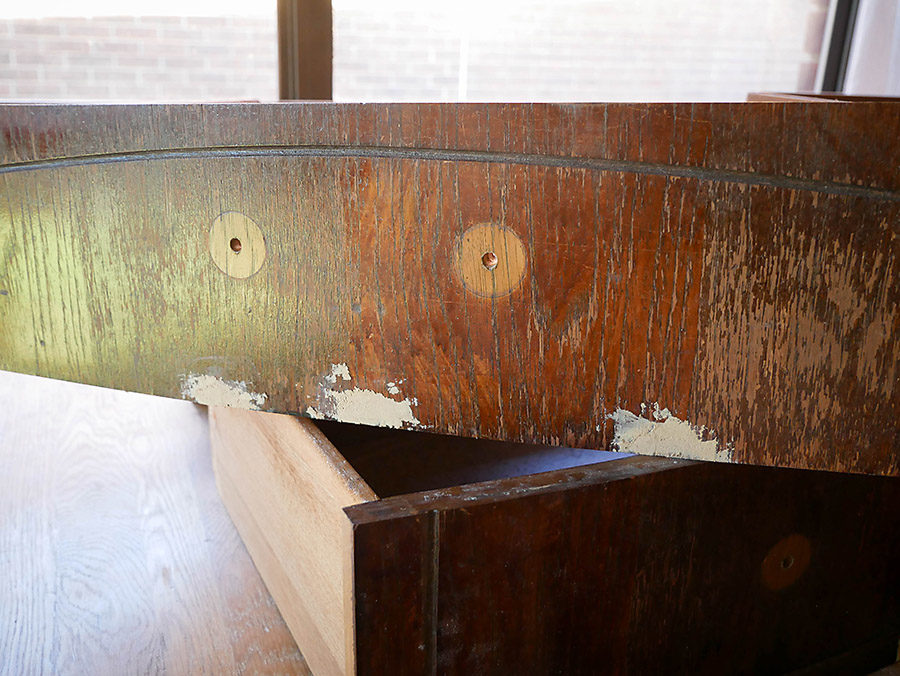
We also filled the holes the screws from the drawer pulls left behind because we weren’t sure how far apart the screws for the new hardware would be. So, we bought an oversized dowel rod and sanded about the last inch to a taper. Then we glued the dowel into the hole and sawed off the dowel perfectly flush.
Paint and Seal
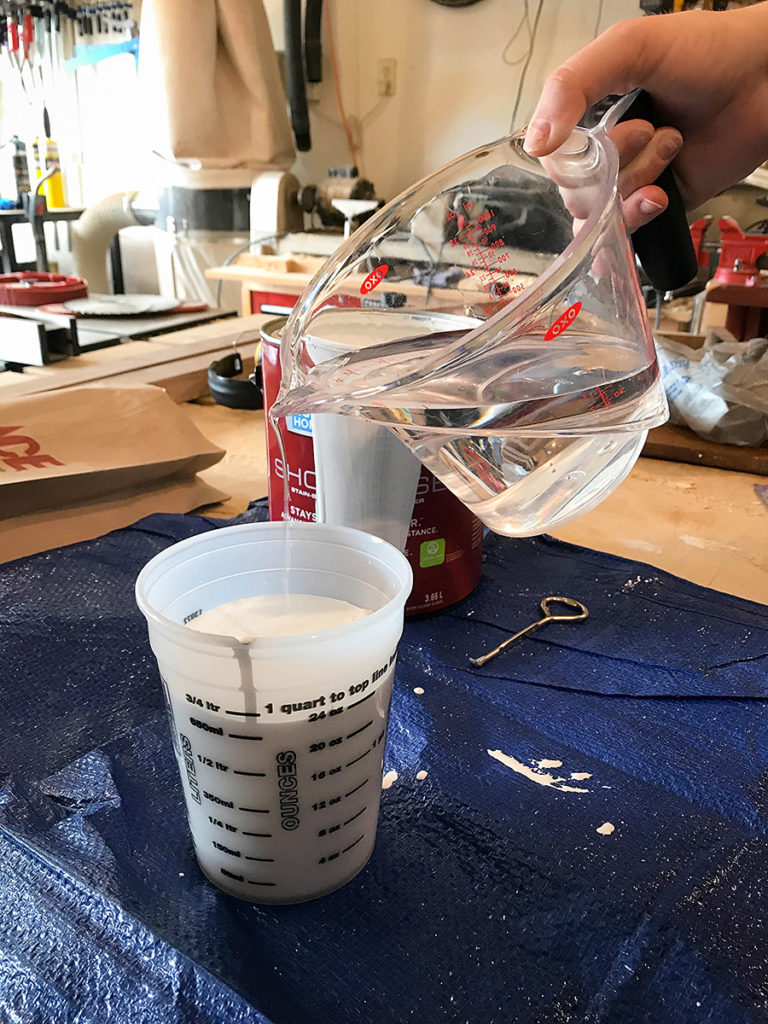
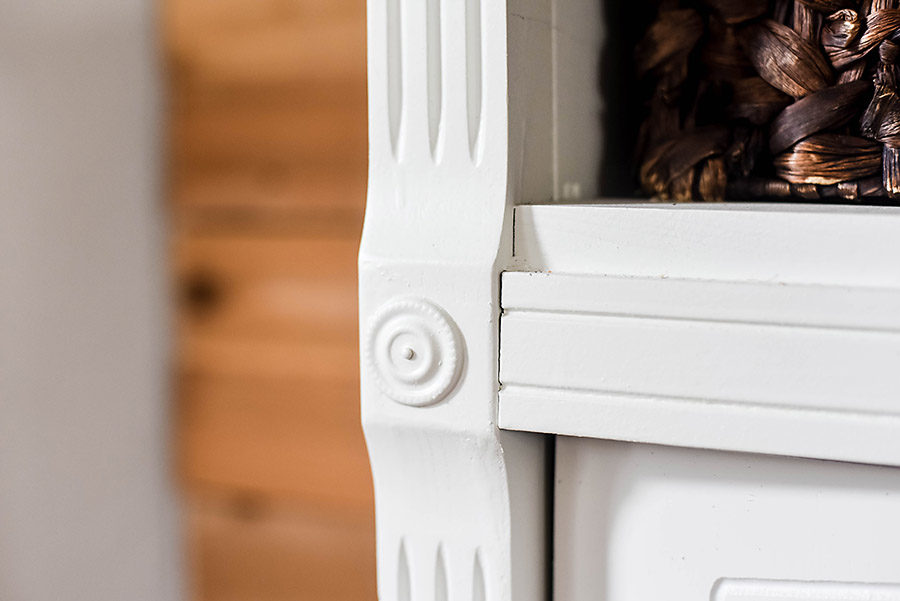
We primed and painted the dresser and drawers using the HomeRight paint sprayer, which made the whole process super easy. Instead of spending an hour painting each coat and waiting for it to dry, it took about 5 minutes to spray a coat. It didn’t cut down on the dry time that much, but it cut down on the manual labor a ton.
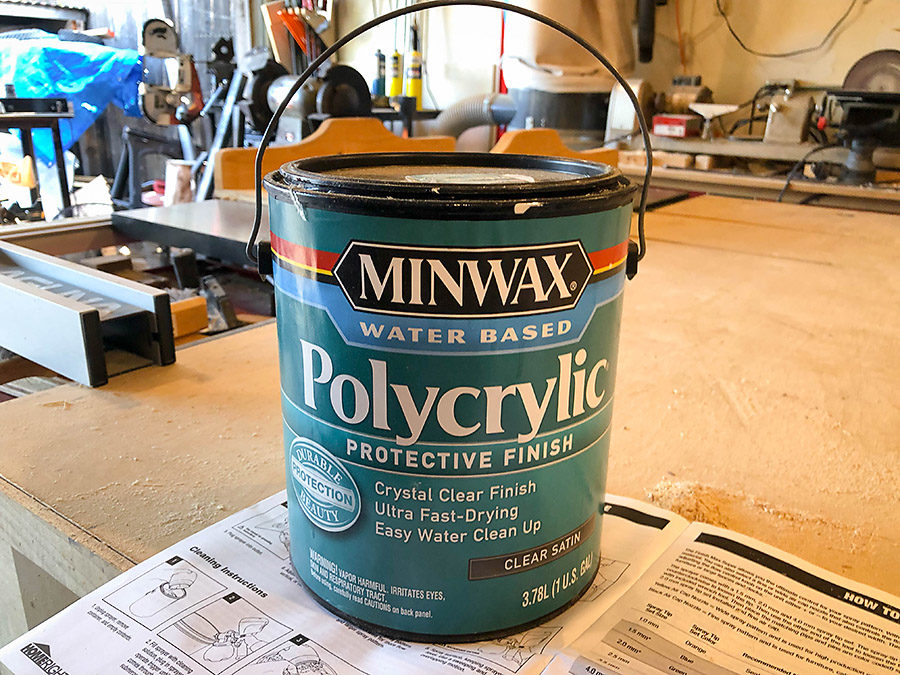
We sprayed two coats of paint and sanded in between each coat. Then we sprayed on three layers of polycrylic to seal the paint.
Drill Holes for Cables
We didn’t really want the cables to go through the back of the dresser because we didn’t want a huge hole at the back of the piece. So, we decided to drill through the bottom of the shelf using a drill with forester bit. Then we added holes behind the drawers to allow the wires to come out the back. These drawers still had about an inch of space behind them, which allows the wires go through the back of the piece easily.
Build the Top
While I was painting, Daniel built a new top for the entertainment stand. This is totally optional depending on the condition of your dresser. You could also just pick up a pine project panel from the hardware store if you want to have a new top without building it from scratch.
To put together the top, he glued three boards together edge to edge using biscuits. Then he cut the shelf to the final dimensions and sanded it. We wanted the finish to be light and natural, so he sealed the wood with tung oil. To finish, he waxed the top with Minwax Paste Wax.
Add New Hardware
After the dresser and drawers were sealed, we added the new hardware. I found this hardware from Hobby Lobby and I love that it has the look of an old library card catalog. I would put this all over my house if I could.
And here it is – the completed dresser remodel! I love how it turned out – quite the transformation.
We are updating our entire living room in six weeks for the One Room Challenge.
If you missed the introduction (and our design plan) last week, you can see it here. I’m so excited about this challenge and I can’t wait for you to see what we have in store for next week. Sign up for our mailing list below if you haven’t already so you won’t miss a post!
Check out other rooms for the One Room Challenge here!
- Greenery: Hobby Lobby
- Jute Rug: Similar
- Chair: Softline Leather Chair and a Half
- DIY Basket Light
- DIY Dresser to Media Console
- Top Rug: Gray Print Cotton Dhurrie Ariana Area Rug
- Sofa: Foundation Sofa

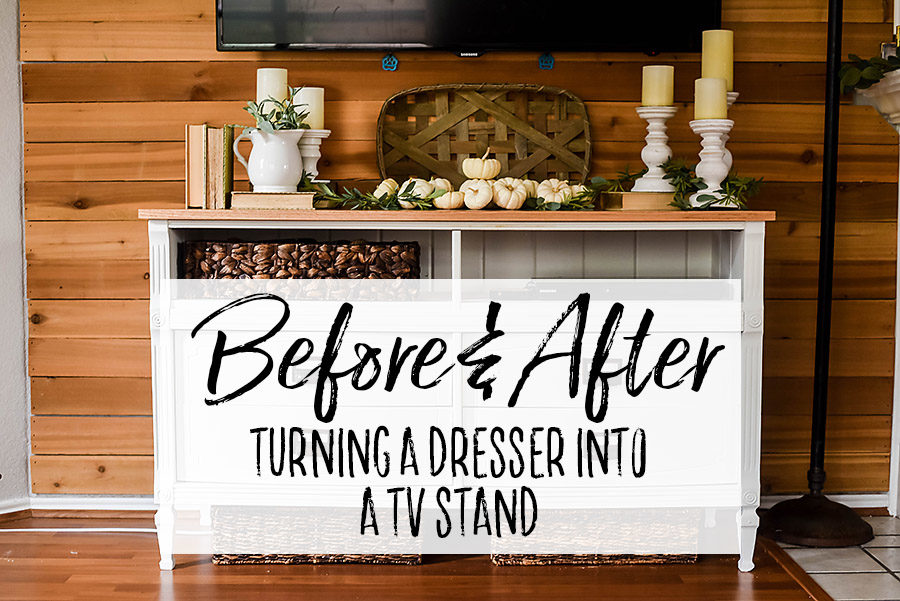



It’s perfect for the space! I love it.