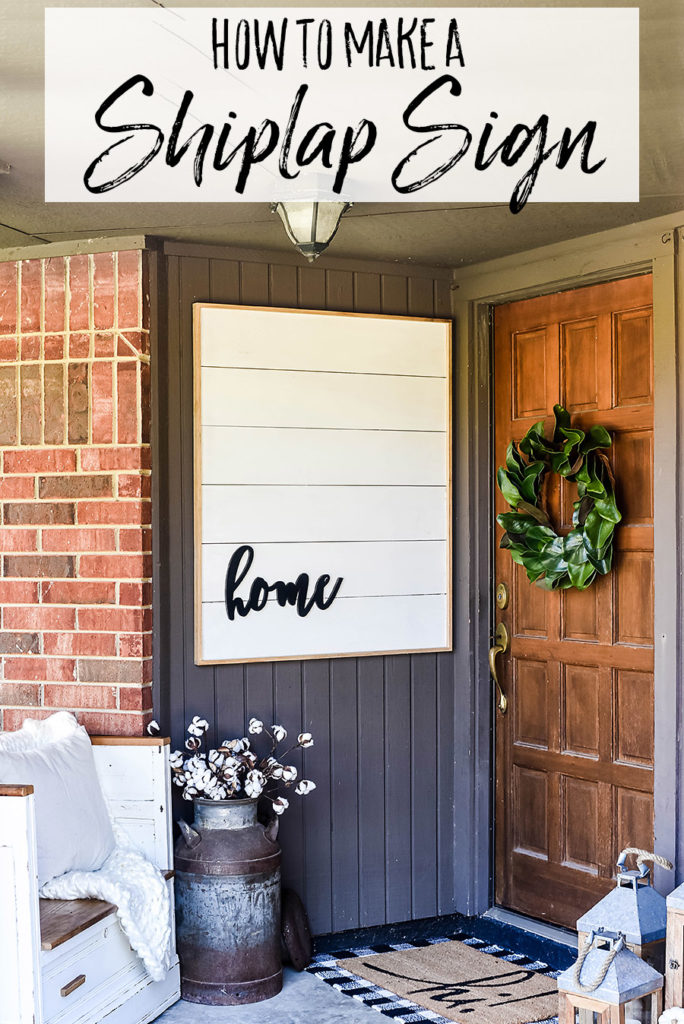
Create your own DIY Framed Shiplap with this tutorial that will take you less than an hour. This simple DIY project is the perfect backdrop. Add a wreath, a word, or keep it simple to create a farmhouse vignette.
I called this DIY Framed Shiplap a front porch idea in the title because we used it in our Cozy Fall Front Porch Decor, but that’s a little misleading because this project is a great backdrop for anywhere in your house. You can set it on your mantle behind some candlesticks and greenery to create a lovely vignette or hang it on the wall with a wreath or a word in a beautiful script font for sweet farmhouse wall decor.
If you want to ‘try out’ shiplap or add a hint of shiplap without renovating a whole room, this is a great place to start.
I chose to use it on our porch because our front porch is very dark. The city regulates the outside of our houses, so I can’t paint the whole exterior of our house white, as much as I’d like to! It’s a pretty dark little corner and I wanted to add some light and warmth without a major renovation, so we created this little framed shiplap piece.
 How to Make DIY Framed Shiplap
I guess I called it little, but it’s pretty large – about 3 feet by 3 1/2 feet. You can make it any size to fit your space, just adjust the measurements of the cut wood.
Supply List
- 6 (36″) 1/2″ plywood planks cut to 6″ wide
- 5 (36″) backing strips – 1/4″ plywood cut to 1 1/2″ wide
- 2 (36″) short framing pieces
- 2 long framing pieces – cut to length
- Nail gun
- Staple Gun
- Glue
Cut the Wood
We ripped a piece of 1/2″ plywood into 6 panels that were 6″ wide. Then we cut them down to 36″. We also ripped 1/4″ plywood into 5 backing strips 1 1/2″ wide.
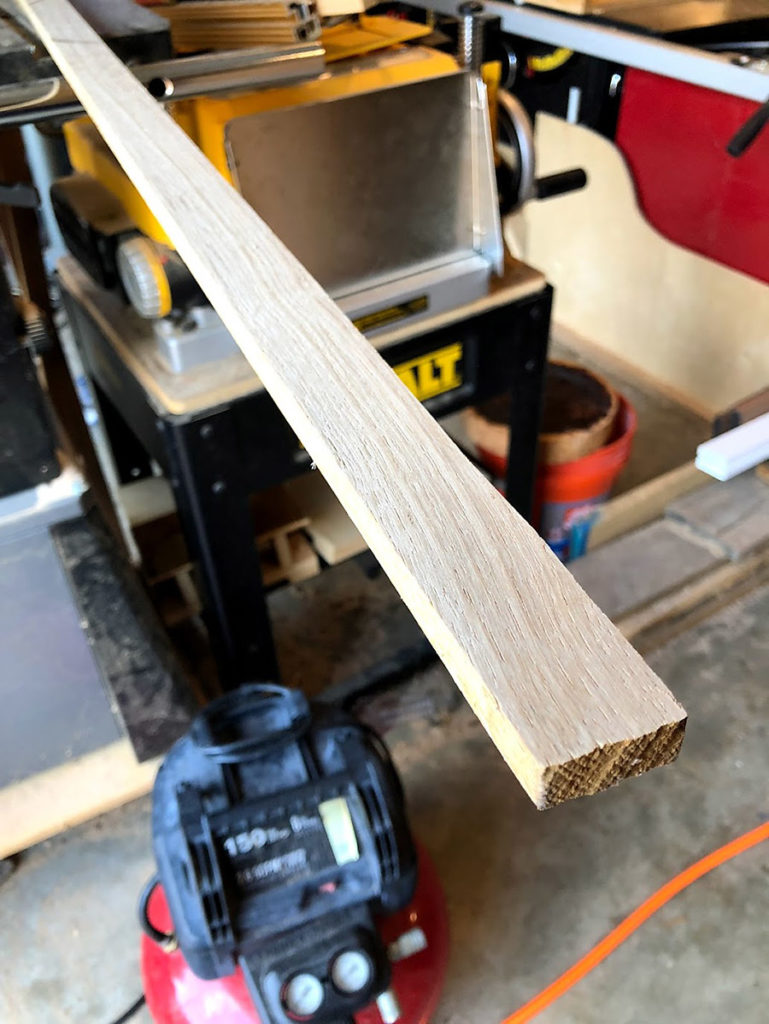
We had some 1″ pieces of oak leftover that we turned into the frame. We ripped it to 1 1/2″ wide and cut the first two pieces to 36″. We waited to cut the remaining two framing pieces until we had assembled the project, then we cut them to fit perfectly.
Create the Shiplap Panel
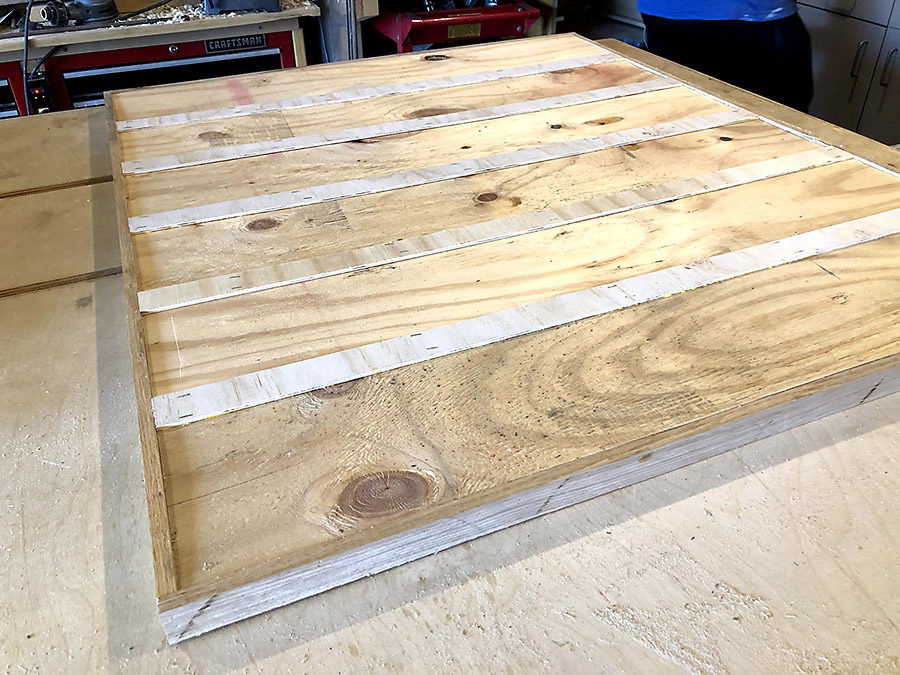
Lay the plywood planks face down. Use something about the width of a quarter to evenly space the planks. Attach the backing strips parallel to the plywood planks using wood glue, making sure to just add a bead of wood glue to the outer edges of the backing strips so that it doesn’t seep into the seams.
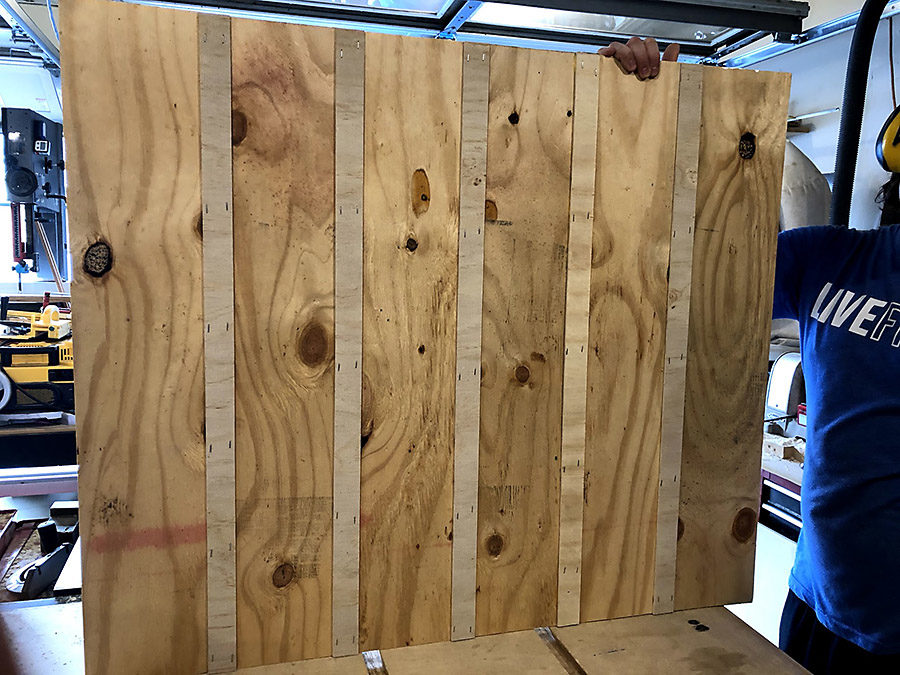 Then we used the staple gun to more securely attach the backing strips, but you could also use small nails.
Paint it White
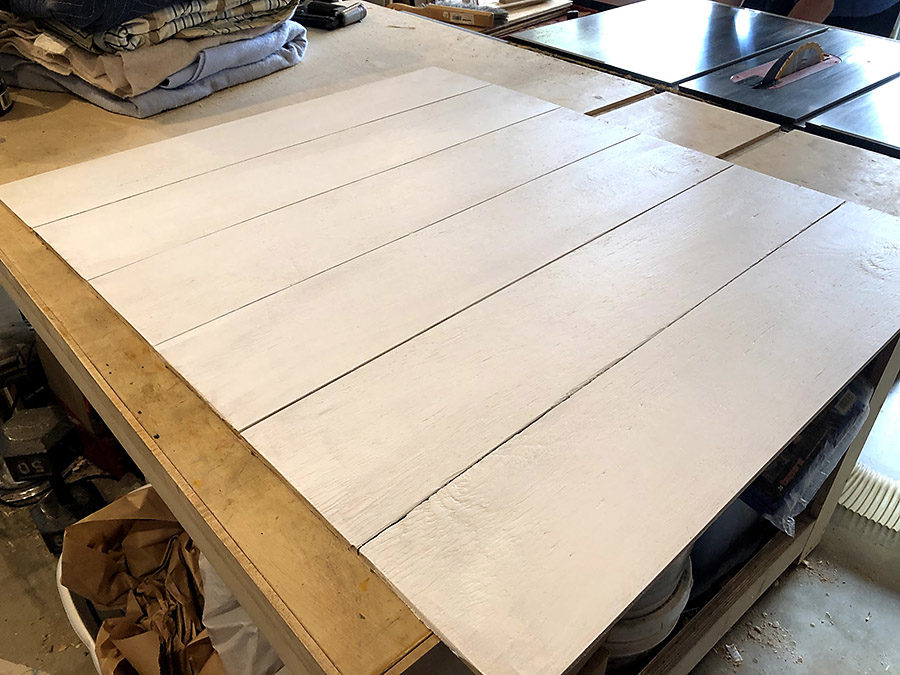
Using our favorite paint color – Pure White by Sherwin Williams, we painted a couple of coats directly onto the plywood. Because shiplap is supposed to have a ‘found’ look, we weren’t worried about the paint looking perfect. The more character in this piece, the better!
Add a Frame
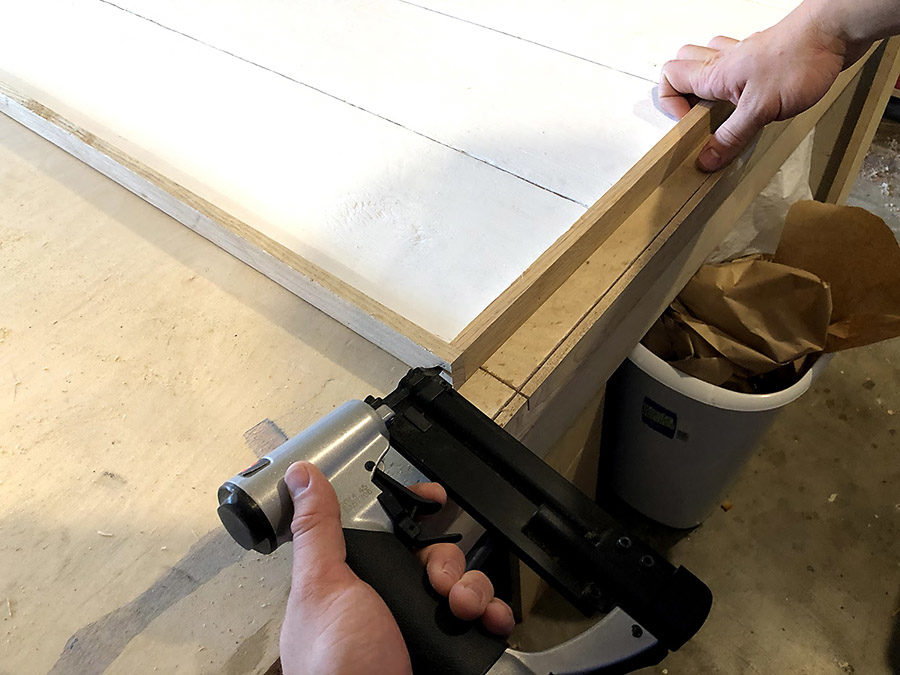
Add the first two framing pieces to the piece using a bead of glue and several nails.
Then measure the second two framing pieces and cut them to fit. Attach them using glue and a nail gun.
Add a Hanger
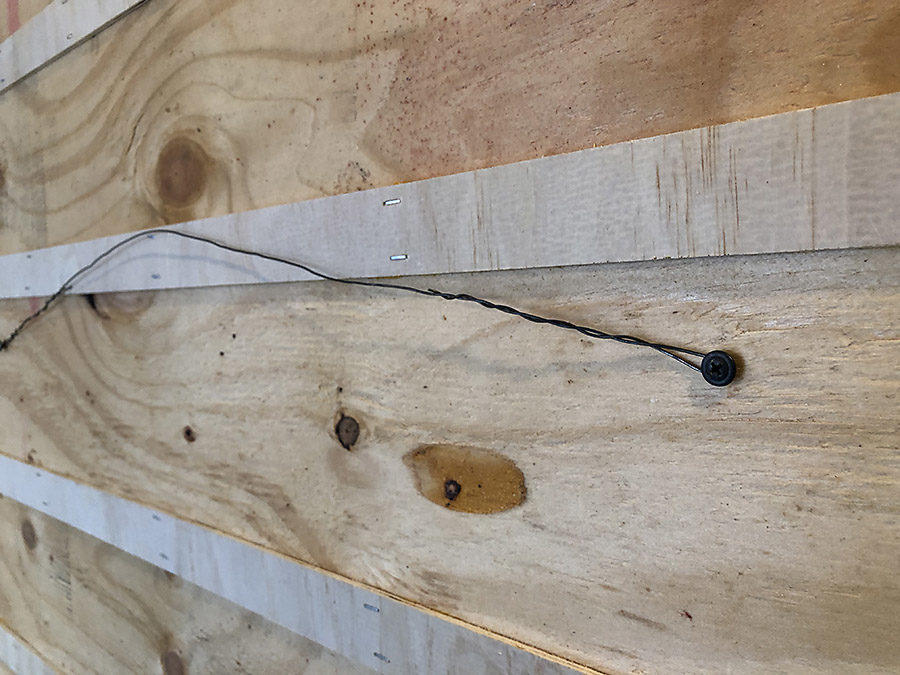
For this project, we used two short screws and a piece of all purpose steel wire that we had around the shop, but they make picture framing kits that would serve the exact same purpose.
Add Decorations
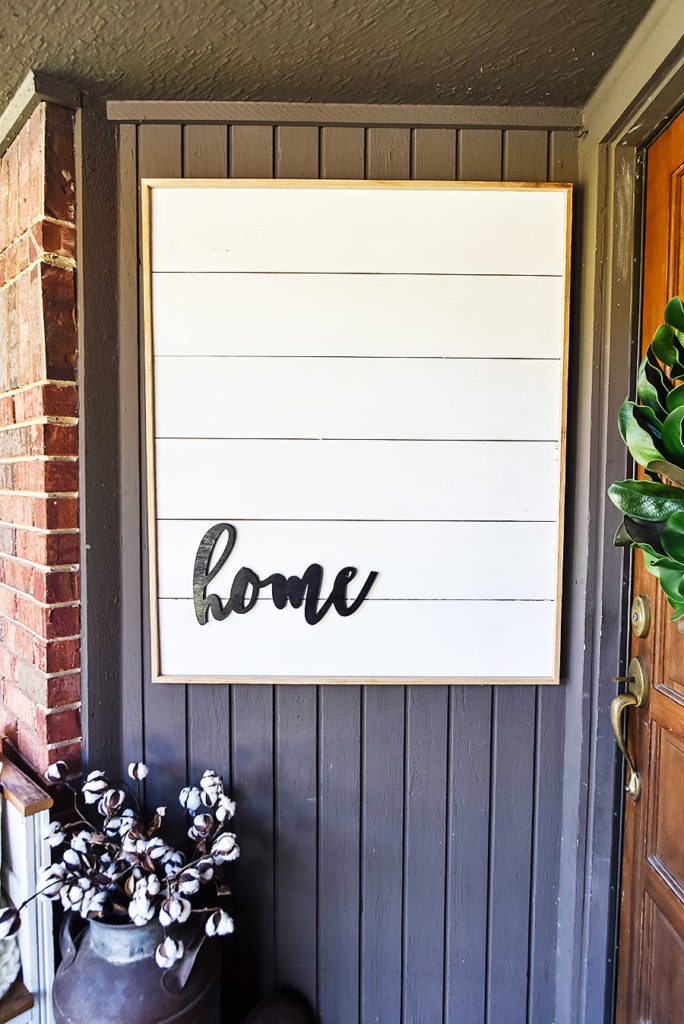
You could stop this project right here – use it as a background for a wreath, a photo you love, hanging dried herbs, or anything else you can imagine. We chose to add a small word for this season. I found this word “home” at Michaels in plain wood, and we used some leftover spray paint to give it an even coat of black paint.

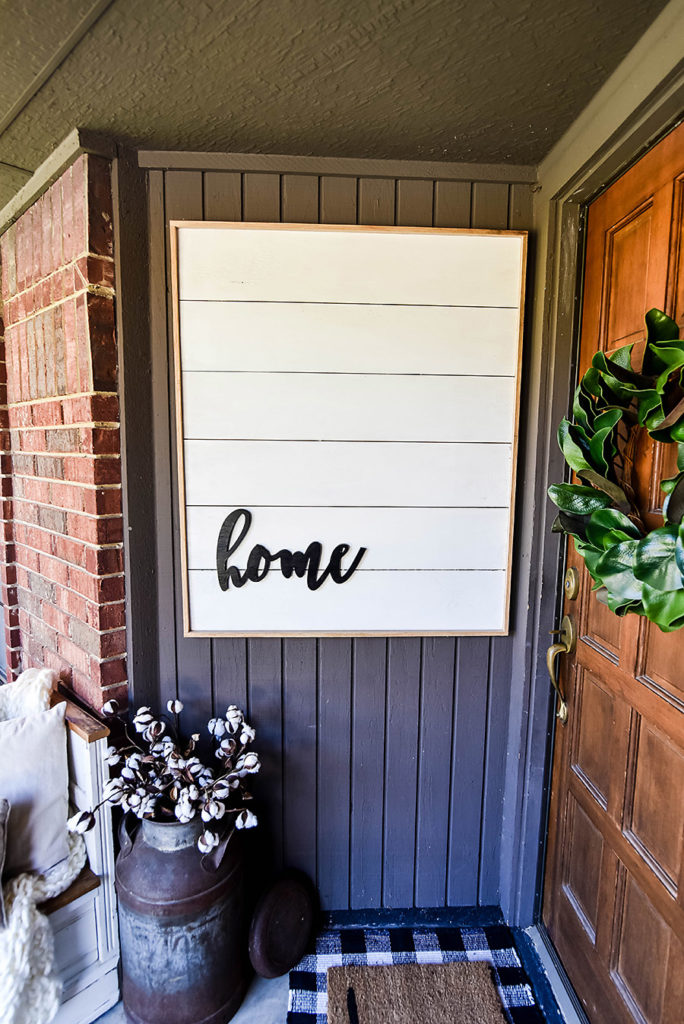 That’s it! It was an easy project that took less than an hour, but I love how it looks on our front porch! Where would you use this beauty?


Yes – thank you! I’m totally making one of these
Love the sign!… but totally curious where you got that chair from!???