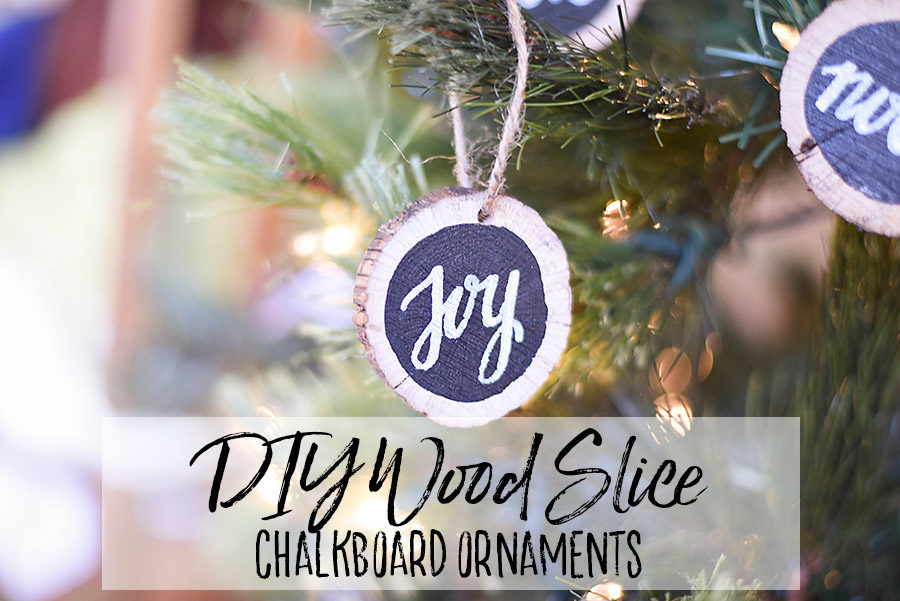
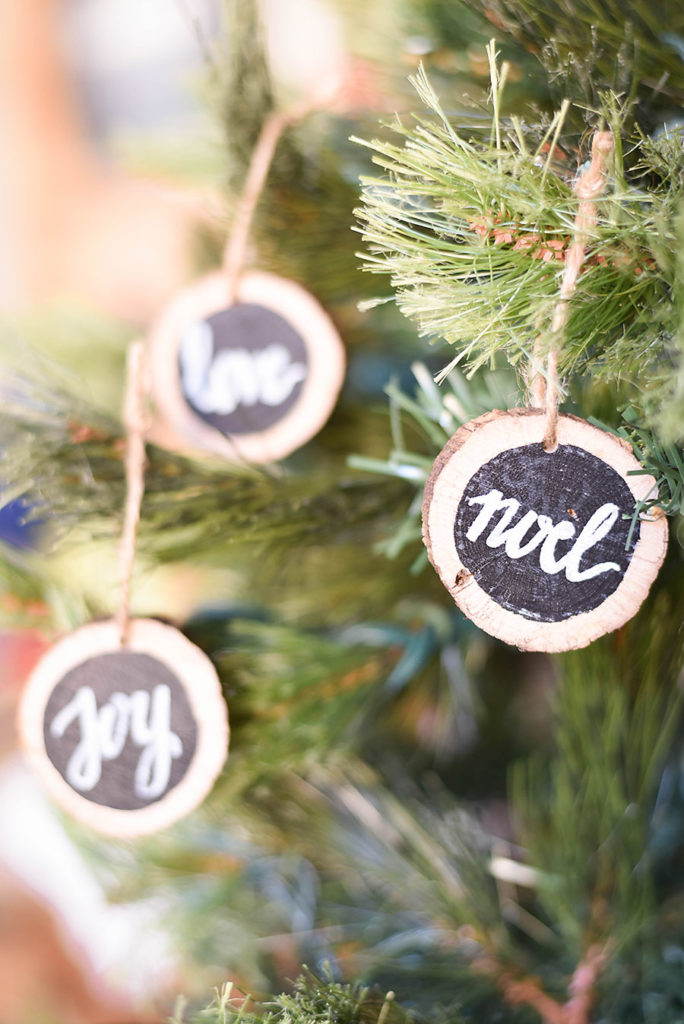
I’ll be honest, I feel a little silly posting this tutorial because these little ornaments are SO EASY. Seriously, they take about 10 minutes and only have 3 supplies.
Ultimately, I had to share them because they are so simple, but such a great way to add some rustic charm to your Christmas tree.
We have also used these as gift tags for Christmas gifts for co-workers and teachers. It’s perfect because they work as gift tags, but it’s not just something else to throw away. It’s a little gift in itself.
These would also be sweet as both place cards and favors for your Holiday party.
Can you tell I love things that serve multiple purposes? I am a practical girl at heart. On to the tutorial!
DIY Wood Slice Chalkboard Ornaments
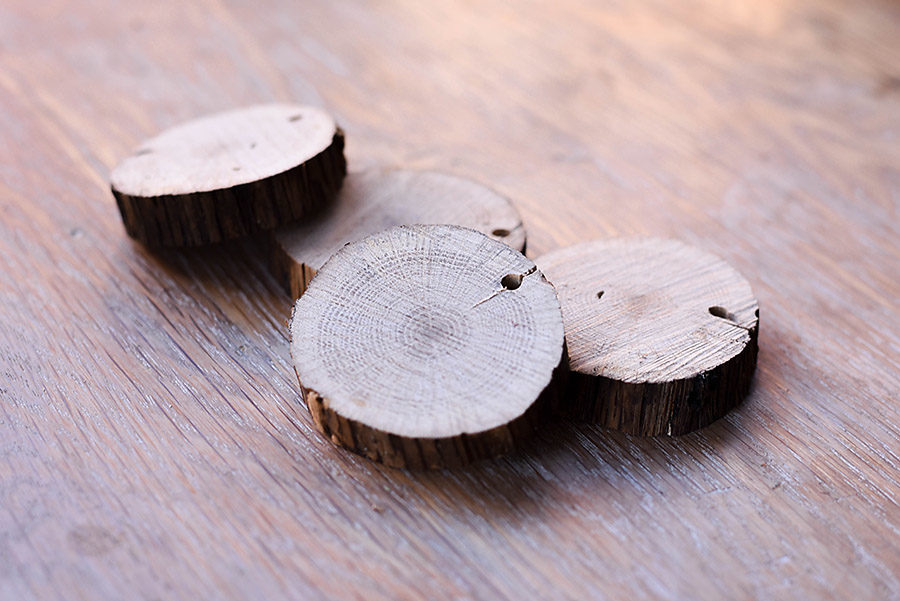
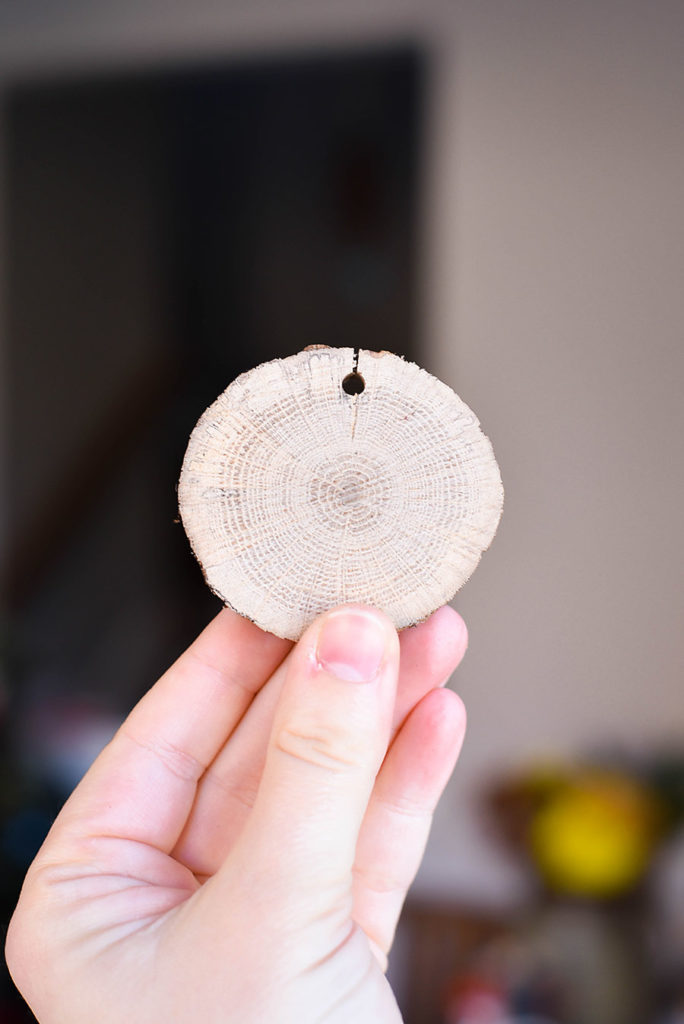
First, we cut a thick branch into 3/4″ slices. We tried to make extra and keep the ones that had the bark in place.
I had my husband drill a hole through the top of the wood slice and I made a twine loop to attach the ornament to a tree branch.
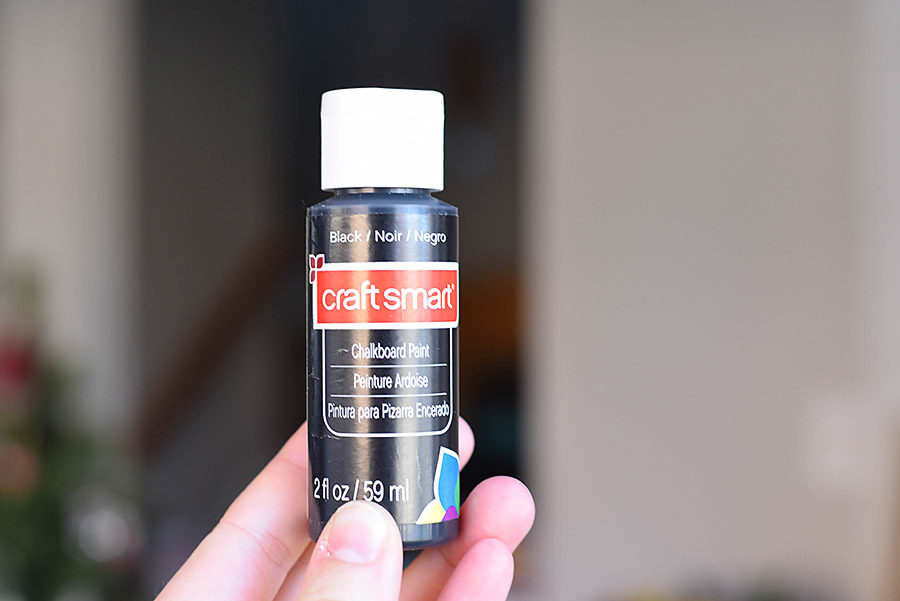
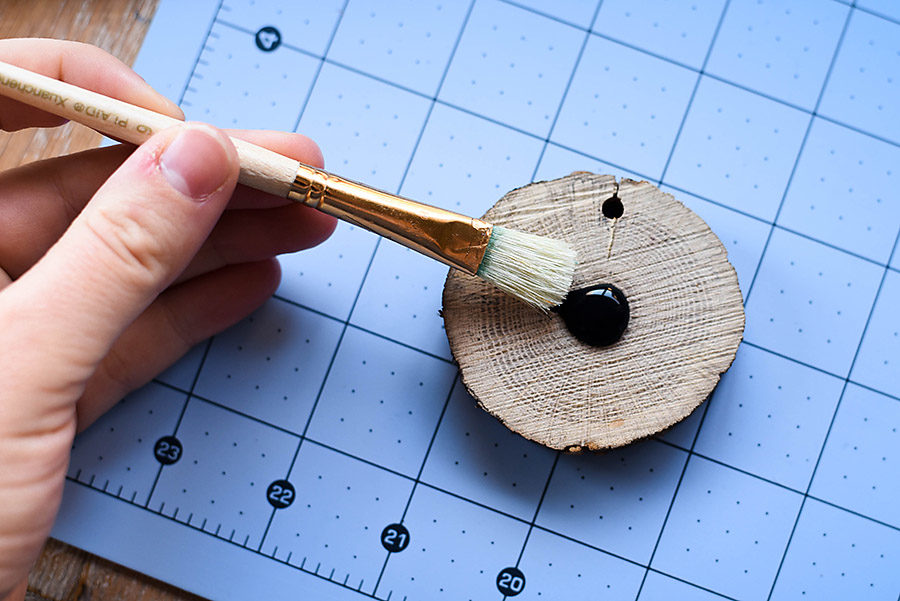
Then I painted the inside of the wood slice with chalkboard paint. I left a small ring around the outside to show off the wood. It took several coats of chalkboard paint to completely cover the center.
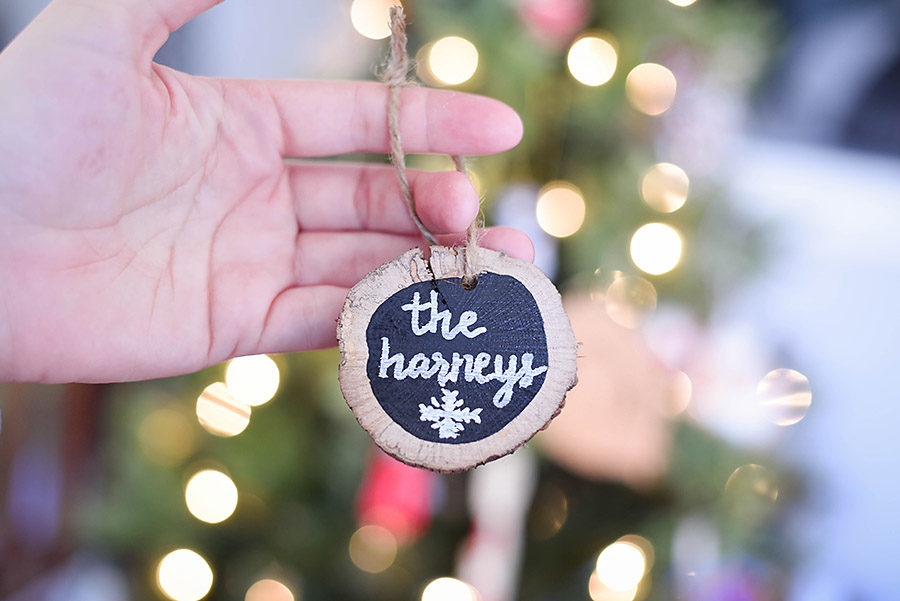
Before writing on the chalkboard ornaments, I covered the whole thing in chalk and wiped it off to ‘prime’ the chalkboard. Finally, I made a few designs using a chalk marker. You could definitely use regular chalk if you prefer. One tip a reader suggested is to sharpen regular chalk with a pencil sharpener to make it easier to control.
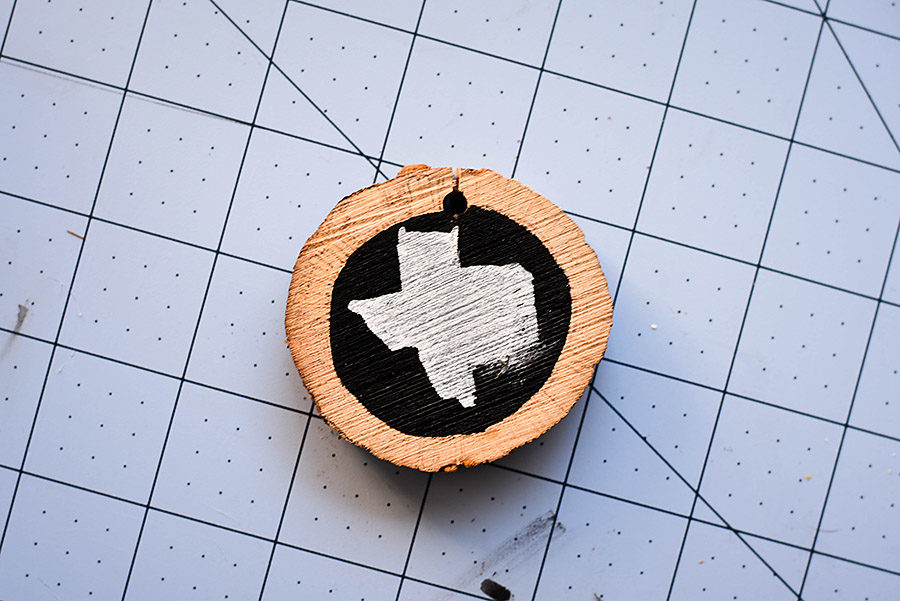
Just in case you think everything I make turns out perfectly the first time, I’d thought I’d show you my failed attempt at drawing the state of Texas. Ha!
If you don’t feel comfortable creating a design free-hand, try using the tracing tutorial from the DIY Painted Sign.
I love that these ornaments are pretty sturdy, because I have two kiddos who love decorating the tree with me
I hope you enjoyed this simple tutorial! Let me know if you have any other ideas for Christmas ornaments – I’ll dome best to make it happen!

