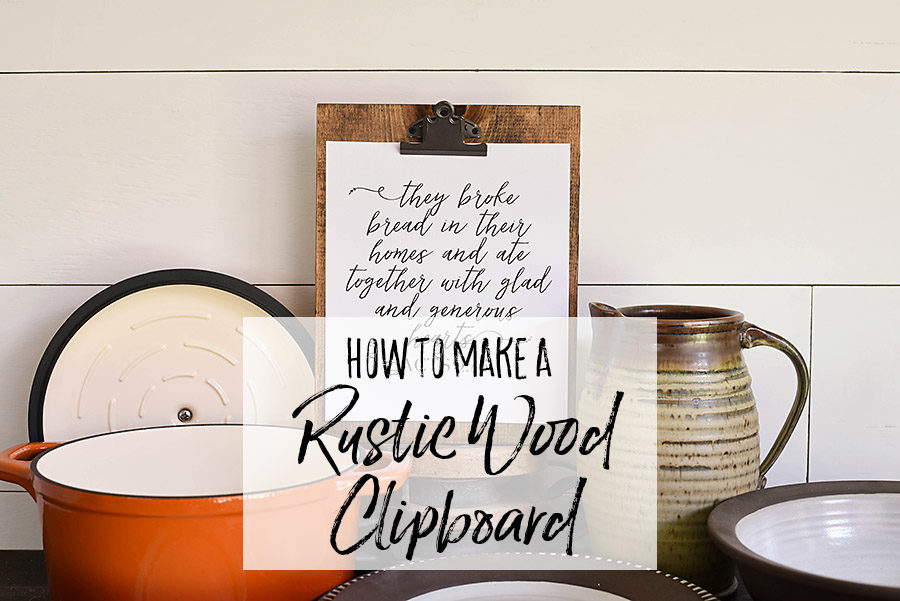
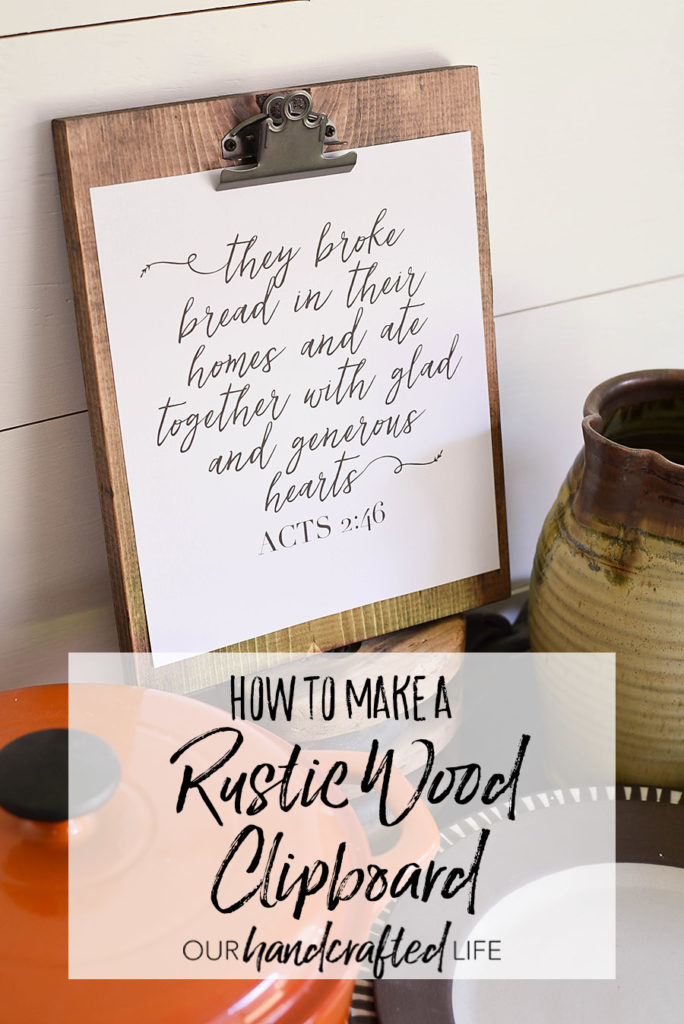
Learn how to make a DIY rustic clipboard with this step-by-step tutorial. It’s perfect for family photos, kid’s artwork, or meaningful printables.
I might be just a little Type A – I actually have a favorite school supply. As you might have guessed from the title of this post, it’s the clipboard. I love organization and giving everything a place.
Well, I decided that the clipboard had been relegated to lost papers and stuffed in cabinets for too long. It’s time to give the classic clipboard a new look.
The best news? These DIY Rustic Clipboards are very easy to make. You could easily make several in an afternoon to give as gifts or hang in a gallery wall. Here’s how they’re made.
How to Make DIY Rustic Wood Clipboard
Supplies:
- 1×10″ Wood
- Stain
- Clipboard Clip
- JAX Metal Finishing Solution
- Minwax Spray Lacquer
- Sawtooth Picture Hanging Kit
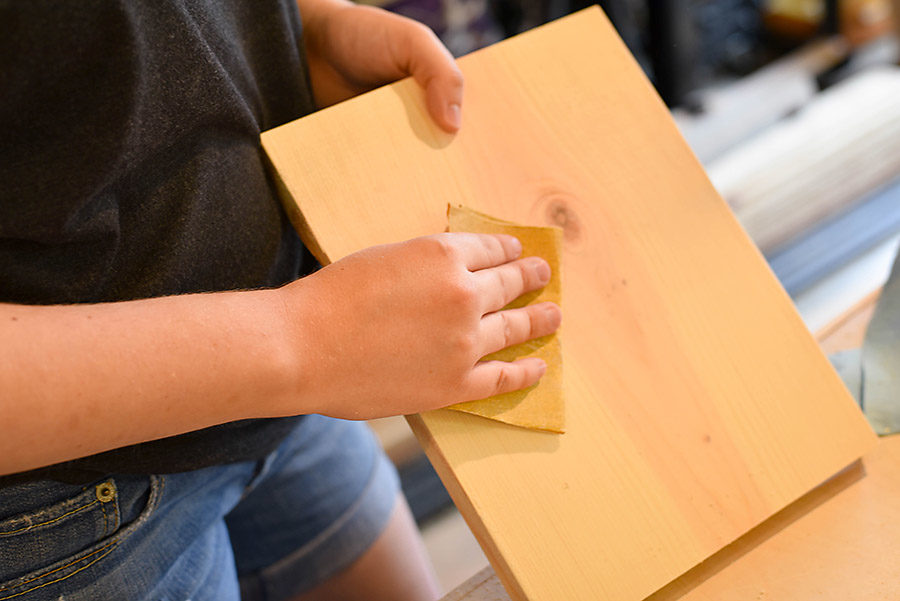
To make the rustic wood clipboard, cut down the 1×10″ (which actually only measures 3/4″ x 9 1/4″) board to 12″. Sand and prep the wood then stain it using your favorite color of stain.
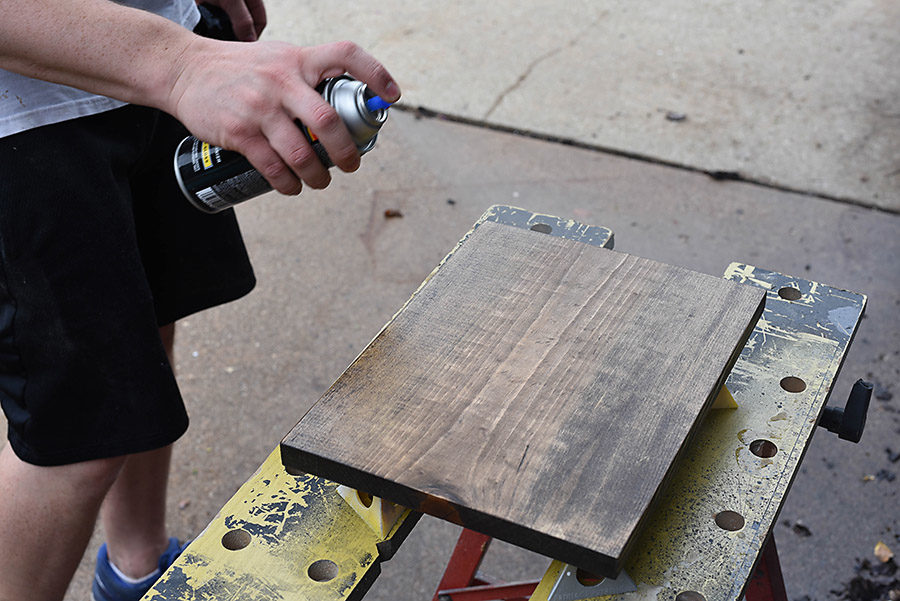
Once the stain had set, we sealed the clipboard with clear satin spray lacquer.
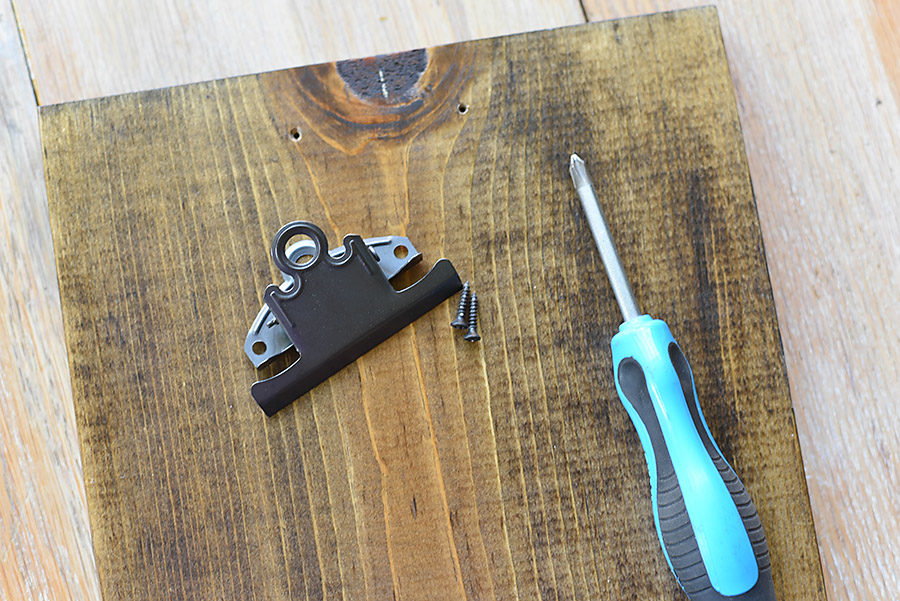
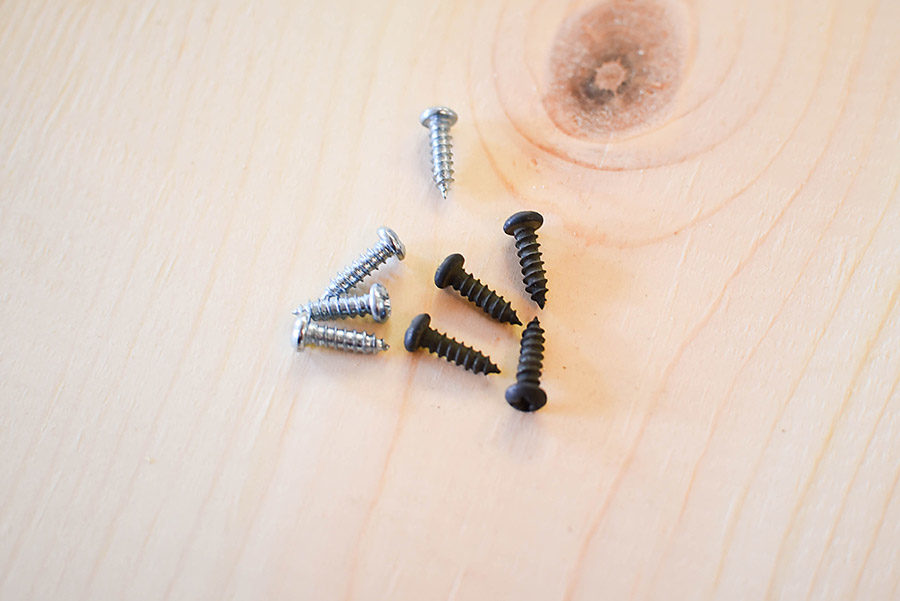
We used antiqued nickel clipboard clips, but we didn’t have any rubbed bronze screws, so I used JAX Metal Finishing Solution to darken the screws. (I’ve used it before and I’m telling ya’ – this stuff is magic!).
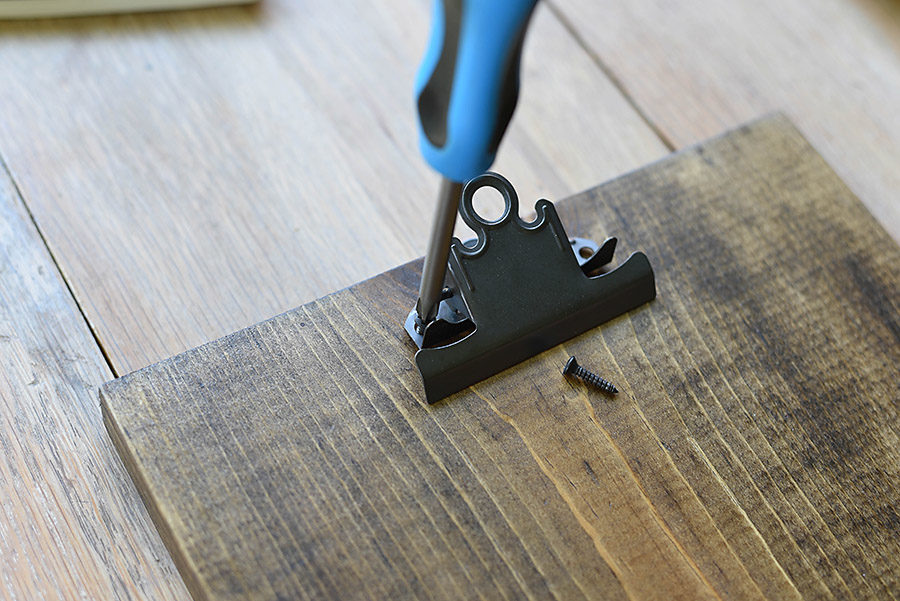
Then we attached the clipboard clip by marking where the holes should be set, pre-drilling holes, and screwing in the clipboard clip.
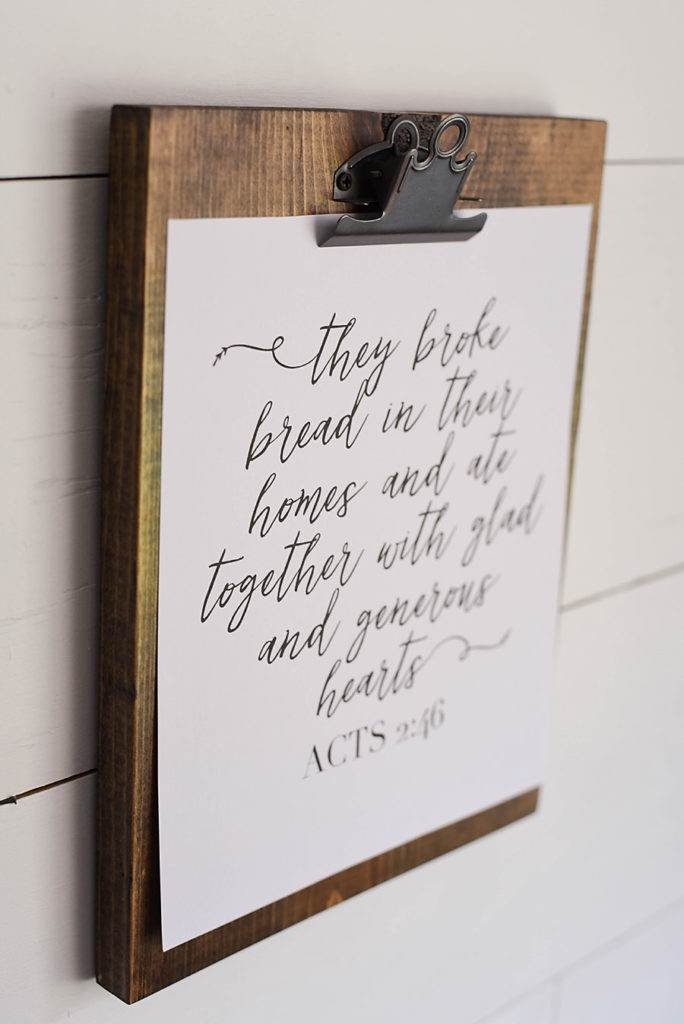
After the clipboard clip is attached, I just attached a simple picture hanging kit on the back, but you could also use the clipboard on a shelf without the kit.
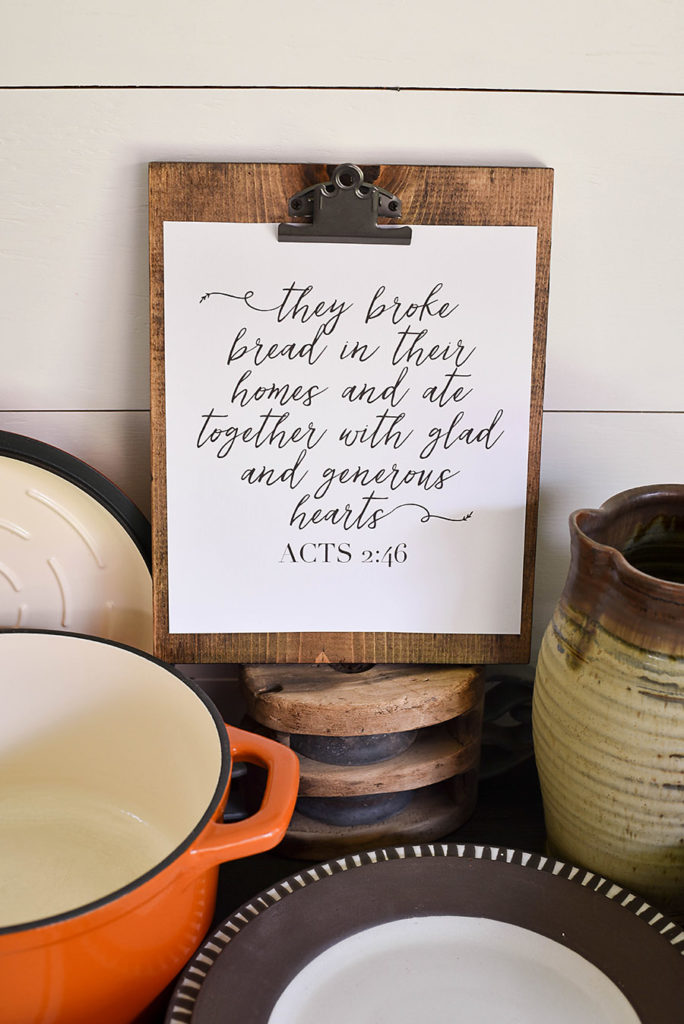
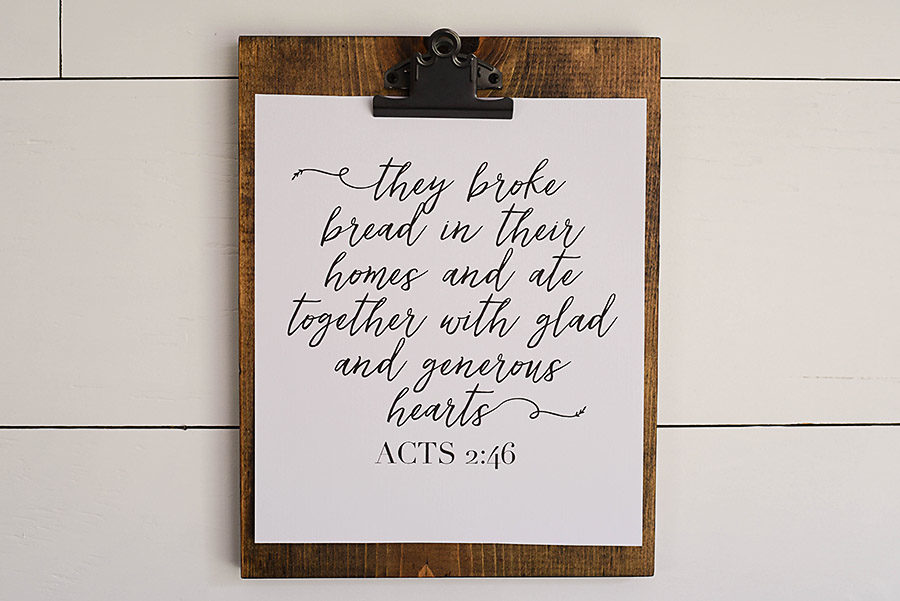
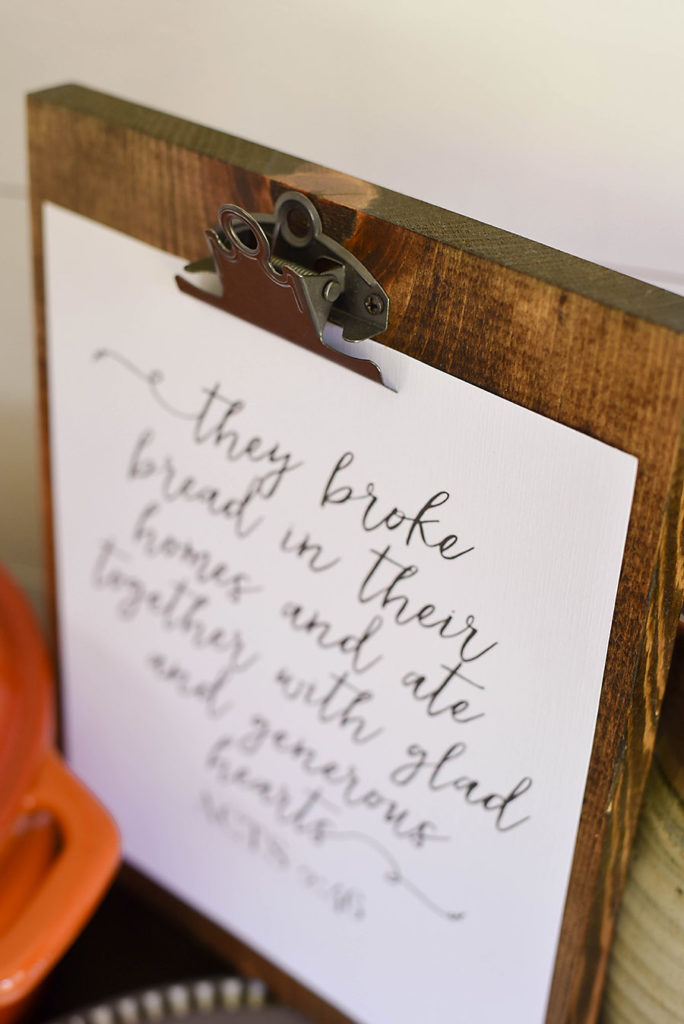
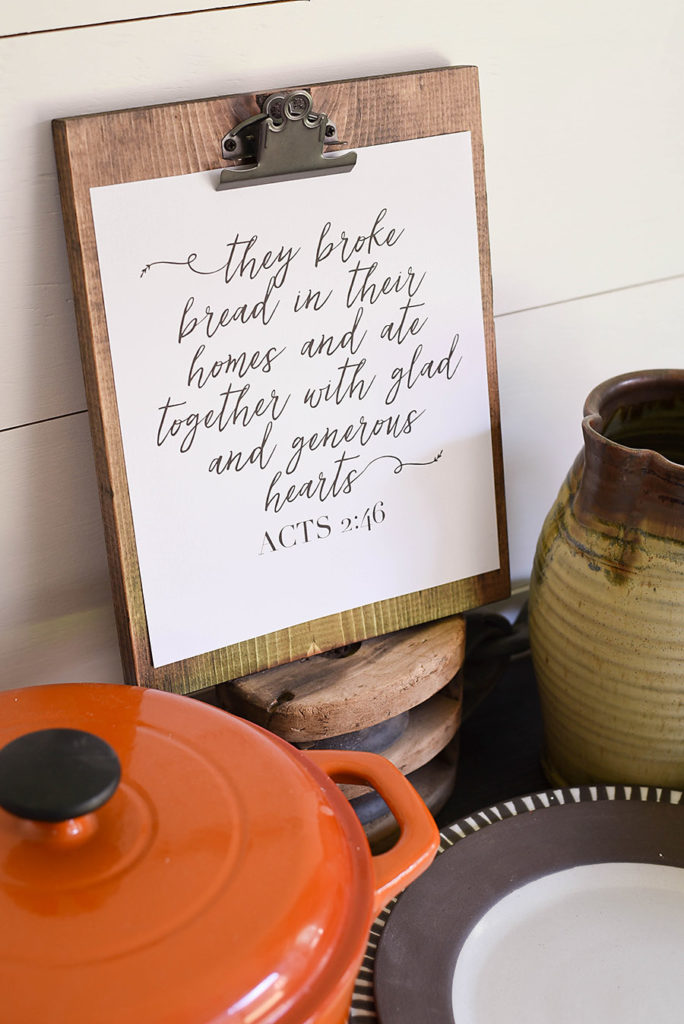
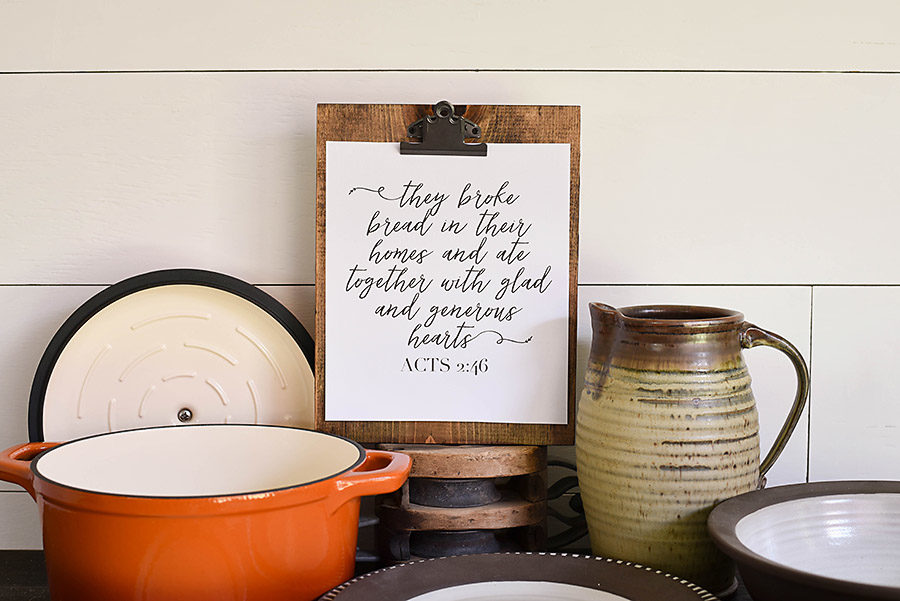
It’s such a simple project, but it looks great – the perfect rustic accent. It would fit in a farmhouse laundry room or a country cottage kitchen.
If you like the print, you can find it in our Etsy shop!

Very creative, and absolutely fabulous thank you for this wonderful post. I love clipboards, and plans to make one of these.