DIY: Prepare Felt Christmas Ornaments with your Kids
DIY Felt Christmas Ornaments
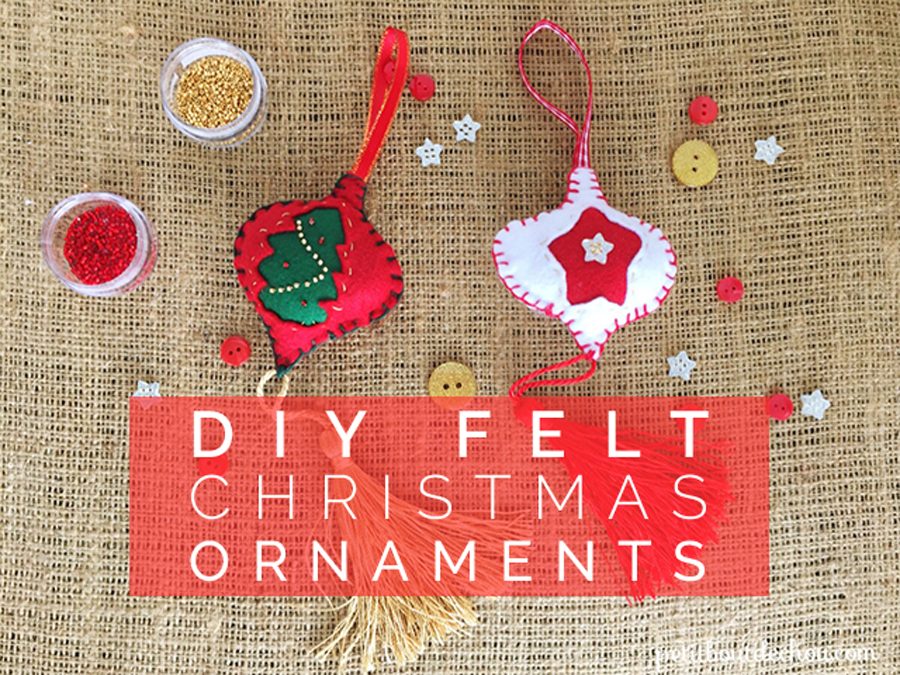
Preparing Christmas is always a great moment of the year for some crafts activities. I guess you remember well the ornaments that you used to hang every year on your Christmas tree as a child. I really loved that moment. I was able to create a special ephemeral decor in our home using these beautiful ornaments. They are essential elements to me contributing to the Christmas atmosphere.
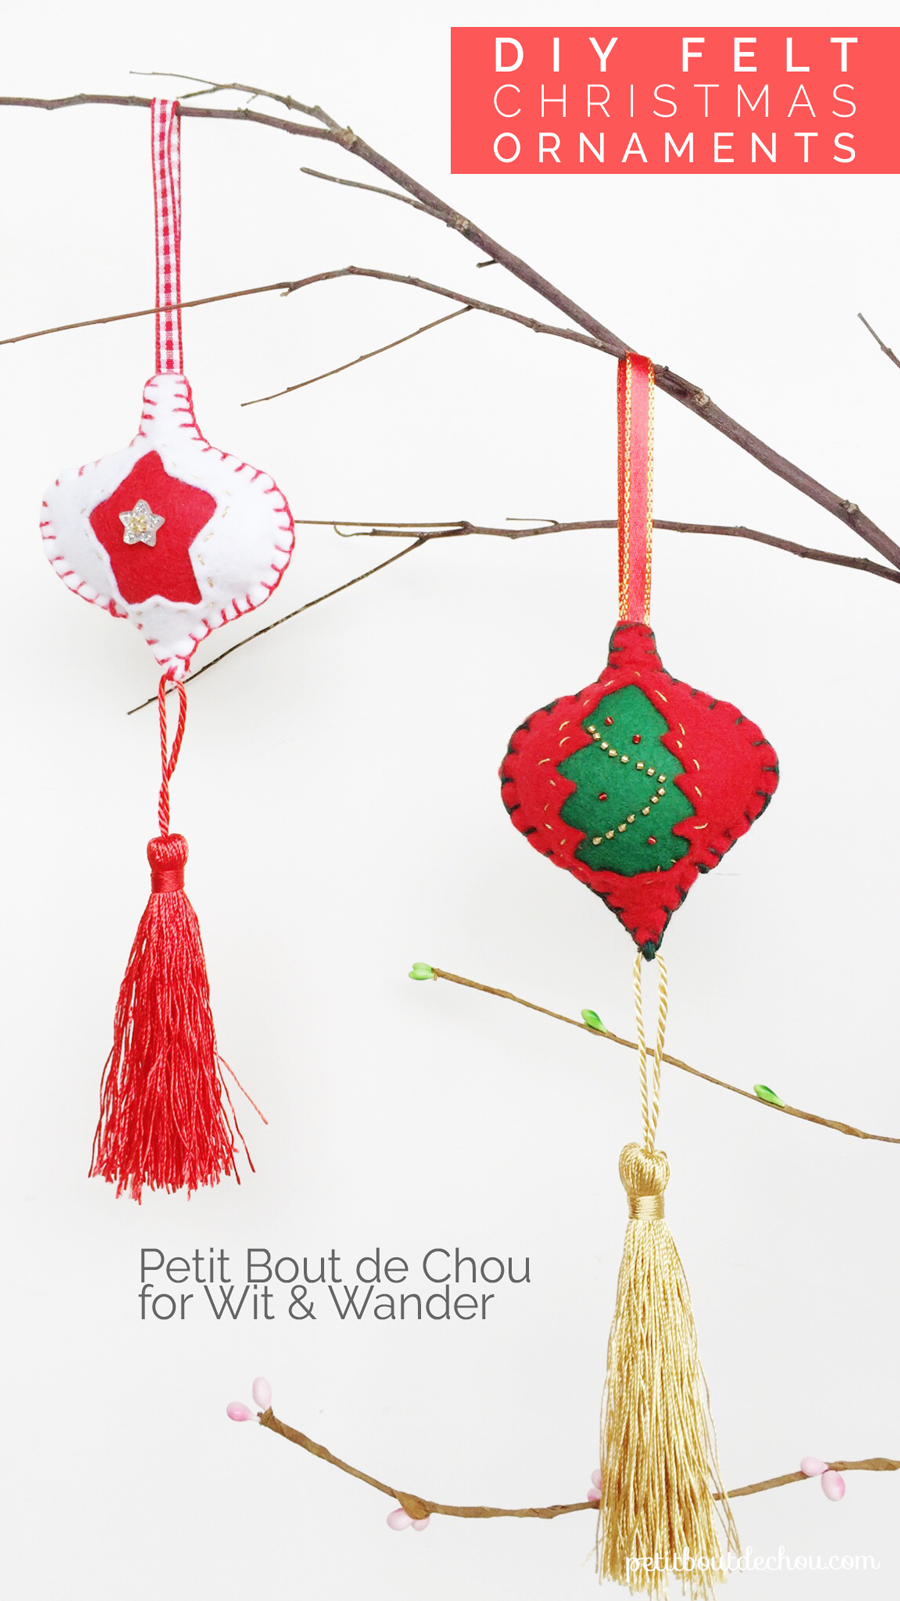
Follow this tutorial to create felt Christmas ornaments with your kids that they will enjoy hanging year after year.
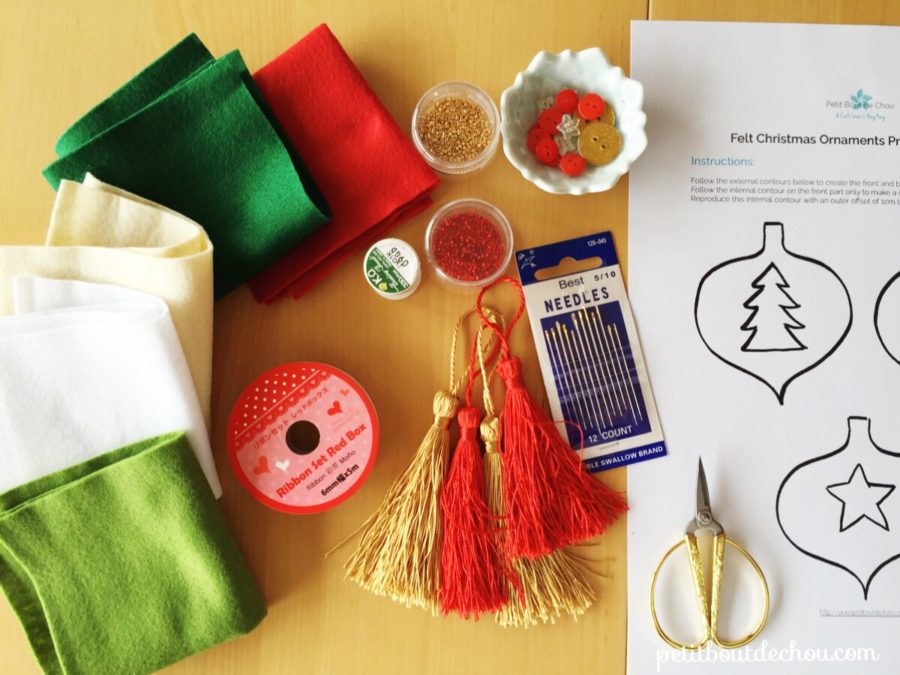
Supplies needed:
- Felt sheets in Christmas colours of your choice
- Ribbon
- Stuffing fibers
- Embroidery thread
- Embroidery needle
- Scissors
- Pins
- Erasable fabric pen
- Tassels
- This free pattern
- Beads
- Beading needle
- Beading thread
- Small buttons
DIY Felt Christmas Ornaments steps:
1. Prepare your felt shapes
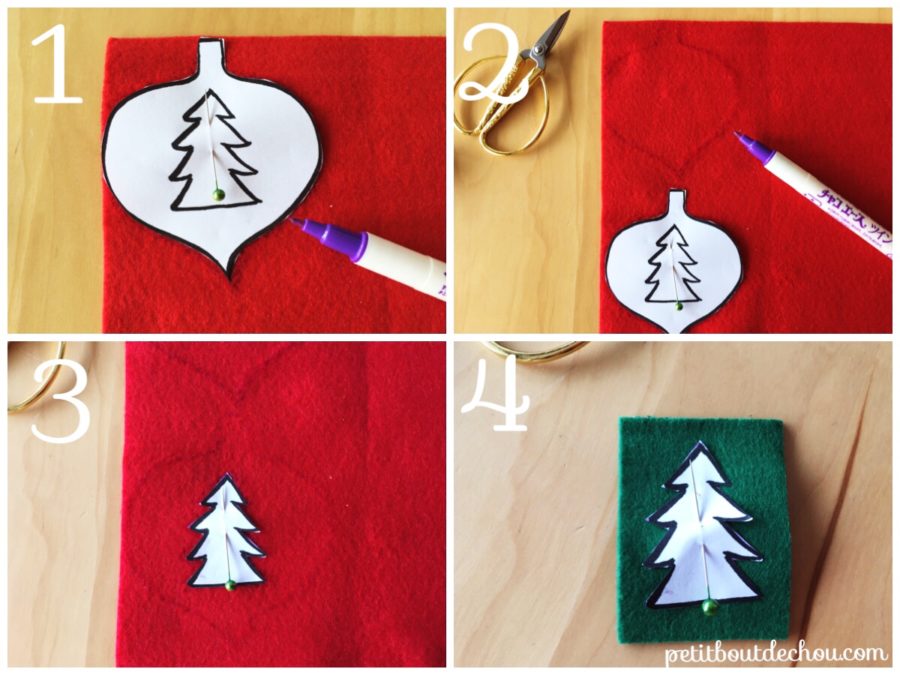
First, print the pattern in A4 format.
Then, cut the shapes of the ornaments you would like to create. Pin them on the felt sheets. Use your erasable fabric pen to mark the contours (1). Repeat to mark the back piece as well (2).
Cut the felt following these marks to create the external envelope.
Cut the inner contour of the pattern to reproduce this shape on the front piece (3).
To create the internal one which we can call the “heart” of your ornament, just pin the inner contour on a felt sheet of a different colour and add at least 1cm all around (4). Cut the shape. It can be a rectangle shape as shown here for the Christmas tree. This extra area will allow the stitching of the heart.
2. Assembly and stuffing
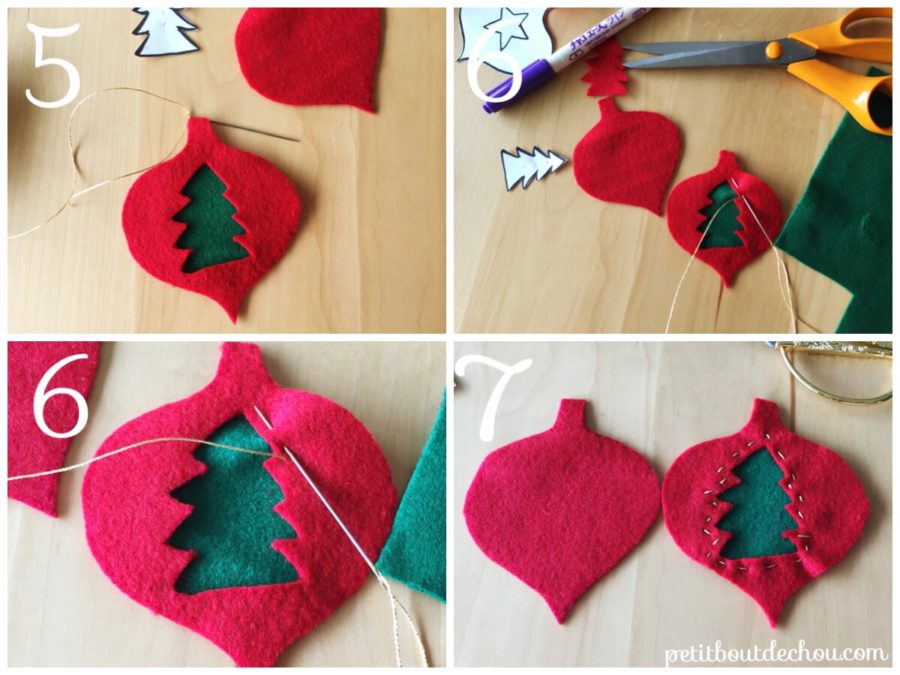
We will now assemble the heart to the external felt front part using a very easy stitch. It is called the running stitch. Using your embroidery thread (5), just make stitches by going back and forth through the felt sheets (6), making regular stitches and leaving gaps of the same length (7).
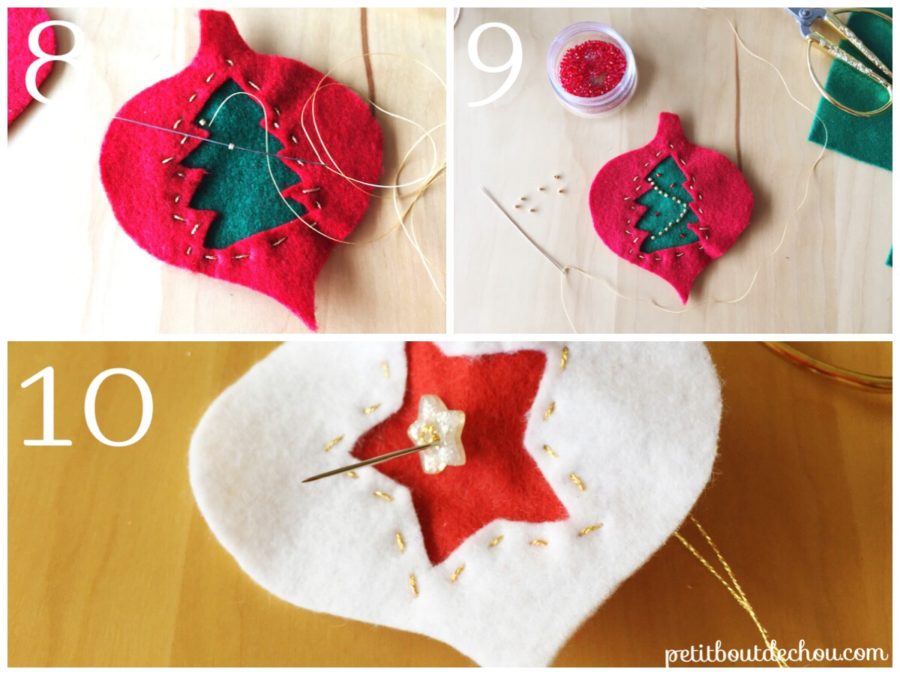
Now you can add any decorations you like to this part of the ornament. I used some beads on my little Christmas tree for example (8 & 9).
You can also stitch some buttons (10) or make some embroidery stitches.
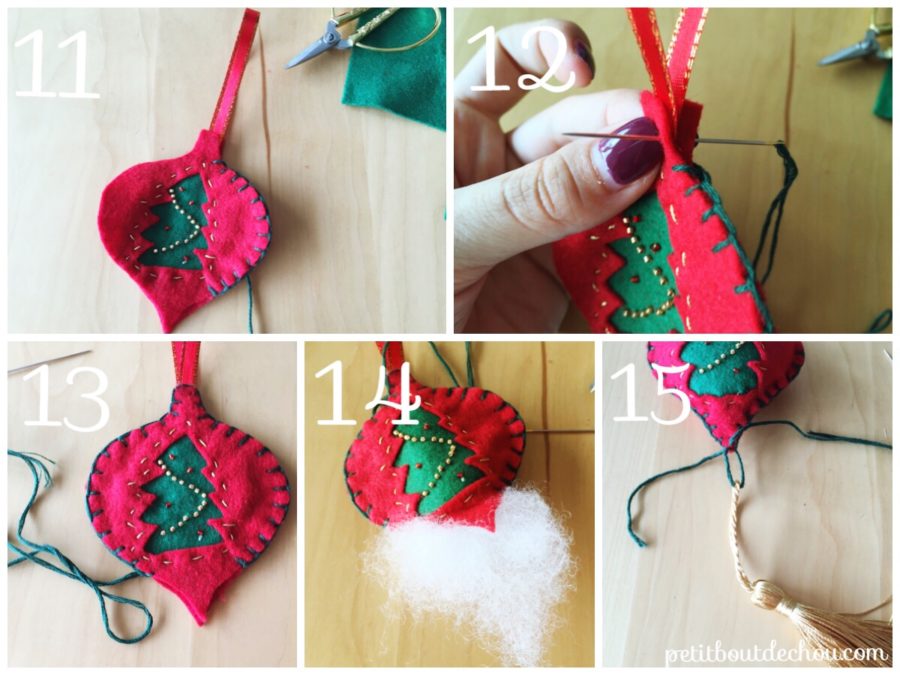
Once you are done, we will assemble the front and back pieces of the ornament using the blanket stitch (11). It is also a very easy stitch. You can find the detailed steps for this stitch in my cute baby owl stuffed magnet post. Start stitching and just before reaching the top, cut 15cm of ribbon. Fold it in two and place the ends inside the ornament (12). Continue stitching and make sure you catch the ribbon to fix it in place at the same time. Before completing the full contour (13), leave a gap of a few centimetres to stuff your ornament (14).
When it becomes quite dense, finish stitching to close the contour. Make a tight knot.
3. Add your tassel
Finally, just make a few stitches at the bottom tip of your ornament (15) to fix your tassel, make a tight knot and hide the thread.
You are done! Play with different colours, and different shapes to create beautiful variations of these ornaments with your kids.
I hope you had a great time following this tutorial.
If you did, discover my universe with some other DIYs from my blog that you may also like:
![]()
Estelle is a French civil engineer who moved to Hong Kong 5 years ago to revive her ties with her Chinese roots. When she is not working for her demanding day job, she enjoys preparing handmade gifts for the people she loves and creating unique objects while learning new craft techniques. Inspired by Asian and Western cultures, she likes sharing not only her creations but also all the useful tips to make them yourself as well as the best places to find craft supplies in Hong Kong on her crafts & DIY blog Petit Bout de Chou.