Rustic-Glam Frame and Simple DIY Fall Wreath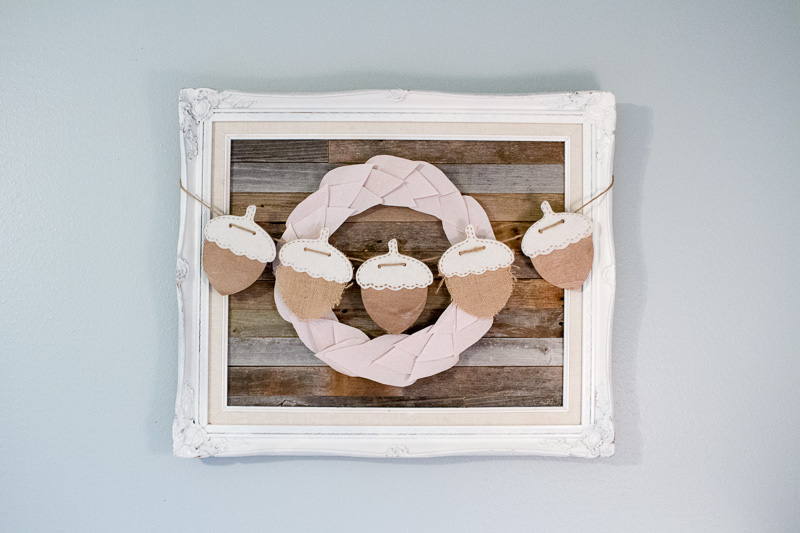 Take a deeeeep breath. Can you smell it? Fall is in the air and I, for one, am SUPER excited! One of my very favorite things to do is decorate for fall, but with two kids under 4, I am looking to simplify my decor (we’re talking nap time projects, can I get an amen?). So, I really love it when I can come up with a simple projects with a lot of impact. I have one of those for you today and I can’t wait to share it with you!
I made this simple, but beautiful, rustic frame and wreath for less than $10! Can you believe it? Now, full disclosure, I had most of my supplies on hand so you may have to go out and get one or two things but I’m willing to bet you can make this same project for under $20.
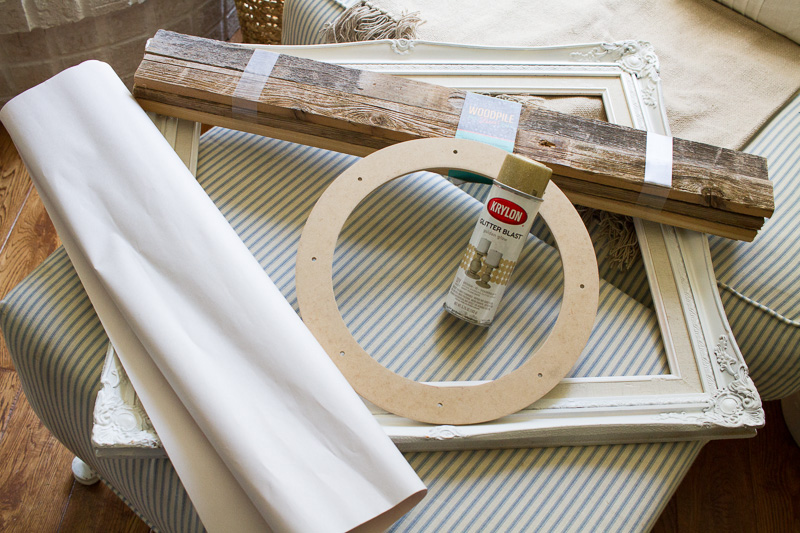
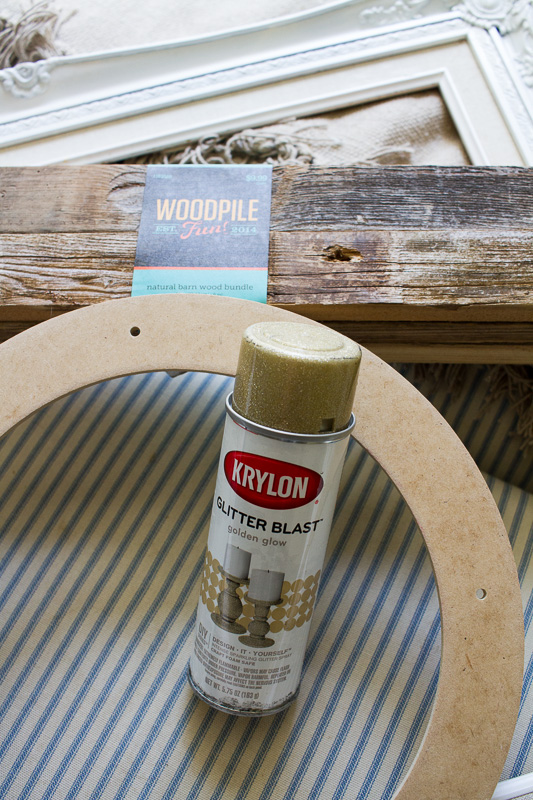
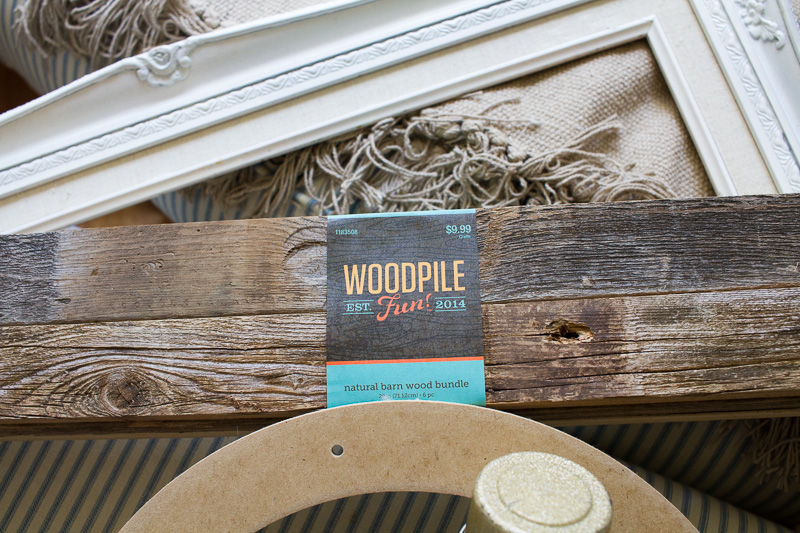 Here’s what you’ll need:
- Frame (I got mine from a thrift store a few years ago and have been using it empty for some time)
- Stack of barn wood (Hobby Lobby, use a coupon!)
- Flat, round wreath form
- Sheet of packing paper
- Gold glitter spray paint (Walmart)
- Hot glue
- Hand saw or miter saw
- Command Velcro strips
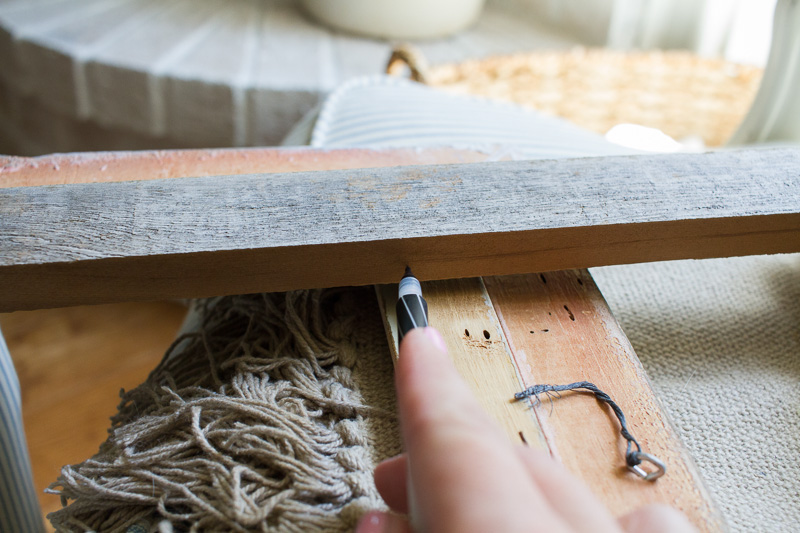 The first thing you want to do is measure your barn wood against the opening in the back of your frame. I did it the easy way by placing one end of the wood in the notch of the frame and then marking where to cut the other end. I then made my cuts using my miter saw (you can use a miter box and hand saw as well).
Now, I have to tell you, I didn’t buy enough wood to accommodate the size of my frame so I had to fill in some holes by piecing together some of my scraps. I did that by measuring, marking and cutting each piece and then attaching my two short pieces (to make the correct size) by using a bit of hot glue and some staples in the back. Worked like a charm. If you want to be smarter than me, buy enough wood!
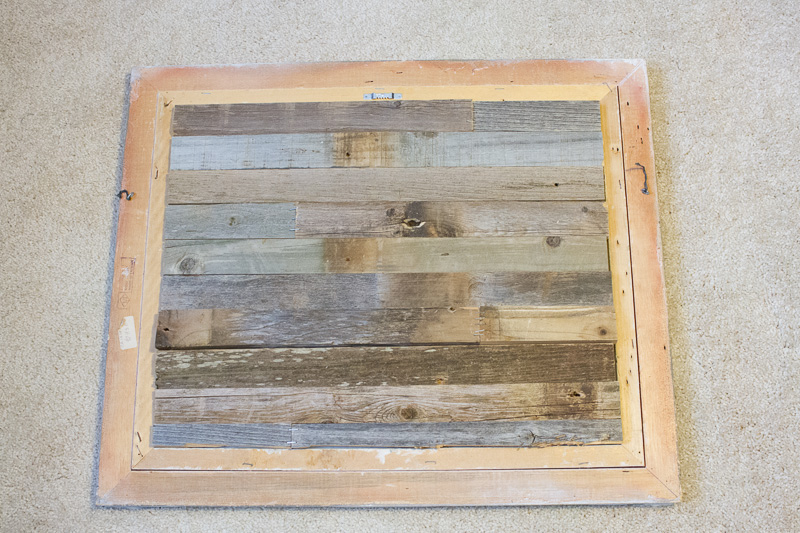 So once I had all my wood cut down to size, I placed all of my pieces in the back of the frame to make sure everything fit correctly and adjust as necessary. Then I plugged in my glue gun and let it warm up while I went on to the next step.
While my glue gun was heating up, I took my piece of packing paper and sprayed it down with the gold glitter spray paint. I chose packing paper because (1) it’s what I had on hand, and (2) I like the light, neutral color of it and the lightness of it’s weight. You could use newspaper, construction paper, kraft paper…you name it. Whatever you use, spray it down really well with your glitter spray and let it dry.
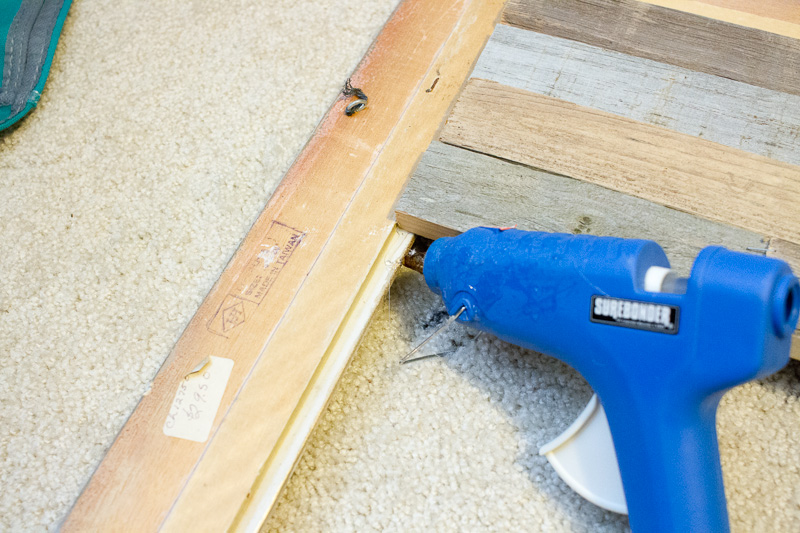 While your paper is drying, start hot glueing the pieces of your barn wood into the back of your frame. Make sure you get everything nice and tight and you have no gaps. Once all pieces are glued down, set it aside to dry.
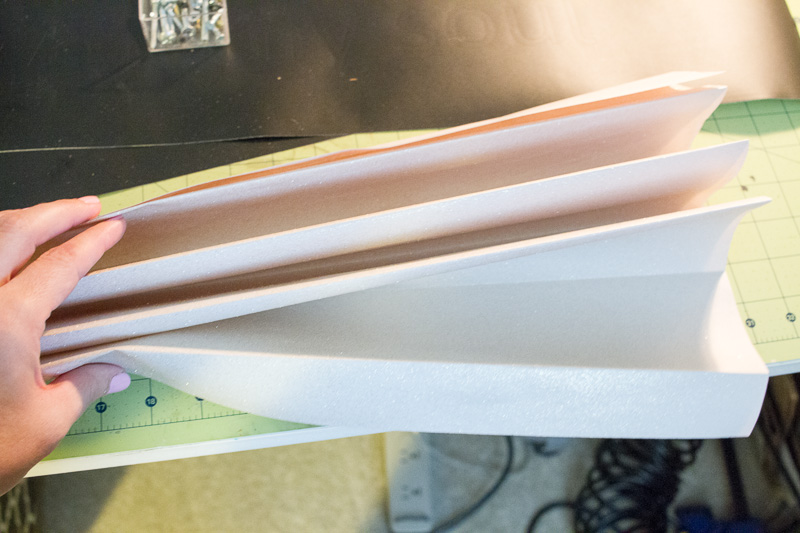
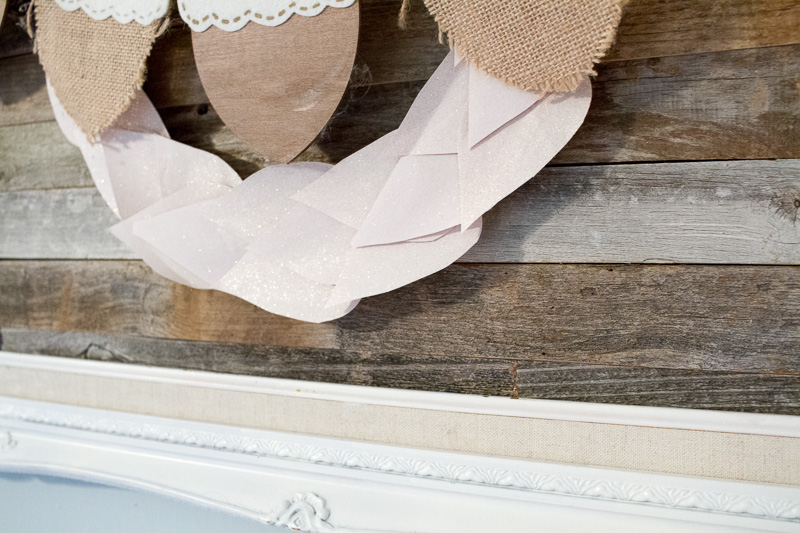
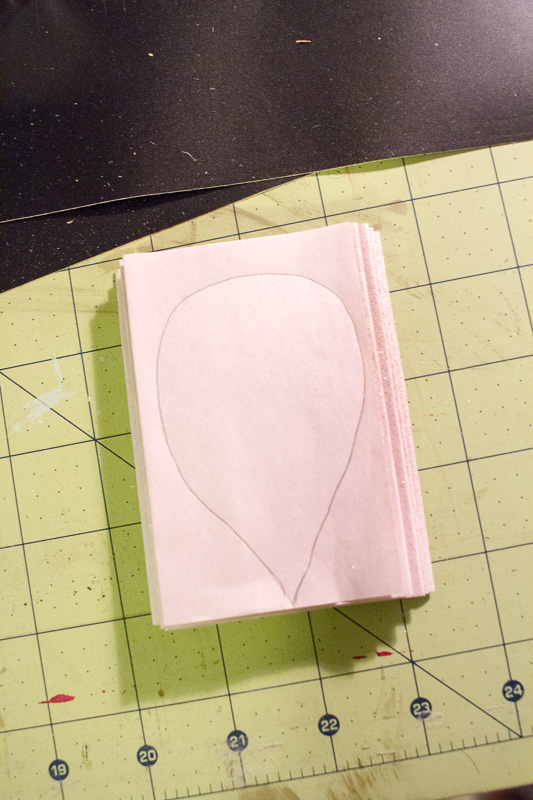 Now, go back to your glittery paper and fold it up like an accordion. My folds were about 2.5″ wide. Once I got it all folded, I cut the length of the paper into 4″ sections. Then I took each section and drew a teardrop shaped “leaf” and then cut that shape out of each accordion folded 4″ section. This gave me about a bazillion little glittery gold “leaves.”
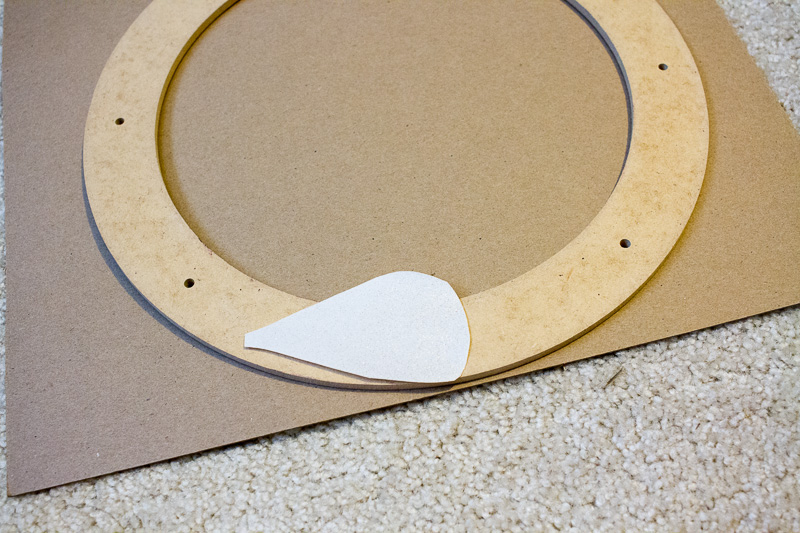
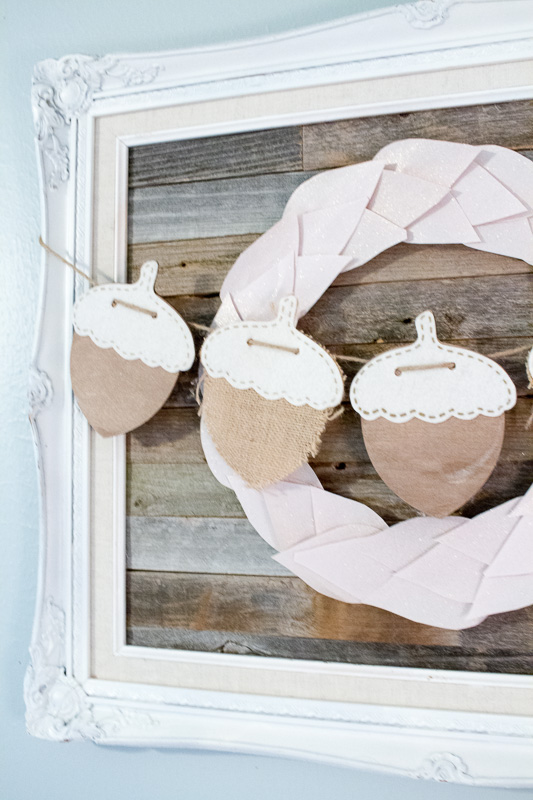
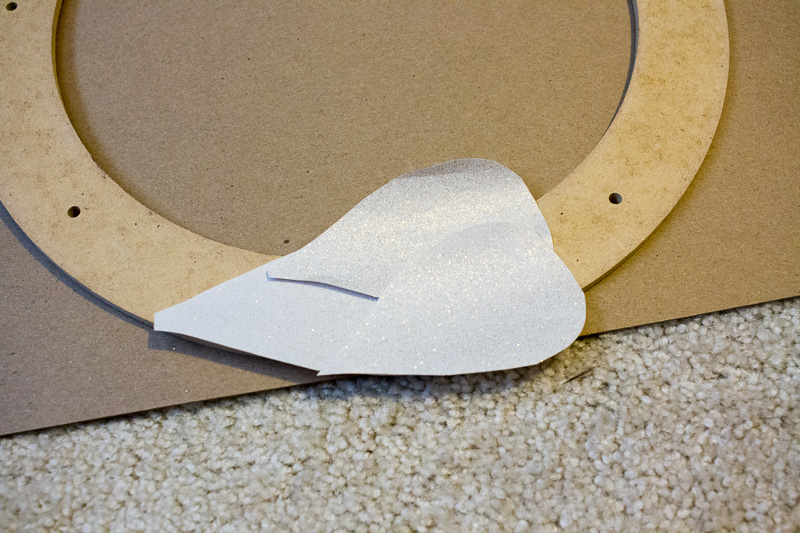 Now take your wreath form and start gluing your “leaves” down in whatever pattern tickles your fancy. I chose to do one leaf, topped by two leafs, repeat. Keep going until you completed the circle with all your leaves.
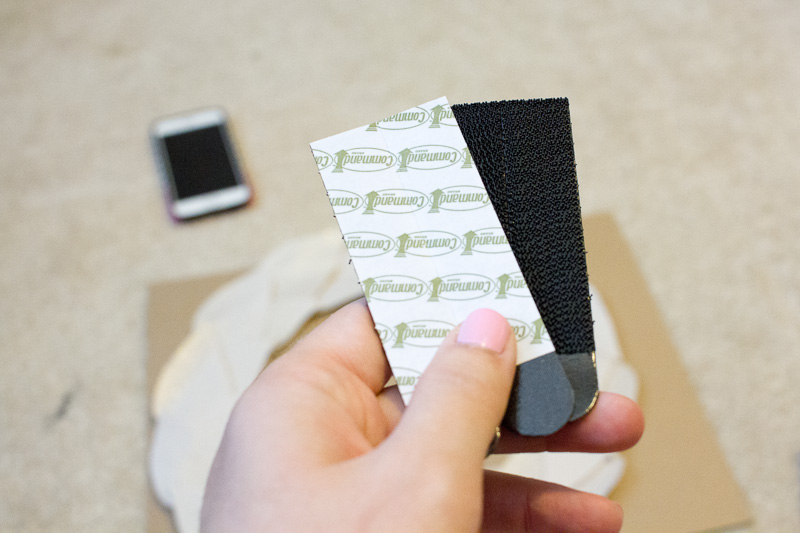
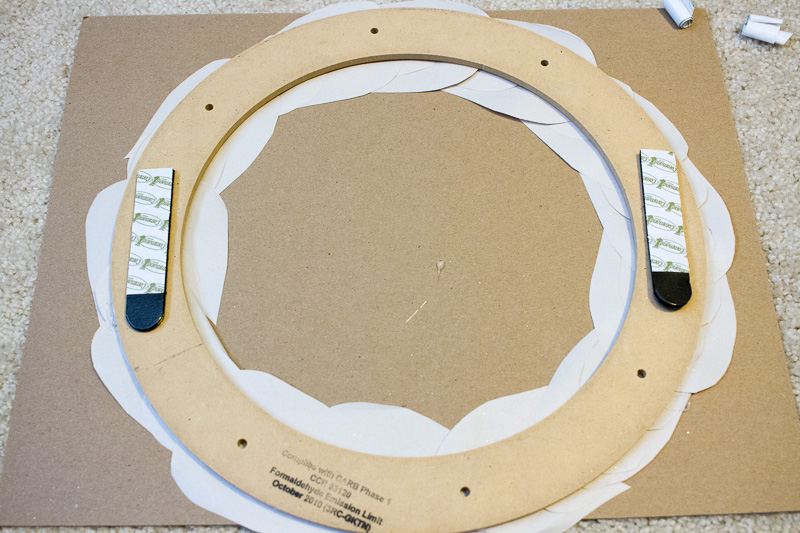 Once your wreath is dry, take some Command Velcro strips and place a couple on each side of the wreath. Remove the sticky backing and place your wreath in the center of your frame and press down gently. You’re ready to hang your new fall frame!
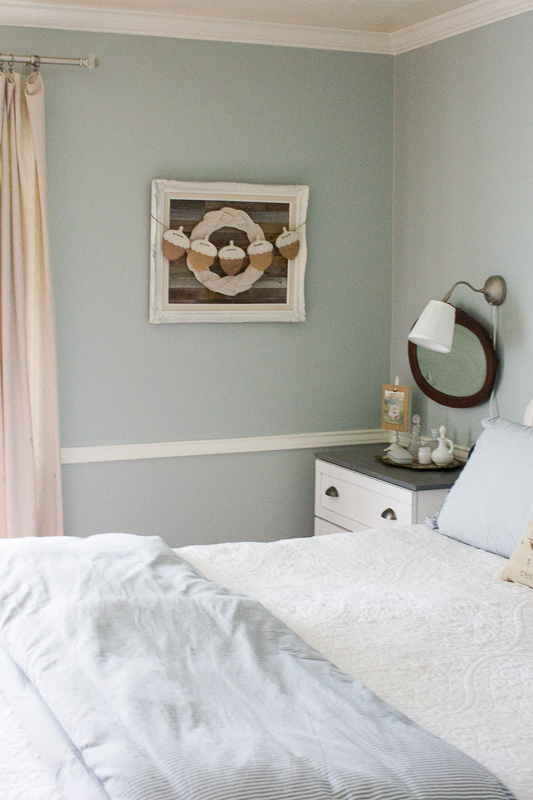
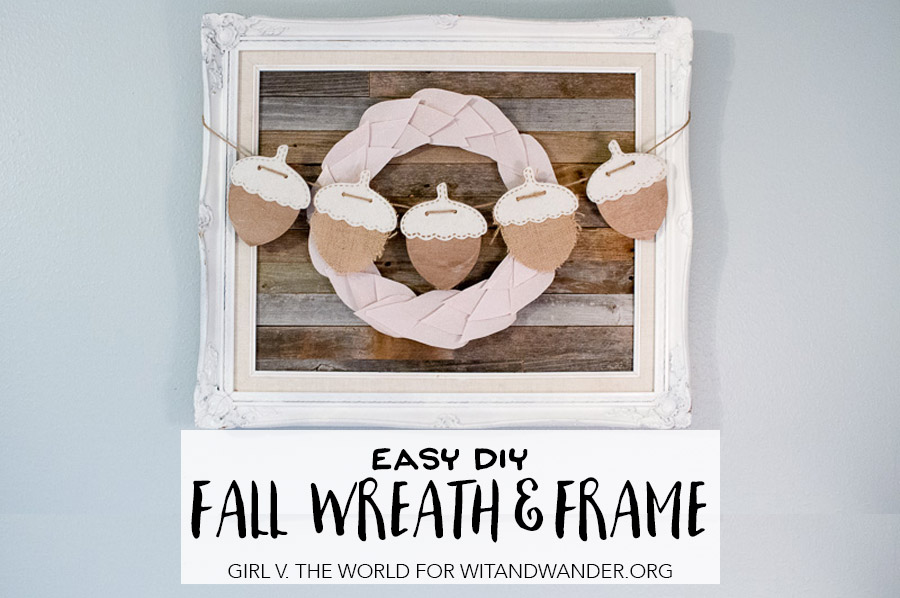
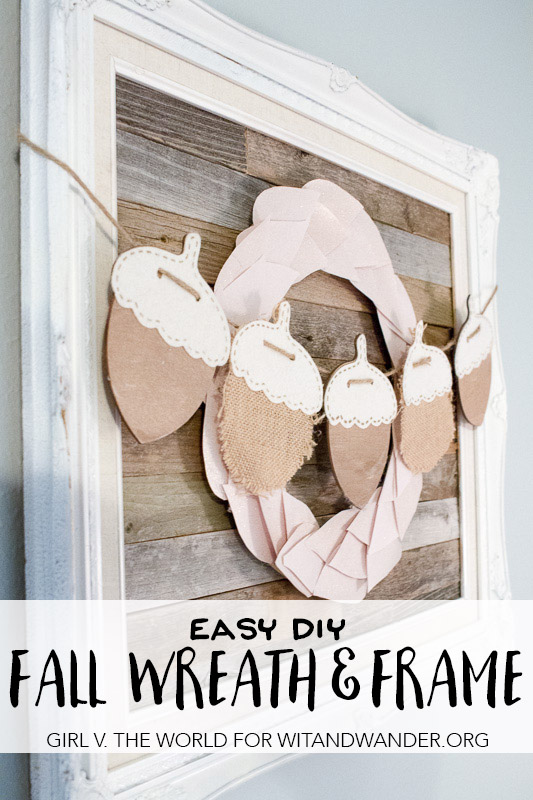
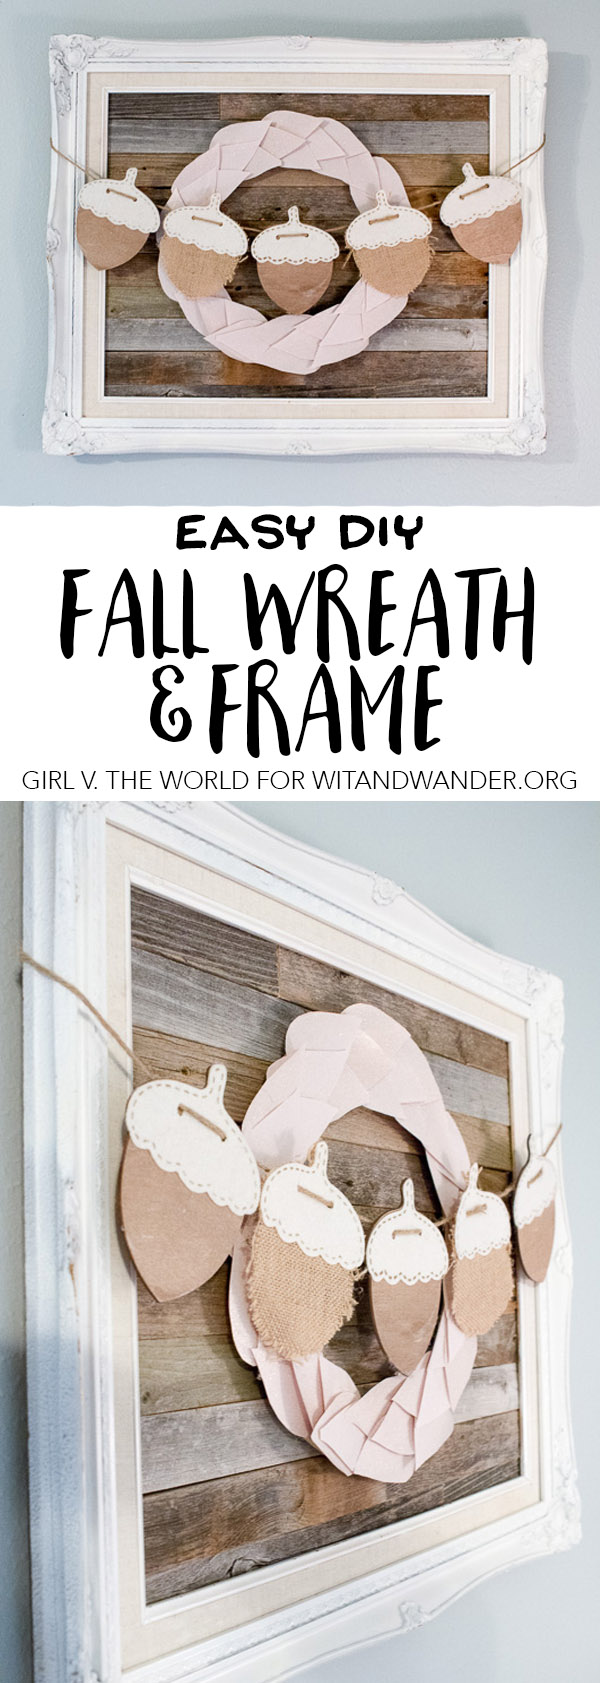
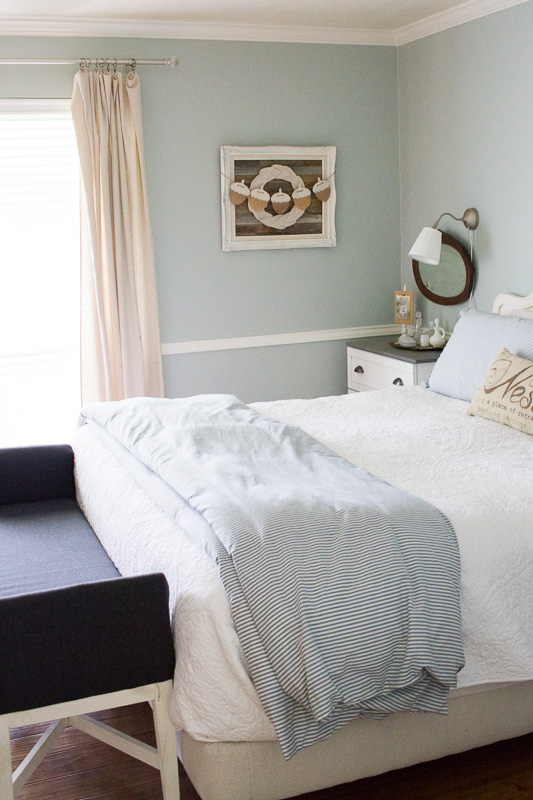 I chose to hang mine in my bedroom to give it a touch of fall. I love how versatile this frame and wreath are because of it’s neutral colors. I also love the subtle gold sparkle the leaves have going on. You can dress it up, dress it down, hang a garland from it, whatever! Because it’s about to be fall, I decided to go with a simple acorn garland I got at Target a couple of years ago. Isn’t it cute?
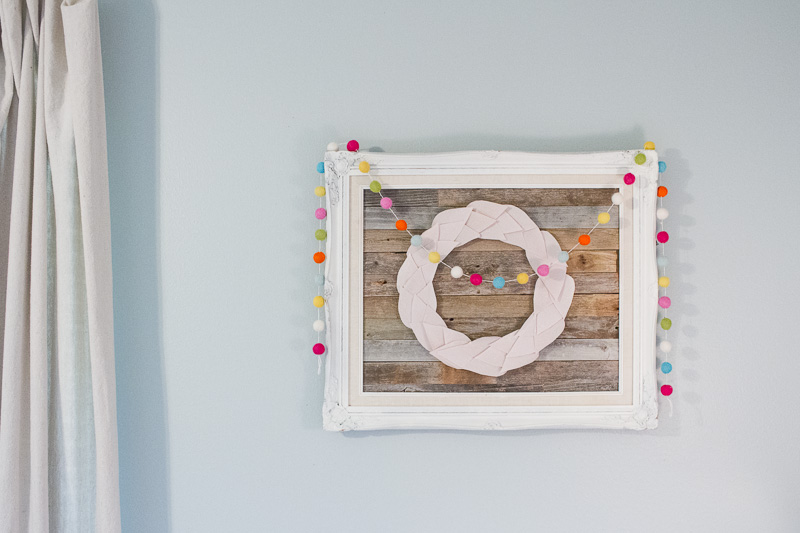 You could even make it a bit festive by hanging a colorful felted ball garland (I found this one at Hobby Lobby)! The possibilities are endless! The best part about it is that the wreath is easy to remove (thanks, Command strips!) so you can make all kinds of cute things to hang in the center of your framed barn wood. And you can put this baby anywhere: lean it up on your fireplace mantle, make it a part of a fall vignette on your dining room buffet, hang it in your living room. Wherever you need a touch of fall, this little project would be great for it!
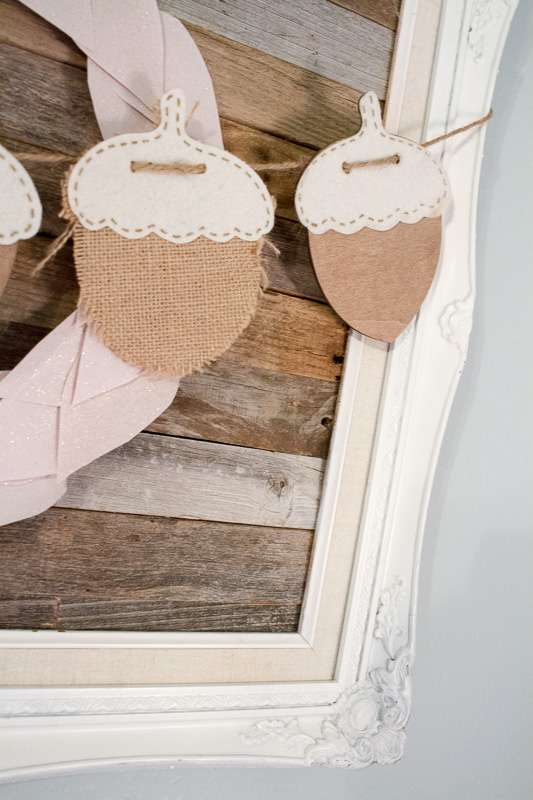
 Not too bad for a quick, easy and inexpensive decor project, right? I really love how it turned out! What do you think?

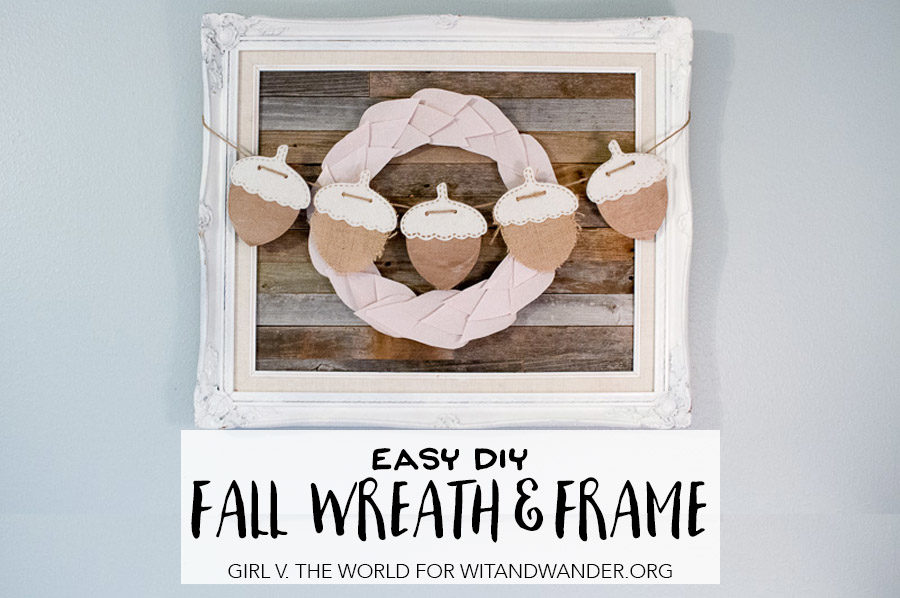
Everything is super cute! For the acorns, did you use felt or paper? If felt how did you get the holes.