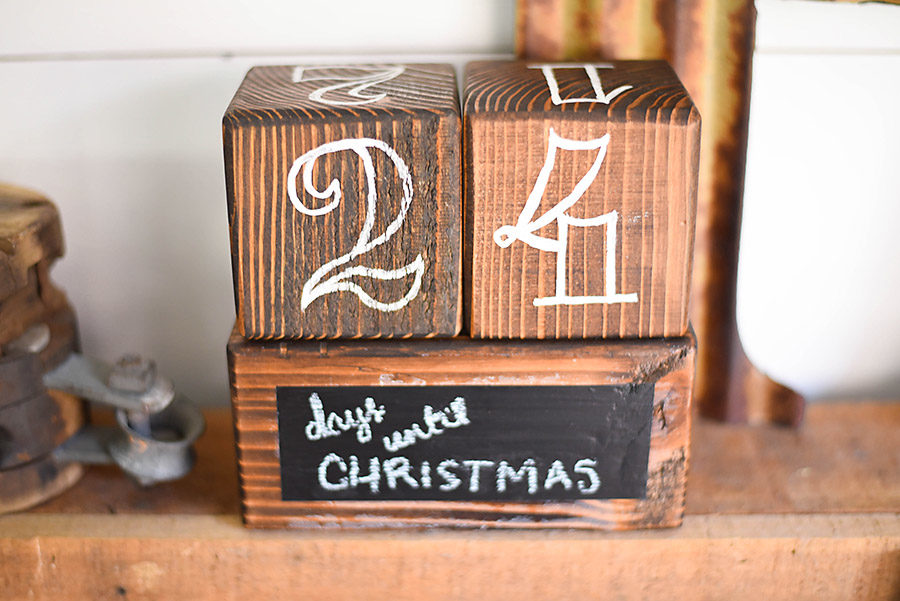
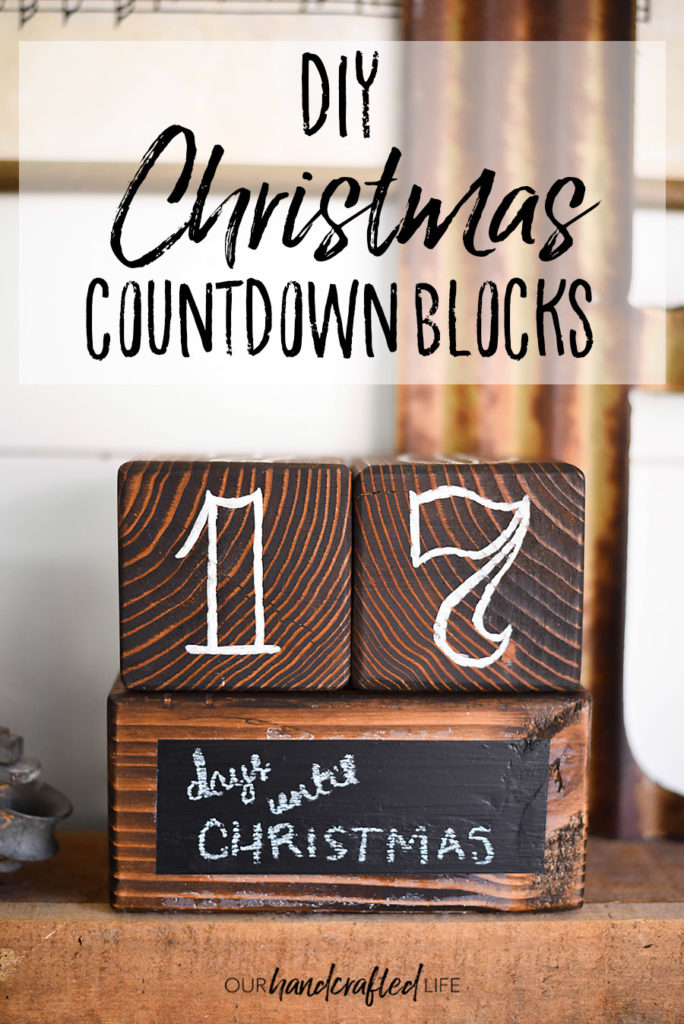
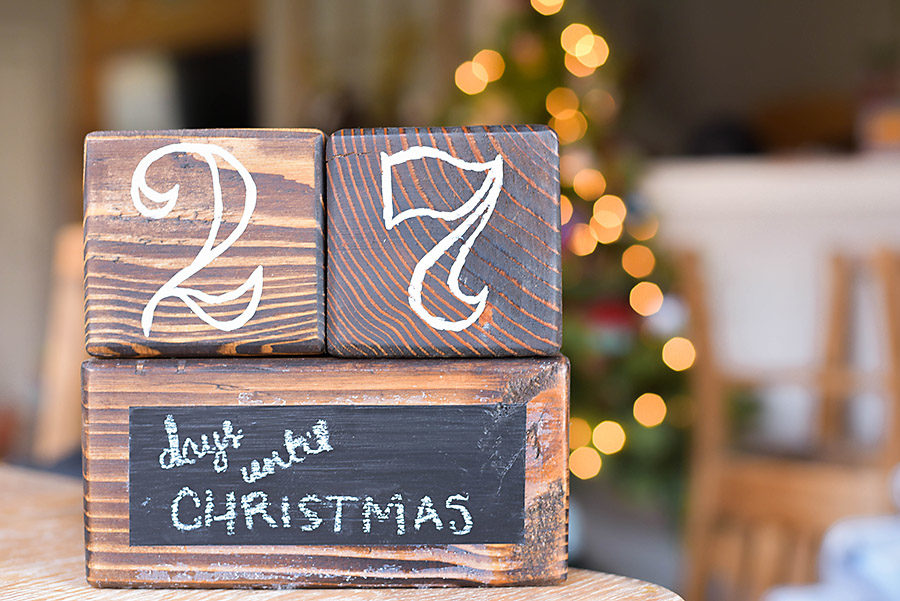
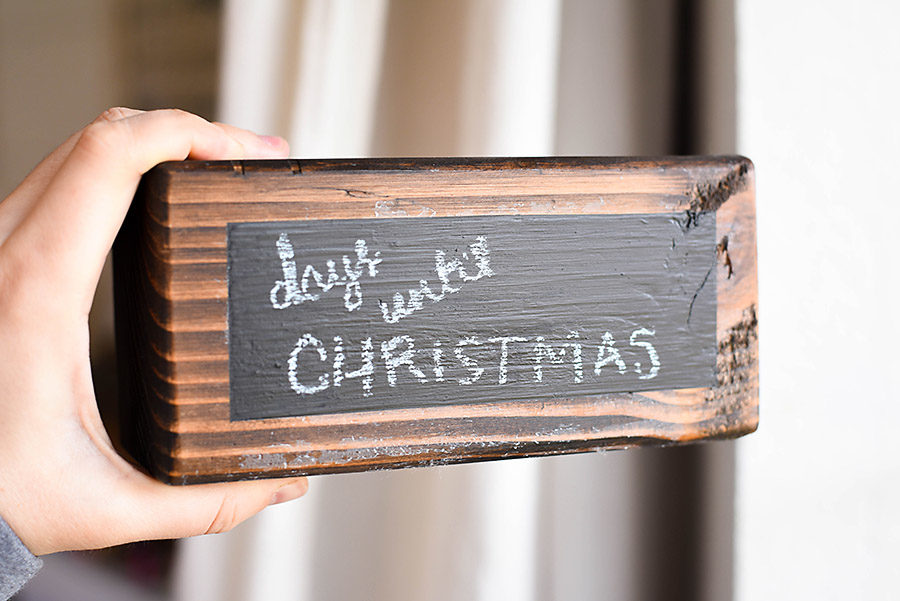
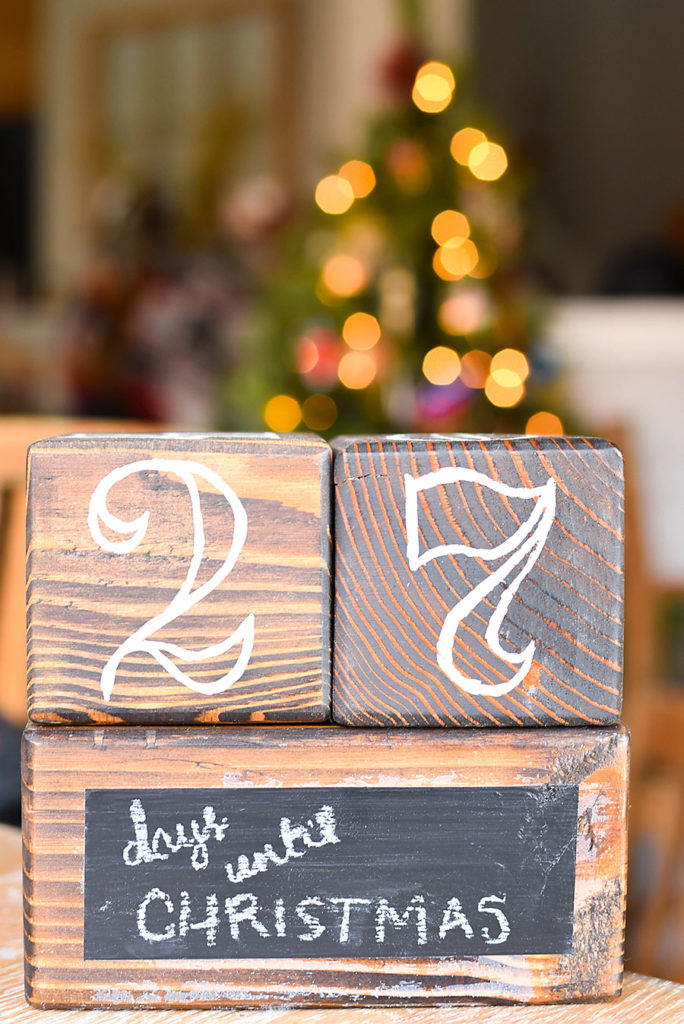
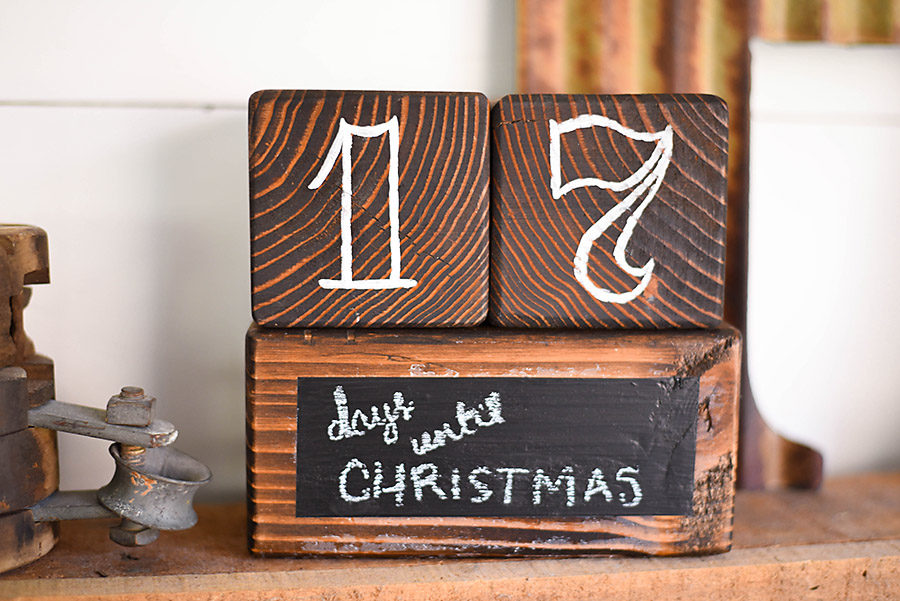
The Christmas countdown will begin in just a few short weeks and my little ones could not be more excited. This year, we decided to countdown the days until Christmas using this set of easy-to-make DIY Christmas Countdown Blocks.
These blocks only took me two nap times to complete – and that was only because they needed time to dry!
How to Make DIY Christmas Countdown Blocks
Supplies
- 4″ x 4″ Board
- Stain
- Spray Laquer
- White Paint
- Number Stamps
We had a few cut pieces left over from our DIY Giant Summer Yard Dice, but if you don’t, cut two cubes out of the 4″ x 4″ board. Note that the actual size of the board is only about 3.5″ x 3.5″, so measure your boards before you make any cuts.
We layered those two blocks on top of a third length to measure and cut it down to size. Then we sanded and stained all the blocks.
We finished with a spray lacquer and let them dry overnight.
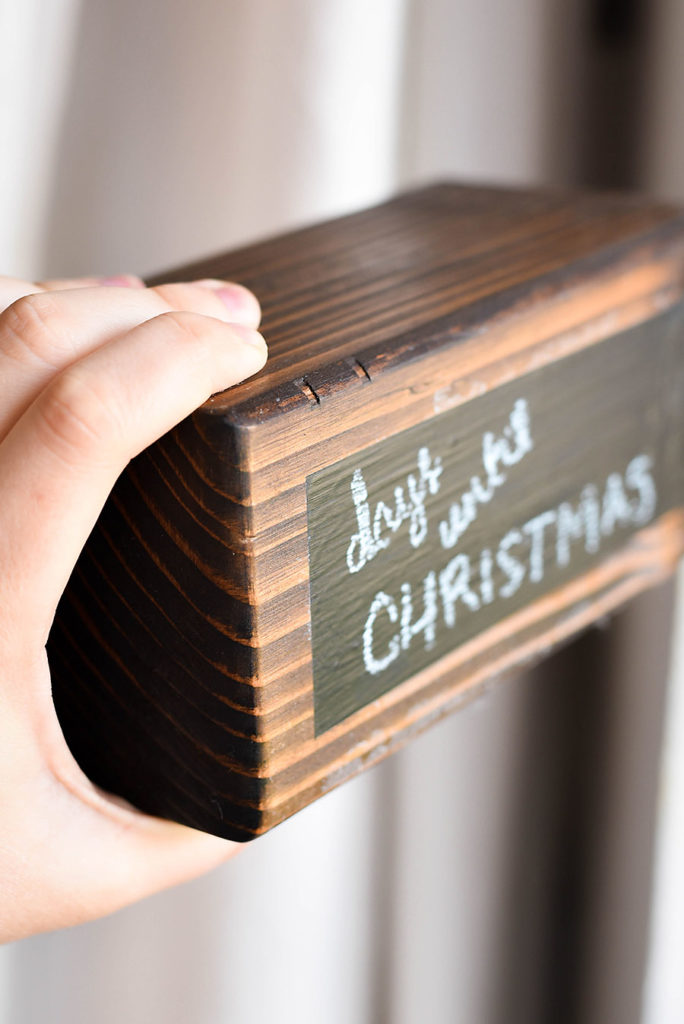
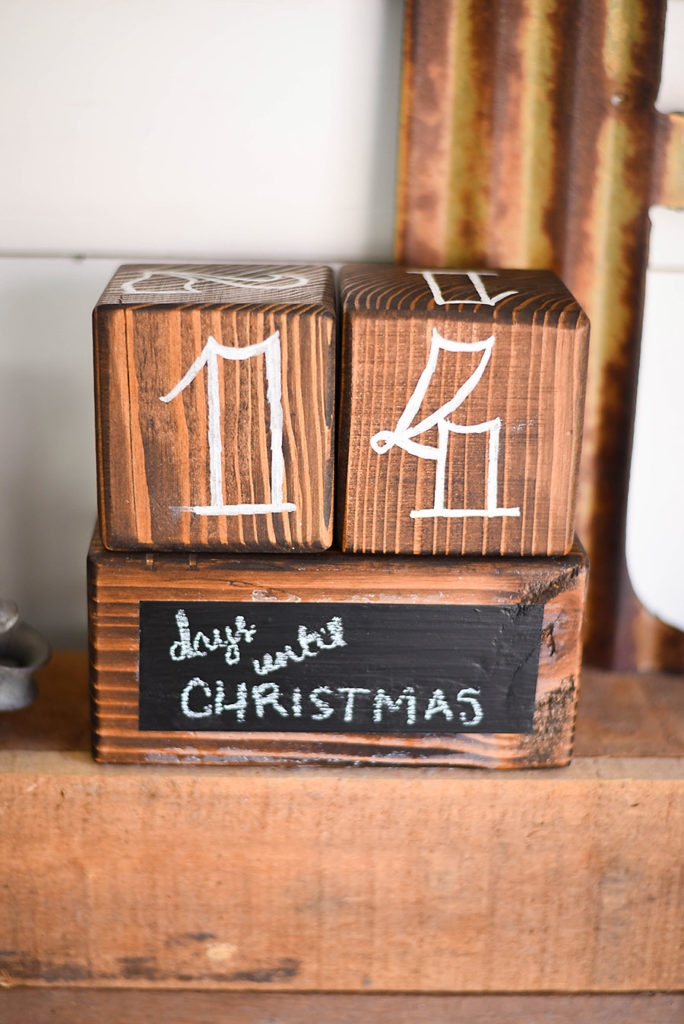
I applied a coat of chalkboard paint to a small section of the front of the largest block. I did this so that I could reuse these blocks for other countdowns – a countdown to Disney World, to Easter, or to our next camping trip.
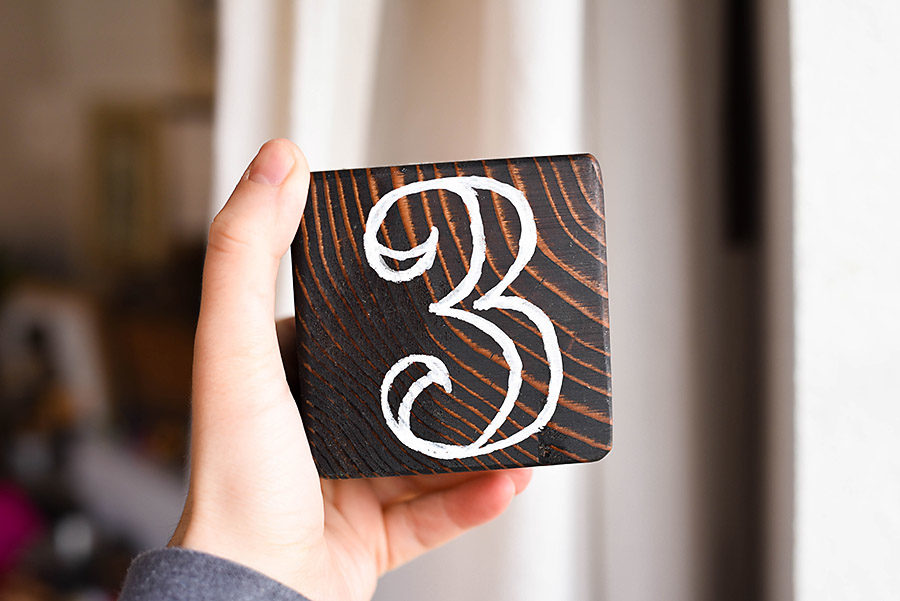
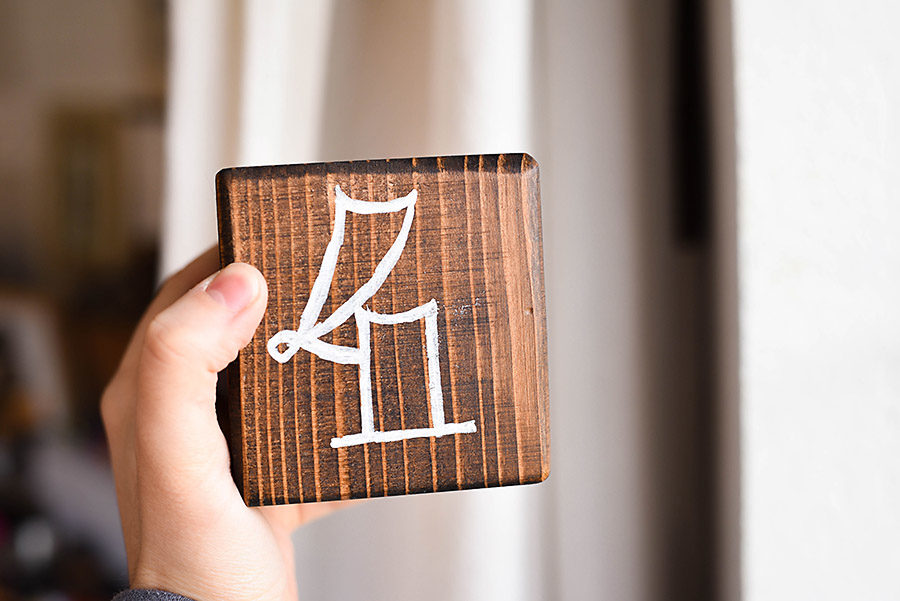
When they were completely dry, I painted the numbers based on a font I found online. If you don’t have stamps or feel comfortable free handing, you can use the same method we used for the DIY Painted Sign by printing out the numbers, rubbing chalk on the back, tracing the outline, and filling it in. See this post for the complete instructions.
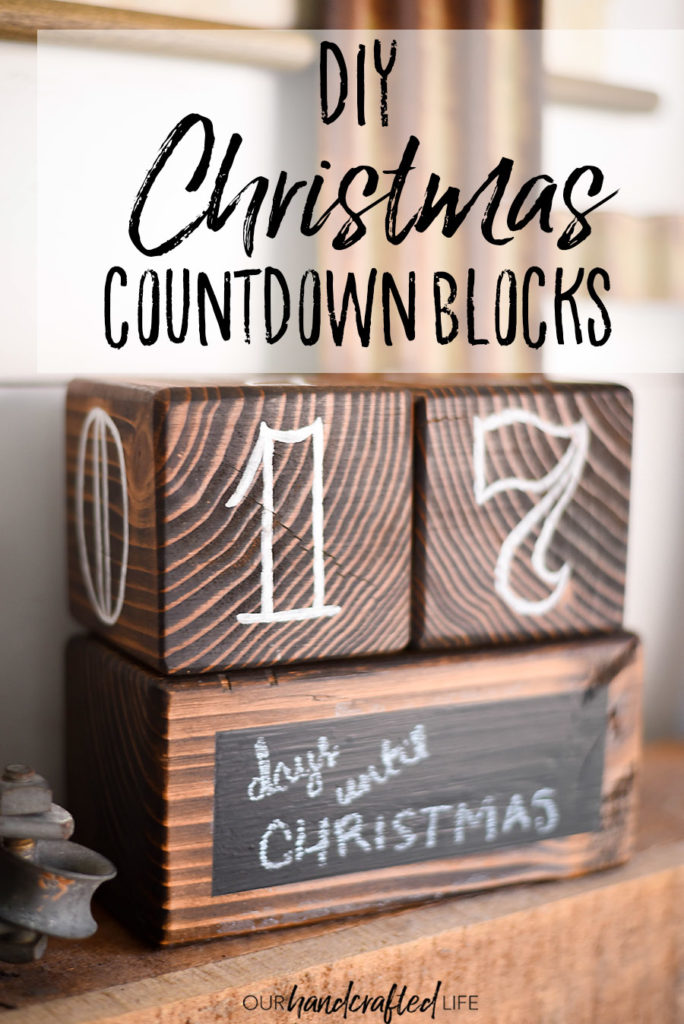
To make the numbers 1-25 out of these blocks, you’ll need to have 0, 1, 2, 3, 4, 5 on one block and 0, 1, 2, 6, 7, 8 on the second block. (The 6 will double as a 9, so make sure you practice before you paint if you plan to freehand!)
I sprayed another coat of lacquer and they were finished!
I know my daughter is going to love rushing downstairs to change the block each day. I love finding ways to engage my kids in the Holiday season.
Wouldn’t these blocks make such a sweet teachers gift, too?
Let me know if you plan to make these blocks! If you have any questions, feel free to ask away in the comments below!

Why do we need 2 zeros?
Thank you
If you need to show 03, 04, or 05, you’d use the 0 from the second block. If you need to show 06, 07, 08, or 09, you’d use the 0 from the first block. (01 and 02 could be done with either block combo).
Another reason is the kids might want to change it to 00 on Christmas Day.