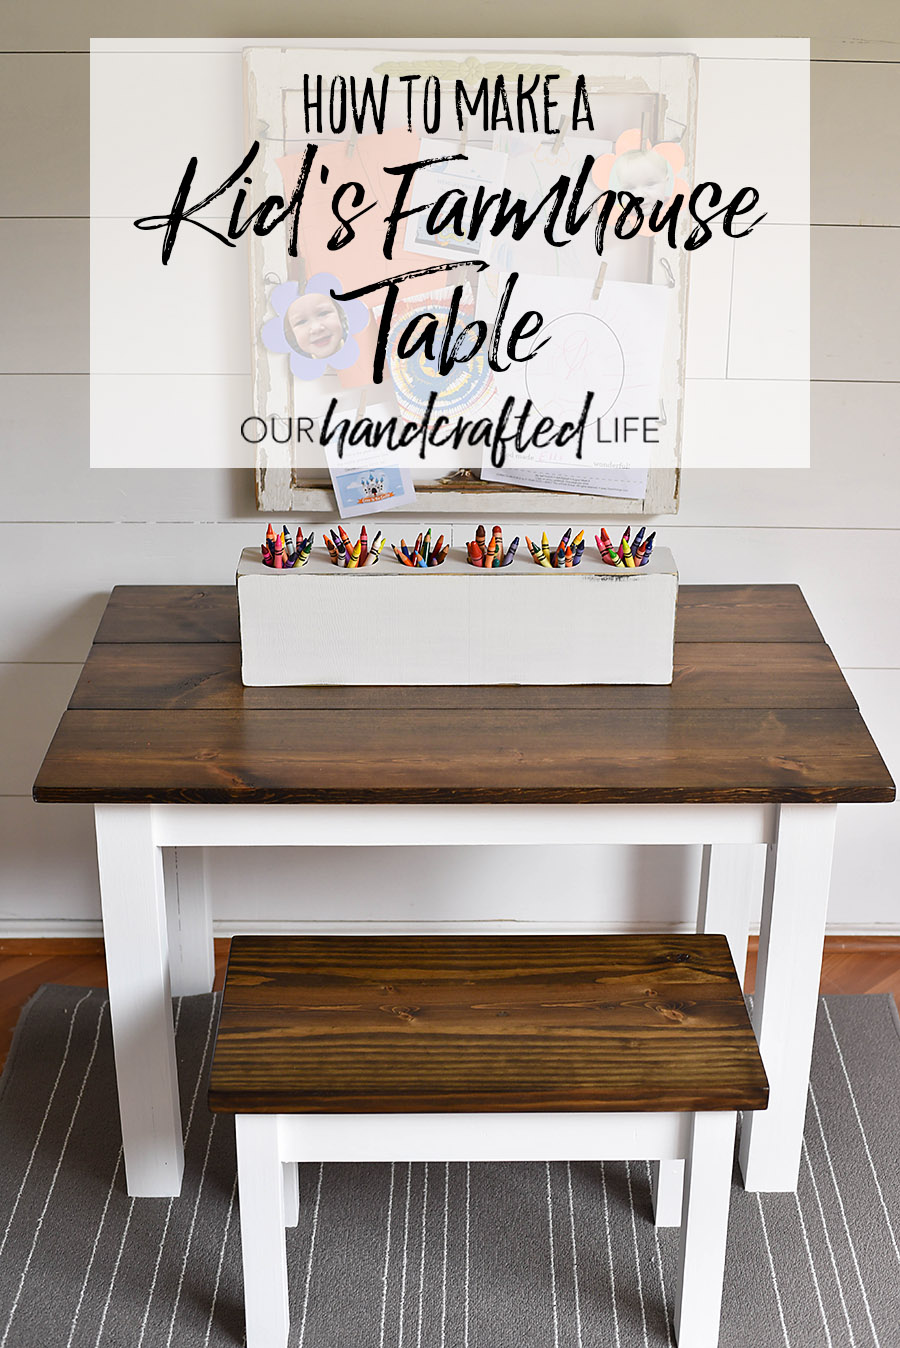
How to Make a DIY Farmhouse Kid’s Table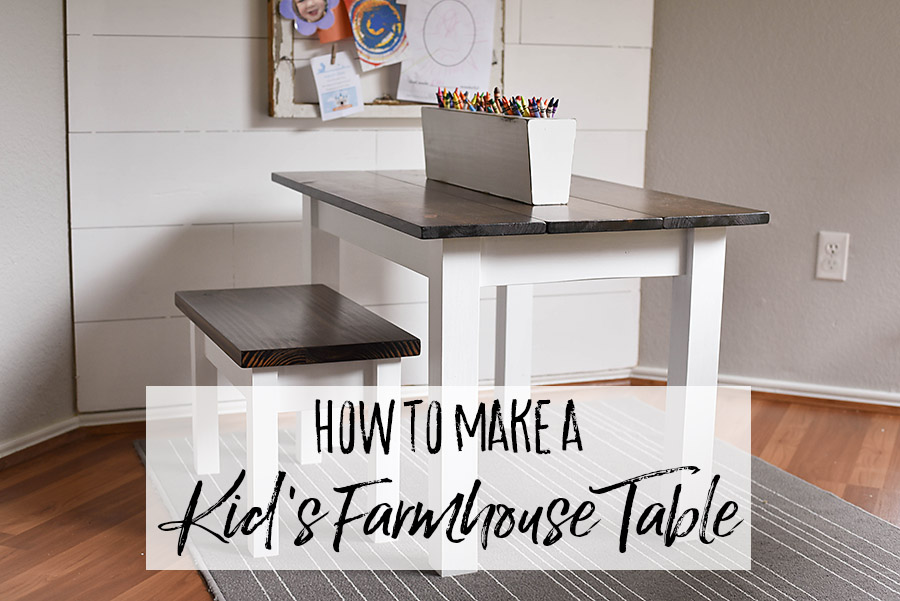
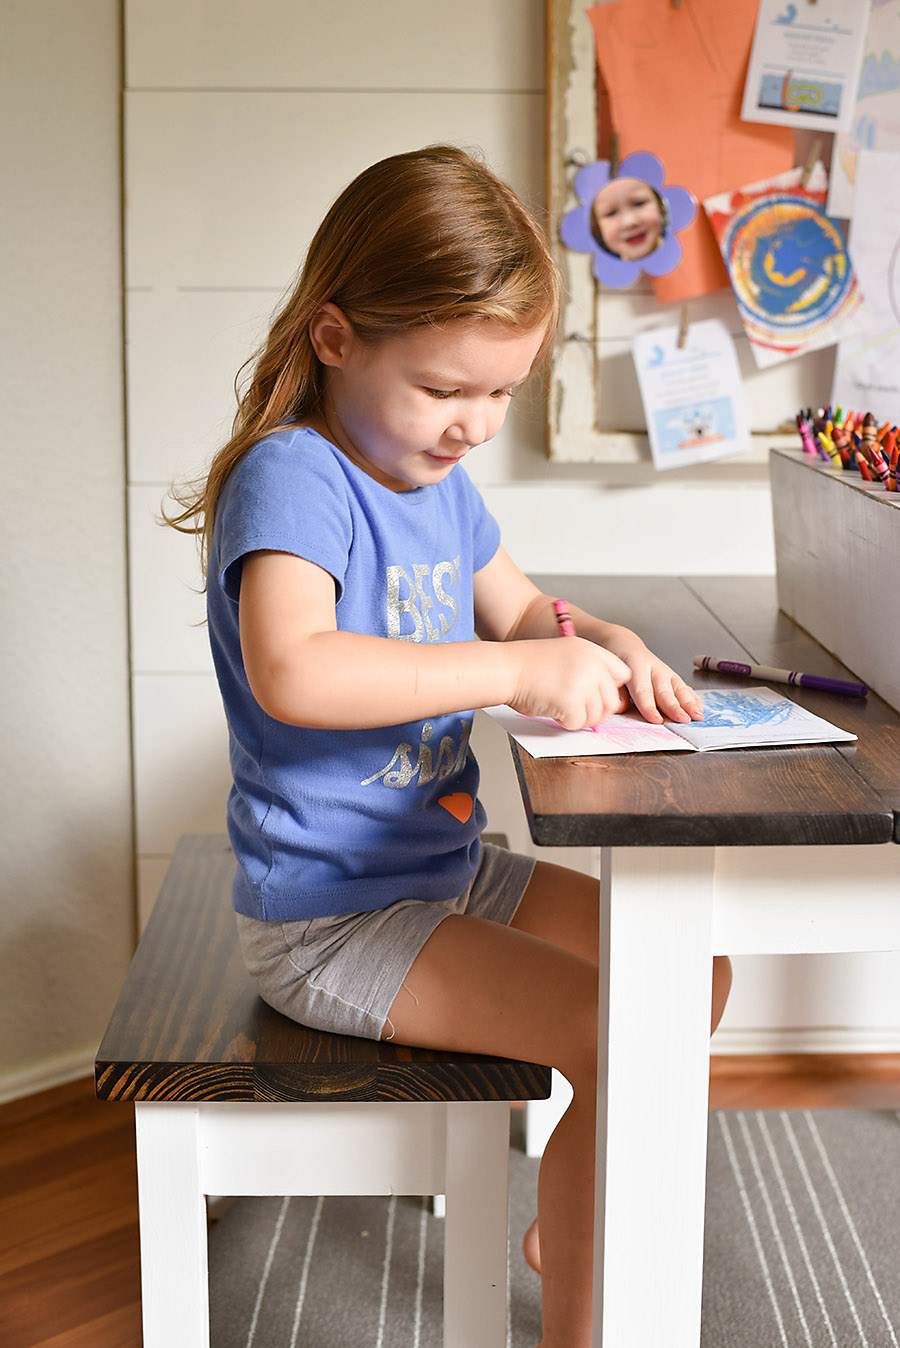
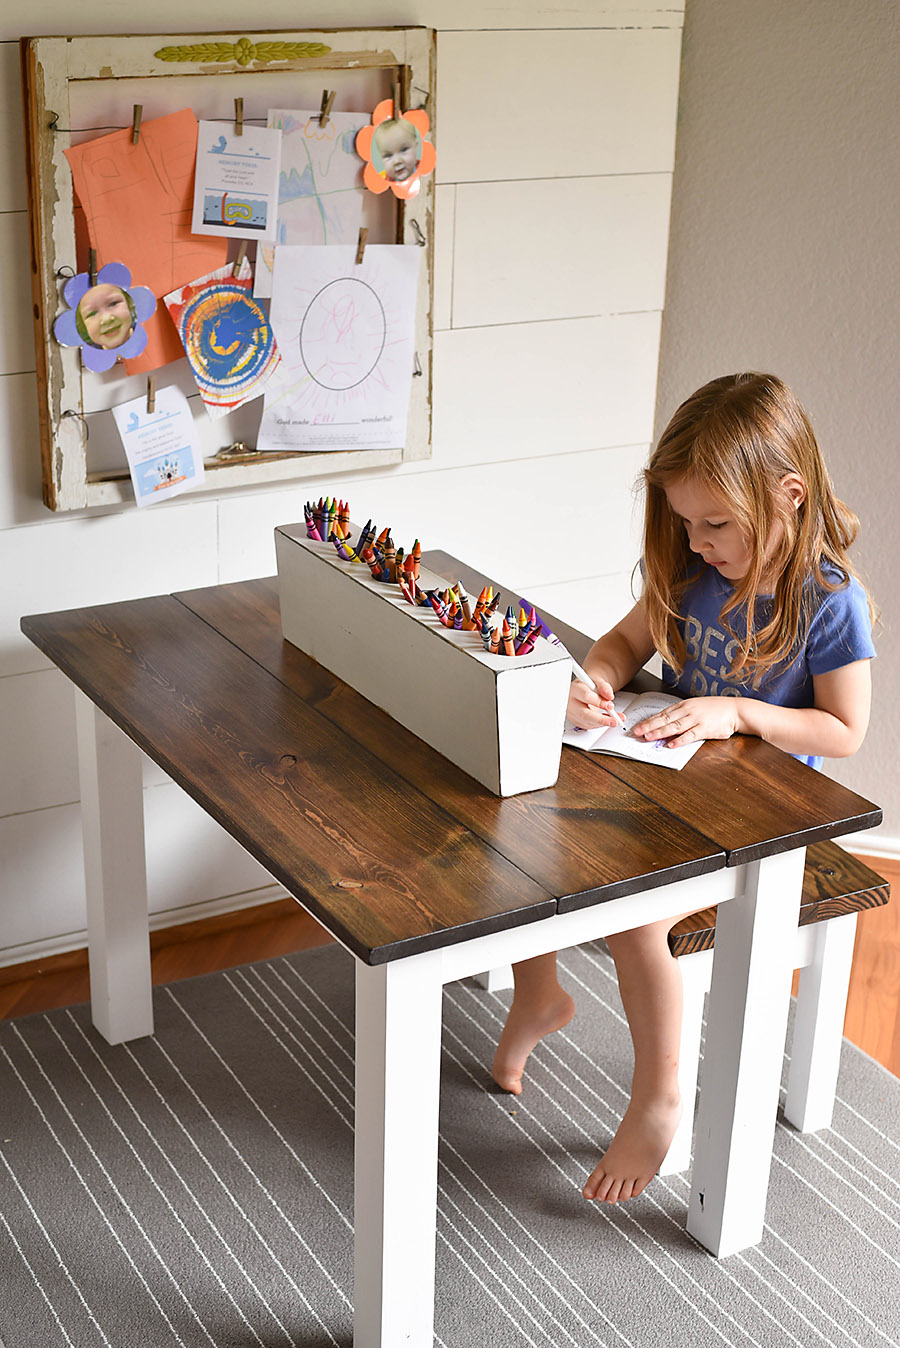
One of my favorite things as a mom is watching my kids be independently creative. I am so proud when my daughter sets up a party for her stuffed animals or builds an airplane out of blankets and pillows. She doesn’t need me to tell her the right way to do those things – they are completely from her imagination. She is able to be expressive and be in control of her own little environment.
Of course, all of this ‘freedom’ is within healthy boundaries for her age – she’s still not allowed to eat paste or cut her own hair. She knows she’s expected to clean up when she’s done and keep little pieces off the floor so that her brother doesn’t come along and eat a googly eye.
But within these healthy boundaries I try to provide spaces throughout our house where there is no off-limits, no wrong answers, and no direction needed. Now that she is old enough to enjoy playing with craft supplies, we decided to make her a table that is just her size. It lets her know that she is in charge of that space and she can feel the freedom to be creative.
With that in mind, we decided to make a table for our daughter. A simple table that could be used for art, playdoh, reading, and more. It was a table just for her.
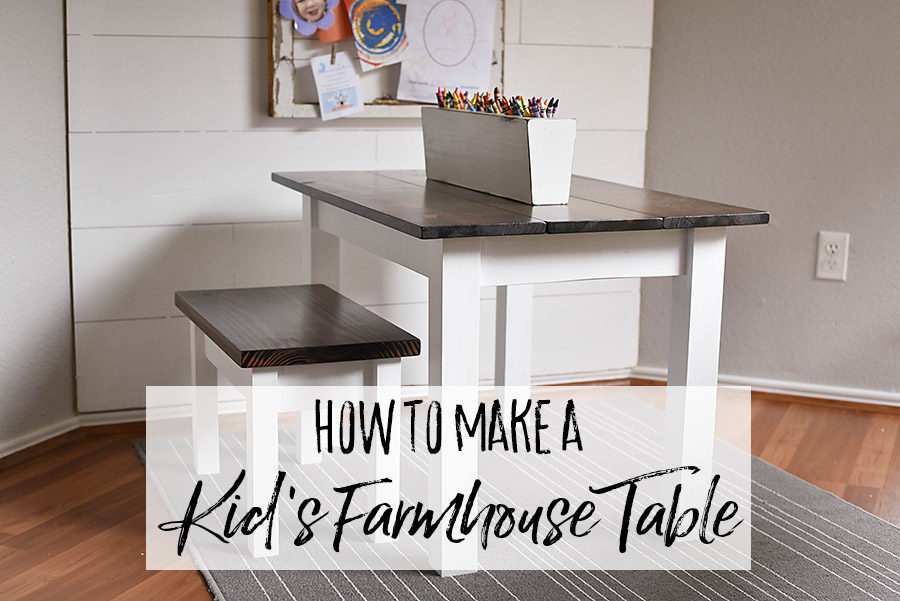
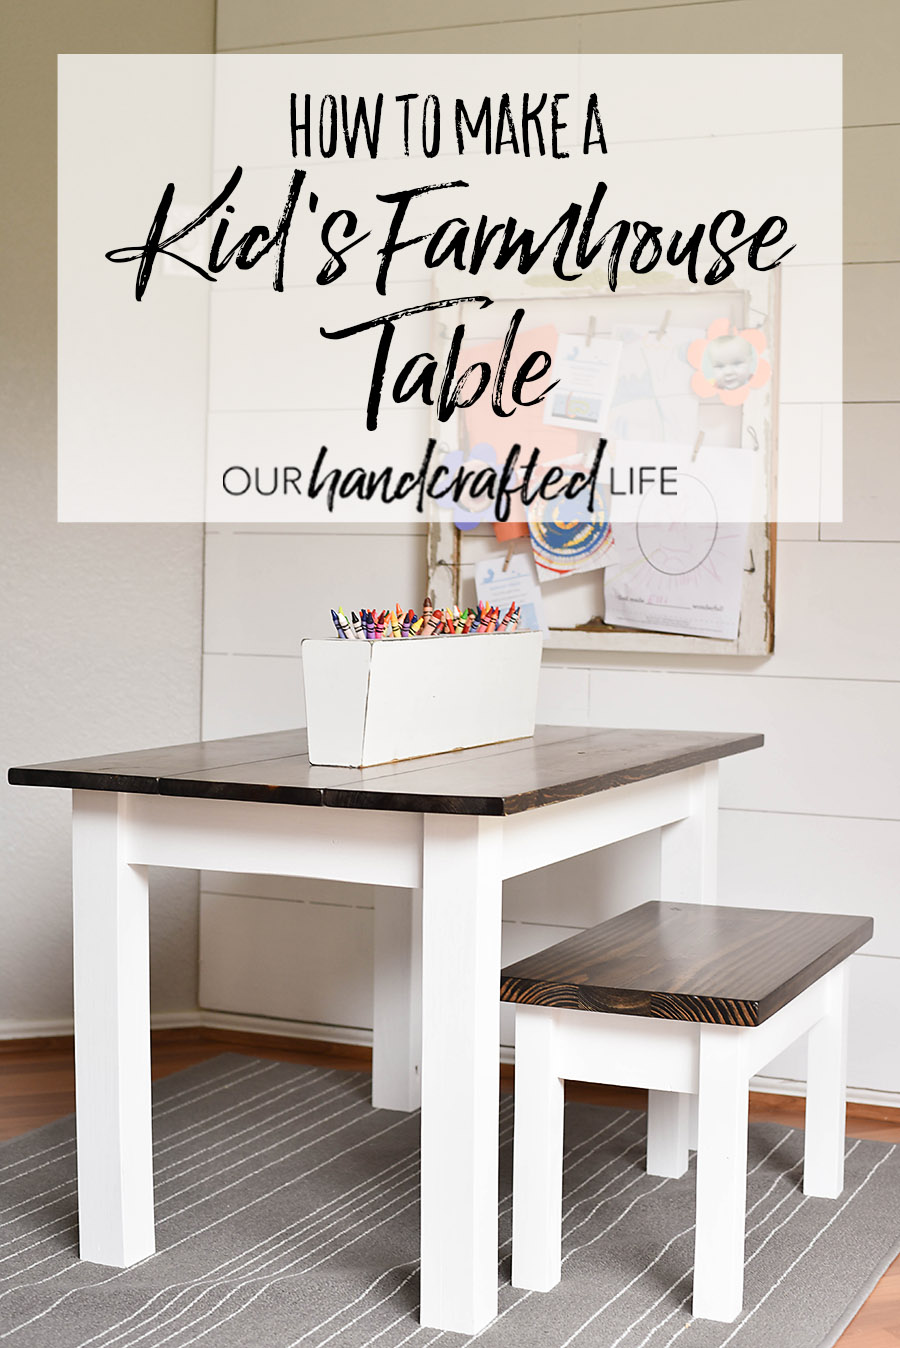
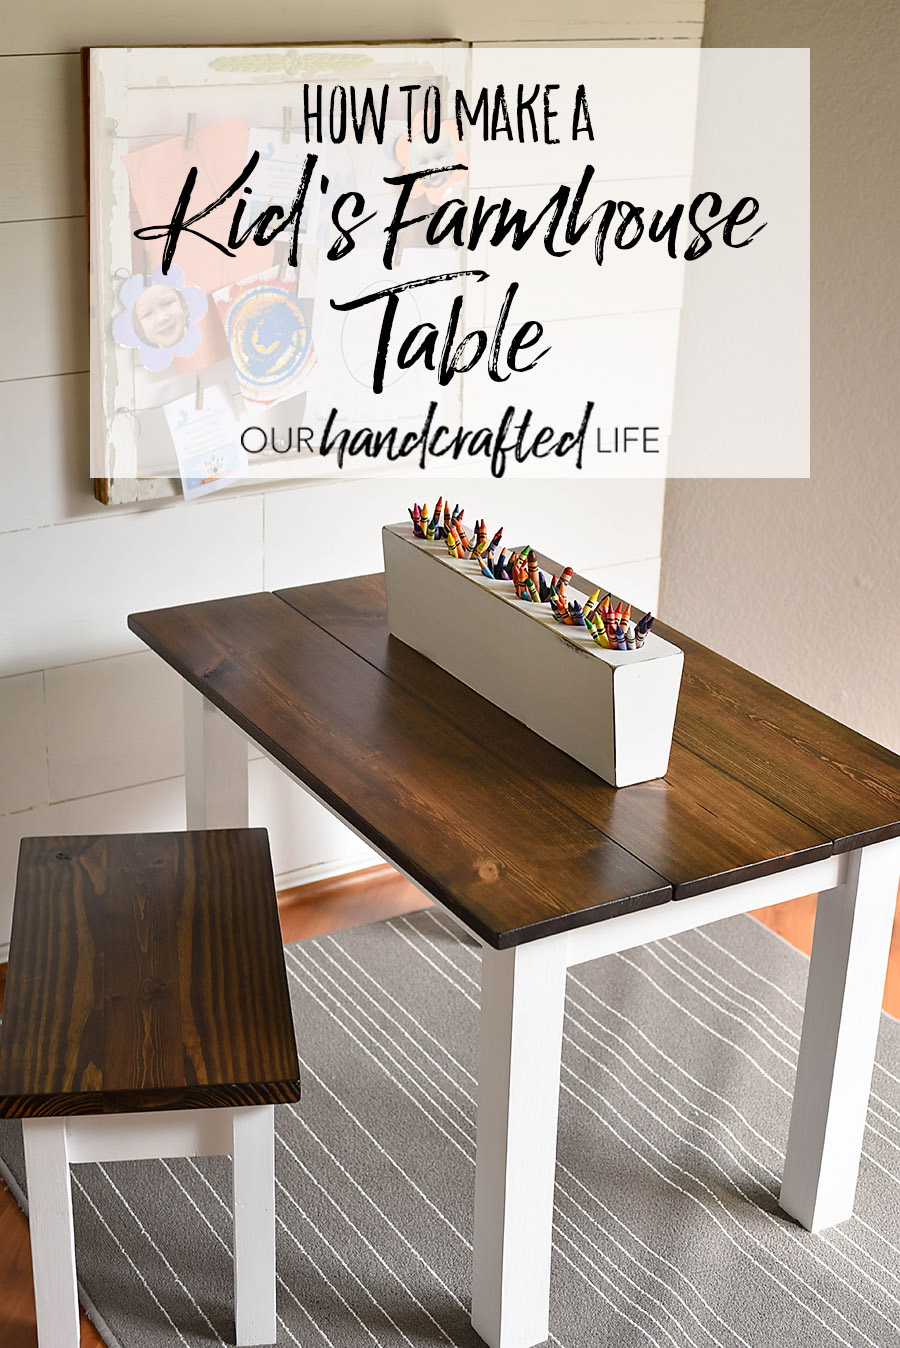
How to Make a Farmhouse Kid’s Table
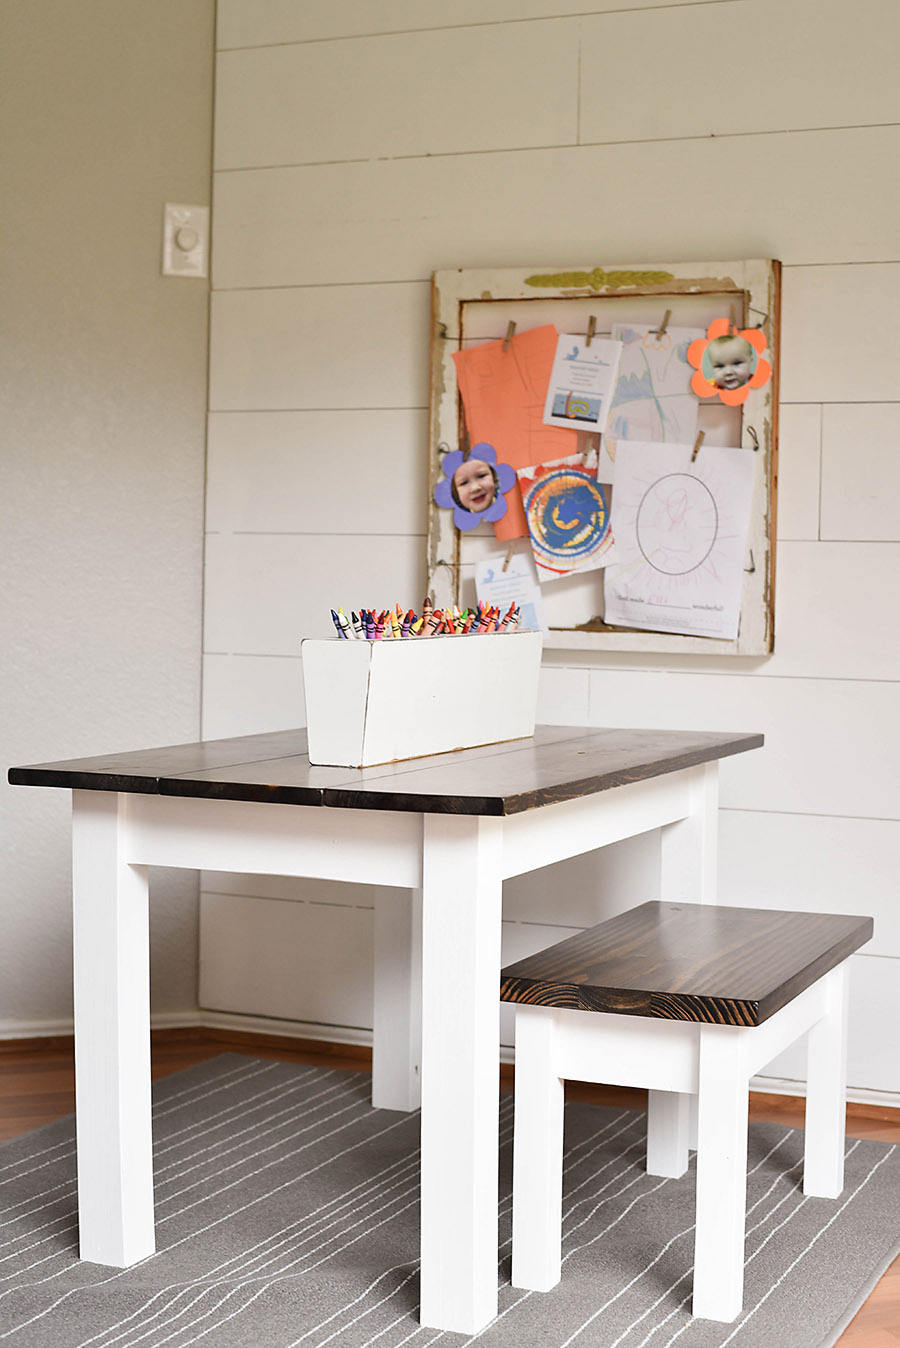
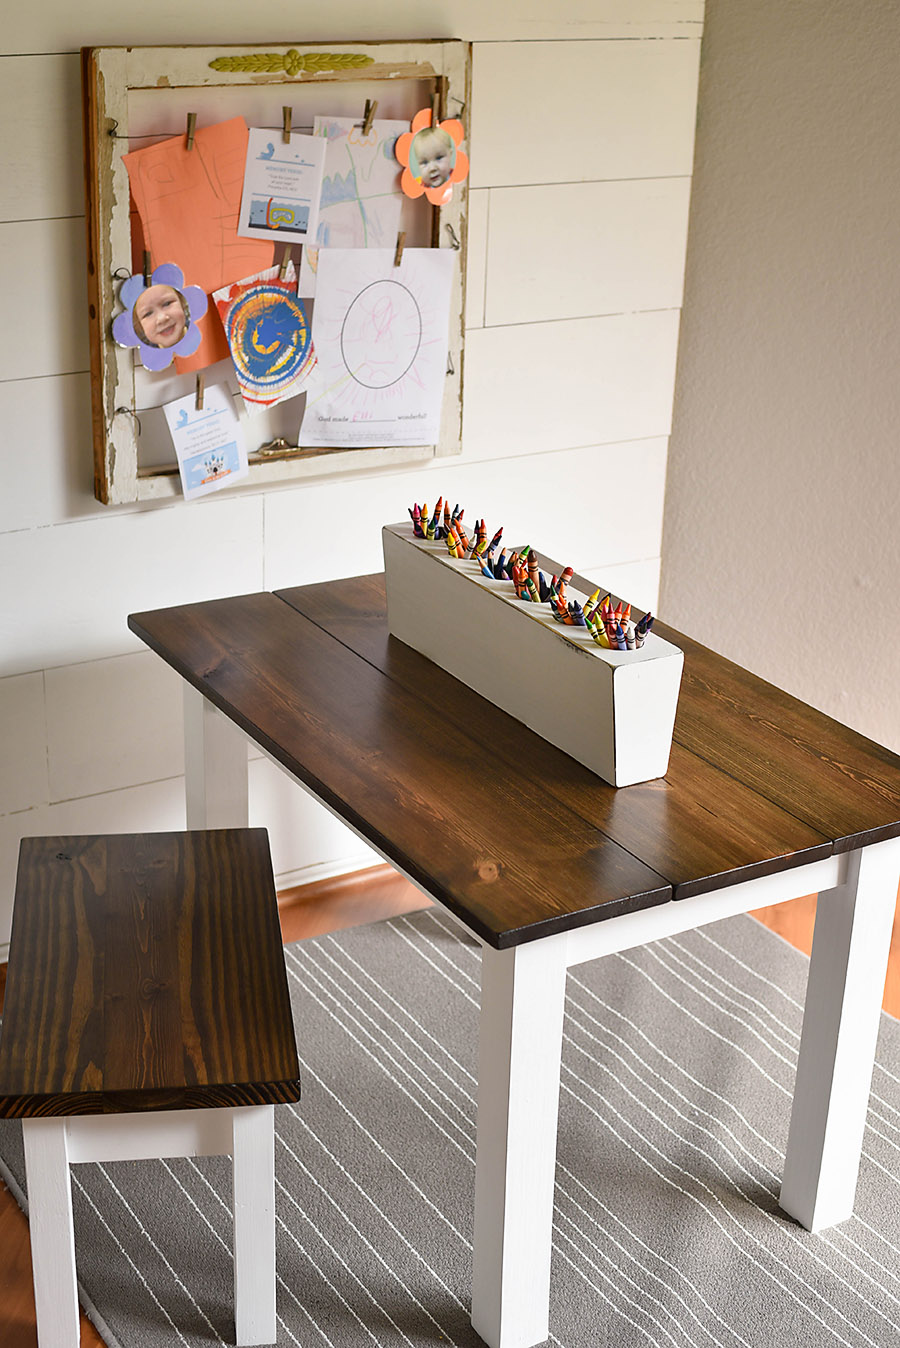
We decided to give our kid’s table a farmhouse or country cottage feel because it is important to us that it still blend in with the classic style of our home. So much of kid’s furniture can be an eye sore – neon colors and bold patterns just wouldn’t fit in our home.
When I went to look for a kid’s table in the style we wanted, I saw options ranging from $250 to well north of $300. Let’s just say that’s not exactly in our budget. I knew we could create something gorgeous for much less, so we designed this Classic Farmhouse Style Kid’s Table and Bench.
Supplies:
For the Kid’s Farmhouse Table, you will need:
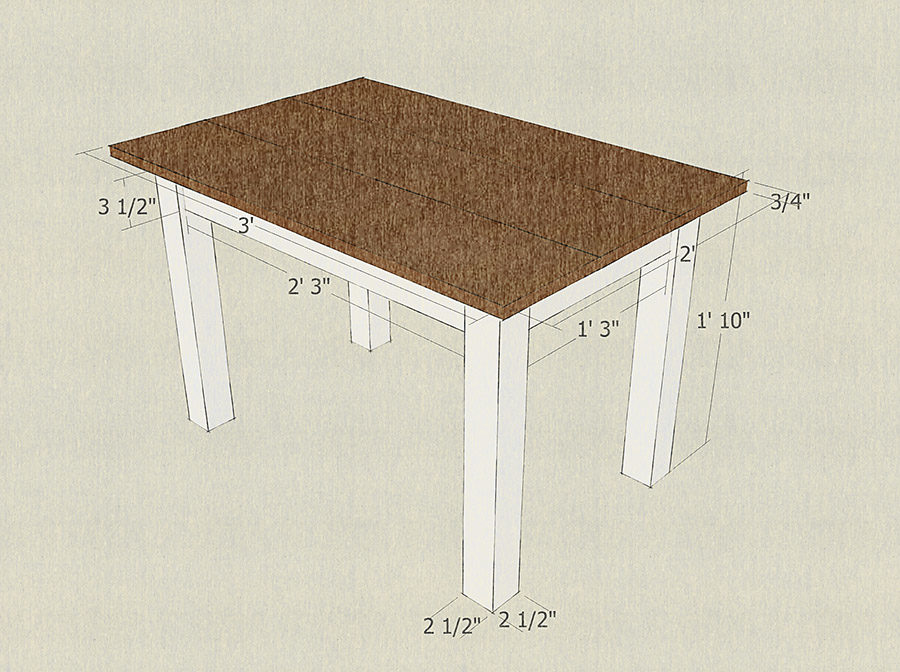
- 4 Table Legs – 2.5″ x 2.5″ cut to 22″
- 2 Long Stretchers – 1×4″ cut to 27″
- 2 Short Stretchers – 1×4″ cut to 15″
- 1 Cross Section – 1×4″ measured to fit
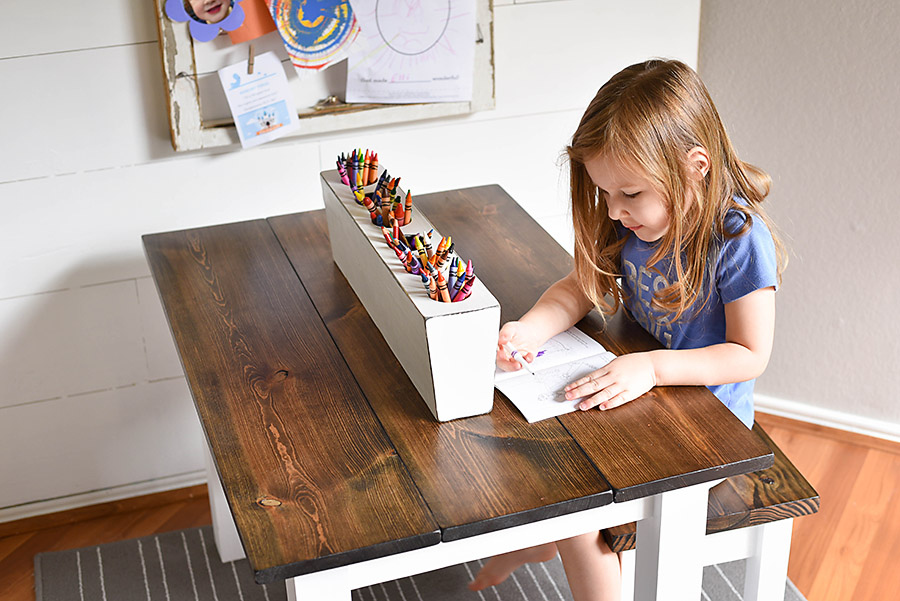
- 3 Top Planks – 1×8″ cut to 36″
We started by cutting 8, 24″ pieces of 2×4″. Then we glued together two pieces of 2x4s to make the wood thick enough for 2.5″ square legs.
While that was gluing, we selected the best 1×4″ boards we could find – we were looking for straight boards with no visible knots to be the stretchers. These pieces run between the legs of the table and provide support and stability for the table top. We cut the 1×4″ boards into (2) 15″ pieces for the short end of the table and (2) 27″ pieces for the long end of the table.
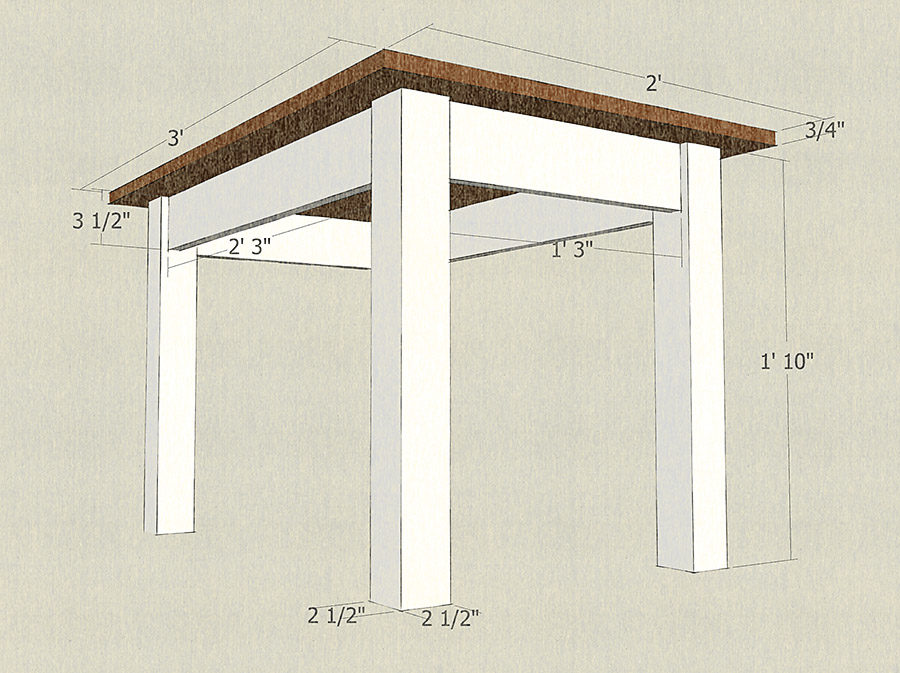
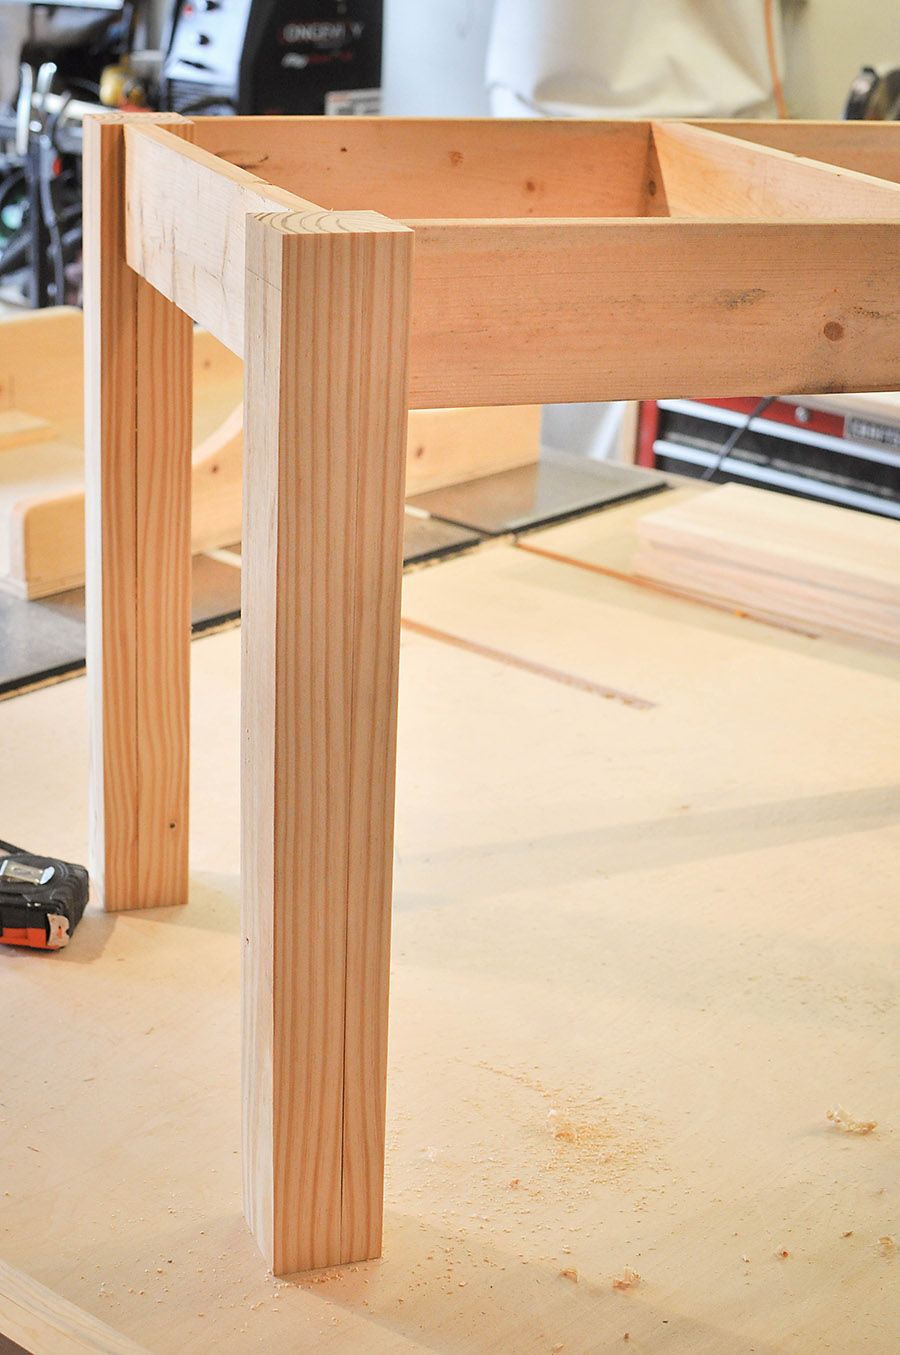
Once the glue for the table legs was dry, we ripped the wood (which was now 3×3.5″) into (4) 2.5×2.5″ legs. Then we cut the legs to their final length – 22″. You can adjust the length of the legs to make your table shorter or taller depending on the age of your kids. If you like the look of this table, but don’t have kids, you could also cut the legs to 12″ to make a coffee table.
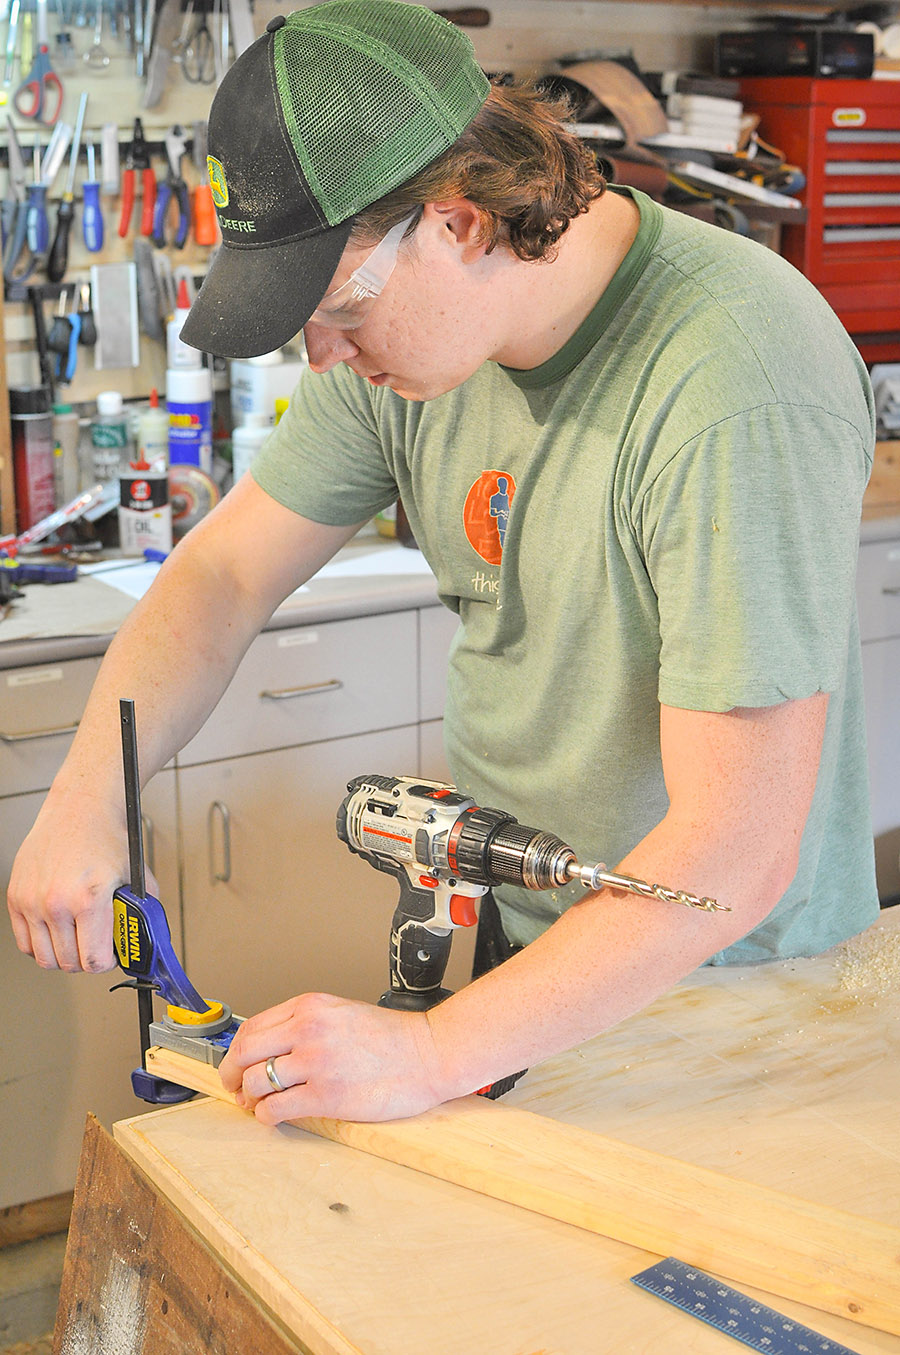
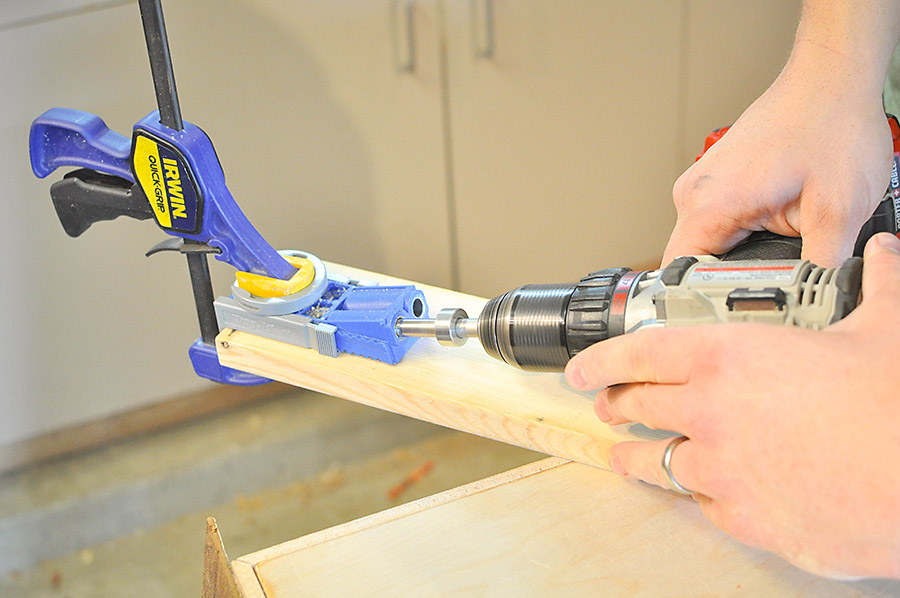
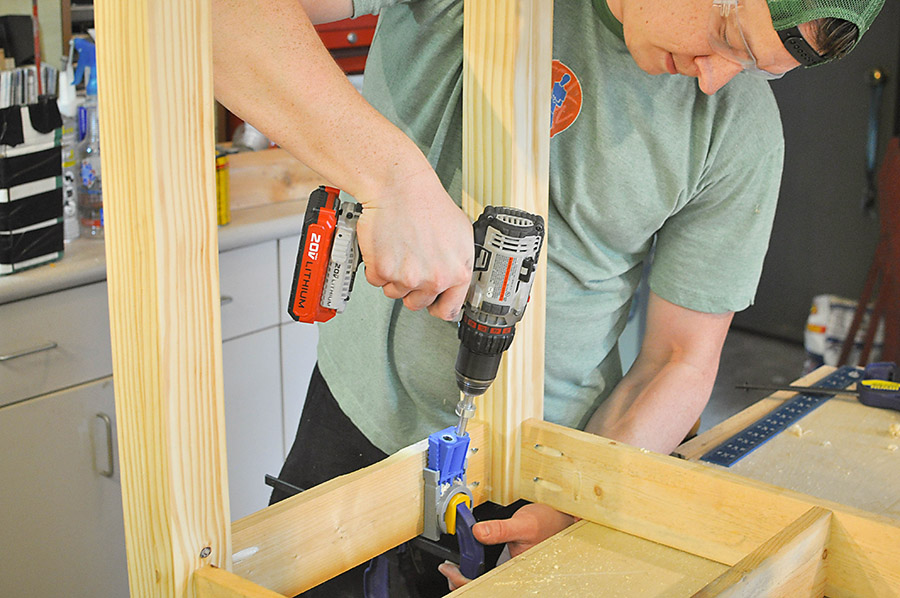
We used a Kreg Jig to attach the table legs to the stretchers, screwing the long sides together first.
We used a scrap of wood to raise the stretcher on both ends so it is recessed between the legs.
Measure and cut the 1×4 to length for the center support and use Kreg Jig to attach this cross beam directly in the center of the two longer stretchers, supporting the table.
We also used the Kreg Jig to pre-drill the pocket holes for attaching the top planks.

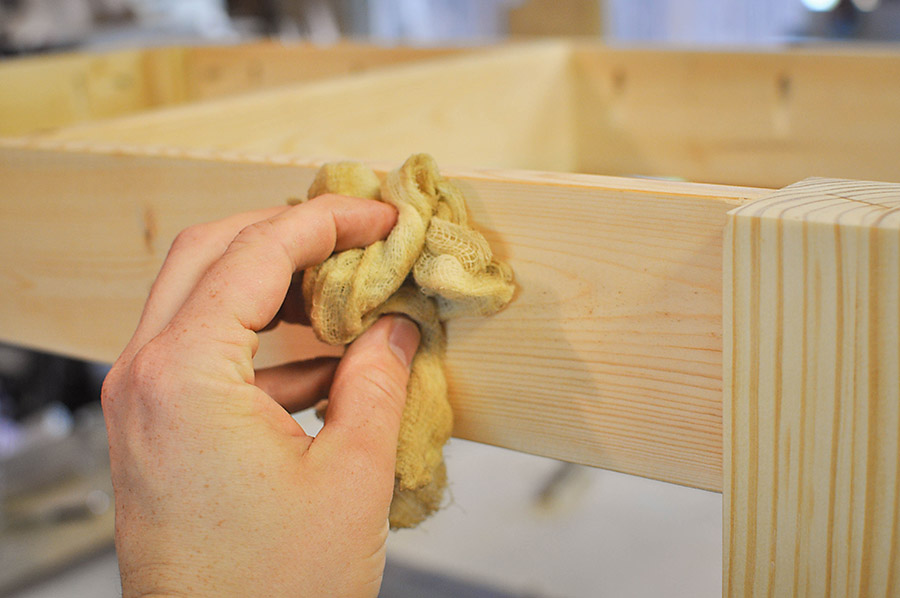
We sanded the base of the table after it had been assembled. If you are a beginner to woodworking, you might like to read our beginner’s guide on How to Prep, Sand, and Stain Wood, but for the base we started with 80 grit sandpaper. Then we moved on to 120 grit and finished with 220 grit because we were planning to paint the base.
We cleaned the dust off of the base of the table using tack cloth.
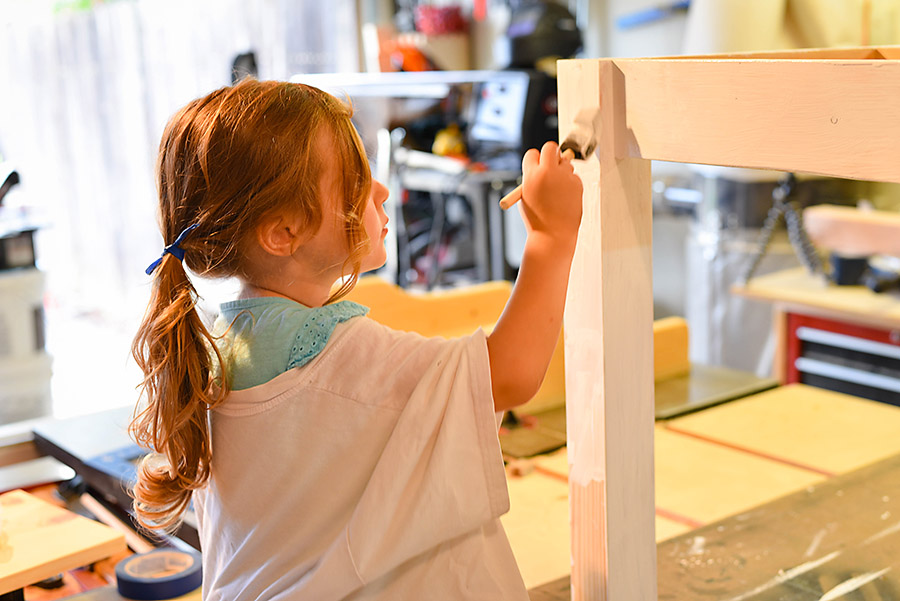
Then we painted the base using an un-tinted, plain white paint. Another option is to stain the base of the table before painting it (like we did with the Kid’s Wall Mounted Bookshelves) so that when it inevitably gets scratched and dinged, it would just show the stained wood giving the table a vintage feel.
If you have a helper in the shop, now is a great time for them to put on their finest paint shirt and get a little messy. Our daughter loves to be a ‘maker’ and she was so excited to help build her own table. I think it’s such an empowering feeling for kids to see exactly what goes into making something and to take part in the process.
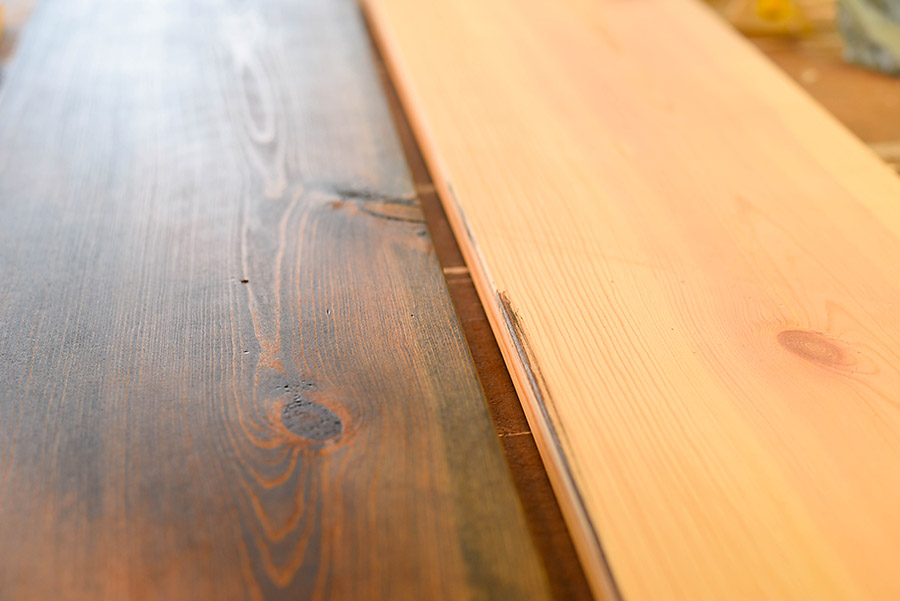
We sanded the top planks starting with 80 grit and moving up to 120 grit and 220 grit. Because we stained the top pieces, we finished with 320 grit to give the wood a very smooth finish.
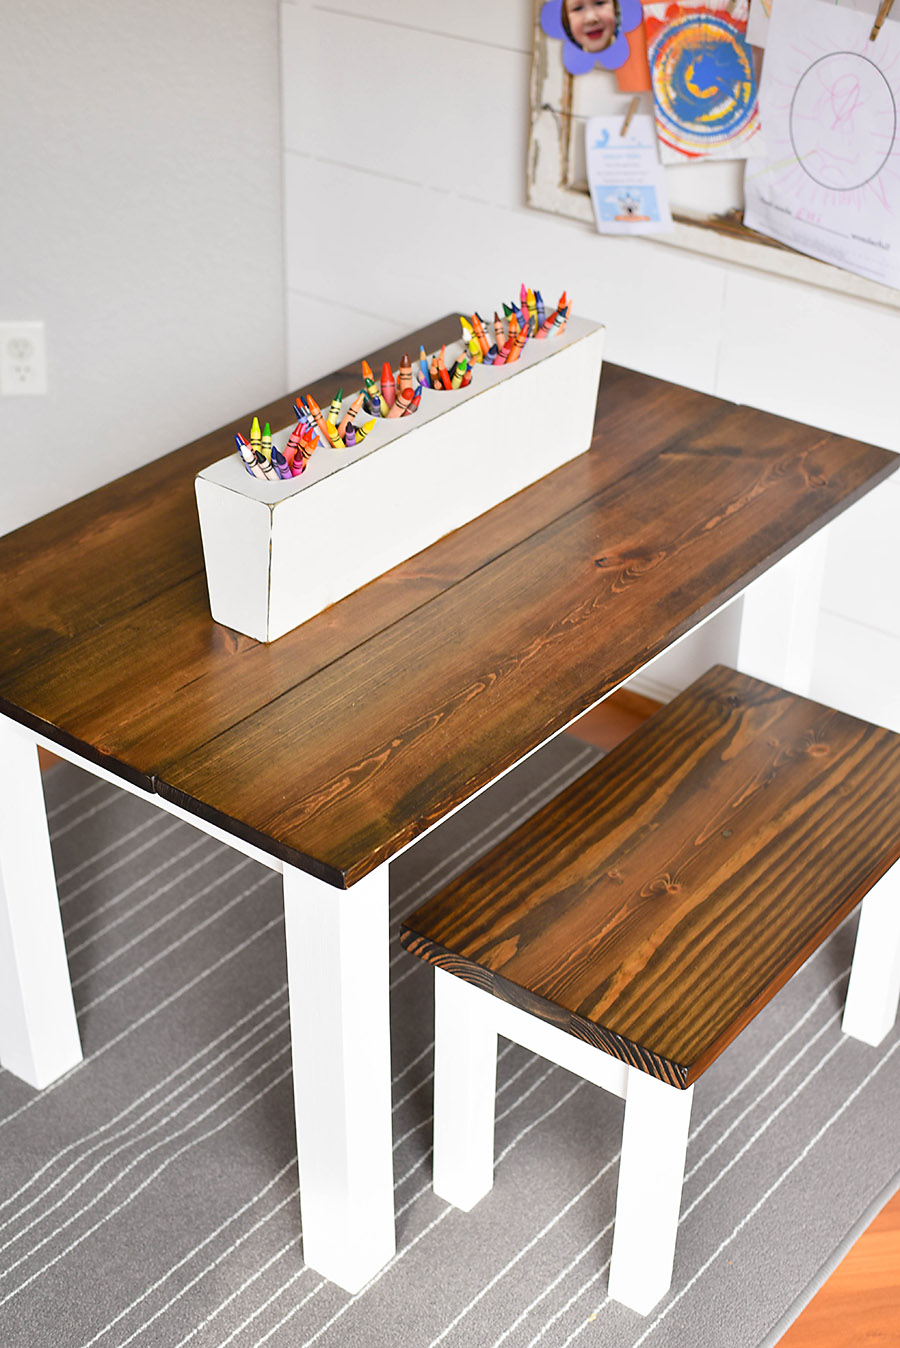
We stained the wood tops using an oil-based stain in the color Jacobean. And applied three coats of polycrylic. We found it easiest to apply three coats of polycrylic to the bottom before flipping the planks over and applying three coats to the top.
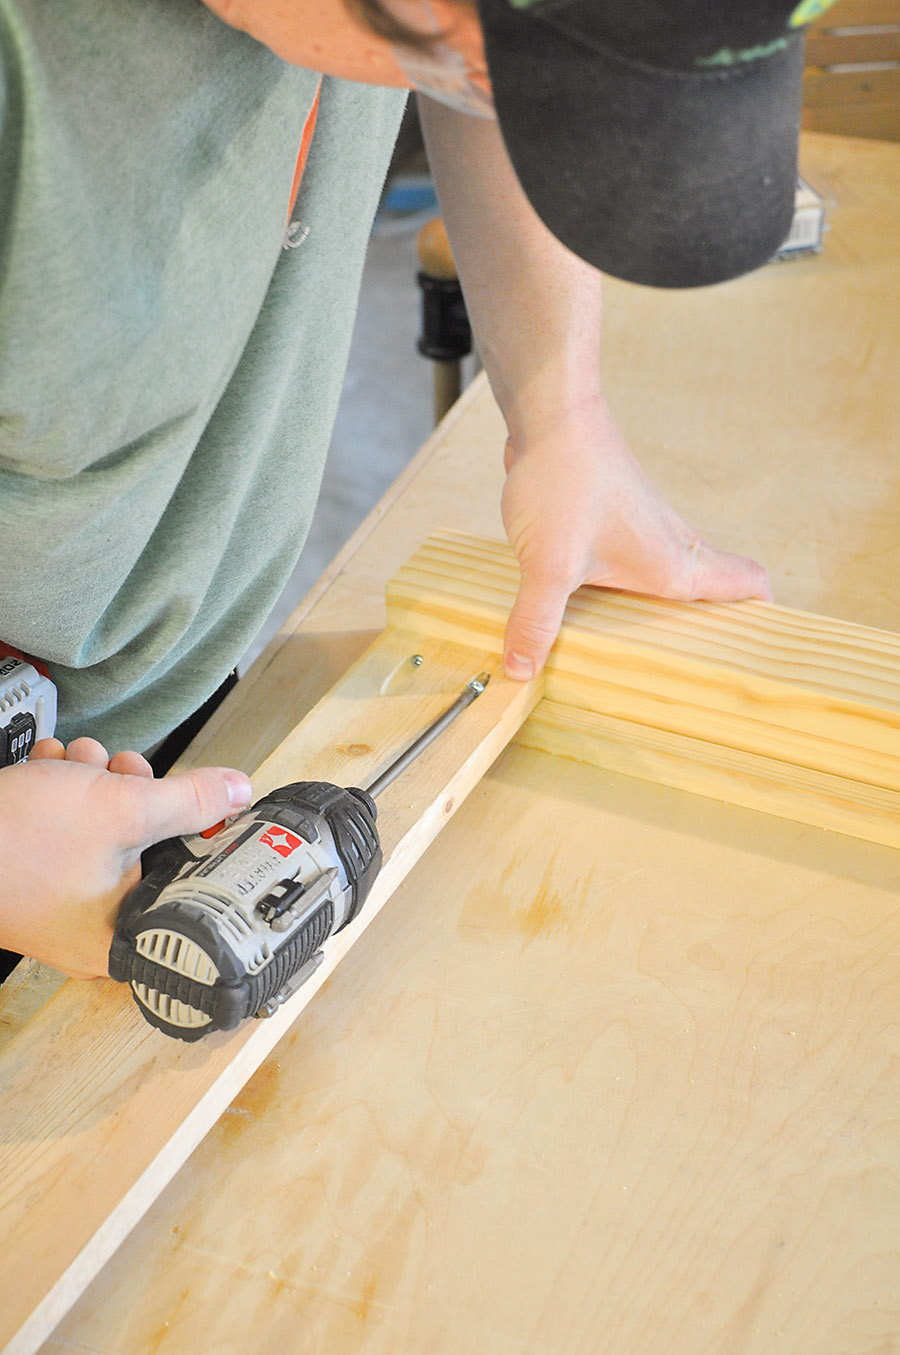
Finally, we attached the top planks to the base using the pre-drilled pocket holes.
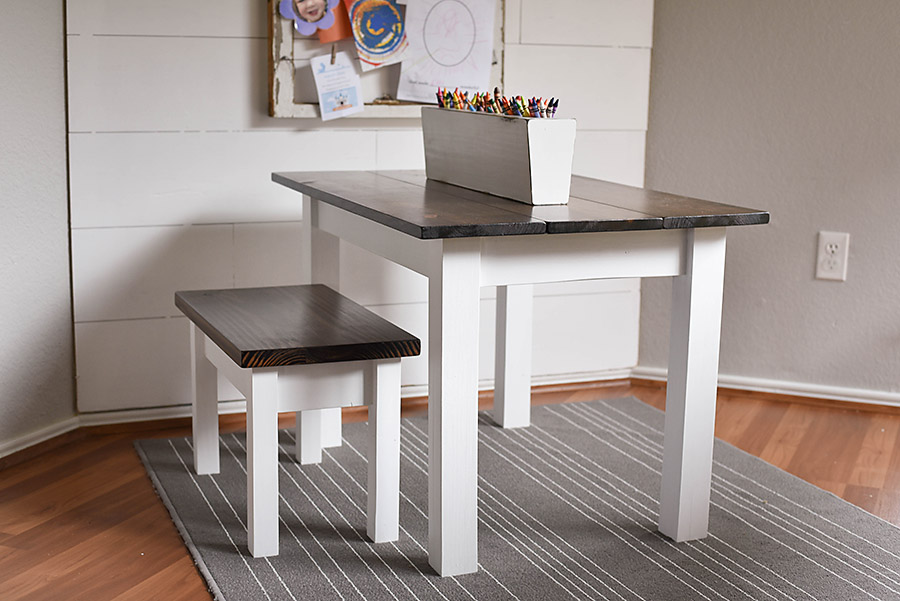
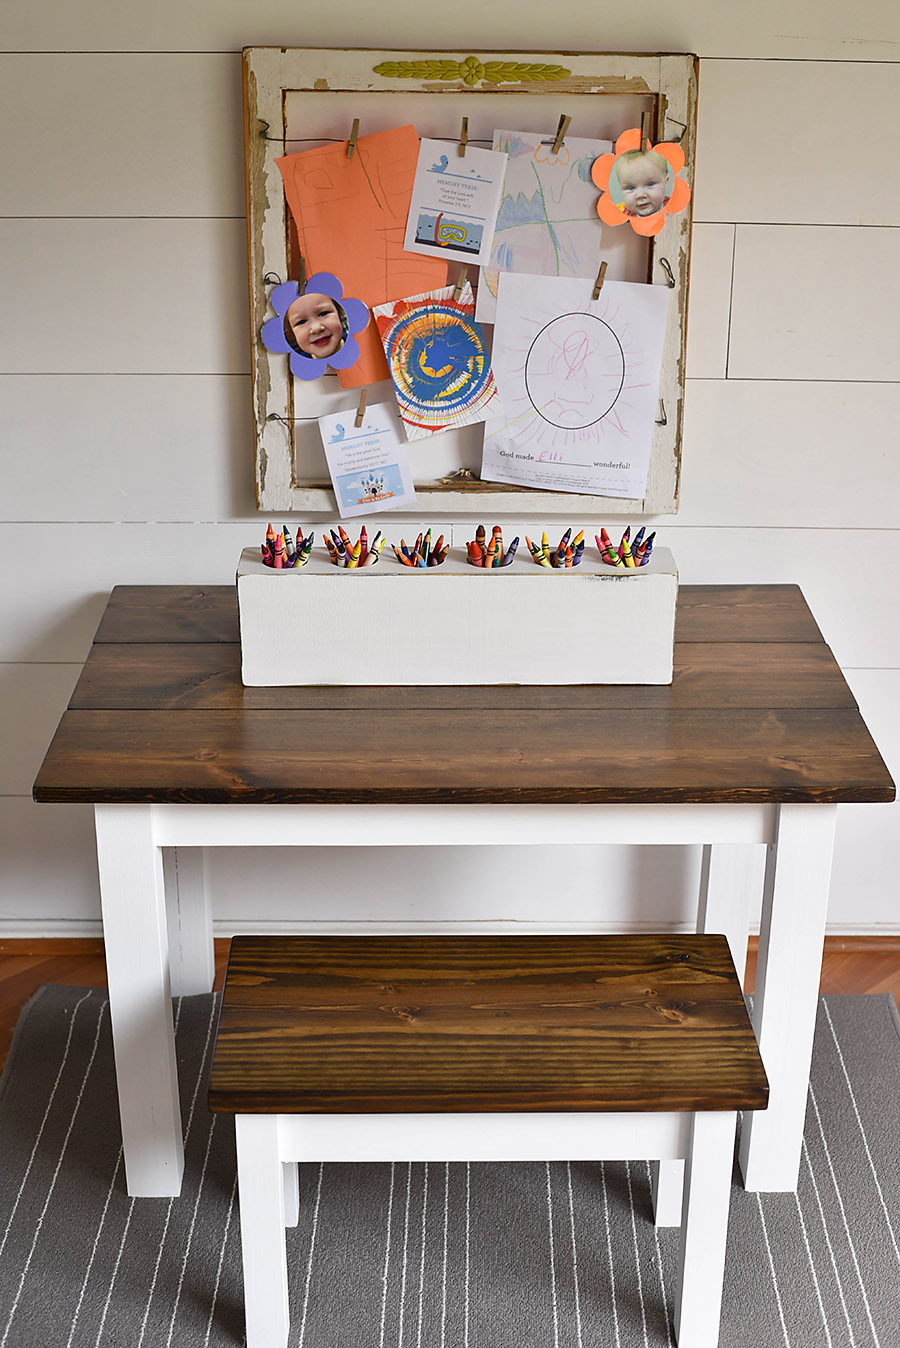
Then I immediately fell in love. Did you know you could fall in love with a kid’s table? I didn’t, but it’s the only way I can describe what happened next. It looked just like the gorgeous Farmhouse tables I constantly pin on Pinterest, but in miniature. Swoon!
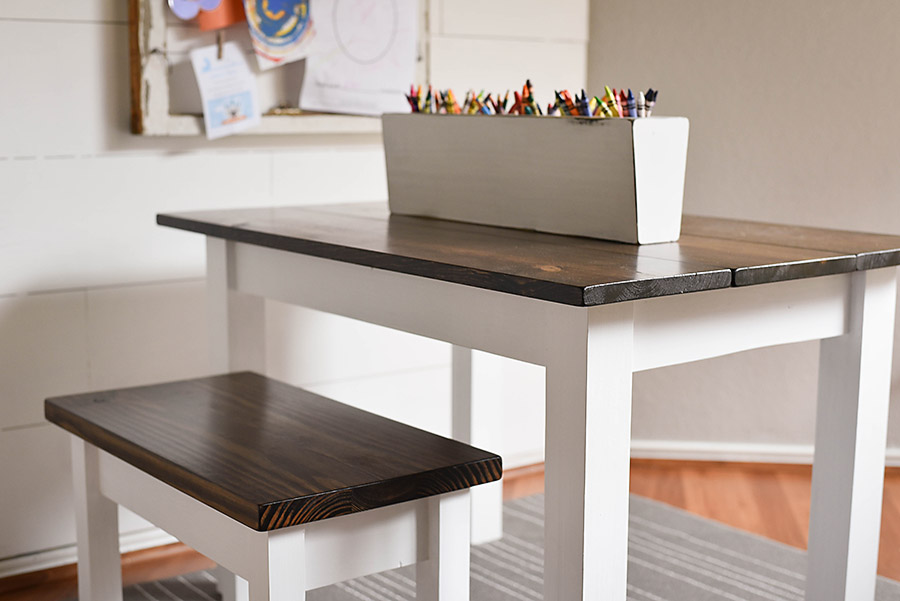
I love it when kid’s stuff doesn’t look like a plastic factory exploded! This table can work just as well in our living room as it could in her bedroom. It makes the house feel so much more cohesive and it makes her feel like she’s part of our family – not just relegated to a brightly colored playroom.
Have you ever made kid’s furniture? What was your favorite piece?
If you want to make a Farmhouse Bench that goes along with this table, click here to find the DIY Kid’s Farmhouse Bench.
 If you like this post, feel free to Pin It!

SaveSave
This is absolutely gorgeous. Thanks for sharing
I love this table. Are the bench plans posted as well?
Thank you so much, Melissa! You can find the bench plans here – http://ourhandcraftedlife.com/make-kids-farmhouse-bench/
Are the table plans printable?
I love it !! It’s perfect !
Did you post the plans for the bench? I’d love to see those! Or if you could share the rough dimensions of the finished product, I’ll bet I could figure it out. I just want to make sure the seating scales nicely with the table. Thanks!
Hi Lindsey! Thanks for stopping by! Yes – you can find the plans for the bench here: http://ourhandcraftedlife.com/make-kids-farmhouse-bench/
What was your total cost?
We used some scrap wood for the bases and paint/stain we already had on hand, but I think if you were to purchase all the wood, it would cost about $35.
Cute table! Did you make the crayon holder too?
Yep! We should be making a tutorial for it very soon!
This is amazing! When do you think you will be adding the instructions for the crayon holder?
Please let us all know when you post the tutorial for the crayon holder! Love!!!
What size screws did you use to attach the legs to the apron and the top to the apron?
Hi Teresa! We used 1.5″ screws – let me know if you have any other questions!
Hi Megan! Is the Polycrylic in semi-gloss or satin? Cute table!
Hi Katy! I believe we used satin Polycrylic.
That table is amazing!! How old is your daughter? Wondering for sizing of the table. My boys are 4 and 5…. but you know kids, growing like weeds always!
My daughter is a tall 4 year old and we made it a little too big for her so that she could grow into it. I really think this is the perfect height for 5-7 year olds.
Do you have a tutorial for the sugar mold crayon holder?!?! I love it!
I added threaded stem guides to the bottom of the legs to help level the table and keep from scratching the hardwood floors…
Pingback: Childrens Table – Free Woodworking Plan.com
Thank you so much! I cannot wait to make this!!!
It’s beautufi!! What kind of wood did you use for he entire table and bench?
Hi Melissa! For this project, we used standard pine wood from our local hardware store.
Pingback: 21 DIY Kids Table and Chair Ideas You Can Build! - Anika's DIY Life
Pingback: 19 Easy DIY Farmhouse Decor Anyone Can Do - Mommy Thrives
How much would these sell for ?
Do you have a combined list of tools you used?
I see, drill, kreg jig, miter saw, and table saw, wood glue? Anything else? for the bench as well?
With the dimensions you used, do you think it’s big enough for two kids to sit side by side? Or if not, any idea how much space to add to do that? Love the plans, and am excited to make my own version!
Is there matching chairs for this table
Thank you so much I needed something like this to build for myself to use as
A make up vanity
Pingback: 20 Magnificent DIY Wood Furniture Ideas- A Cultivated Nest
Neat bench and table. Could you give the measurements on the bench please.
Thanks
Mitch
Pingback: The Best Diy Kids Tables – Home, Family, Style and Art Ideas
Hi! I’m looking up the Jacobean color. These are the two that pop up, but both of them look different: Minwax Wood Finish Oil-Based Jacobean Semi-Transparent Interior Stain
AND
Jacobean Semi-Transparent Satin Oil-Based Interior Polyurethane and Stain
Did you happen to use either of these?
Hi! We used the first. I’m not a big fan of the “all in one” options with the poly and stain. We used just the interior stain in Minwax’s basic line then sealed it with polycrylic.