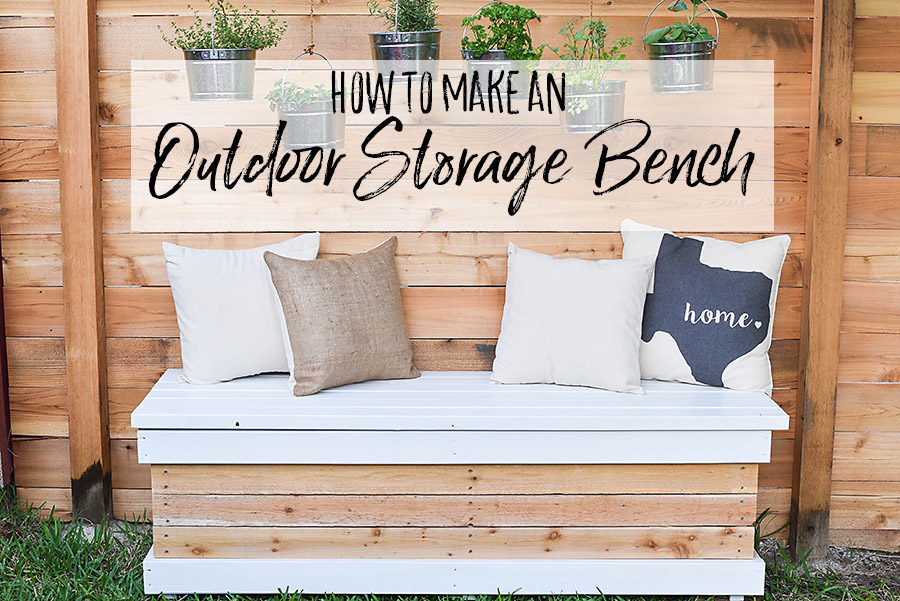
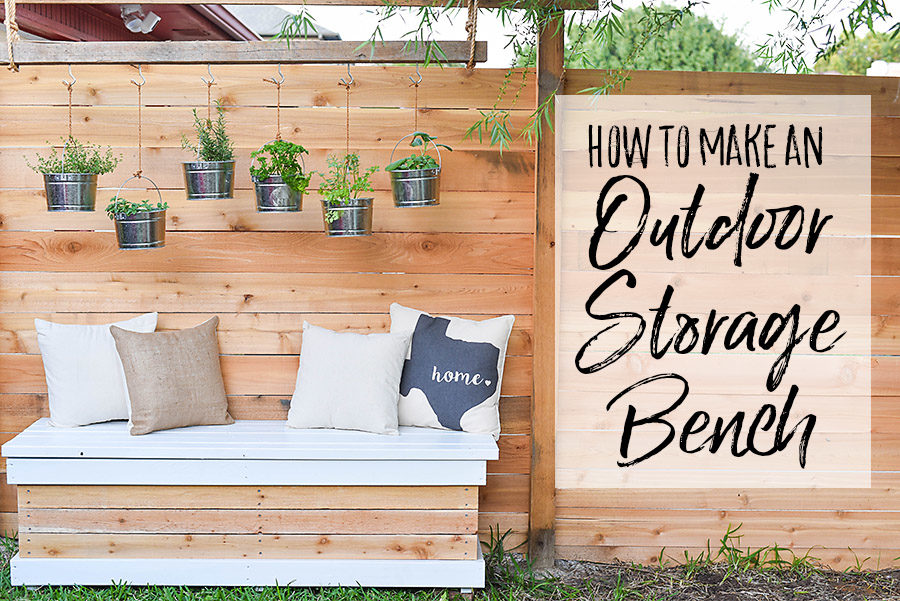
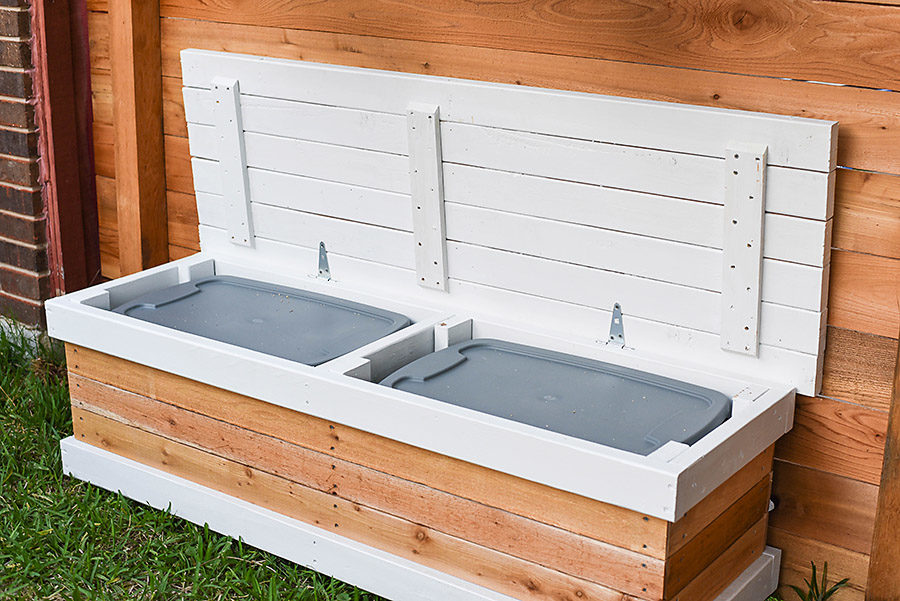
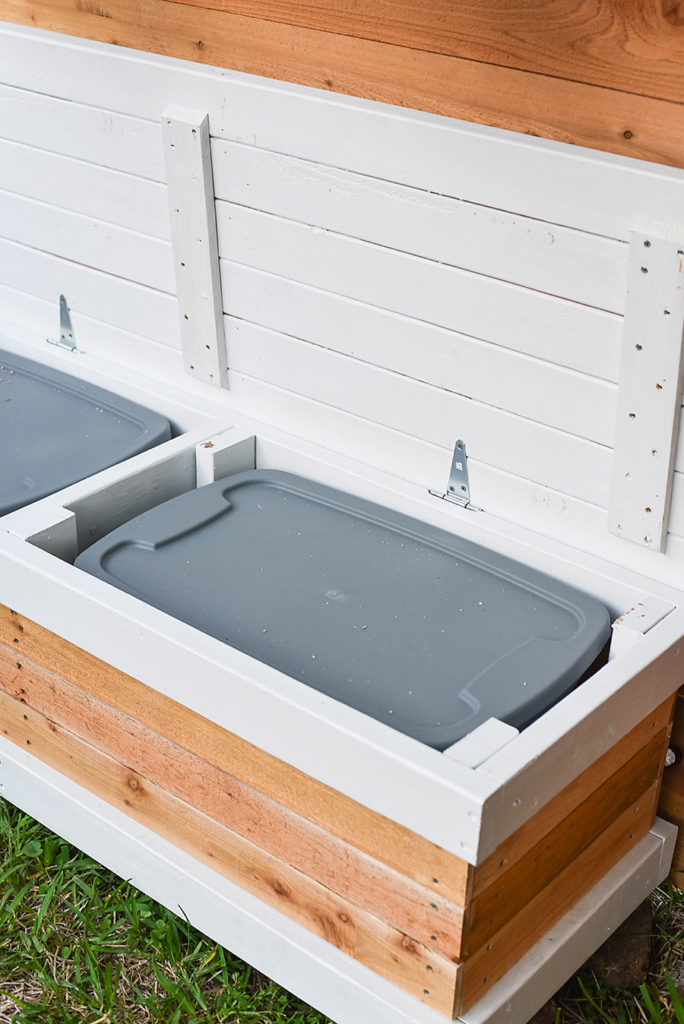
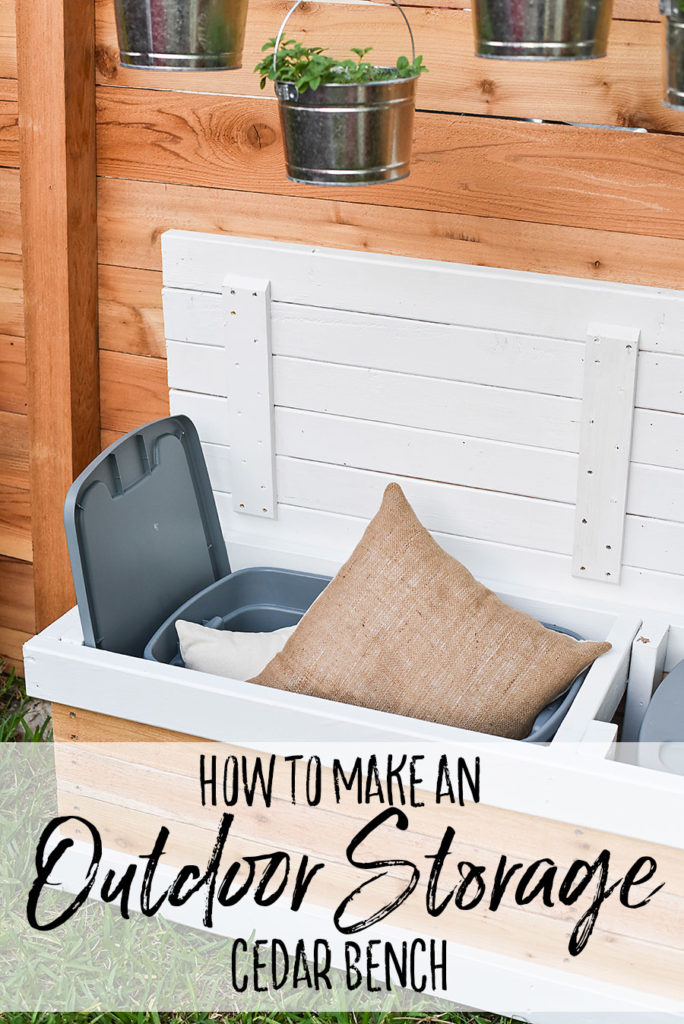
Build an outdoor storage bench with a twist – the hidden storage can hold two rubber totes! This backyard storage box is ideal for storing pool toys, kid’s outdoor toys, gardening tools, patio cushions, and more.
When you have a tiny backyard (like we do), you have to be thoughtful about every square foot of space. If not, your backyard will become a dumping ground for everything that doesn’t fit inside. It can be full of toys and tools, firewood and fire hazards. But, if your small backyard is planned well, it can become an extension of your home – it might even be the biggest room in your house!
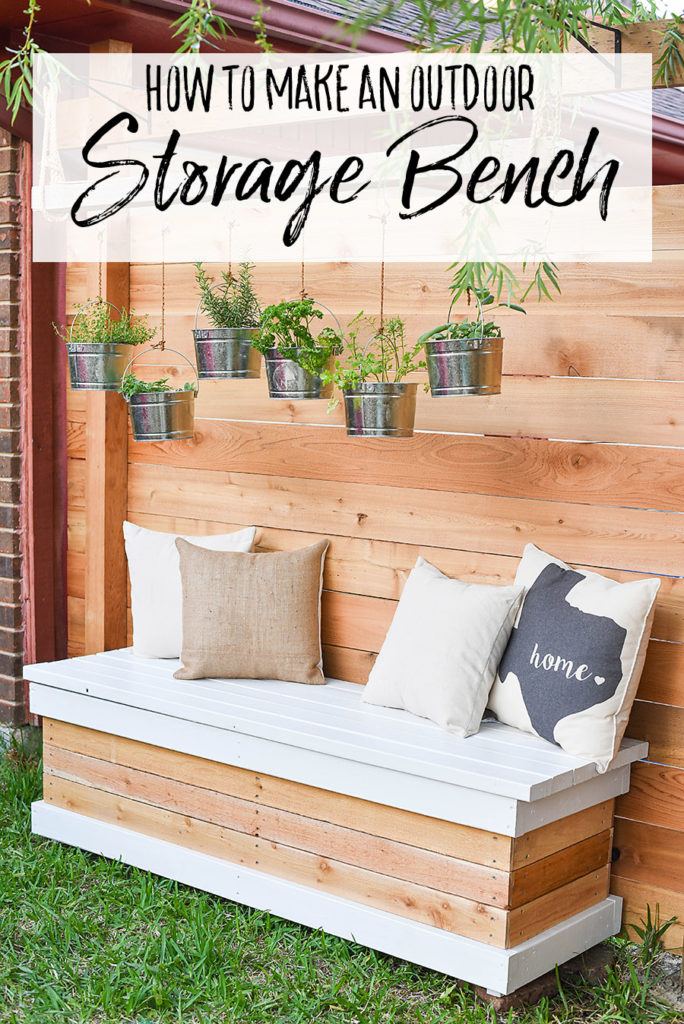
I’m excited to share this DIY Outdoor Storage Bench. It’s both purposeful and beautiful. Having a storage bench that can withstand the weather is nice, but one that can hold a couple of sturdy totes and add style to our backyard? That’s functional!
This is a great project for a beginner because although it may take a while, it’s very simple without any complicated cuts or equipment.
If you’re just popping in, come on over to The Handcrafted Collective. It’s a free community for makers that will be launching soon with DIY projects, design advice, giveaways, and more! And don’t forget to sign up for our mailing list to find out what else we’re making.
DIY Outdoor Storage Bench
To make the storage bench, you’ll need:
- 3″ Coated Screws
- 1 5/8″ Coated Screws
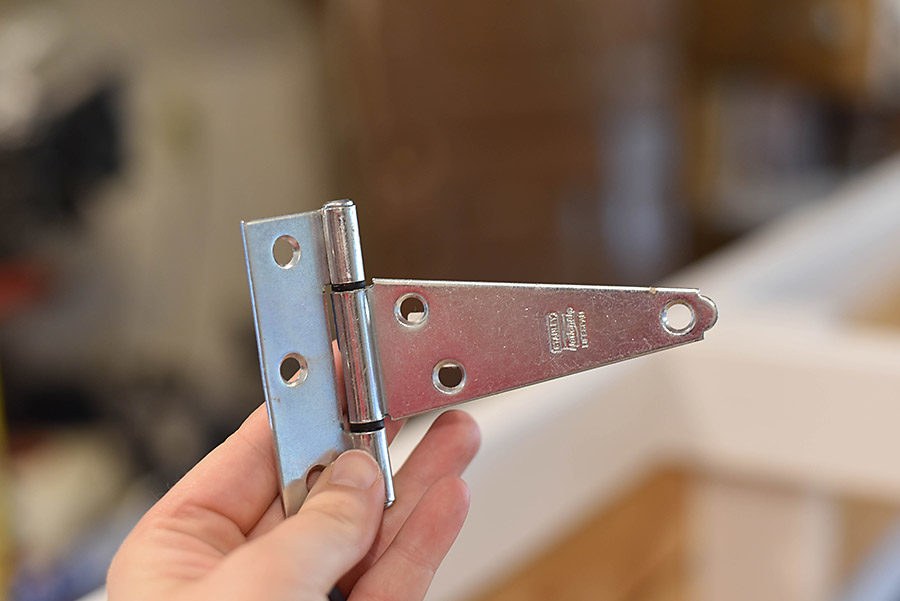
- 2 T-Strap Gate Hinges
- White Exterior Paint
2×4″ Boards:
- (6) 18 1/5 inch (Frame Legs)
- (4) 63 inch (Frame Long Boards)
- (6) 17 inch (Frame Short Boards)
- (3) 17 inch with a 45 degree angle cut in each end (Lid Supports)
- (6) 65 inch (Lid)
- (2) 10 inch ripped in half to 1.5″ x 1.5″ (Bottom Supports)
1×4″ Boards:
- (3) 16 1/2 inch (Under the Lid Supports)
1×4″ Cedar Fence Pickets:
- (8) 17 inch (Short Ends)
- (8) 61 1/4 inch (Long Ends)
- (4) 29 1/4 inch (Bottom Supports)
Tools:
Building the Outdoor Storage Bench
Here’s a video that shows the whole build – I’ve tried to fill in a few details below.
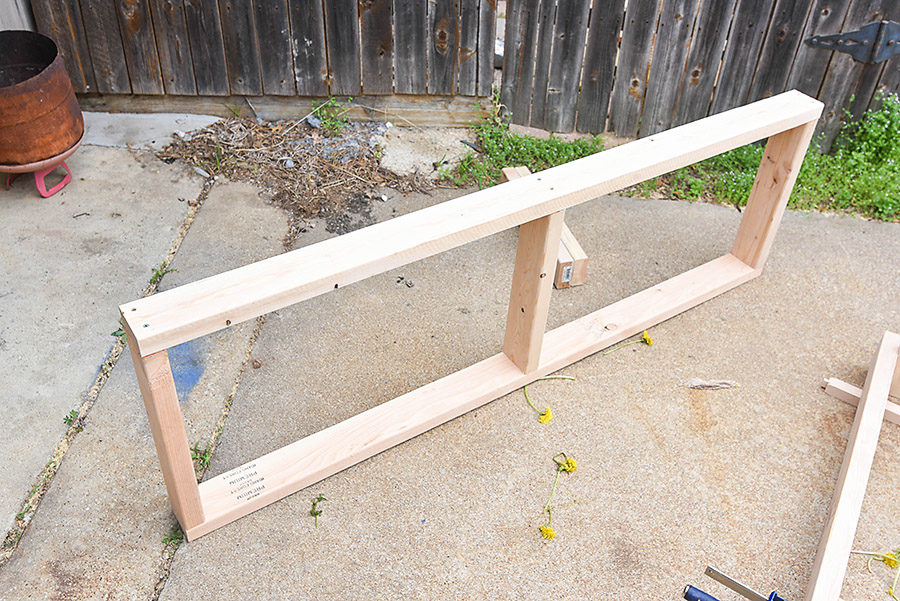
I began by building the frame of my storage bench. Using 2×4″ boards, I attached (2) 63 inch boards to (3) 17 inch boards.
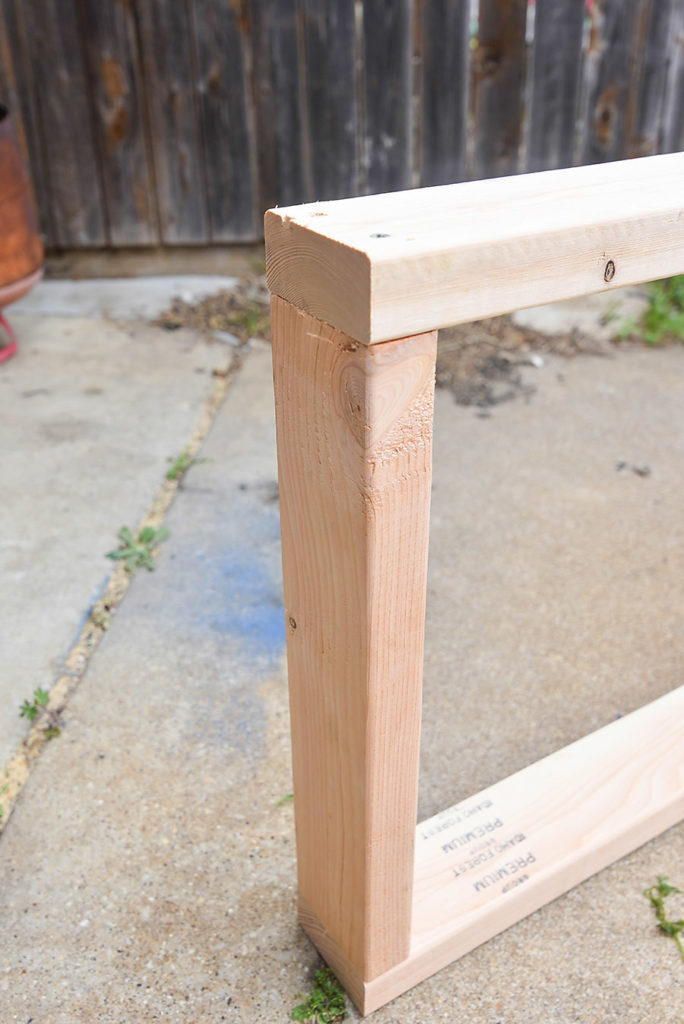
These joints are called butt joints (I wish I was kidding). They aren’t the prettiest way to attach two wood pieces together, but they’re strong joints, perfect for this outdoor project.
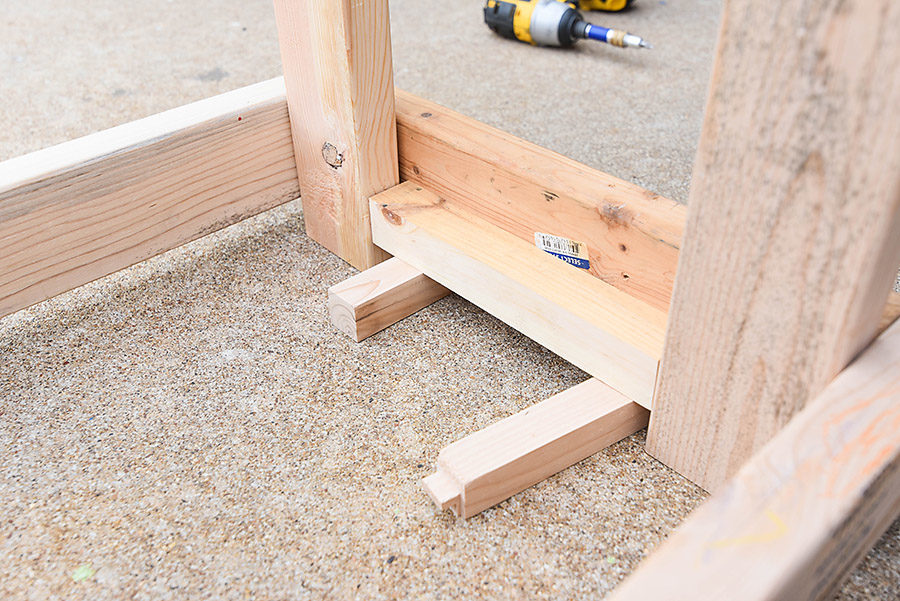
Then I added the 18.5″ legs to the frame. I wanted the box to sit up off the ground, so I laid down 1″ scrap wood spacers under the frame before placing the legs in to screw them on. 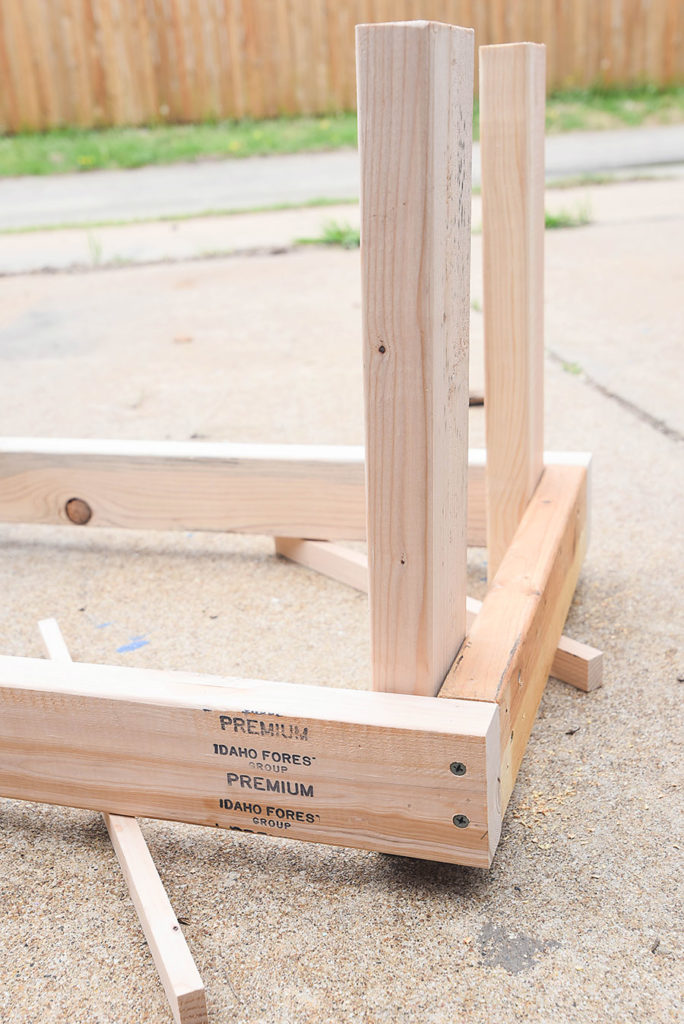
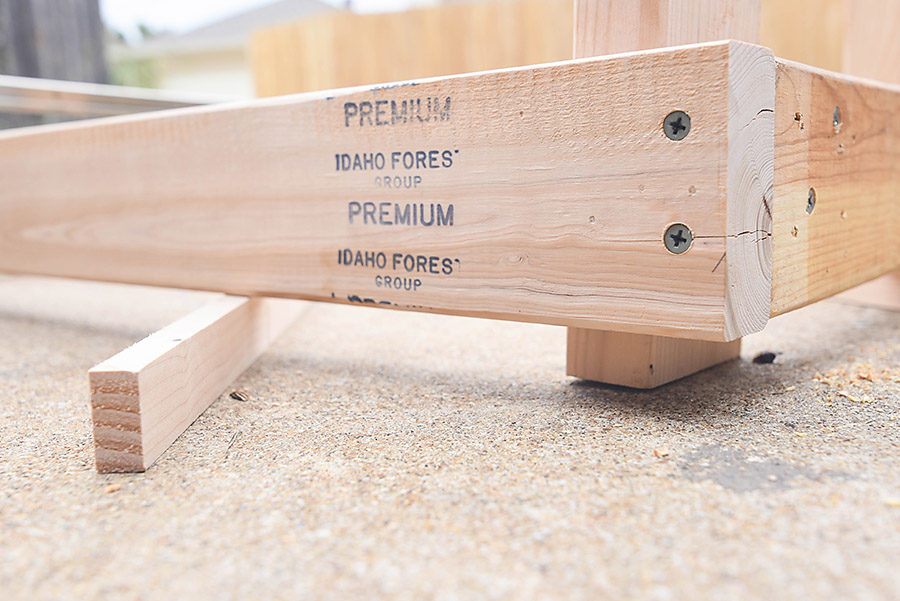
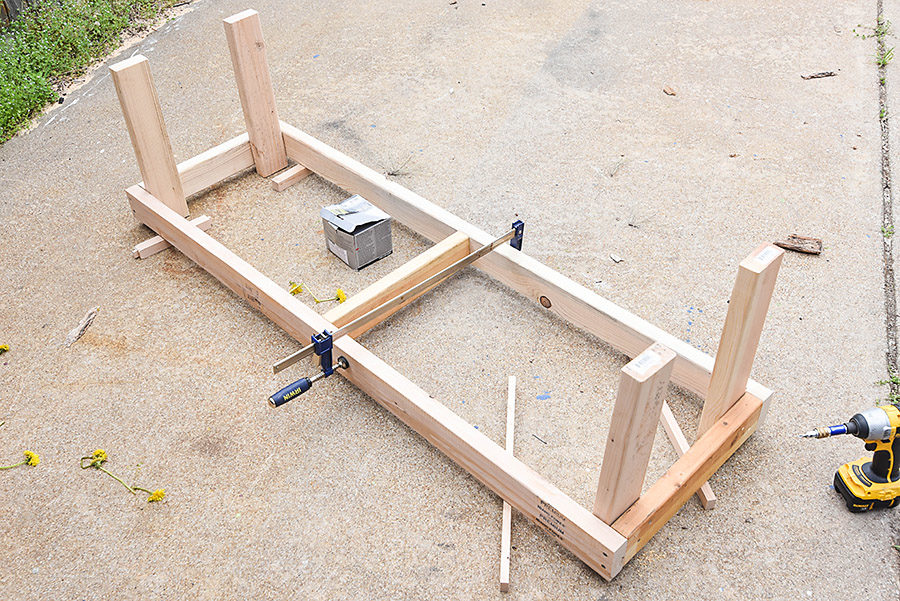
Then I flipped this piece upside down and screwed it to the top of the frame.
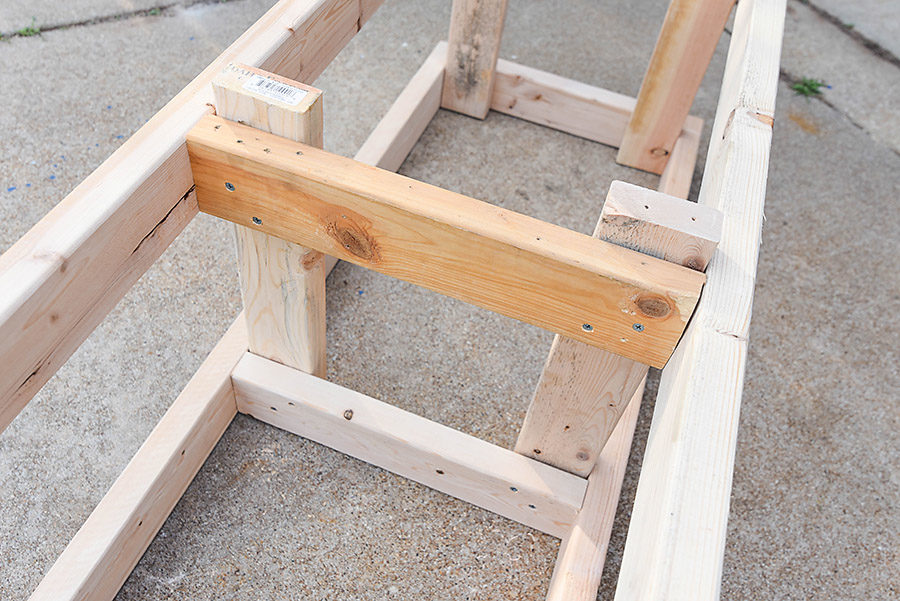
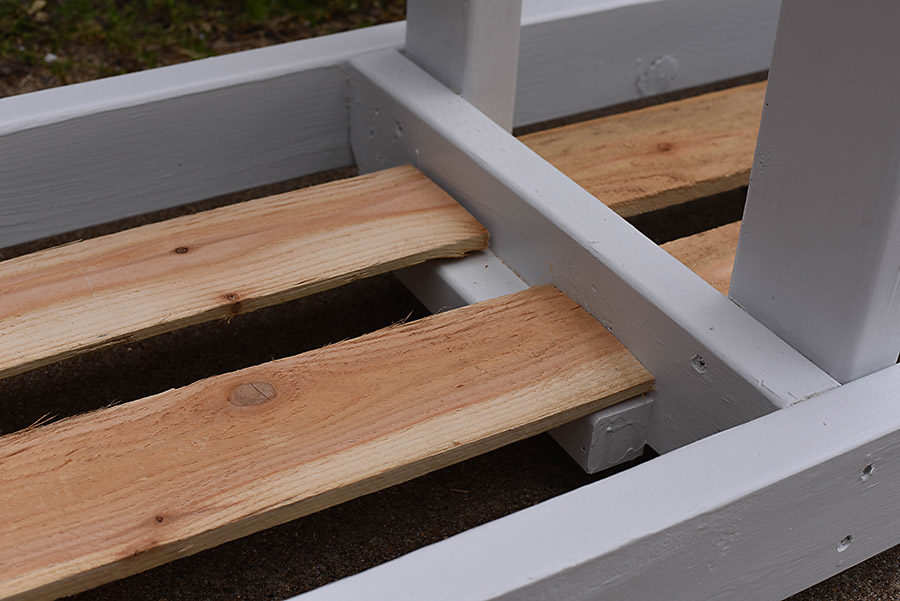
Finally I ripped down a 2×4″ board to 1.5″ x 1.5″ and attached them to the bottom of the frame.
I used the same spacers I used to attach the legs so that they would also be elevated off the ground. These pieces will hold a couple of cedar fence posts that will support the large tubs.
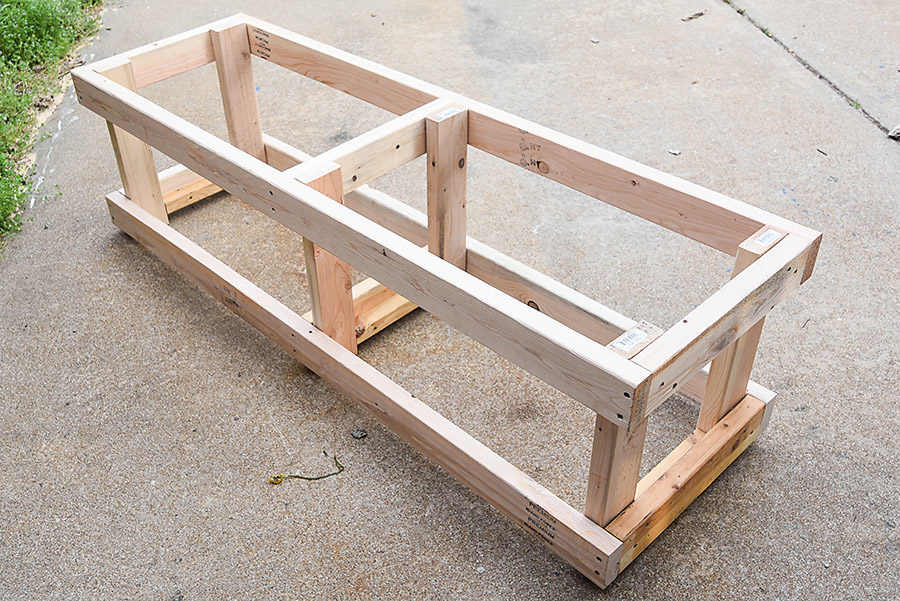
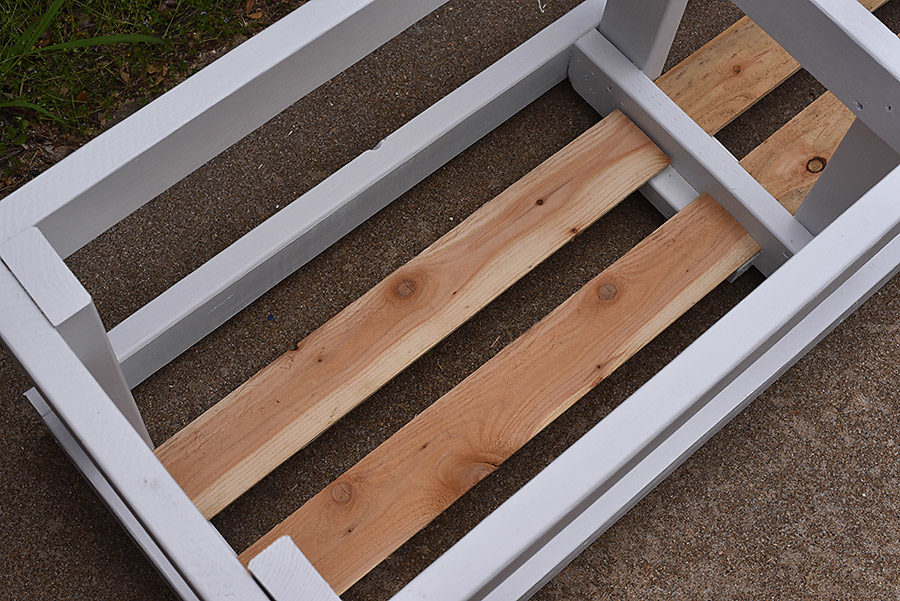
Here’s the completed frame:
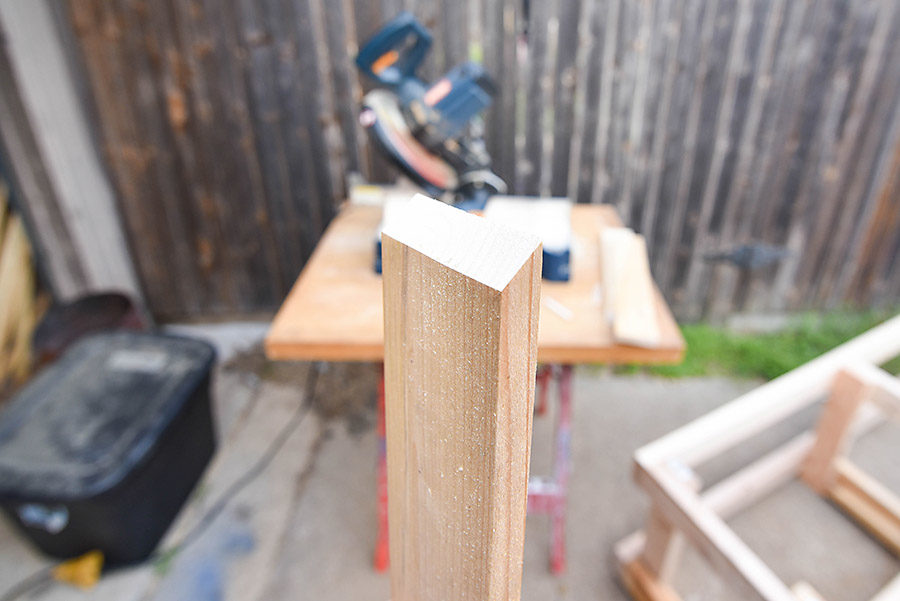
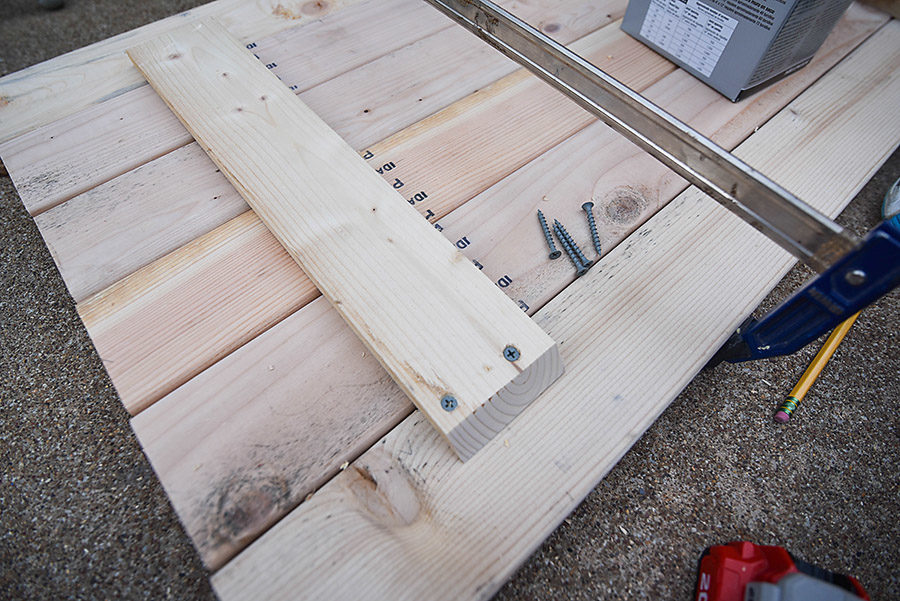
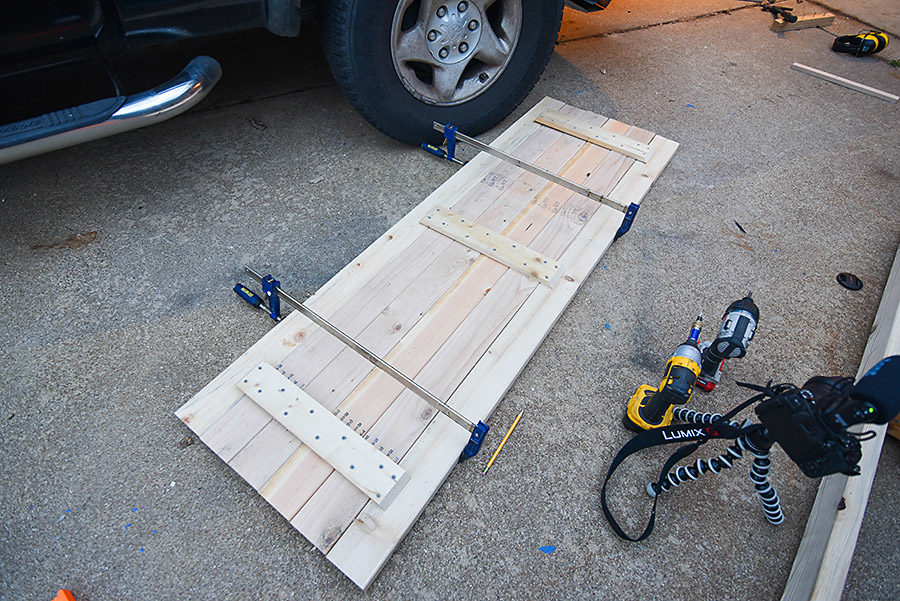
Next, I made the lid for the storage bench by laying the (6) 65″ – 2×4″ boards down and adding three supporting cross boards. When I tested the cross support beams, I realized that it was going to be a tight fit, so I cut a 45 degree angle on each end of the 17″ support boards.
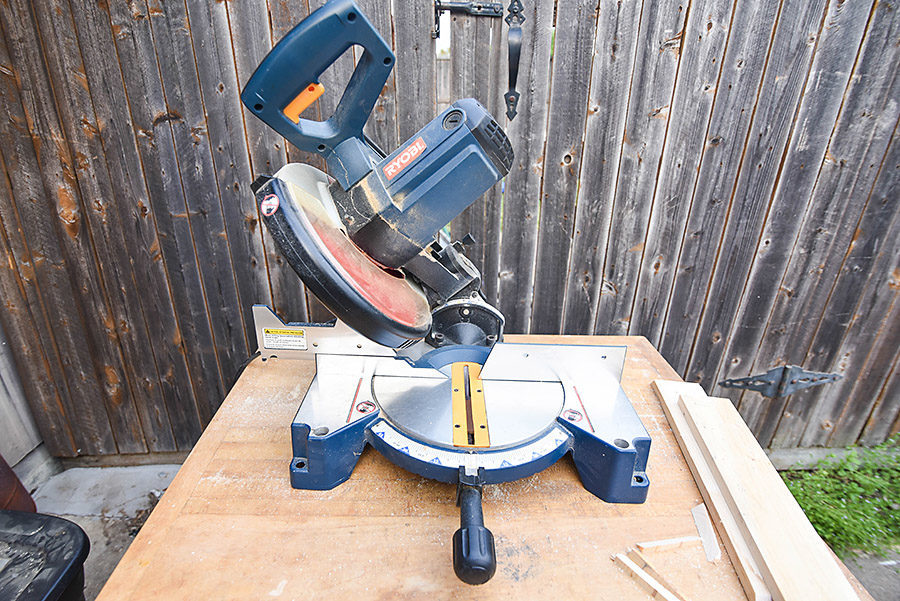
I cut this angle by tilting my chop saw to a 45 degree angle.
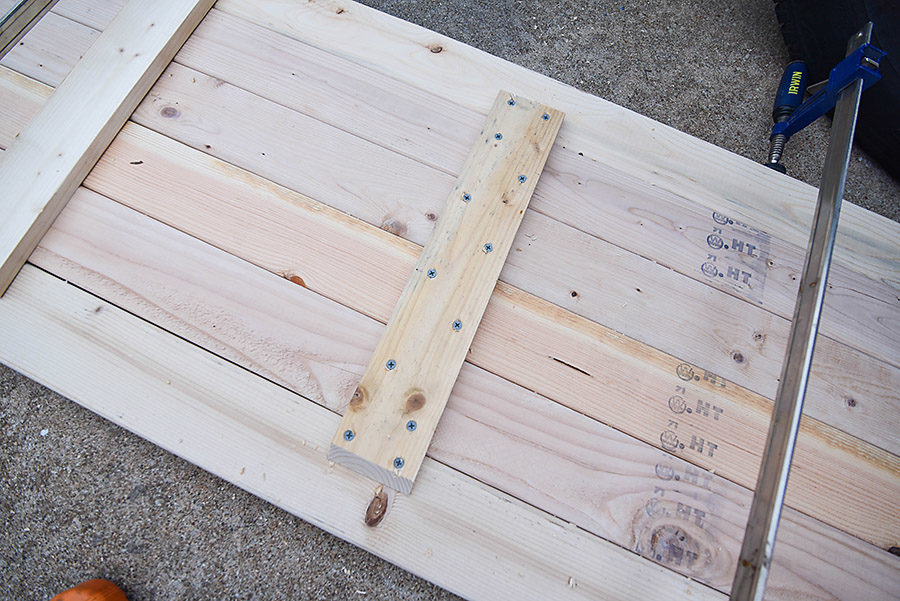
I attached these boards to the 65″ boards to make the lid. The two end boards were 4″ in from the ends of the lid and the center support was slightly off-center to accommodate for the center beams of the box.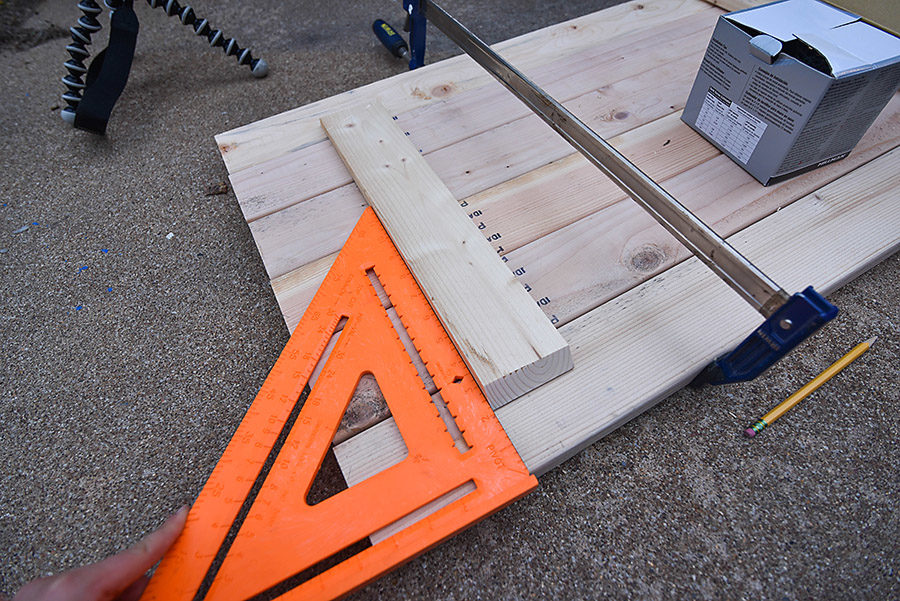
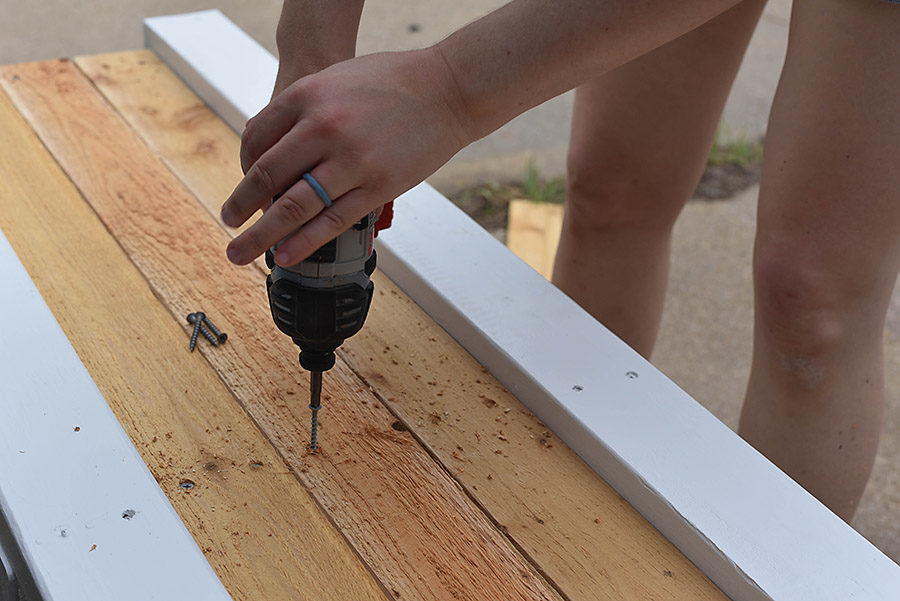
Using a square, I secured two screws into the end boards.
Then I added two screws in each board, alternating them for extra strength.
Here’s the lid all put together:
I painted the frame and the lid white. This was partially because I thought it would look nice, but mostly to protect the wood from the elements. That’s why it’s important to choose an exterior paint.
Then I added some 1×4″ cedar planks to the bottom of the storage box to form the floor. Because I have the sturdy totes, I’m not relying on the floor of the box to keep out critters. They really just needed to keep the totes up off the ground.
I added cedar planks to the outside of the frame to create the box.
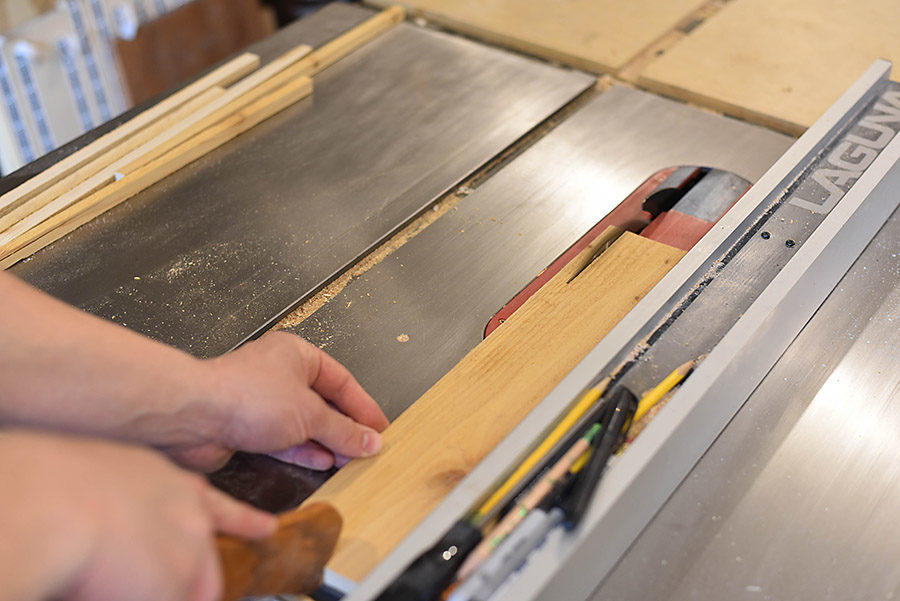
I did end up needing to rip the planks down to size because my math was a bit off (just ask my husband – I’m smart in a lot of ways, but math is NOT my strong suit).
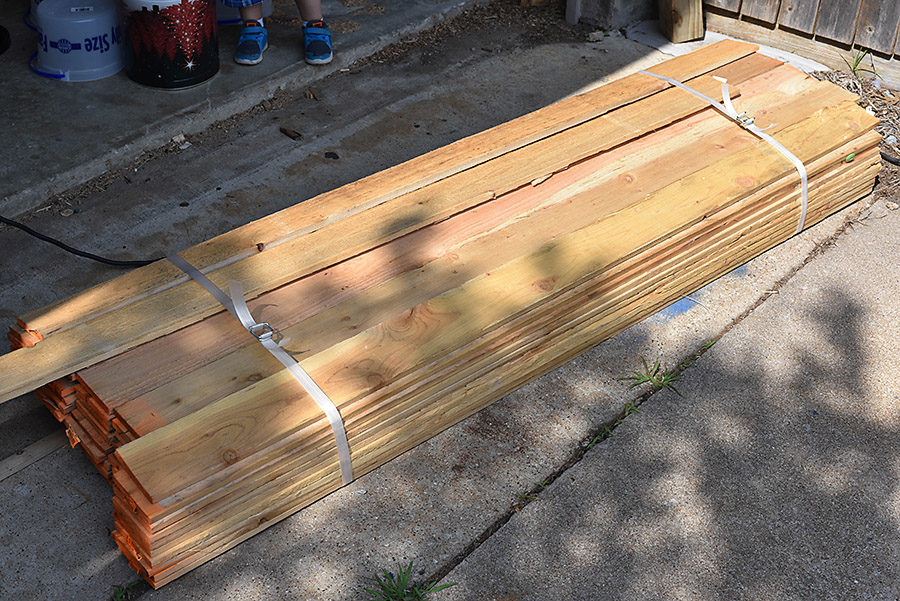
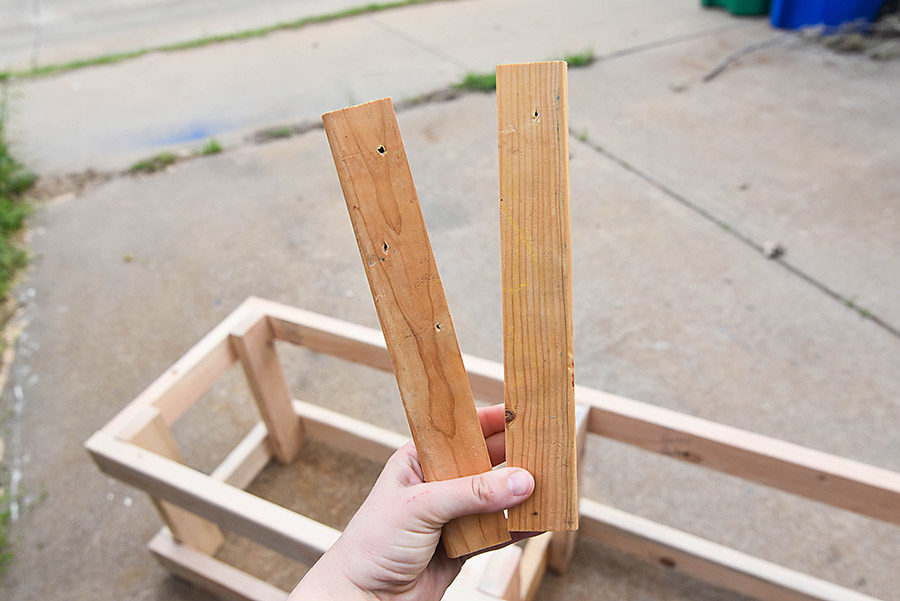
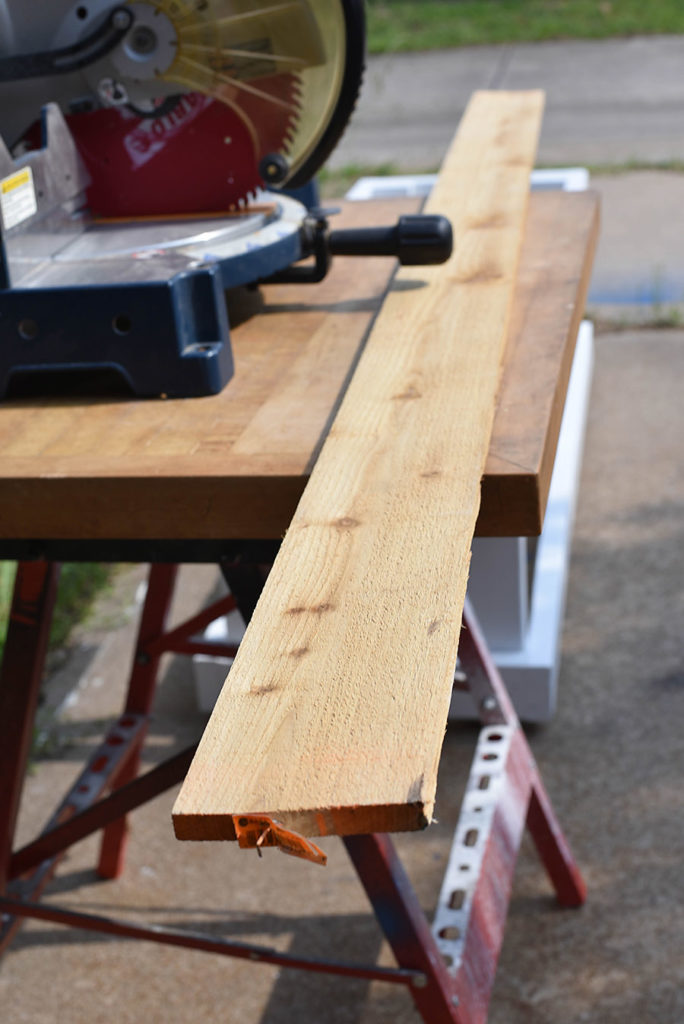
We used cedar fencing planks from the cull lumber pile outside of Lowe’s. This wood generally has cracks or defaults, but it’s 1/3 the price of regular lumber. If you’re using cull lumber, just make sure to cut off the orange ends.
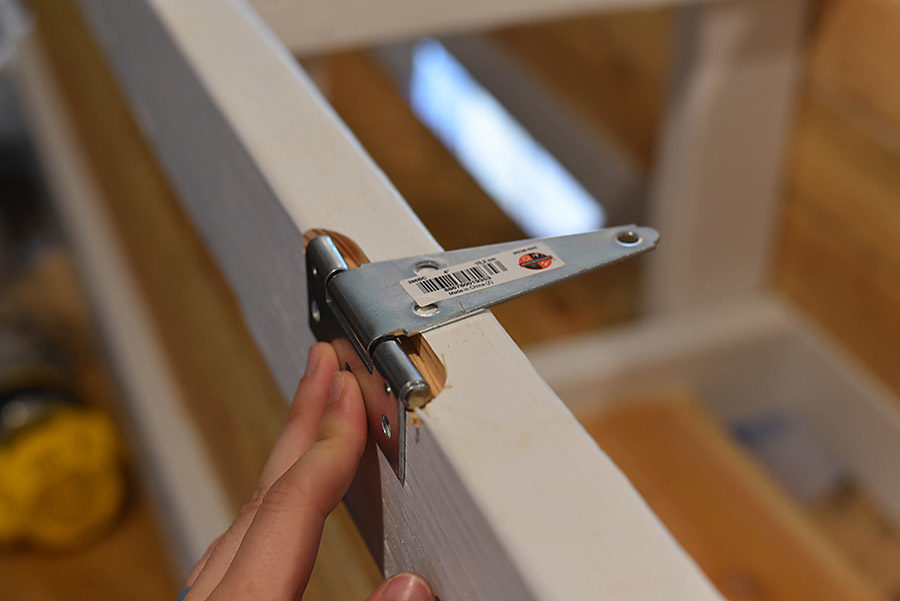
Finally, I added the hinges to the back of the box and the lid.
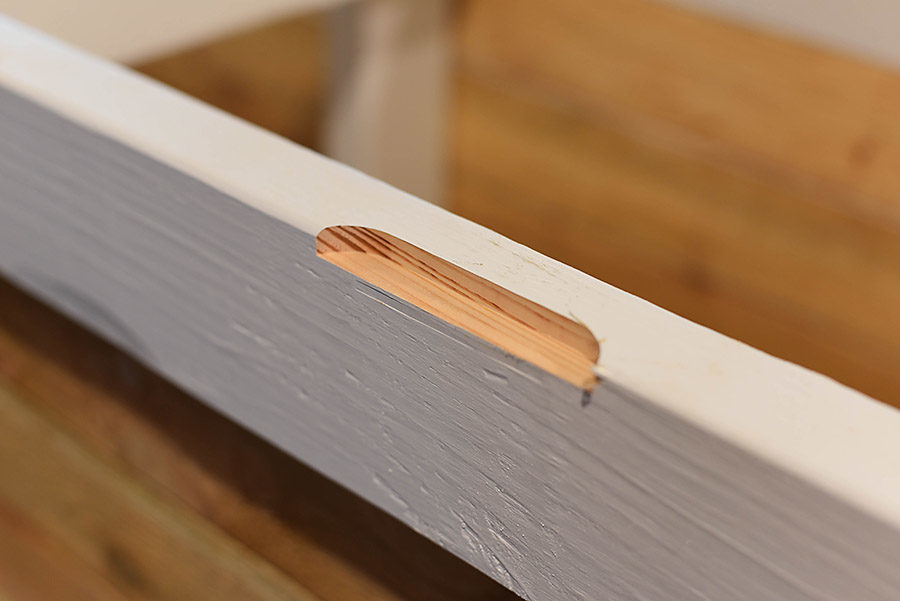
We bought these t-strap gate hinges that had the countersinking on the wrong side, but we made it work by using a router to cut a grove in the back of the box to fit the hinge.
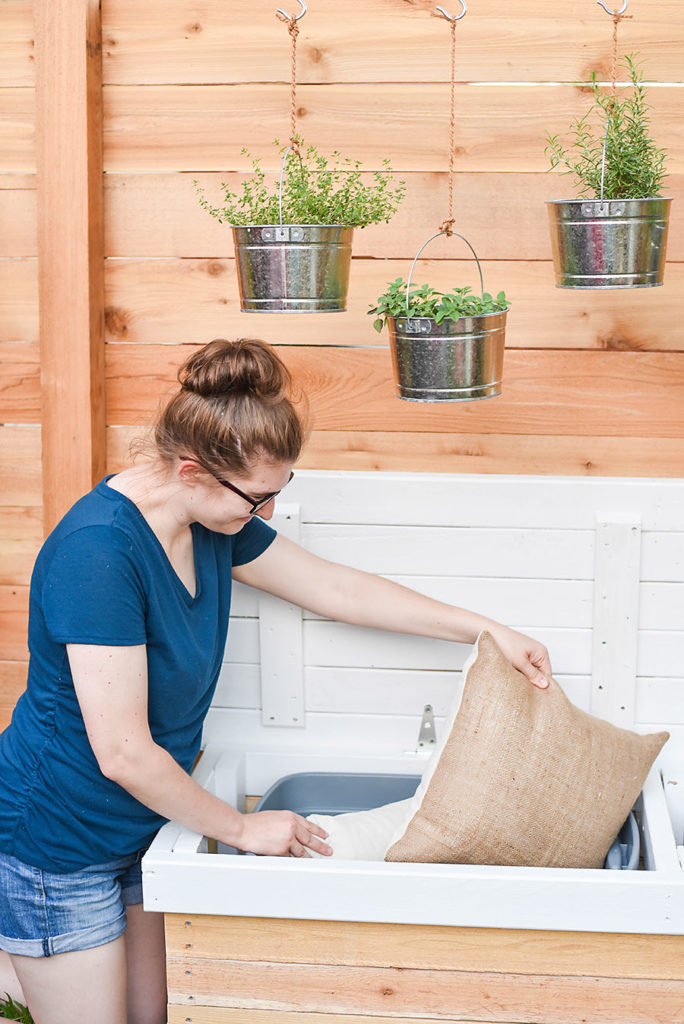
Then, I attached the hinges to the lid and to the back of the box. Finally, I tucked the rubber tubs into the storage bench and it was complete!
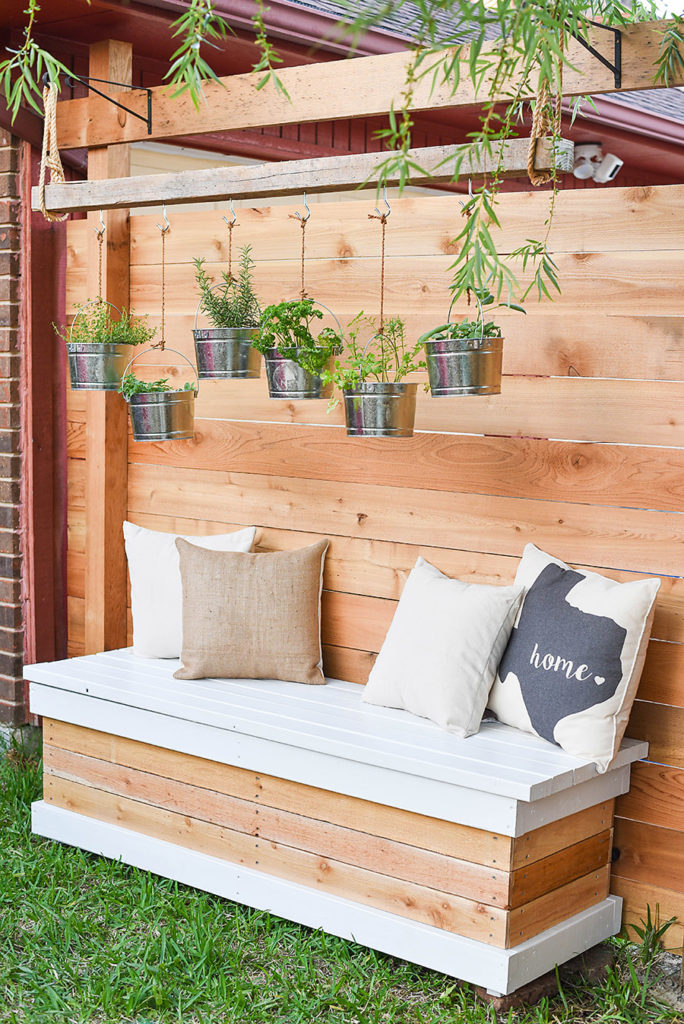
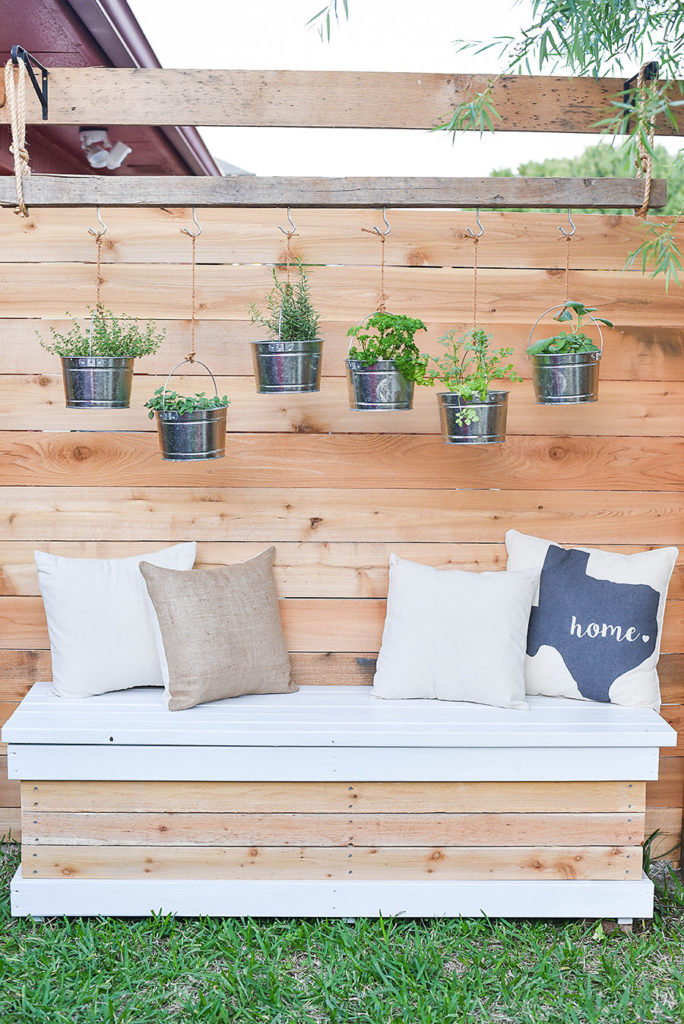
I love how the storage bench turned out. It looks especially nice with my DIY Outdoor Pillow Covers.
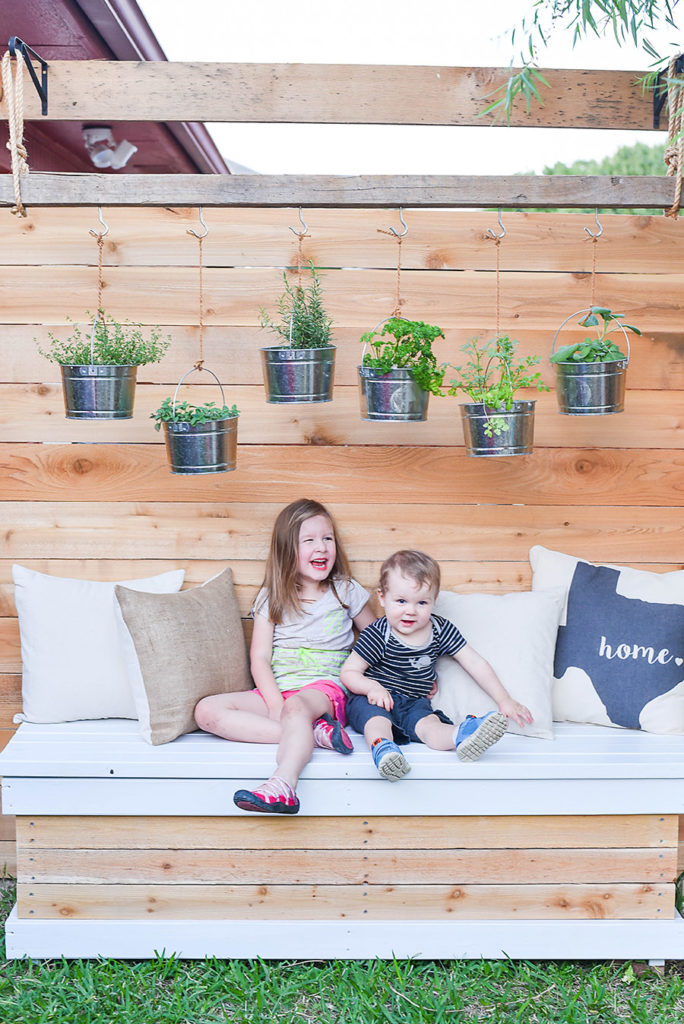
I’m excited to relax on this bench while my kiddos play all summer long.
Right now we have our pillows in one tote and kid’s toys in the other, but I’m planning to make another one of these storage benches to hold our grilling equipment and gardening tools.
Have you found any clever backyard storage organization tips? Share them in the comments below! And don’t forget to join The Handcrafted Collective – our free community of makers that will be launching soon!
SaveSave

That is so cute & practical!
Absolutely gorgeous. I love this project.
Thank you so much!
Pingback: 30 Easy DIY Bench Ideas You Can Build Today! - Anika's DIY Life
Thank you so much for plans for this storage bench. We finished ours for our deck and love it. Quick question though. What size tubs did you get. I need to drop them in mine and I think a 20 gallon would fit. Its 25×16.81 with a height of 15.39. Does this sound right? thanks
Micheles – Did the 20 gallon fit? I’d like to know before I start the project. Thank you. Katelin
Hi Michele, did those tots end up working?! Thanks
Pingback: 33 Best DIY Bench Ideas For Extra Seating & Storage - Crazy Laura
Thinking of building these. What size storage boxes did you use?
I’m looking to build an outdoor storage bench to use as seating at a table and I love this bench. Can you let me know the final dimensions of this bench?
Love this project! I ended up using an 18gal storage tote for mine. Here’s the link to one I bought from Lowe’s https://www.lowes.com/pd/Style-Selections-18-Gallon-72-Quart-Gray-Tote-with-Standard-Snap-Lid/1000183145
Very well done! I am impressed with your DIY skills.
I wish all the best.
Although it is a nice bench, storage area, it is way to heavy for the little storage you get from it. Also, the instructions on how to build this bench needs some revisions with more accurate dimensions provided from step to step. The video instructions and directions need to be more detailed. I would suggest also that people who do wish to make this storage bench, determine the size of tubs you want to use, then backtrack with your dimensions so the tubs will fit properly.
In Rural Iowa, it needs to be heavy to withstand the very high winds we get here. Nice looking bench. Simple design, right up to the router hinge notch!
Hi there! How much did it end up costing you?
I love the design of your bench. We need two storage benches to boarder a potting table my husband is making. Your directions were easy for me to follow and I am going to attempt this as my first woodworking project.
Very, very nicely done. Thank you for taking the time to share your work.