Decorating a Christmas Tree on a Dollar Store Budget
I am so excited to welcome back Cheyenne from Girl v. The World to share with us this DIY Christmas Tree on a Dollar Store Budget. Welcome, Cheyenne!
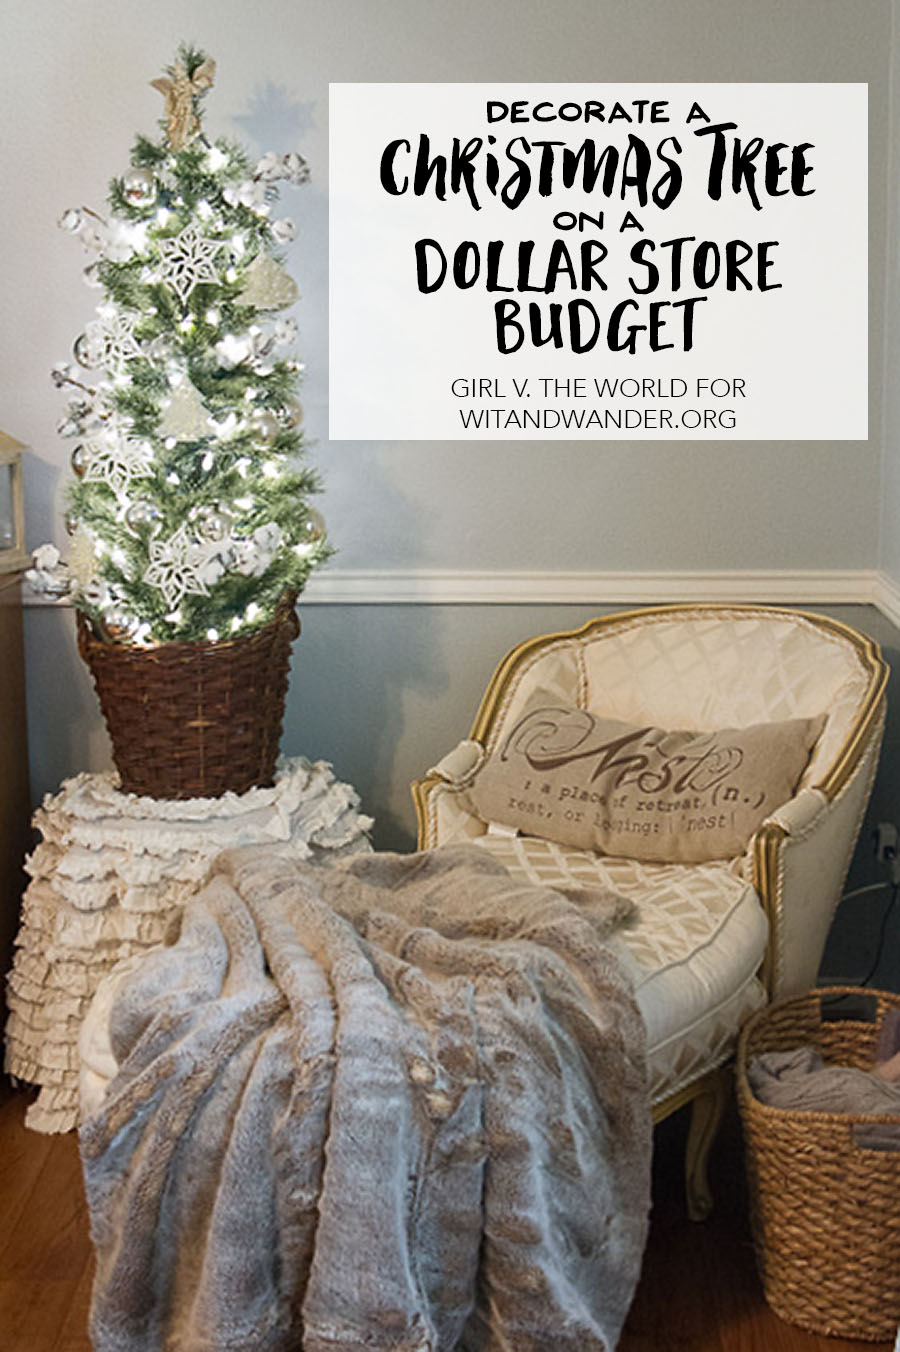
Confession: I am a Christmas addict. Christmas exploded in my house a couple of weeks before Thanksgiving, much to my husband’s exasperation. I love to decorate as many square inches of my house as possible, but Christmas decor can get pretty expensive. We are a one income family so we really can’t afford to spend a lot of money on seasonal decor (I’ve tried to work it into the budget but my Scrooge of a husband won’t let me). So I’ve had to come up with some creative ways to decorate on a dime. Today, I want to show you how I added a gorgeous Christmas tree to my bedroom on a Dollar Store budget!
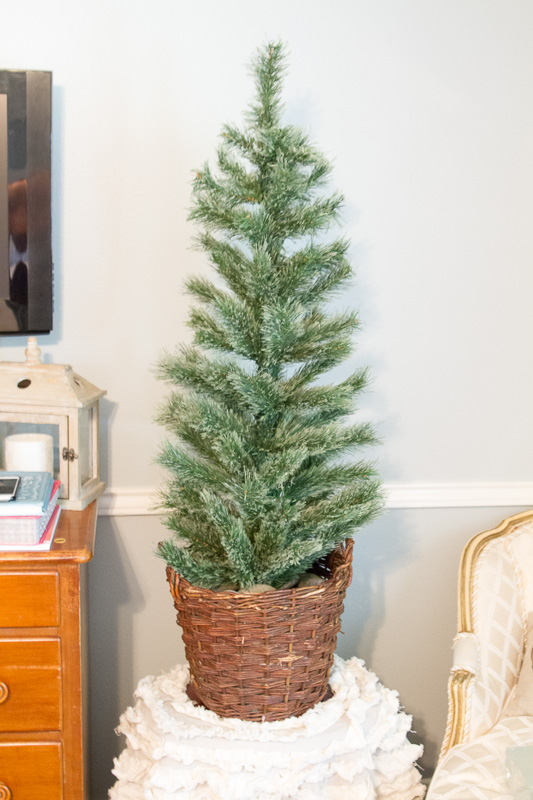
As unlikely as it sounds, some really lovely decorations can be found at the Dollar Store. Another unlikely decor source is Goodwill and other thrift stores. I found some beautiful glass ornaments and vintage angel ornaments at my local Goodwill for less than a dollar a pack. Score! And I found a cute little 4-foot tree at my local Dollar General for less than $15. You can’t beat that!
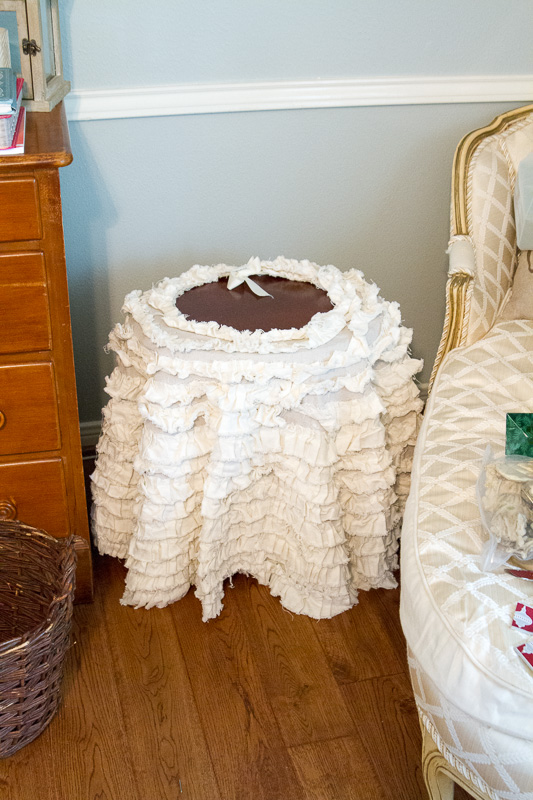 I knew I wanted the tree displayed on a little table beside my favorite chaise lounge in my bedroom. This is the place where I do my quiet time in the morning and I couldn’t think of a better place to put a tree. So I grabbed a small side table I usually use for a lamp and I threw an old tree skirt around it sort of like a table cloth.
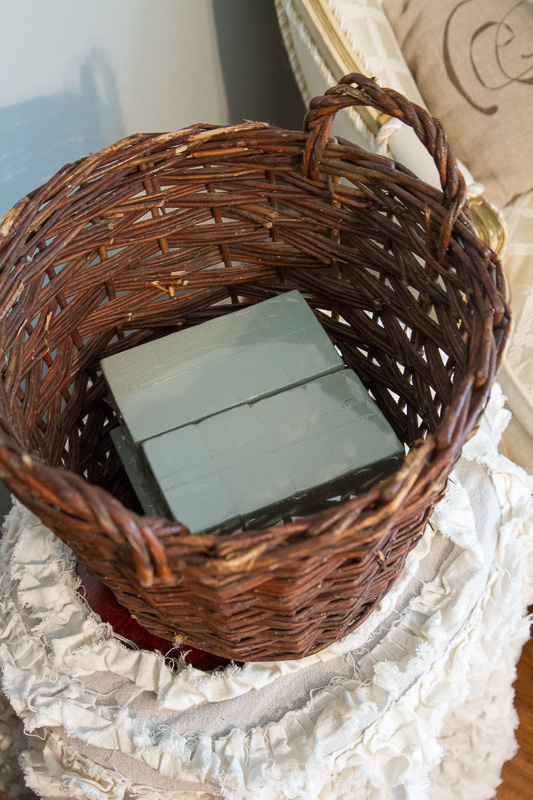 Then I took an antique basket I had in another room and set it on the table. I filled the basket first with floral foam (this way I had something sturdy to stick the base of the tree into since I didn’t put the plastic feet on the tree so it would fit in the basket), then on top of the foam I put a layer of medium sized river rocks I had lying around for gardening purposes.
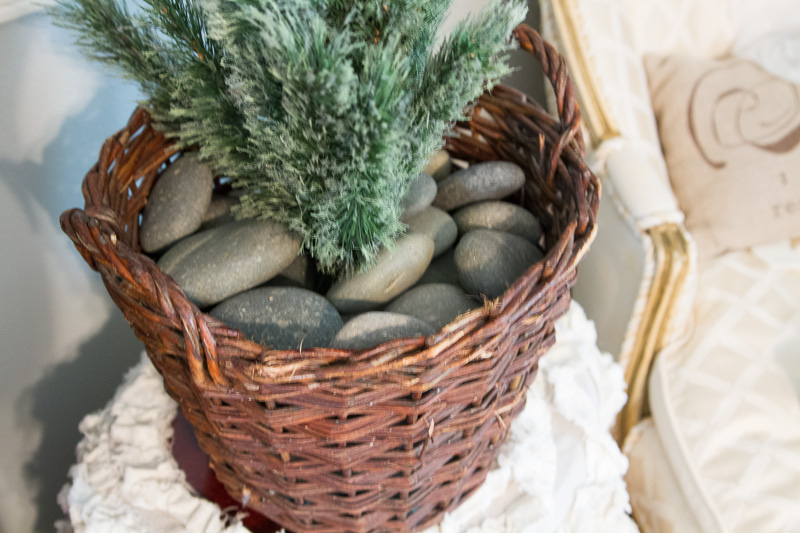 This gave the basket some weight so that the tree wouldn’t topple over. Finally, my tree was stuck firmly in the basket and I could start decorating!
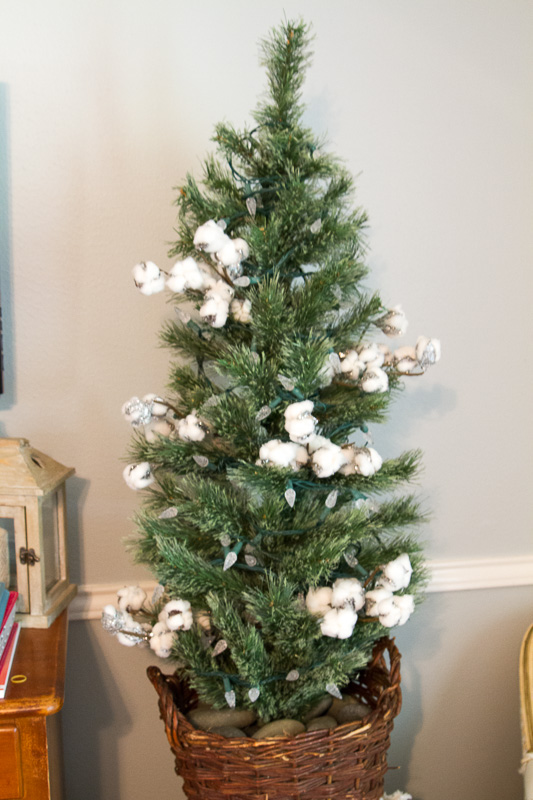
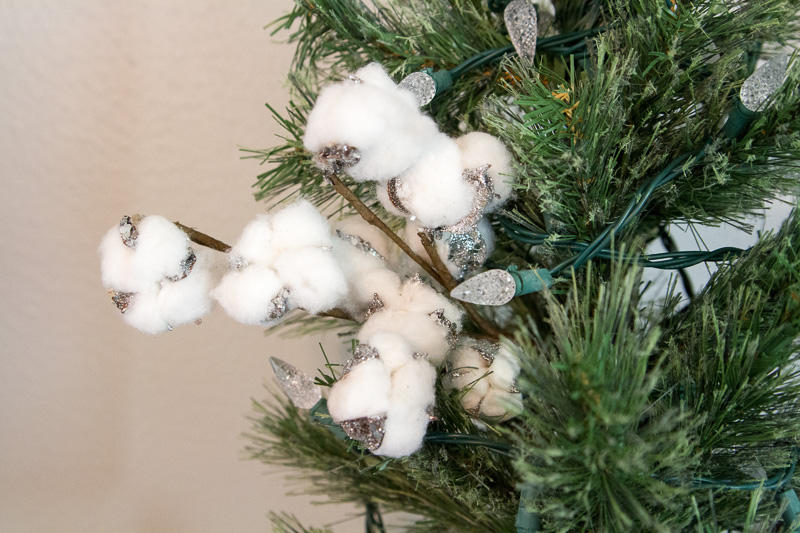
 As I mentioned before, I bought most of my decorations either at a dollar store or a thrift store. The only things I didn’t buy there were some really pretty glittery cotton stems I found at Michael’s. But I bought them when all the Christmas stuff was 40% off at the beginning of the season so I was okay with the expense.
I have a pattern I follow when trimming a Christmas tree. First, I add a string of lights if the tree isn’t pre-lit. Here I used some vintage-style, large bulb lights that I had on hand.

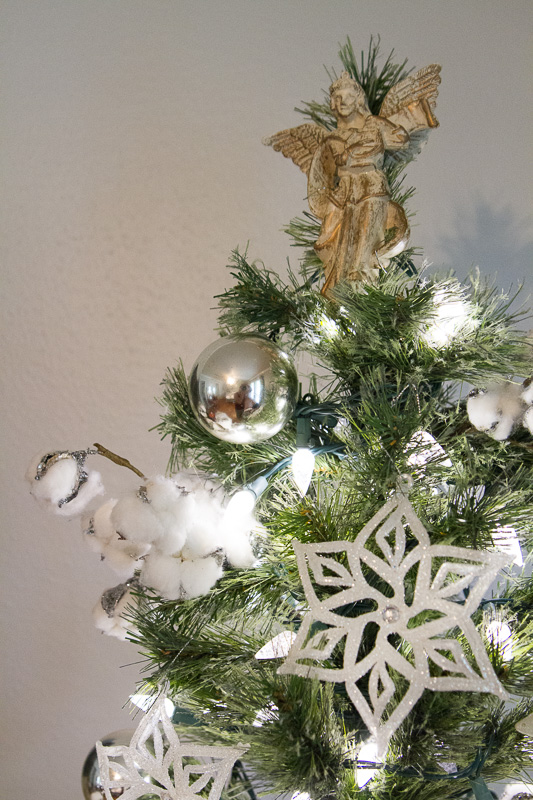 Next, I add all the larger showpiece decorations, then add some medium size ornaments, then fill in with the smallest pieces. The last think I do is place the topper on the tree. In this case, I used one of the vintage angel ornaments I found at Goodwill and attached it to the top branch of the Christmas tree.
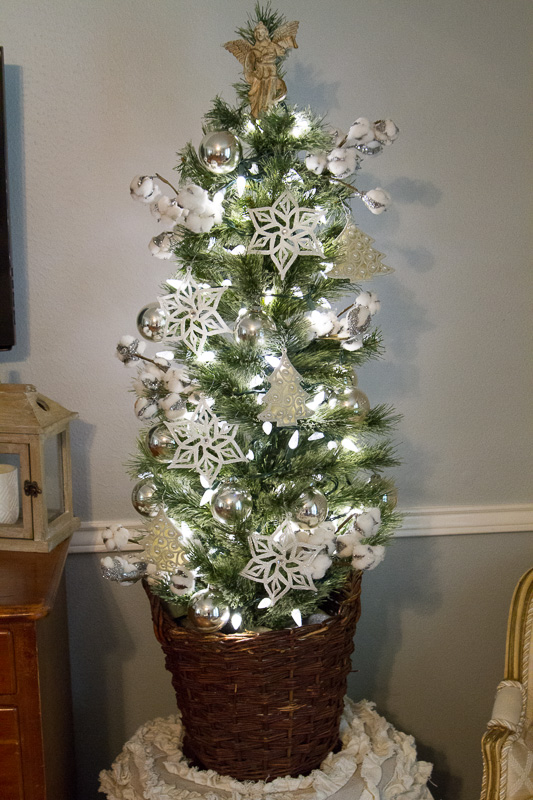 Take your time and step back to view the tree from afar so you can see where you need to fill in the bare spots. Don’t be afraid to move things around or even start all over if you need to. Once you’ve done it a few times, you can knock out an amazing tree in no time!
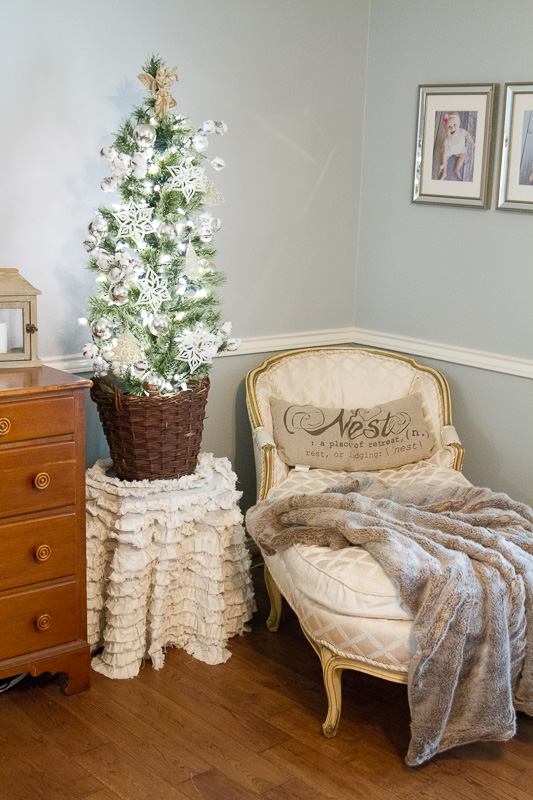 That’s it, all done! Isn’t it a pretty little tree? I’ve never had a Christmas tree in my bedroom and now that I do I know I’ll never live without one again! It brings the magic of the season into one of my favorite places in our house. Not to mention that the glow of the lights at night is pretty darn romantic (heeeeey, hubby!).
Do you have any good tips for decorating on a budget during the holidays? We’d love to hear them!

Wow, I love this. For sure it does not look like a dollar store tree now. Thanks for this gorgeous idea.
Happy Holidays!