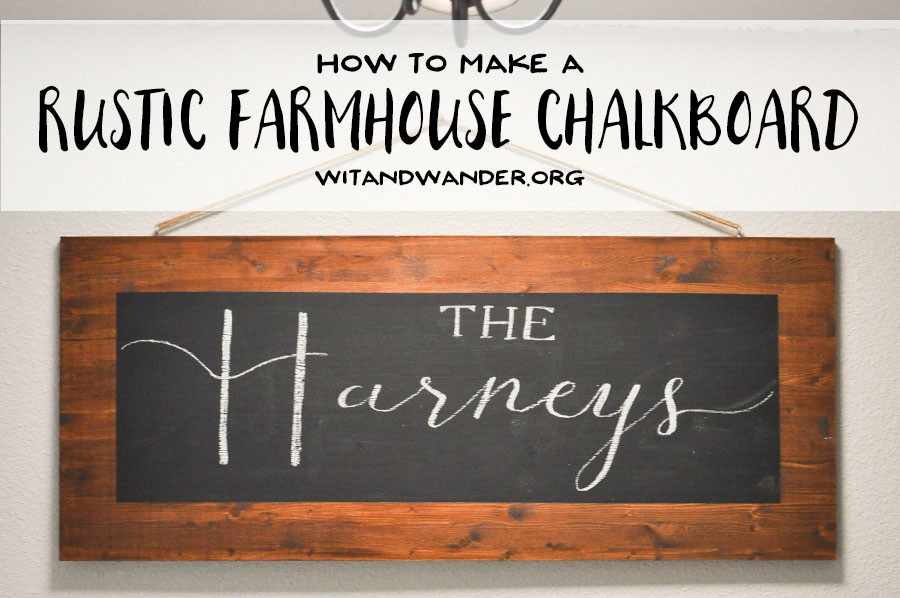
I fell in love with these rustic, vintage chalkboards from Restoration Hardware, but I couldn’t quite justify the hefty price tag. When I went on my most recent DIY binge, I wanted to create a piece that was practical and versatile, while still maintaining that rustic charm. I wanted to build a chalkboard that would feel at home in a rustic one-room schoolhouse or a home filled with shiplap in the middle of the countryside. (Can you tell I’ve been watching too much Fixer Upper?)
I came up with this DIY Rustic Farmhouse Chalkboard while my husband was away for the weekend – so it doesn’t require any power tools and it was completed only during nap times. In other words, you won’t believe how simple it is!
Here’s what you need:
- 20″ x 48″ Board (Here’s the one I used.)
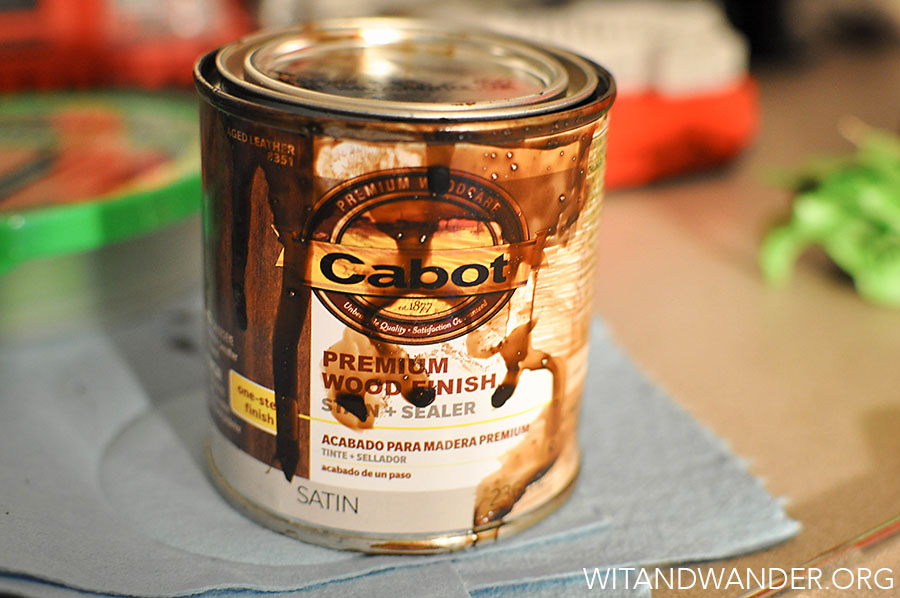
- Cabot Premium Wood Finish Stain + Sealer in Aged Leather (or any stain and sealer you like)
- Painter’s Tape
- Chalkboard Paint
- Hardware to Hang
To begin, lightly sand your board and carefully wipe it down with a wet rag. Then apply a coat of stain with a rag or foam brush. If you have a crazy toddler running around the garage covered in sand from her sandbox, feel free to forget to take pictures of this step (oops!). Follow the directions for your stain – the stain I used instructed me to lightly sand and apply a second coat. I love the rich color of this stain and that second coat really makes a difference in coverage.
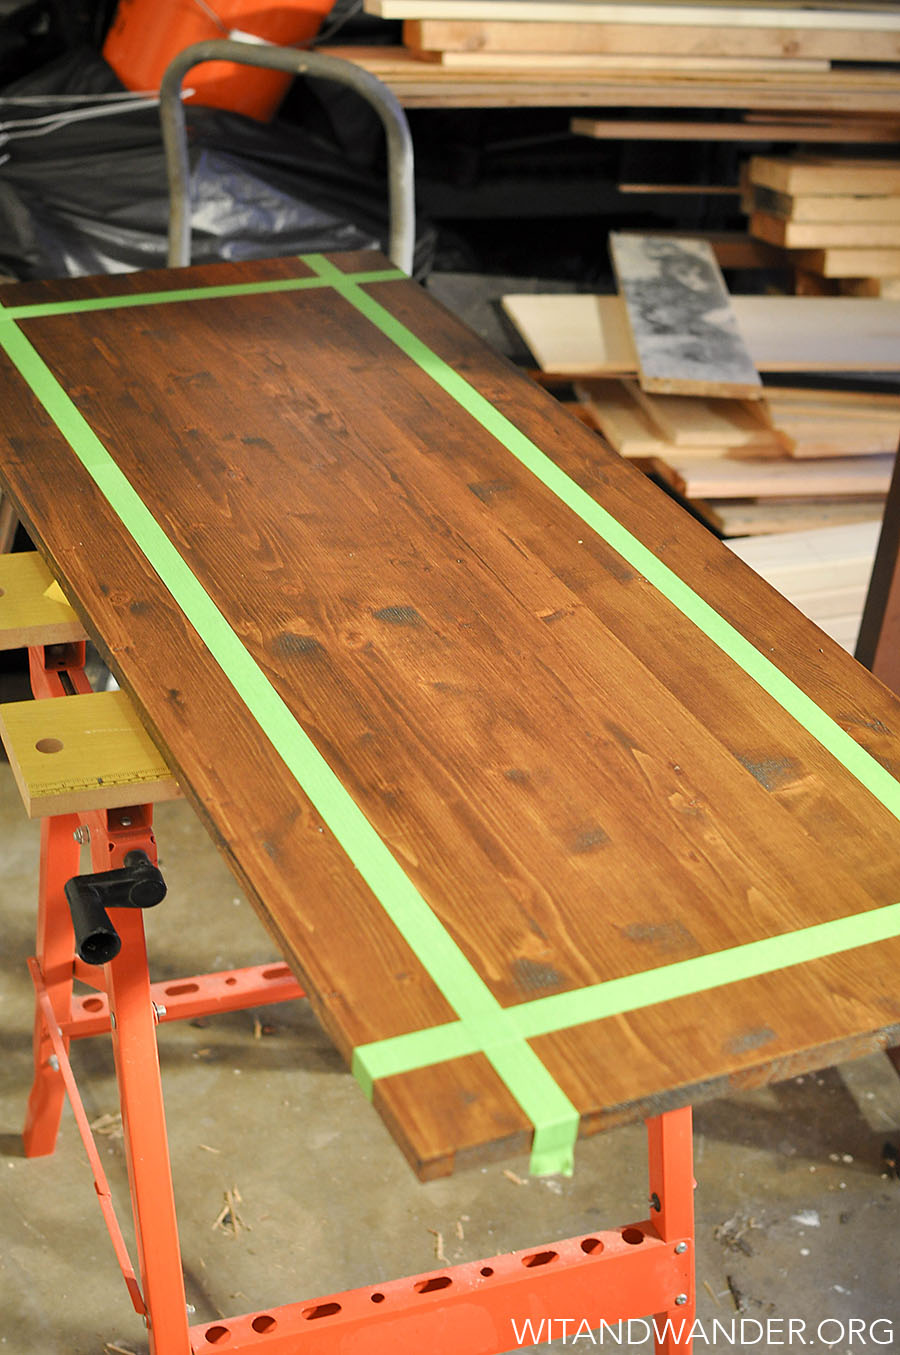
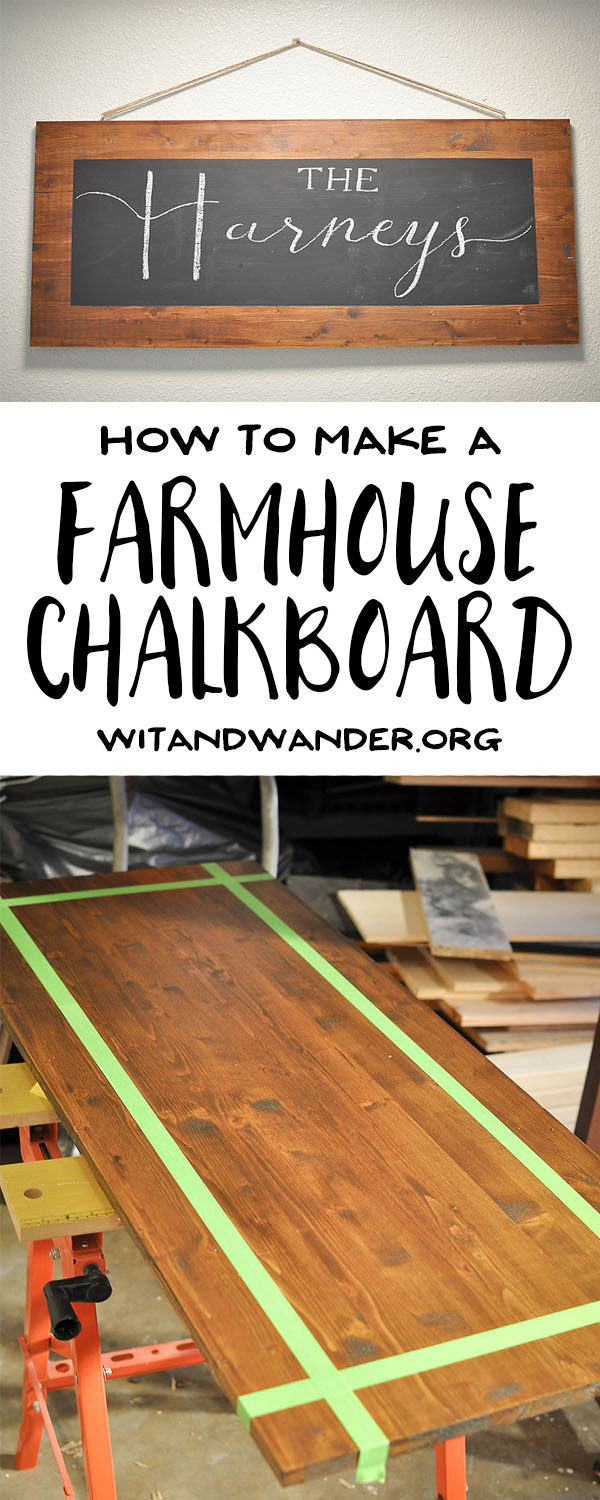
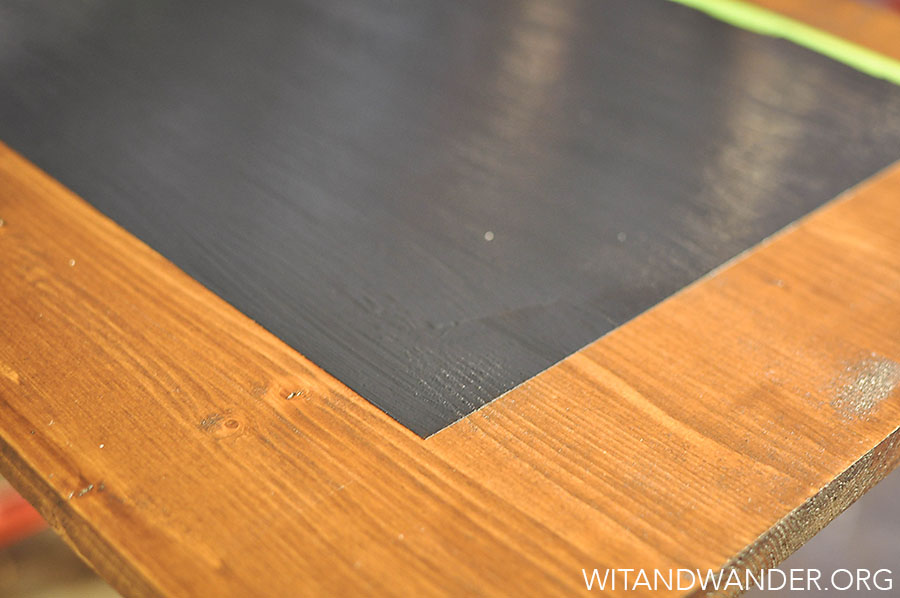
Once your stain is the color you want and it has dried, tape off a three inch section around the outside of your board. This is by far the best painter’s tape I’ve found.
 Paint inside the tape with chalkboard paint. I used a chalk paint from my local hardware store, but here is a similar one available online. Just make sure to get a can of paint (not spray paint).
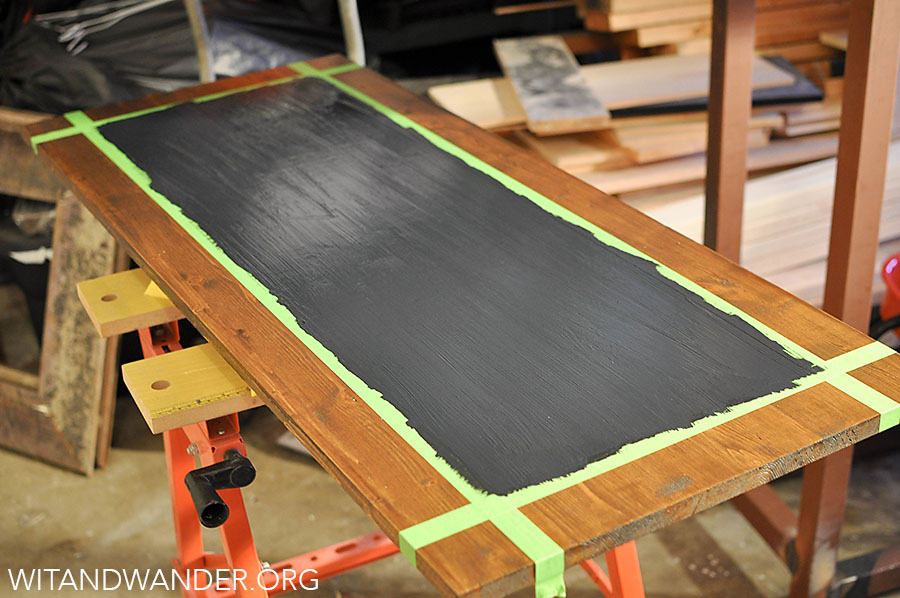 To prevent drips and bubbles along the edge of the tape, make sure your tape is completely flat against the board and paint away from the tape. As soon as you have finished painting, remove the tape – don’t wait for the paint to dry.
After the paint has completely dried, re-tape and paint a second coat. Paint at least two coats, but more if the woodgrain is still showing through.
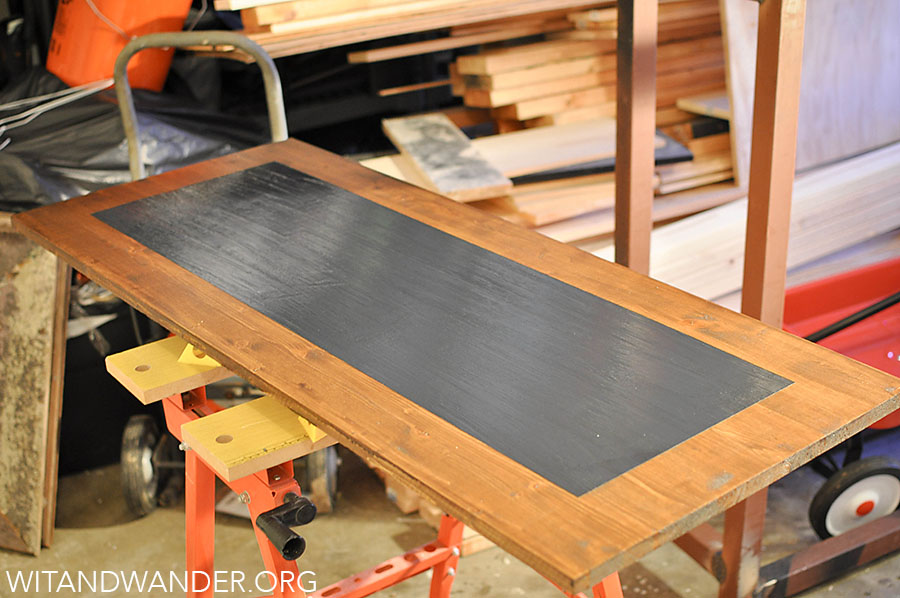
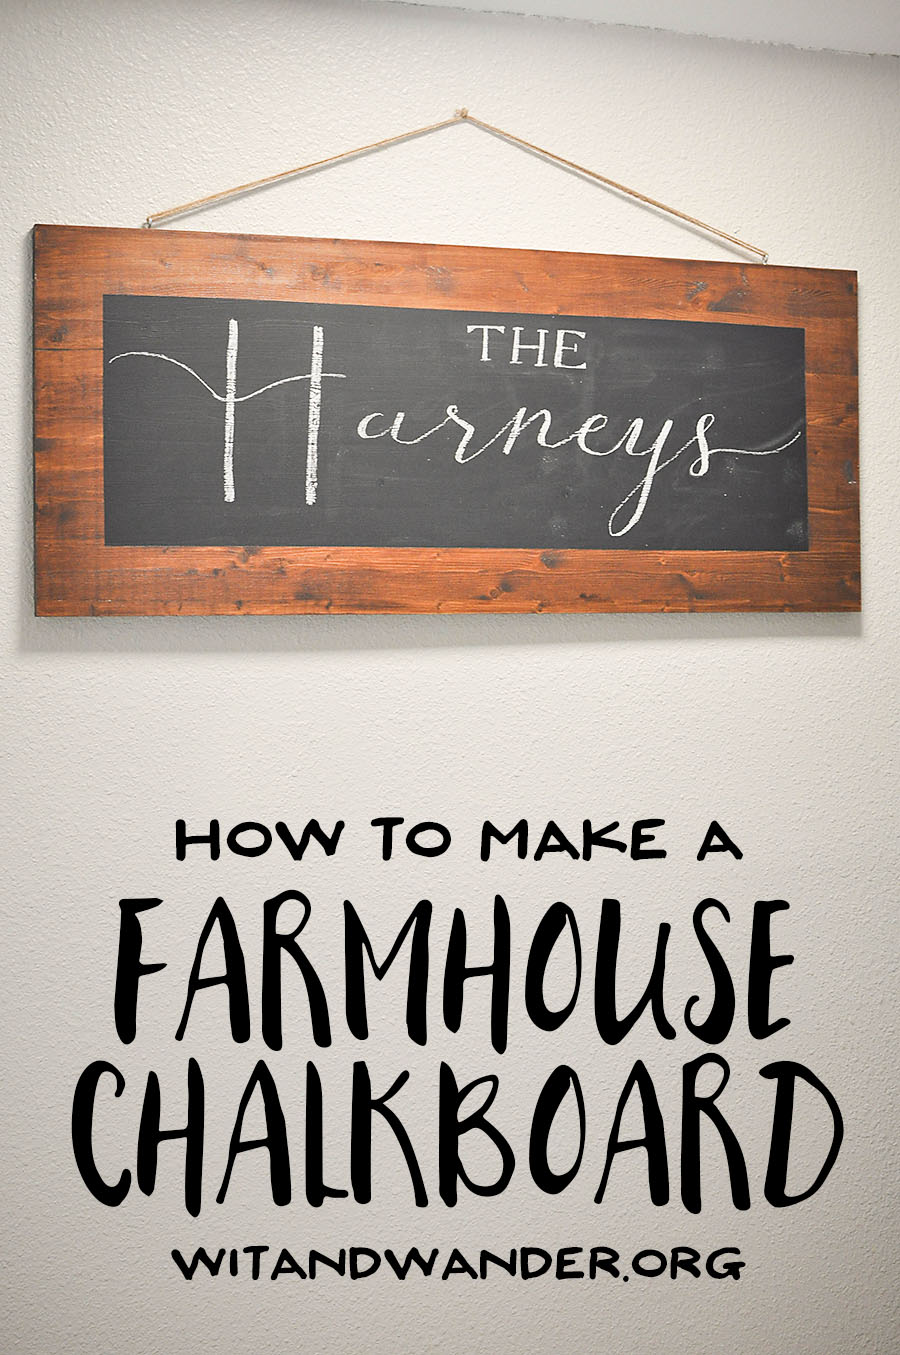
That’s it! Really! The majority of your time will be spent waiting for the stain and paint to dry – this project really couldn’t be any easier. We chose to hang ours with screw eye hooks and several loops of twine, but you could just as easily use a few sawtooth hooks. 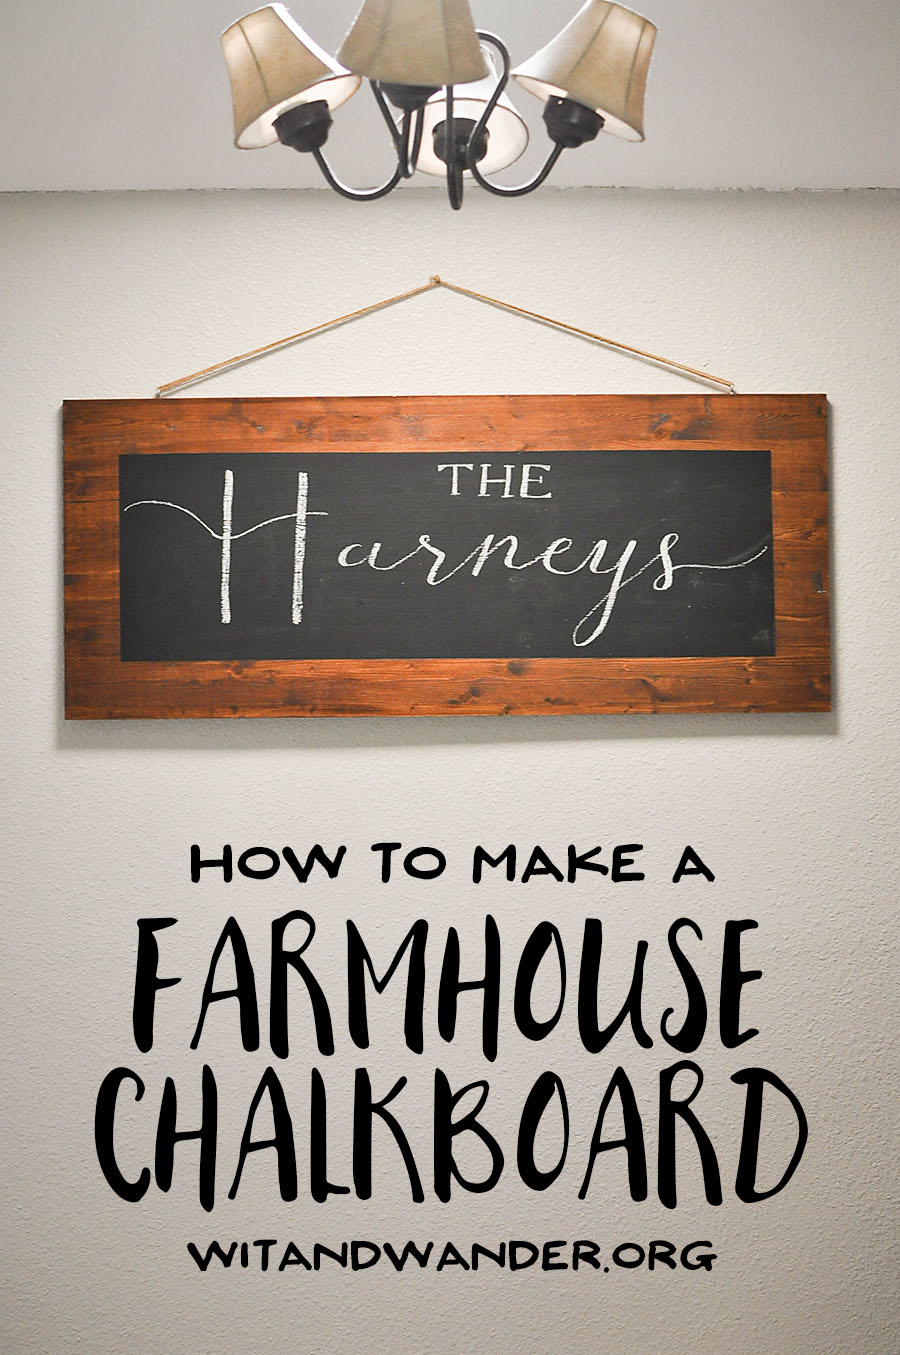 I will be doing a tutorial soon on how to create perfect chalk lettering every time – sign up for our newsletter to know when it gets posted! In the meantime, if you have any questions or want to share your own chalkboard ideas, let me know in the comments!
—
Like what you see on our blog? Join our mailing list to receive emails with freebies, projects, coupons and decor ideas to help you live a creative and joy-filled life. You can also follow us on Facebook, Twitter and Pinterest.

looks beautiful and great guide 🙂 your handwriting is also beautiful!!
I need to make this for my Christmas Gifts–it is so awesome!
This is the cutest sign ever. And you’ve make it look so easy!!! I have to get the hubs to make this for me – would look awesome in our home!
Love it! Can you please tell me what font you used for this?
Hi!
I hand lettered this piece, but I based it off a font called Jacques and Gilles by Emily Lime Design. Let me know if you have any other questions!
Megan
Awesome, thank you!!
Hi! This is beautiful. What kind of board did you use? The link won’t direct me to an accurate page.
Thanks for this tutorial! It’s going to be a great sign for my grandparent’s 50th anniversary party and subsequent gift.
That’s such a fabulous idea! You’ll have to come back and show us the finished result!
I have found old bed headboards that this project could work with and usually much cheaper than having to buy new wood. Some of them are more decorative than straight boards, an added plus!
That would be absolutely gorgeous!! If you finish one, please come back and show us!
Love it! How do apply the painters tape straight? Looking for a fool proof technique . Laser, ruler?
I actually just use the edge of the board as a guide. I apply the tape so that the edge of the tape sits along the edge of the board – just about as fool proof as it gets!