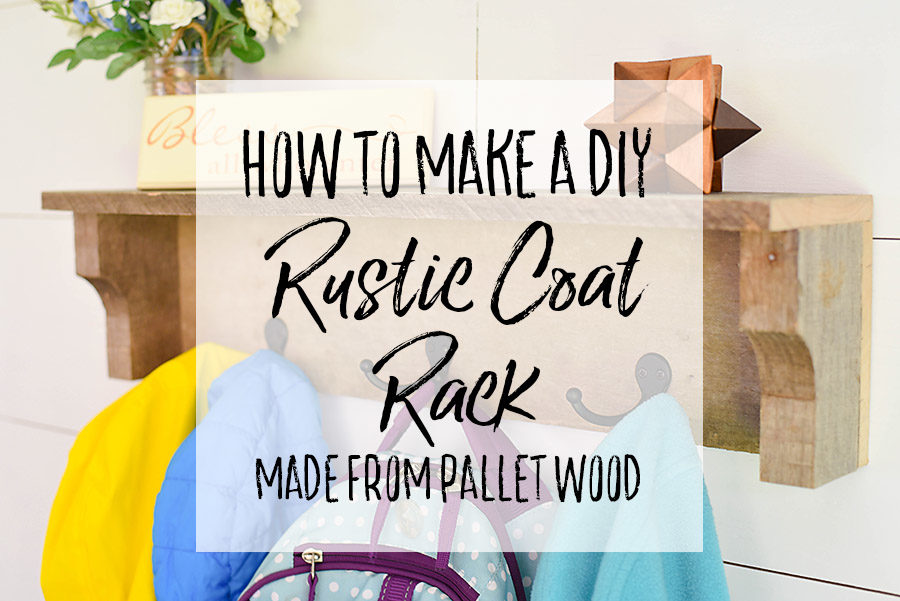
Learn how to make a rustic coat rack out of pallet wood with this step-by-step tutorial. It would also make a gorgeous towel rack or backpack holder.
I am what you might call a ‘bag lady’. I have a bag for work, a bag for Bible Study, and a bag for the pool. I like to keep all the things that I might need on a certain occasion together so I don’t have to go searching through the house for every little piece each time we want to leave the house.
The downside to all of the (perfectly organized) bags is that sometimes they end up on the (very unorganized) floor of our bedroom. Fortunately, if I am disorganized for long enough, my husband will come up with a gorgeous solution!
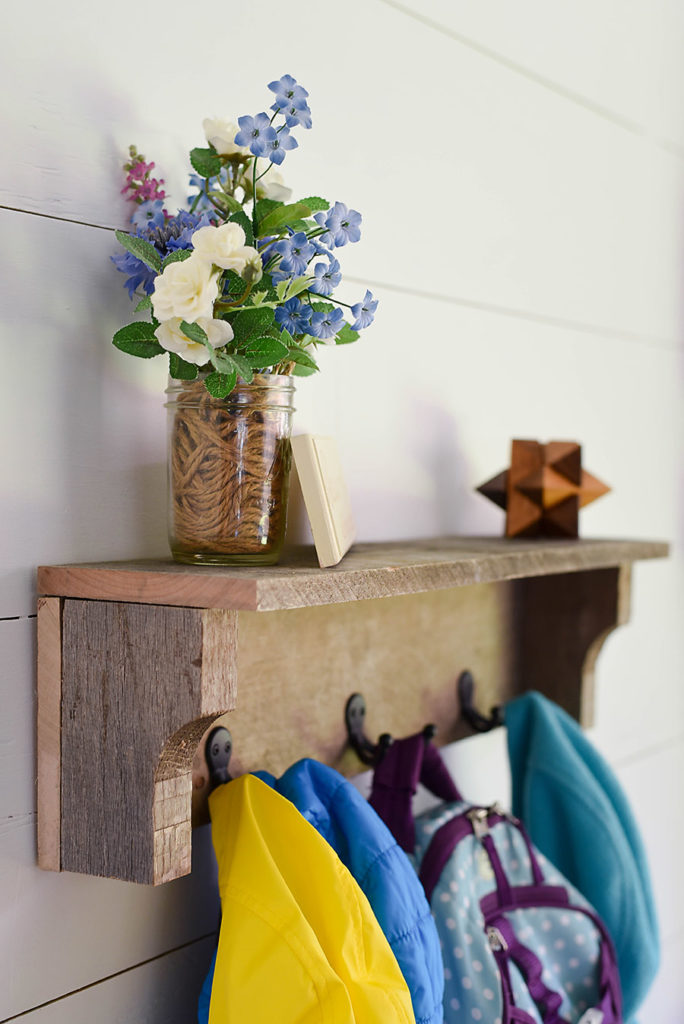
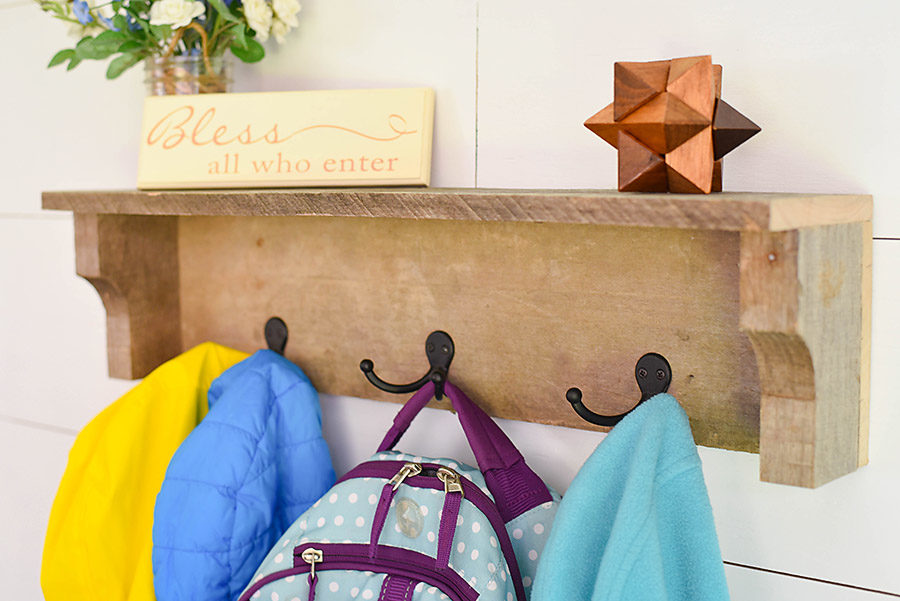
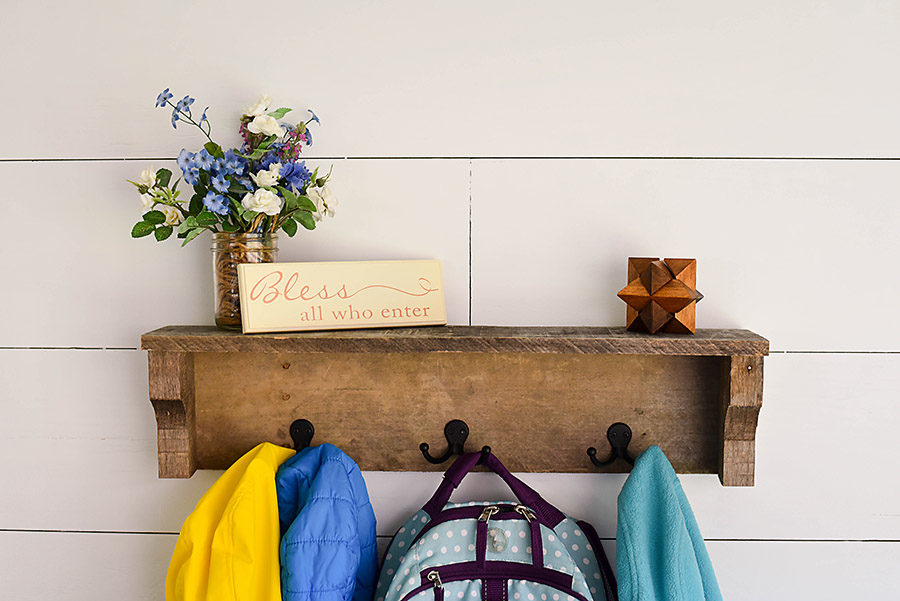
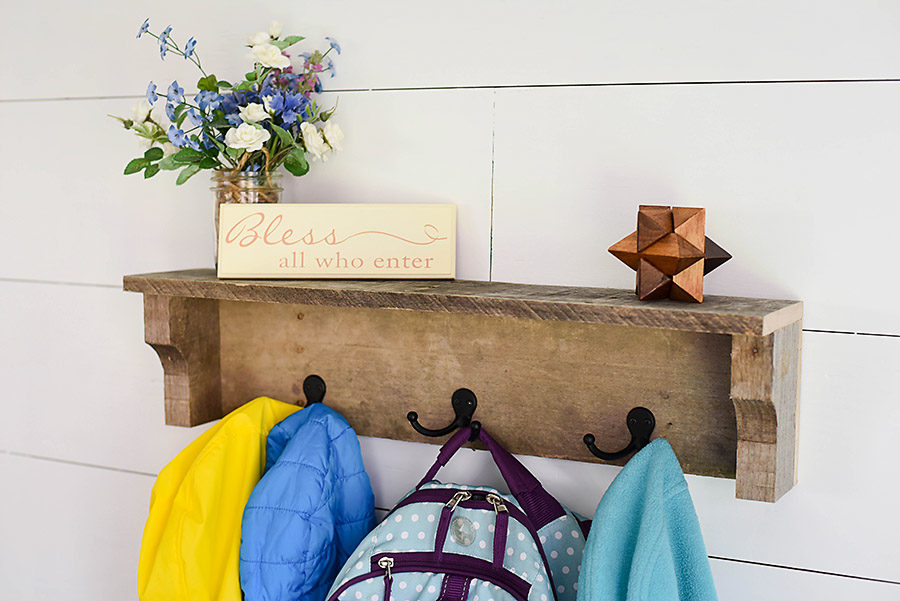
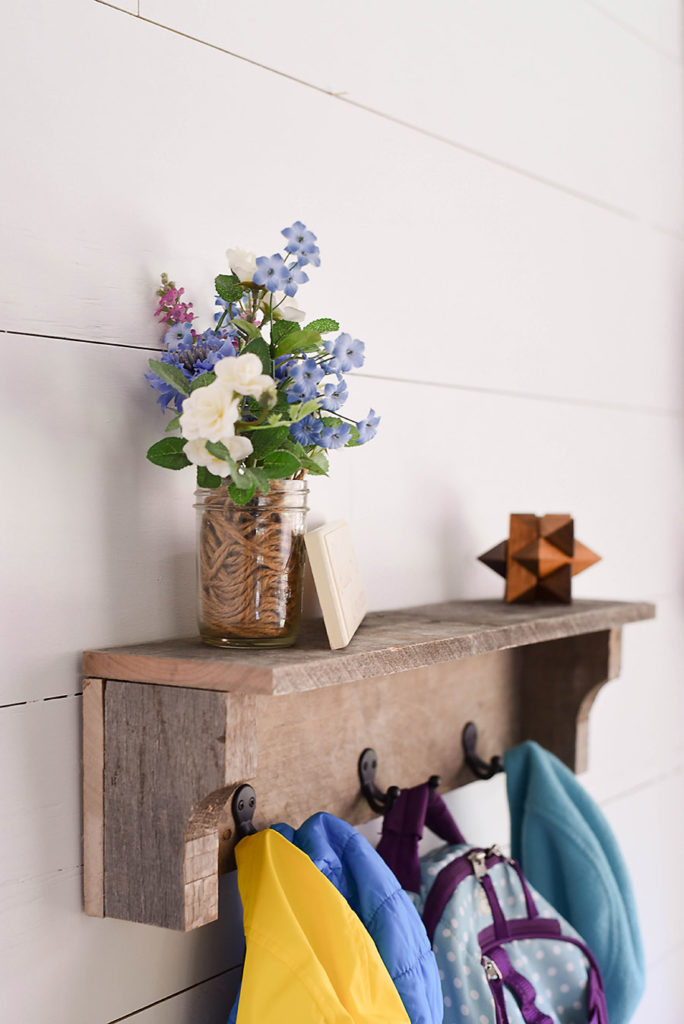
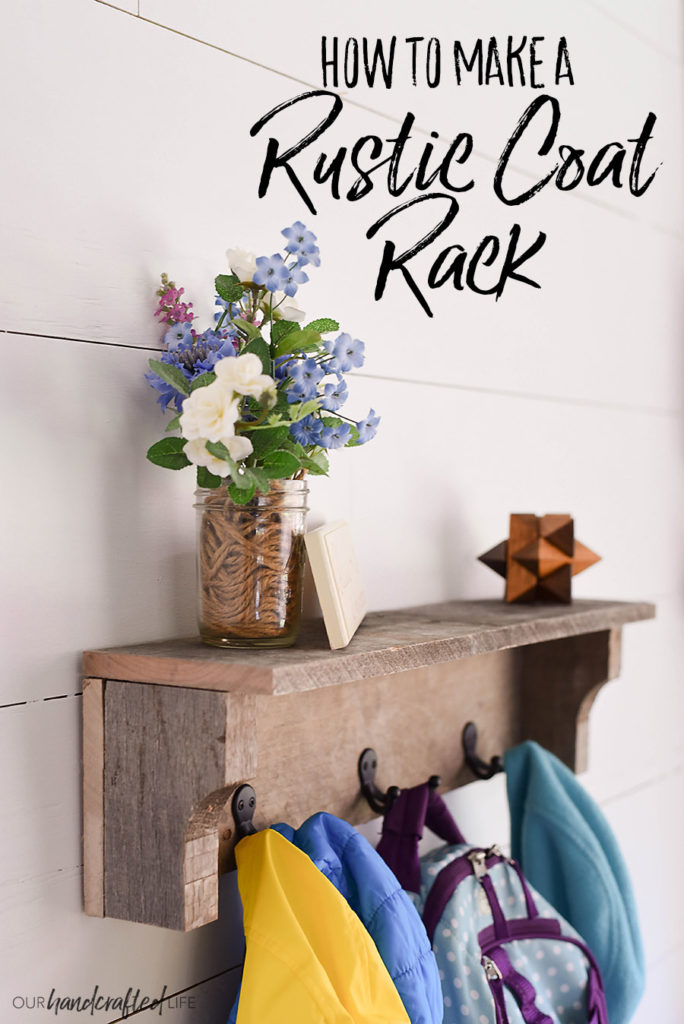
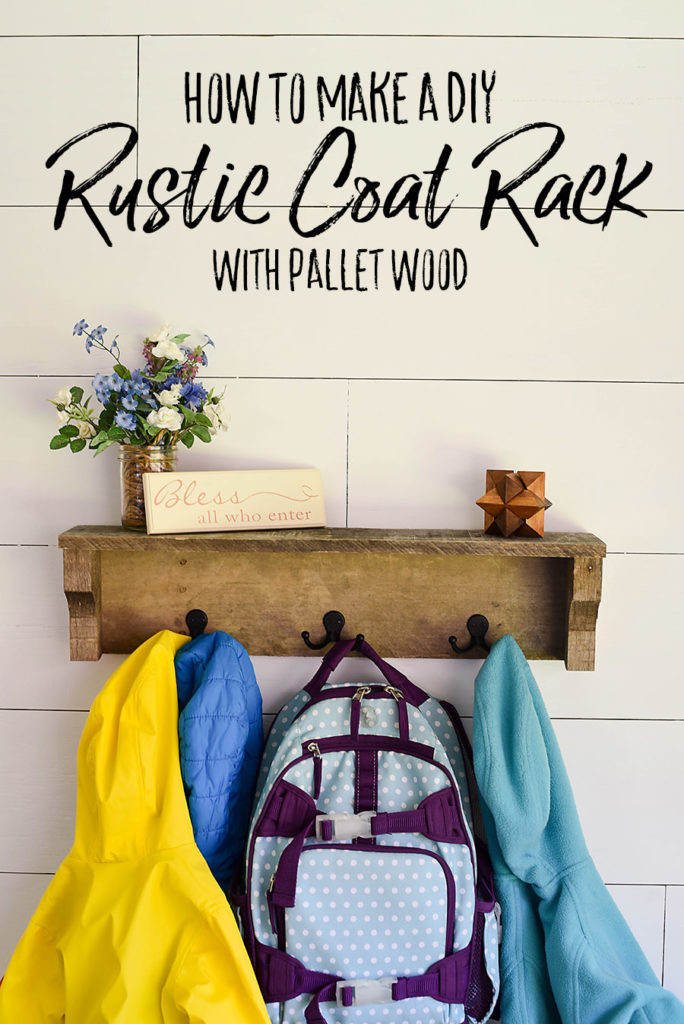
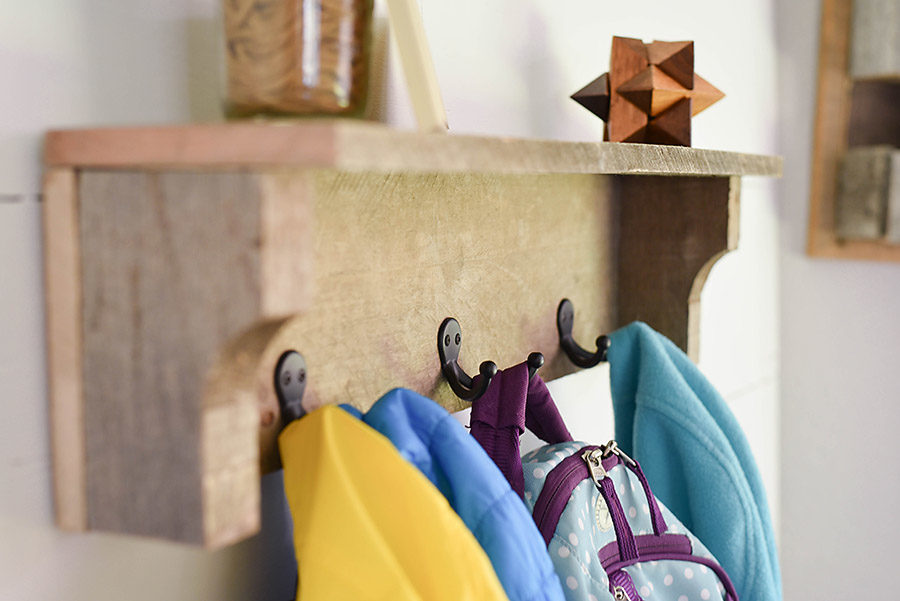
He made me this beautiful coat rack out of a single pallet and absolutely love it. So much so that I had him make a few more for other trouble spots in our house. Thankfully, it was a super simple project, so he didn’t mind too much. Now he’s here to share exactly how it was made.
How to Make a Rustic Coat Rack from Pallet Wood
Supplies:
- 2 Pieces of 2″ wide pallet wood
- 2 Runners from the middle of the pallet
- 3 Oil Rubbed Bronze Double Robe Hooks
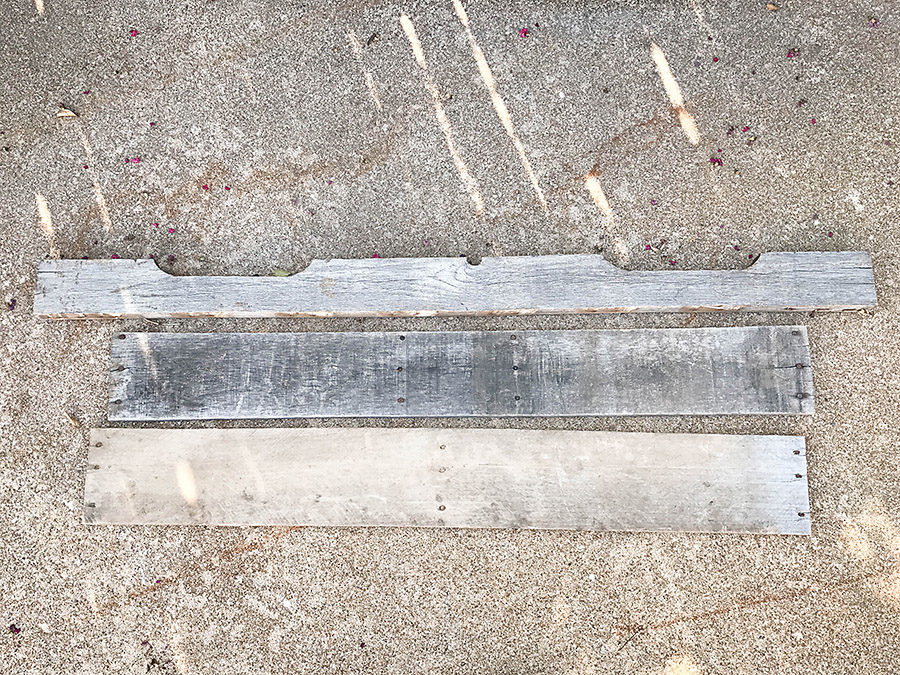
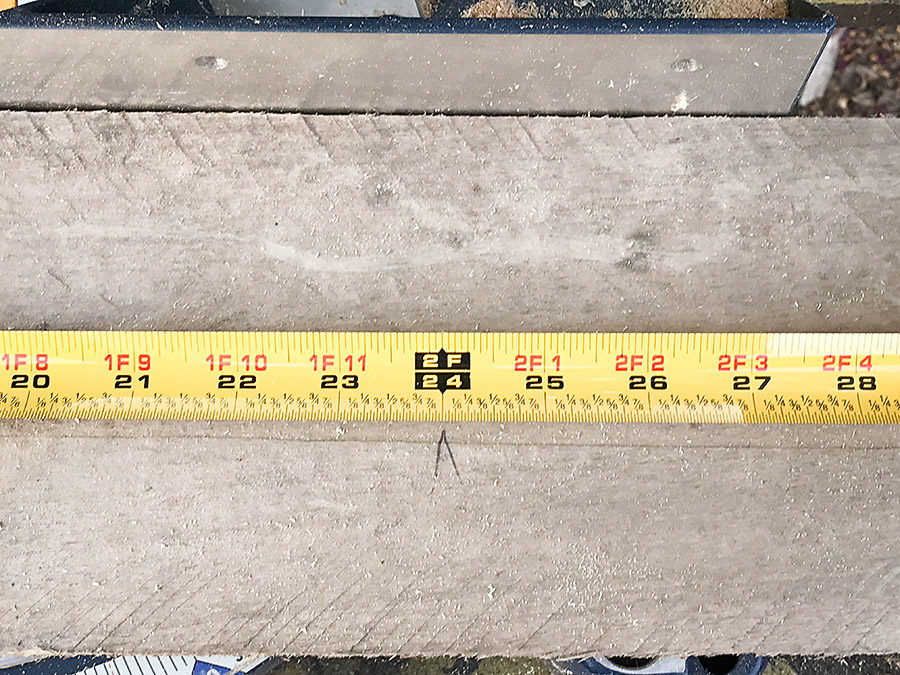
First, I found a pallet with a wider board – I was looking for one with 5 or 6 inch boards. The pallet that I found also happened to be 48″ so that I could just cut it in half to make two 24″. But you can alter the dimensions if you need it to be shorter or longer to fit your space.
I wanted to use one piece of pallet wood to make both the back and the top of the coat rack to make sure the color was consistent.
After I cut the pallet boards, I cut the runners from the middle of the pallet. There was already a natural curve where the forks of the forklift or pallet jack would go. I just cut this piece to the length of the board.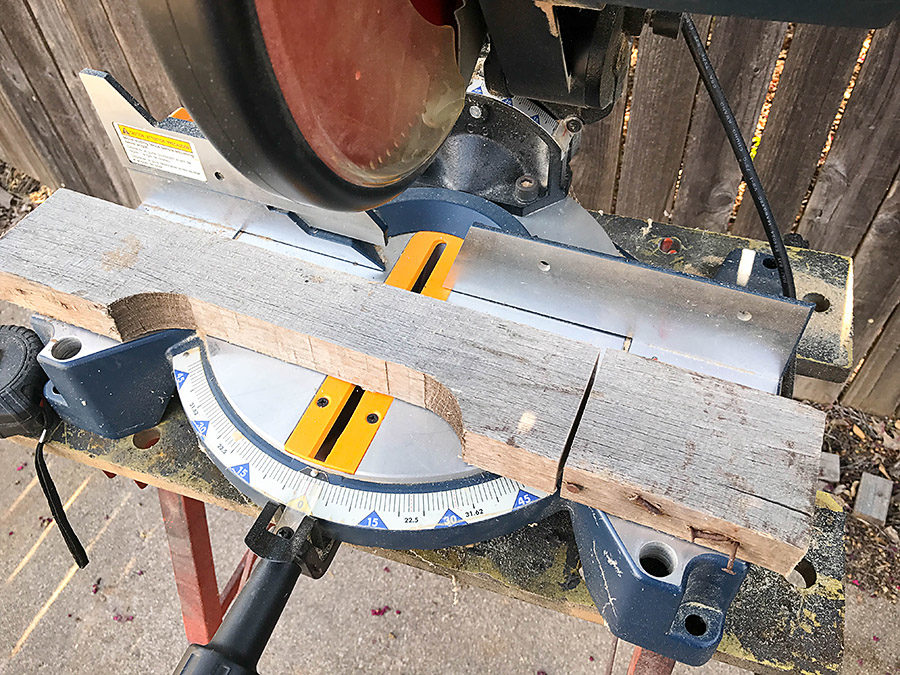
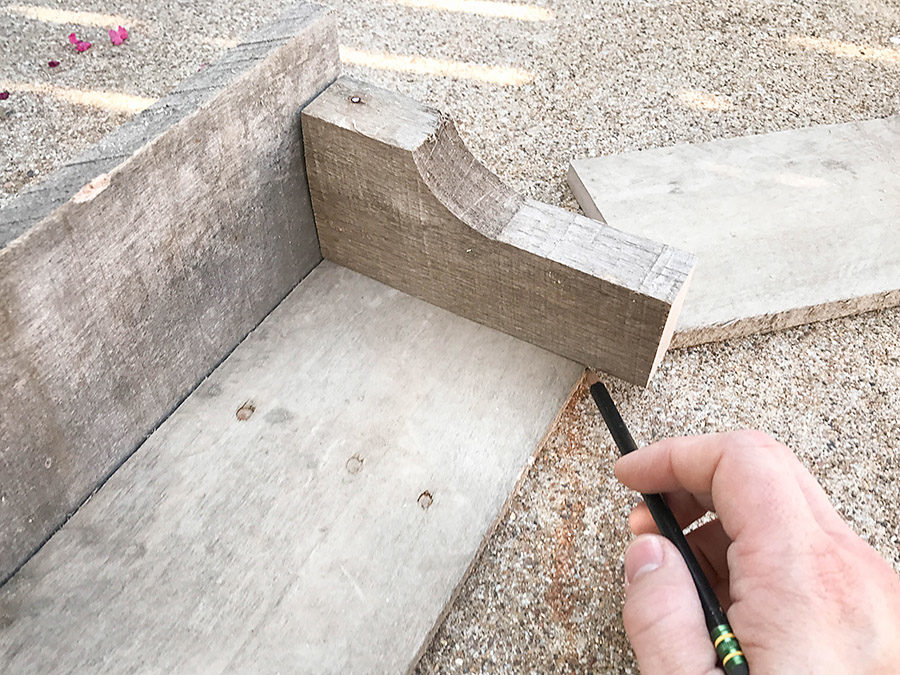
Then I placed the first piece of runner on top of the second to mark exactly where to cut.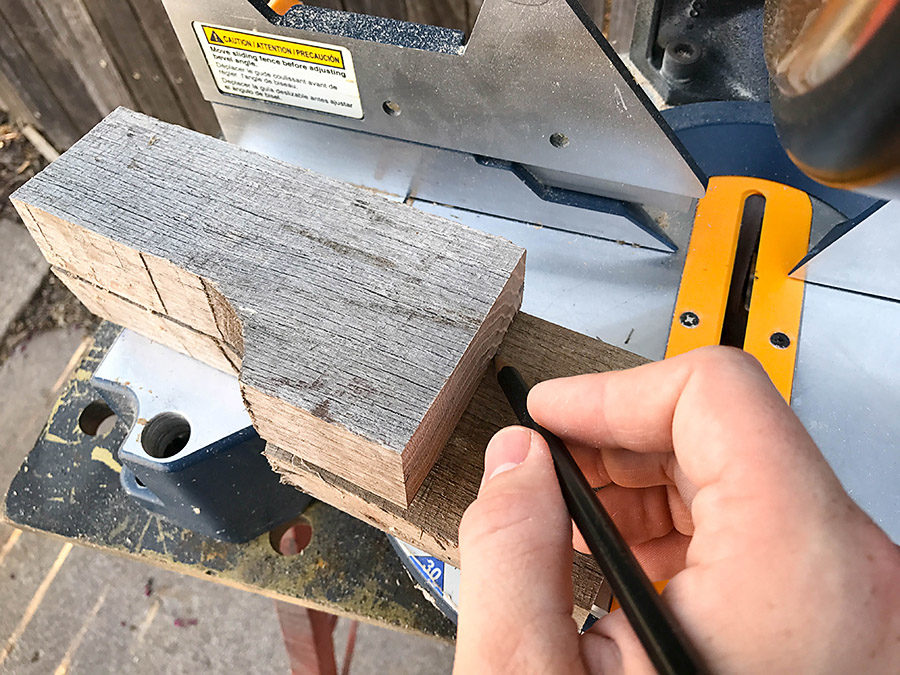
Then I placed the runners in the coat rack and marked where to make the final cut.
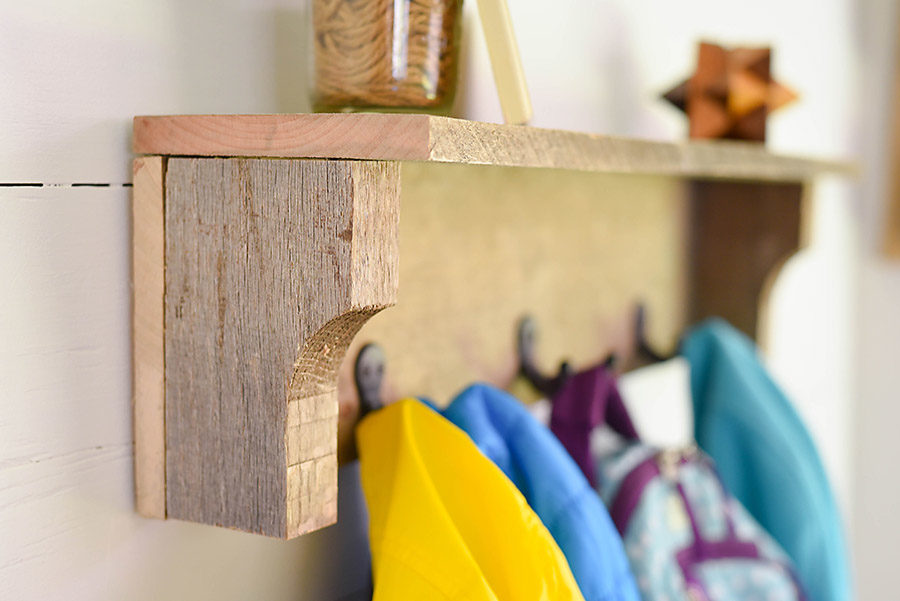
Here’s how the runners looked in the final coat rack.
The biggest determining factor in where to cut the pallet wood pieces is where there are no nails because as you can see in the picture under ‘supplies’, these boards can be full of nails.
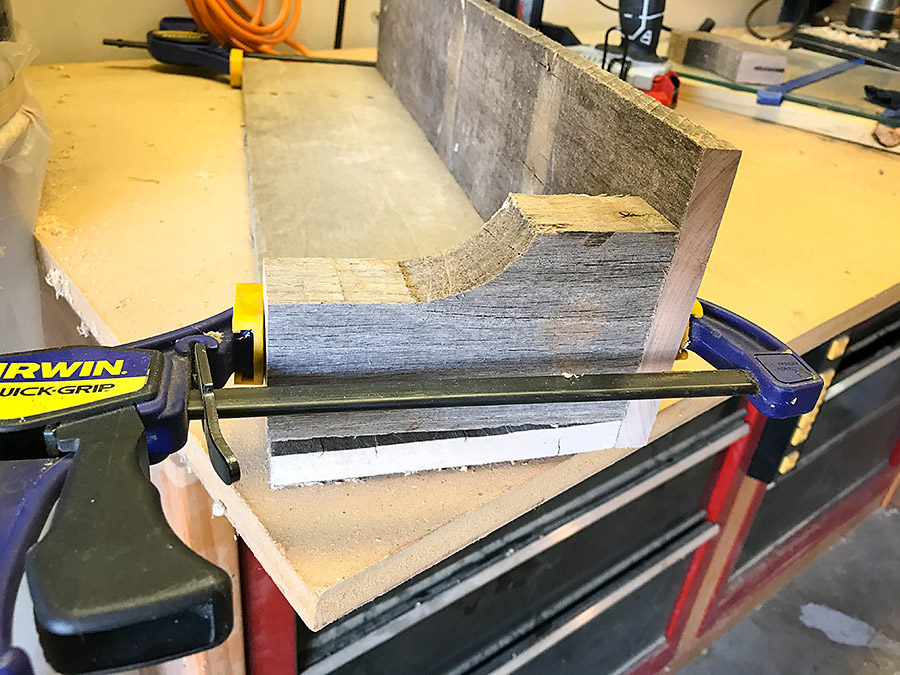
I attached the wood pieces together using wood glue and clamped them until they were set.
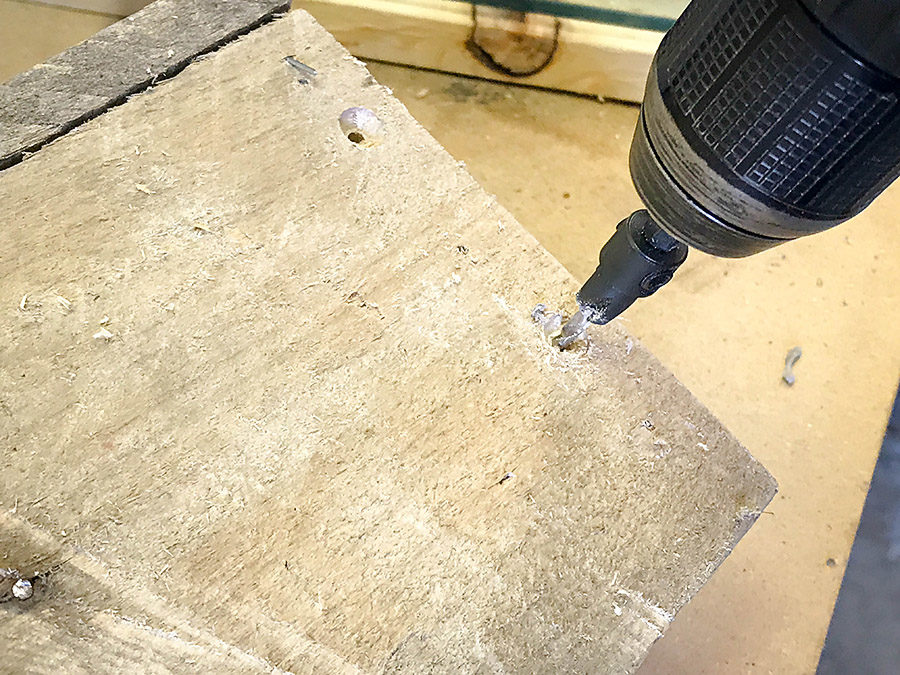
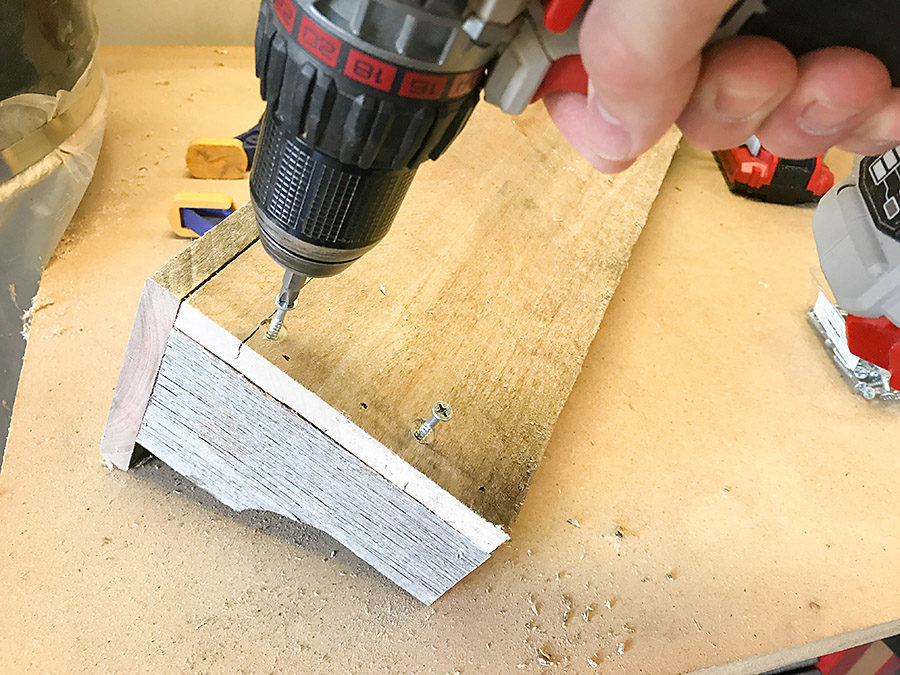
Then I pre-drilled holes and screwed the pieces together.
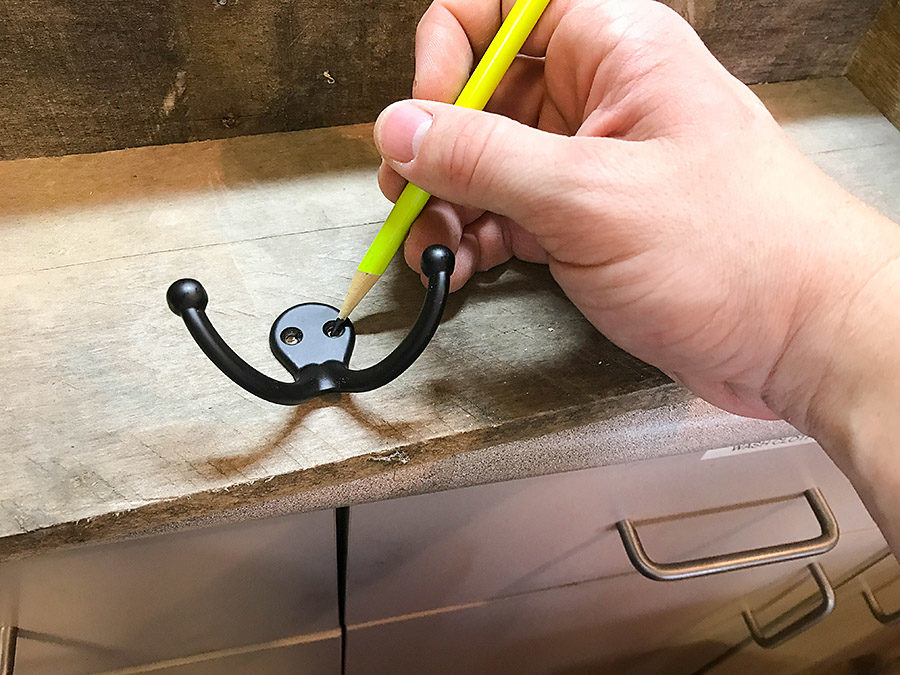
Finally, I measured out where we wanted to place the double hooks, marked the spaces for the screws, drilled holes, and screwed in the hooks.
That’s it – it was a pretty simple protect, but it has a nice look.
If you make this project, be sure to tag us on social media – we would love to see your work!

