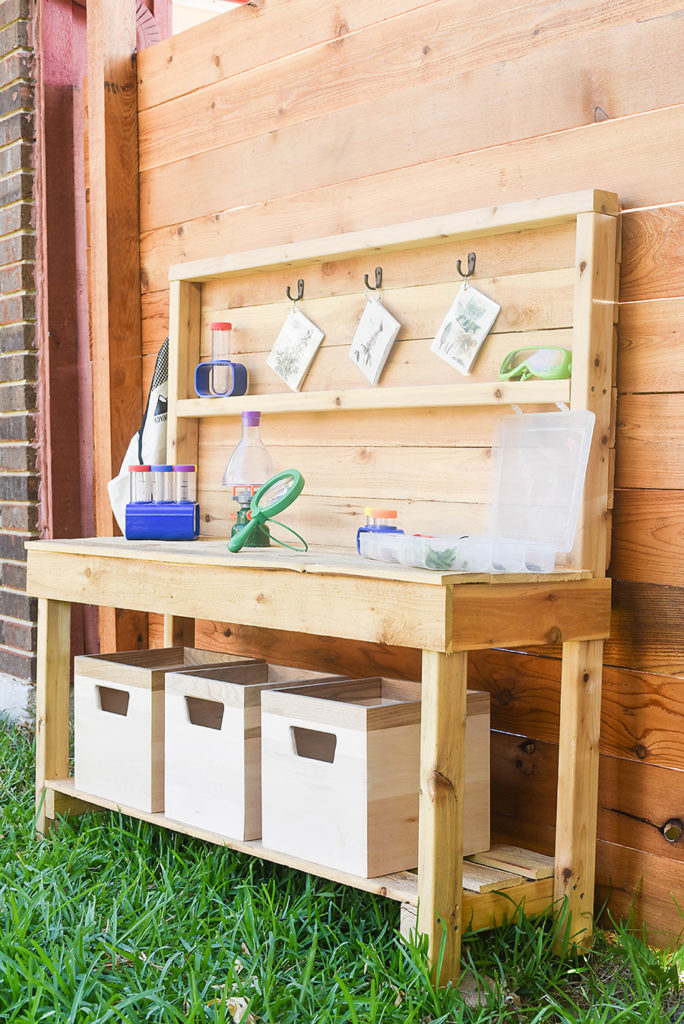
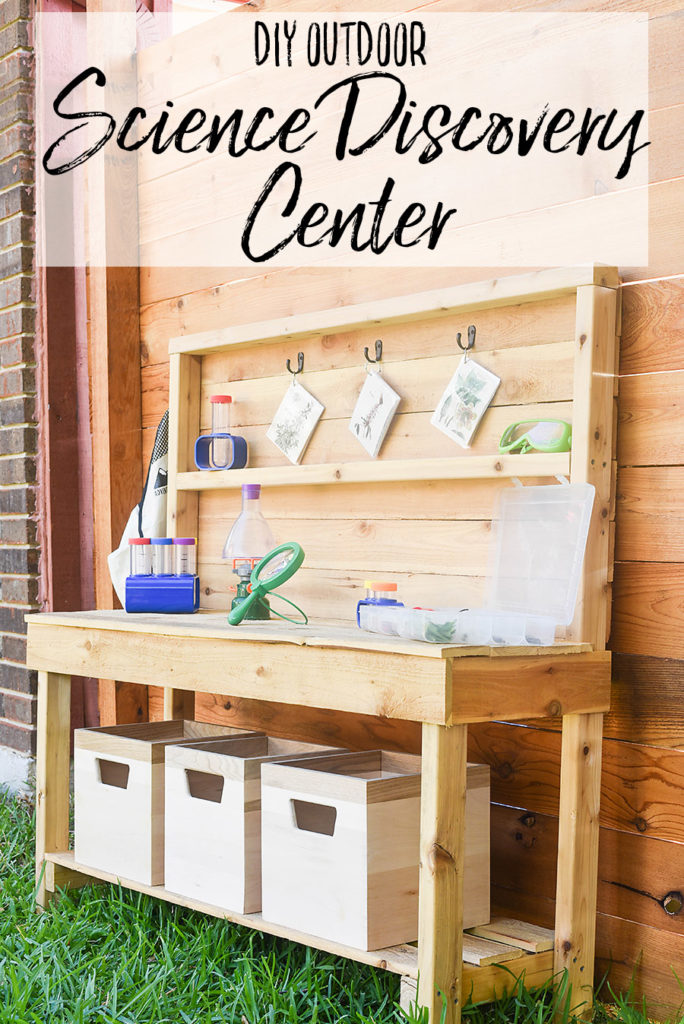
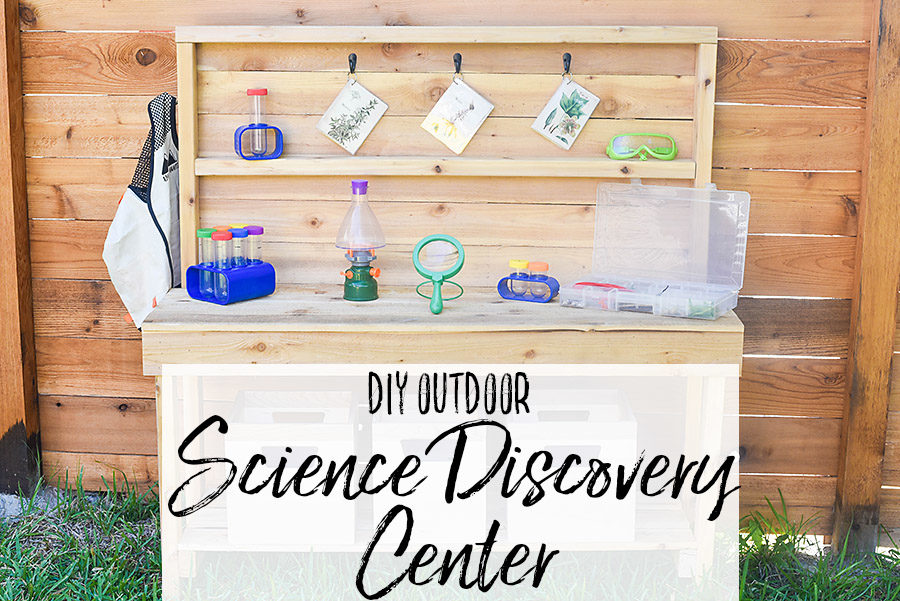
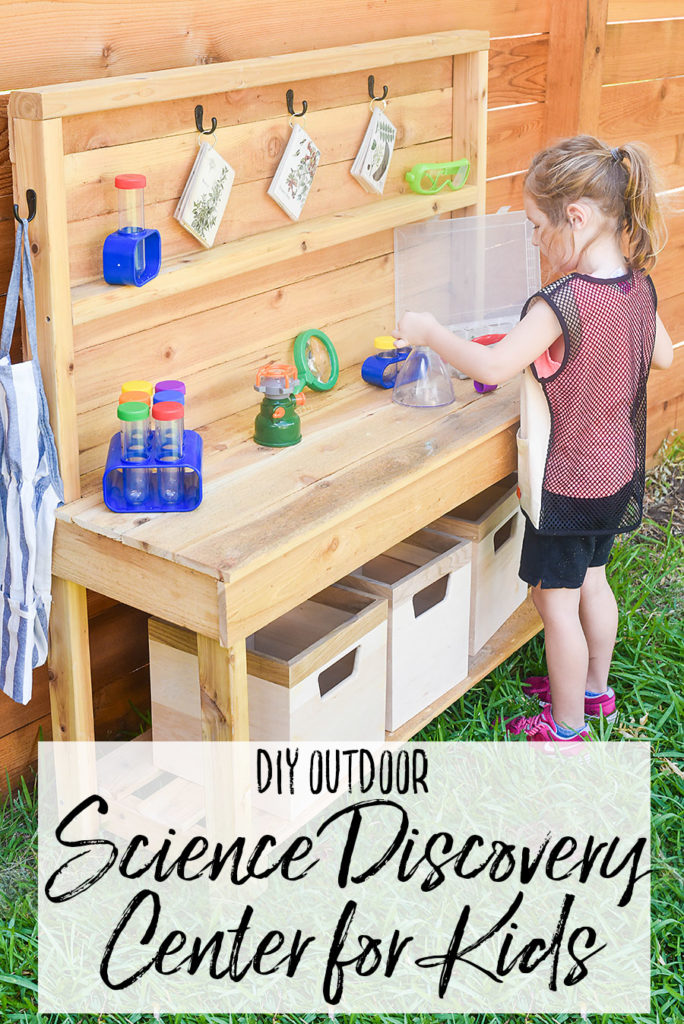
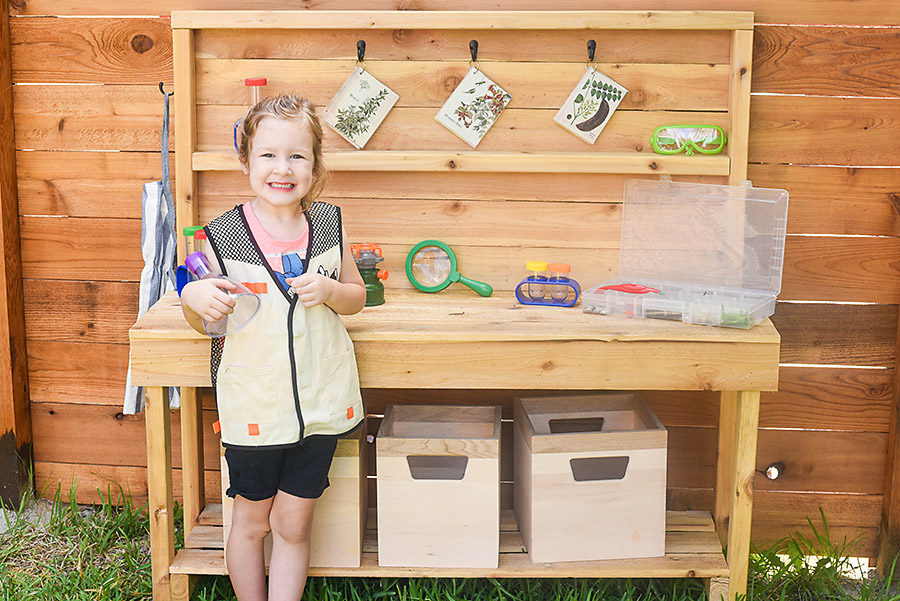
This Outdoor Science Discovery Center is a STEM twist on the classic outdoor kitchen. Kids can explore the world around them through science and nature pretend play.
We LOVE pretend play. Whether we are encouraging our kiddos to pretend to cook or pretend to be an astronaut, anytime my kids are pretending I am smitten. I love seeing their imaginations come to life.
It’s incredible to see how their pretend play has evolved. When my daughter was young, she mainly pretended to be a mom or to have sisters – very tangible things she saw in everyday life. She then moved into pretending to be animals or have jobs like a postal worker or a cook. Now her imagination has soared – she pretends to go camping in the woods where she encounters wolves and hikes up a mountain.
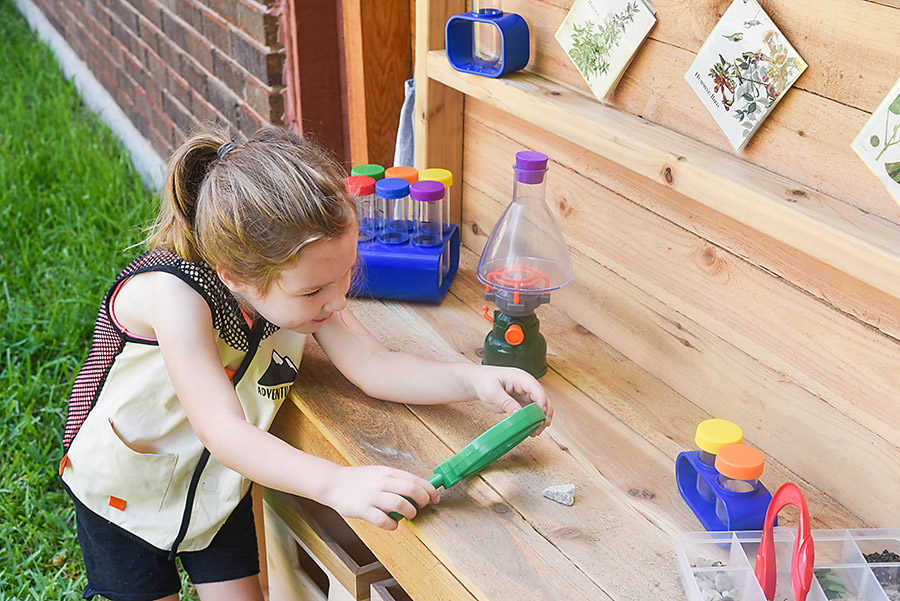
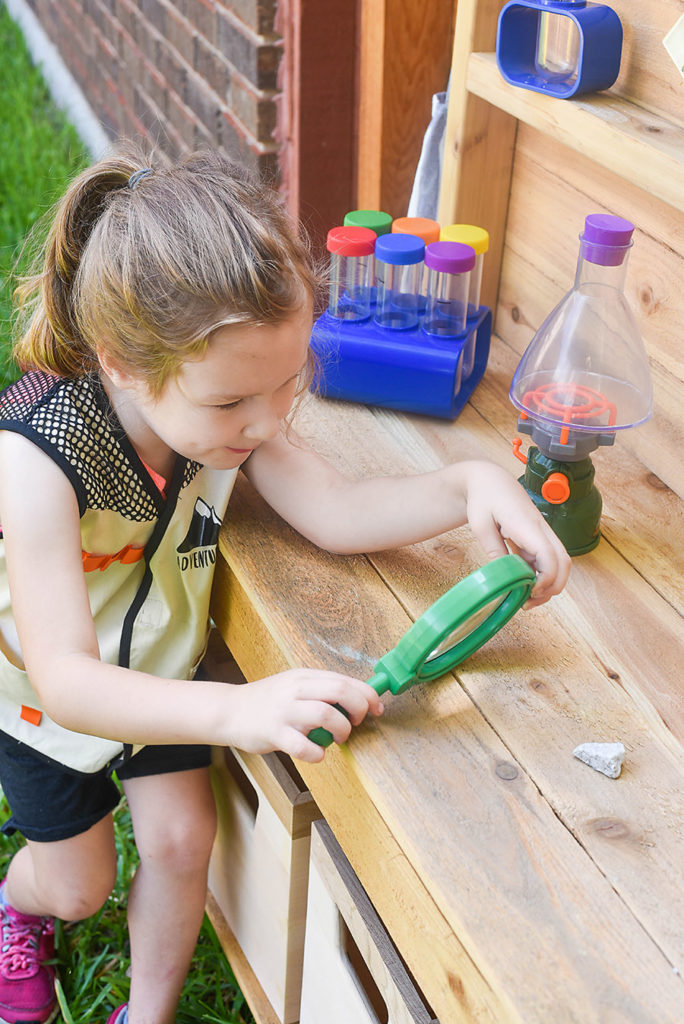
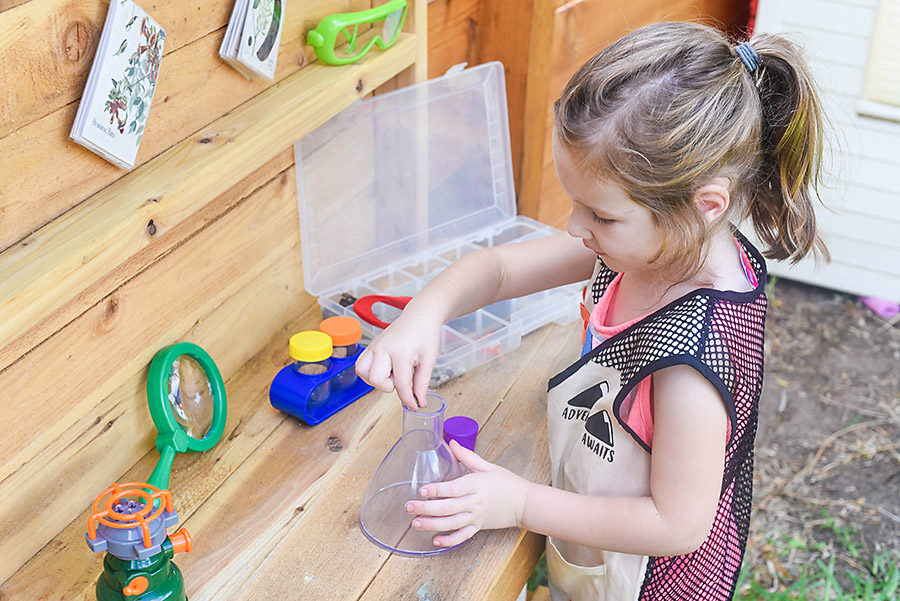
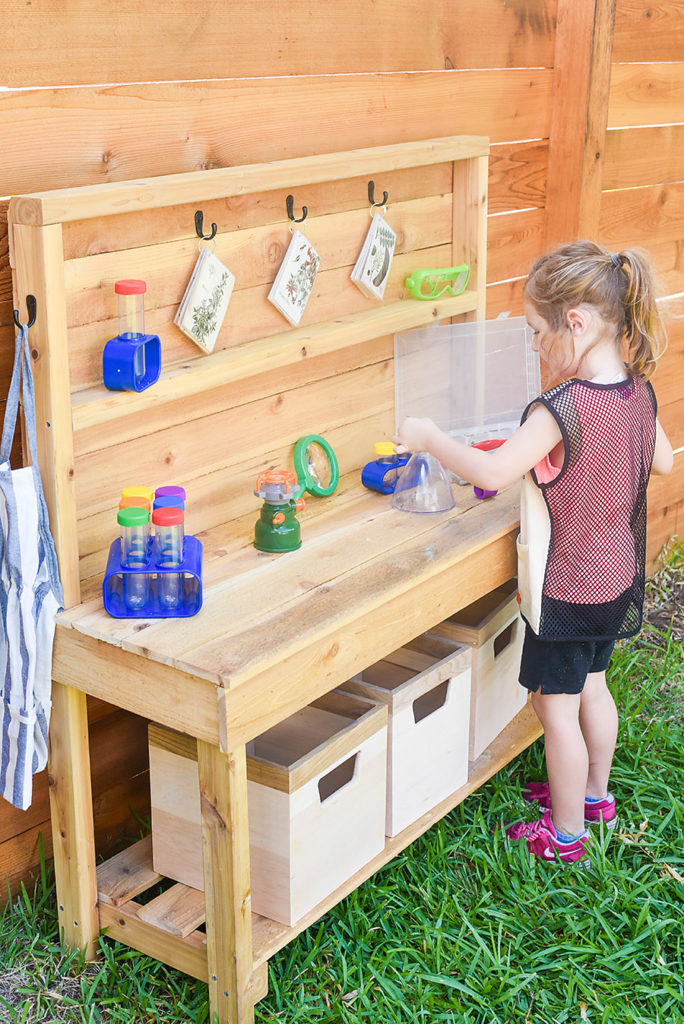
Recently, she started pretending to be a scientist – experimenting with and studying everything she found outside. From bugs to leaves, flowers to birds, she is curious about everything. I wanted to encourage her imagination as much as possible, so I decided to create an Outdoor Science Discovery Center.
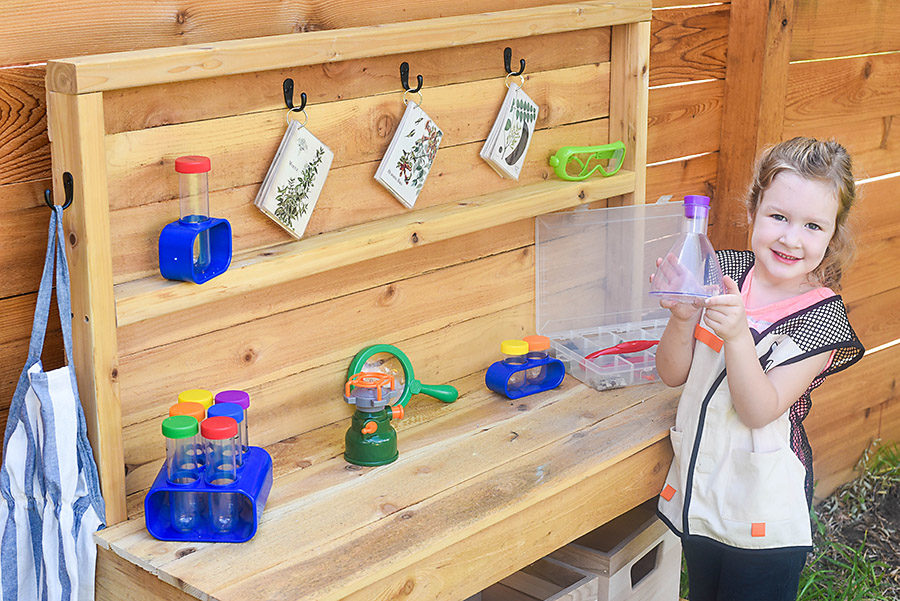
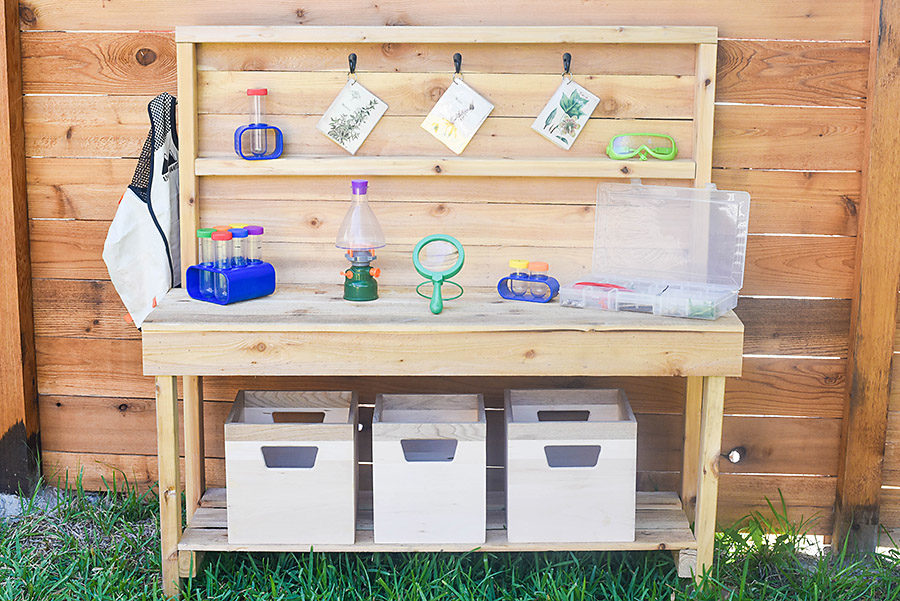
I wanted to make this space minimal, but provide several different kinds of tools for her to use during her exploration. She can really use this workbench in any way she wants, but it’s specifically equipped for scientific discovery. Yay STEM and STEAM activities for preschoolers!
This project is completely made out of 2×3″ boards and cedar fence posts that we found in the cull (discarded) lumber section, so this is a very simple build. It’s easy to make in an afternoon.
I also created several sets of Vintage Science and Nature Flash Cards to go along with this Science discovery center, which you can find by clicking here.
How to Make an Outdoor Science Discovery Center
Cut List
2×3″ Boards
- (2) 24″ (Front Legs)
- (2) 55″ (Back Legs)
- (3) 50″ (Table Frame + Shelf)
- (1) 54″ (Back Top Support)
- (2) 15″ (Table Frame)
- (2) 17″ (Lower Shelf Supports)
Cedar Planking (1×4″)
- (9) 50″ (Lower Shelf + Backing)
- (4) 54″ (Table)
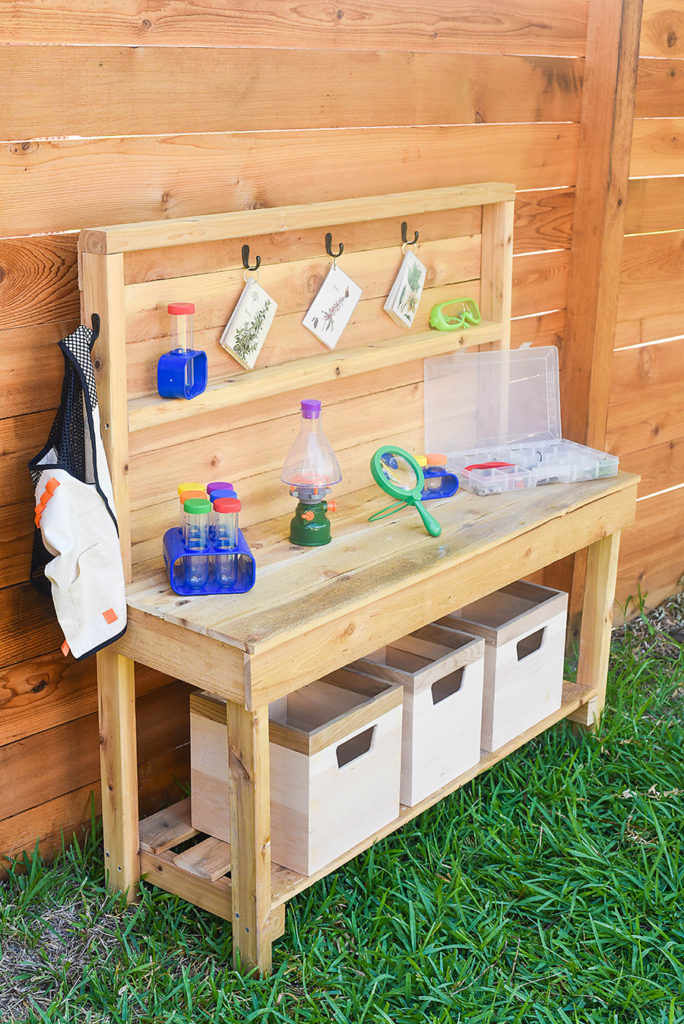
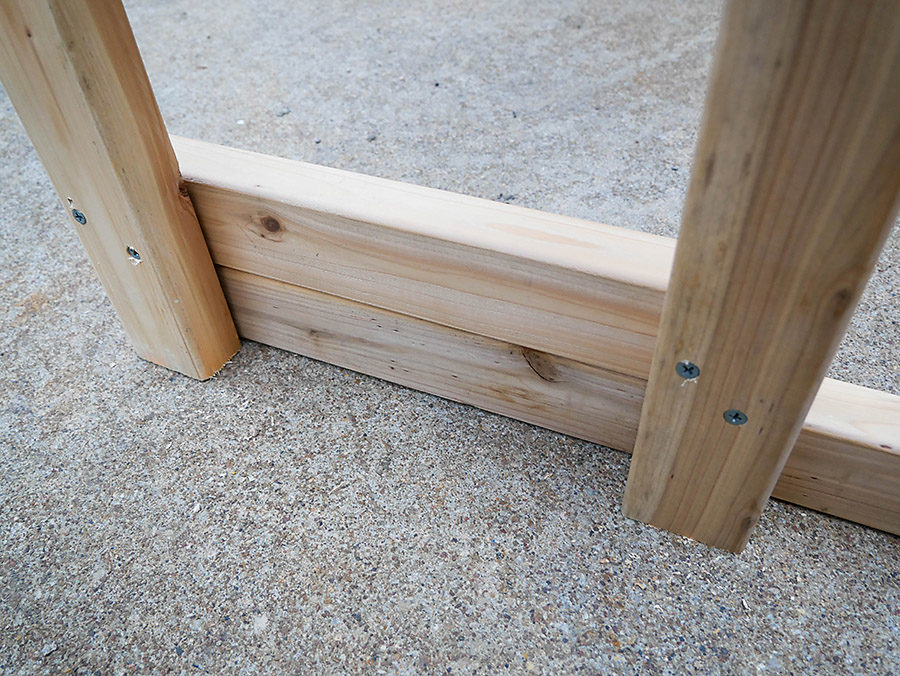
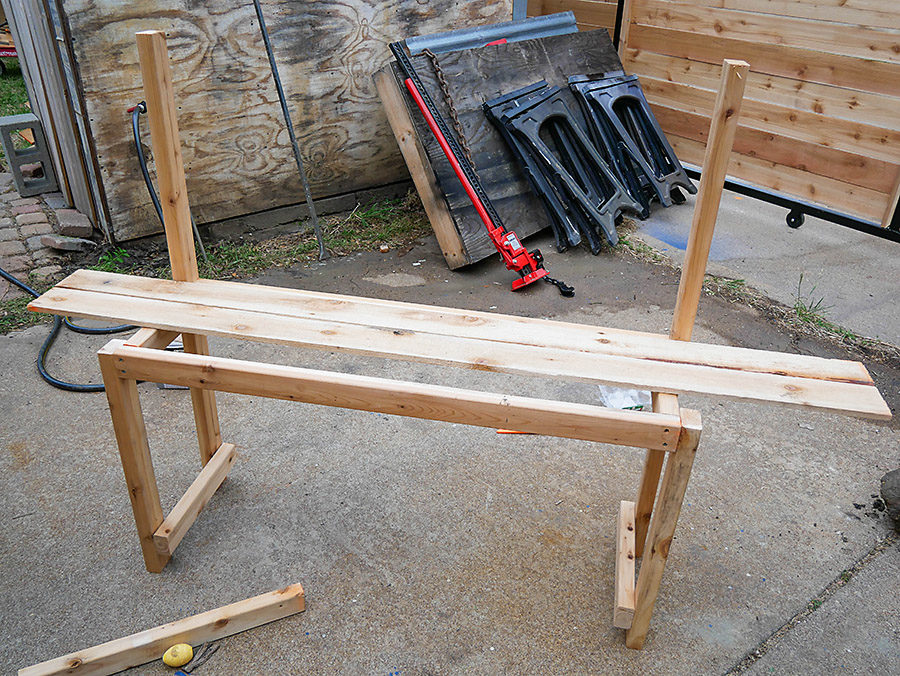
I started by building the frame – making the rectangle frame for the top of the table and adding the legs. There are two shorter legs on the front of the center and two longer legs on the back that will serve as the support for the back of the center.
Then I added two supports about 3″ up from the bottom to support the lower shelf. I used a piece of scrap wood to measure both sides of the bottom support to ensure they were level.
I added 50″ cedar fence posts to the table and the lower shelf, and then up the back of the piece. We just attached these boards with a nail gun – it was quick and easy!
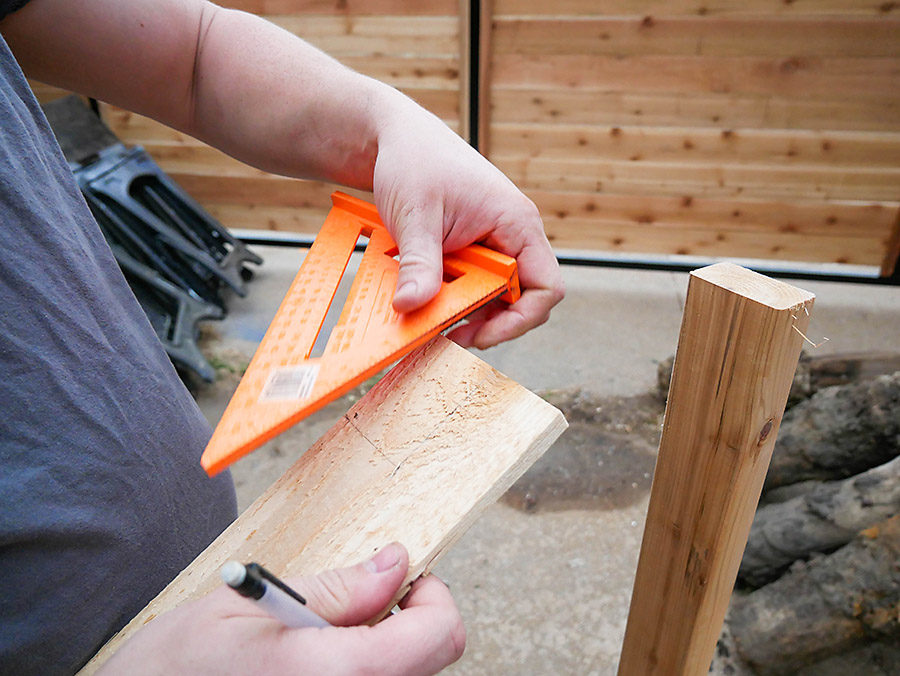
We did cut a rectangle on the back piece of cedar fencing to accommodate the back support.
I finished by adding a top support, some hooks, and a shelf as an extra little space for treasures to be stored. (Kids always come up with a lot of treasures, don’t they!?)
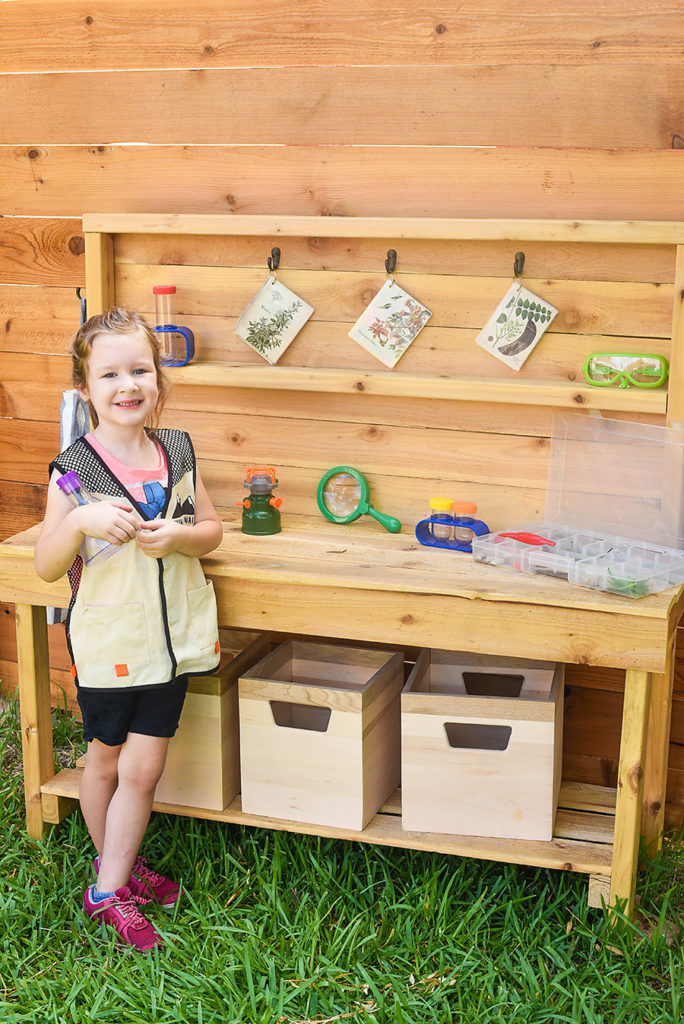
I added several things we had around the house to give them some tools to use during exploration. We included the Science and Nature Flash Cards, this Primary Science Lab Kit, a Lure & Tackle Box (to use for collections), an explorer vest (similar), and a few pieces from the Camping Kit for kids.
This Outdoor Science and Research Station for Kids turned out wonderfully!
It’s a little twist on the classic outdoor mud kitchen for kids.
I love anything that will get my kids outside and exploring the world around them!
 Do you have a backyard explorer at your house? How have you encouraged them in scientific activities?
 I love sharing these projects with you! I really hope you find them useful – maybe even inspiring a project for your backyard. If you have any questions, just ask them in the comments and I’ll be happy to help!

Great idea! My boys would love this!