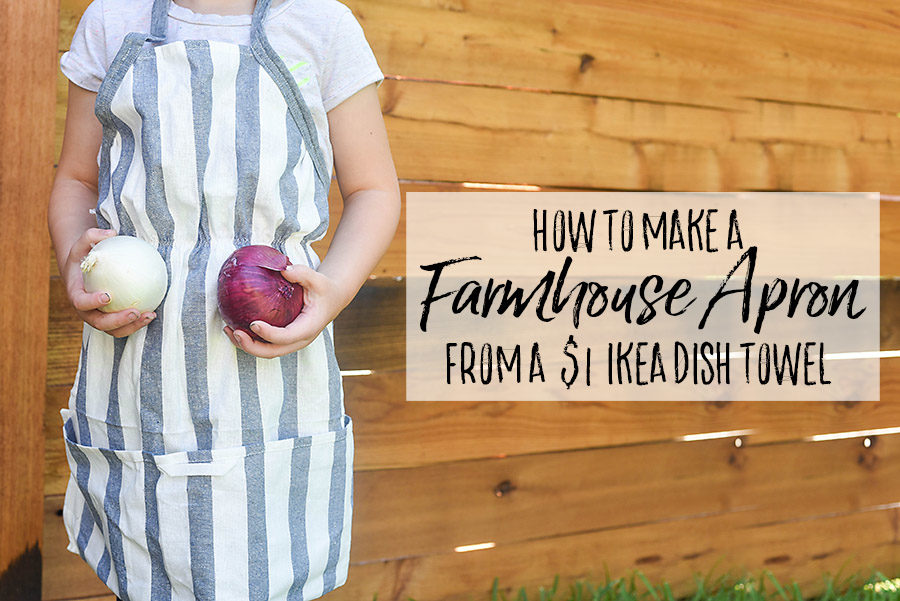
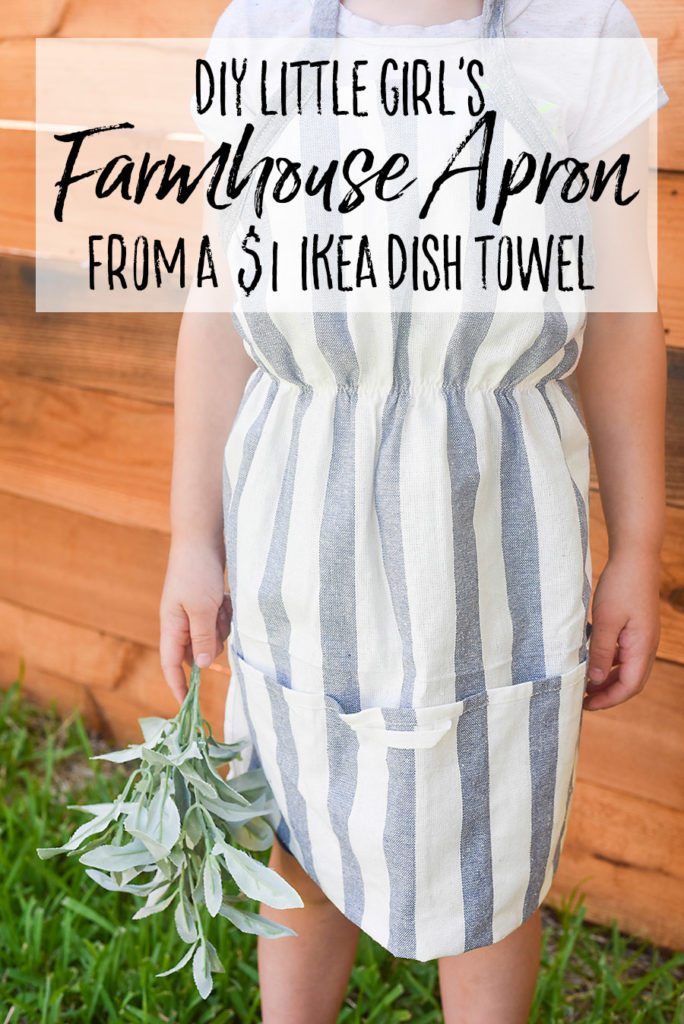
Make a sweet and simple kid’s farmhouse apron from a $1 IKEA dish towel with this easy DIY sewing tutorial.
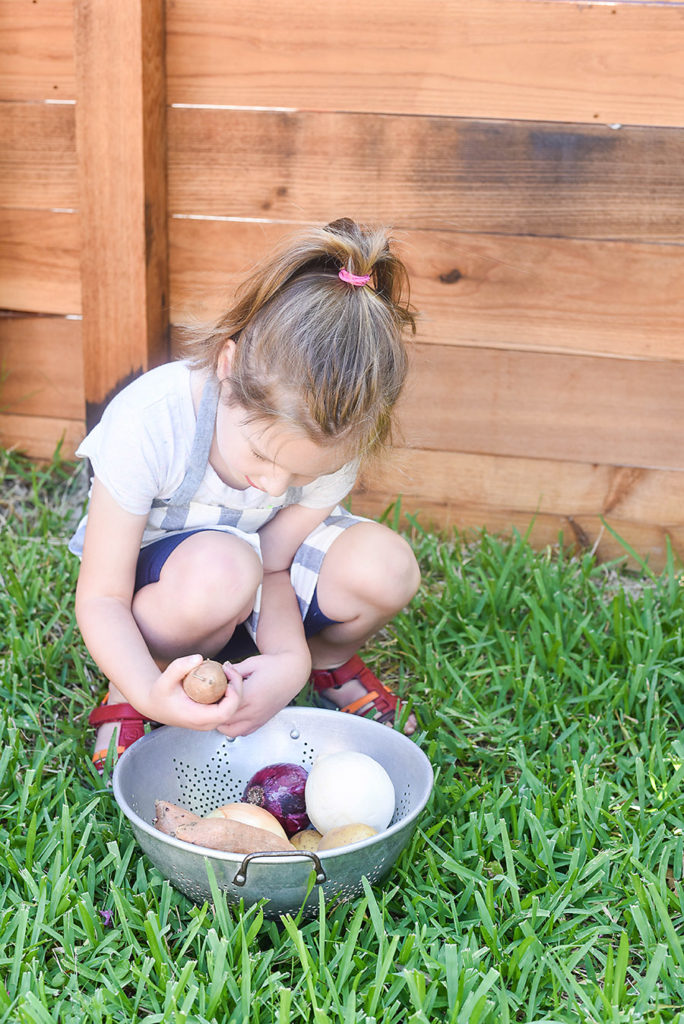
Summer at our house is all about vegetable pickin’, mud pie makin’, and all kinds of outdoor adventures. My kiddos tend to get absolutely caked in mud every time they walk out our backdoor. I typically don’t mind – I just throw them in the bathtub (or hose them off and feed them spaghetti for dinner!), but some days I just need their clothes to stay a little more tidy.
I decided to make a couple of outdoor aprons, but I didn’t want to spend an arm and a leg. I also wanted them to be easy to toss in the wash. Then I found these great dish towels that were $3.99 for a pack of 4 at Ikea and I fell in love. They are beautiful, but durable and washable. Let me show you how I turned them into DIY Kid’s Aprons.
DIY Kid’s Farmhouse Apron from a $1 IKEA Dish Towel
This tutorial is so simple – I made this apron in less than an hour! But I put together a video to make this tutorial very easy to follow. You’ll also find close up photos and a few more details below the video.
How to Make a Kid’s Farmhouse Apron:
You’ll Need:
- IKEA Dish Towels
- Ribbon or Fabric
- Elastic
- Thread
I picked up these dish towels at IKEA. The pack has four different designs, so you can choose the pattern you like best or create a set of four little aprons. I chose the thick stripe for my apron.
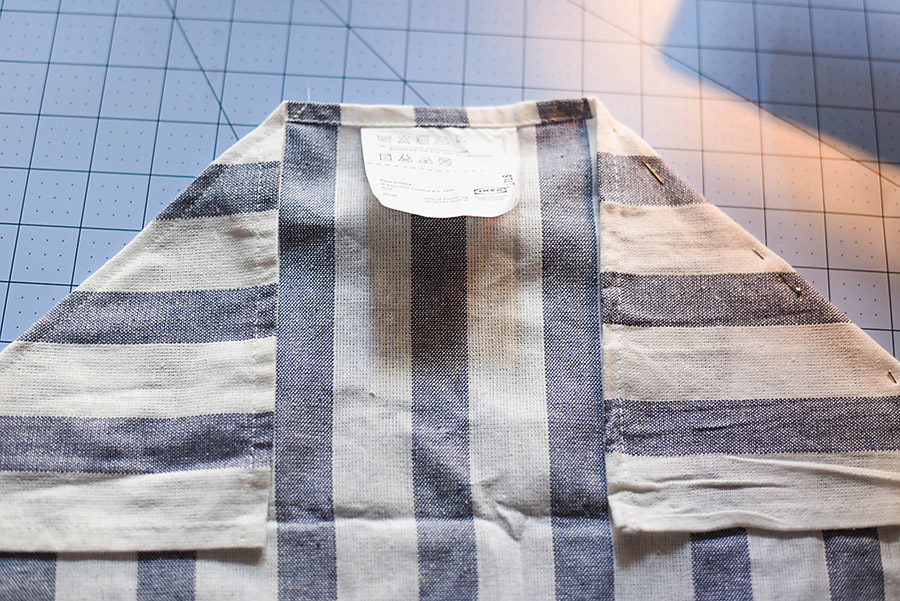
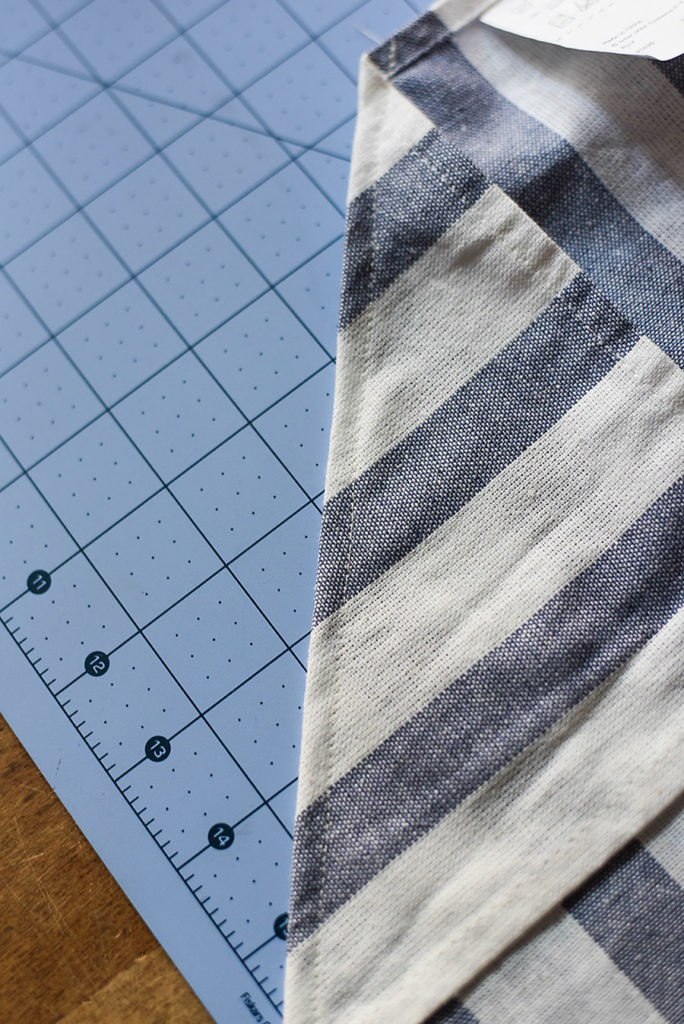
Fold down the corners of the towel (as if you’re making a paper airplane) to make a 5″ gap in the center. This will be the top of your apron. You can cut off the fabric and hem it, or you can simply leave the excess fabric. Sew along the seam you just created.
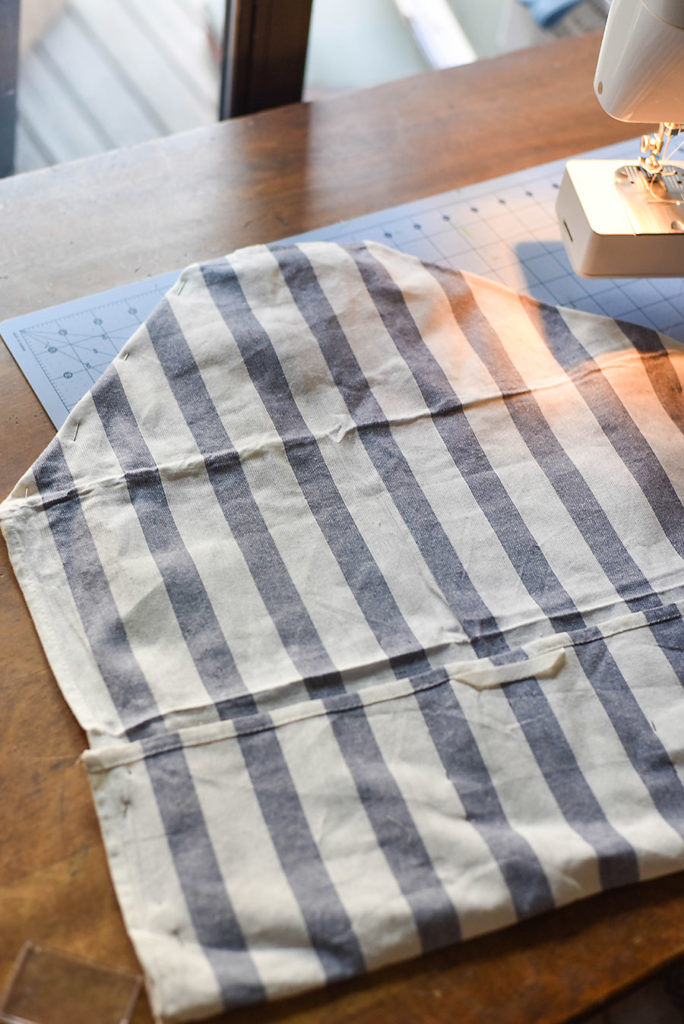
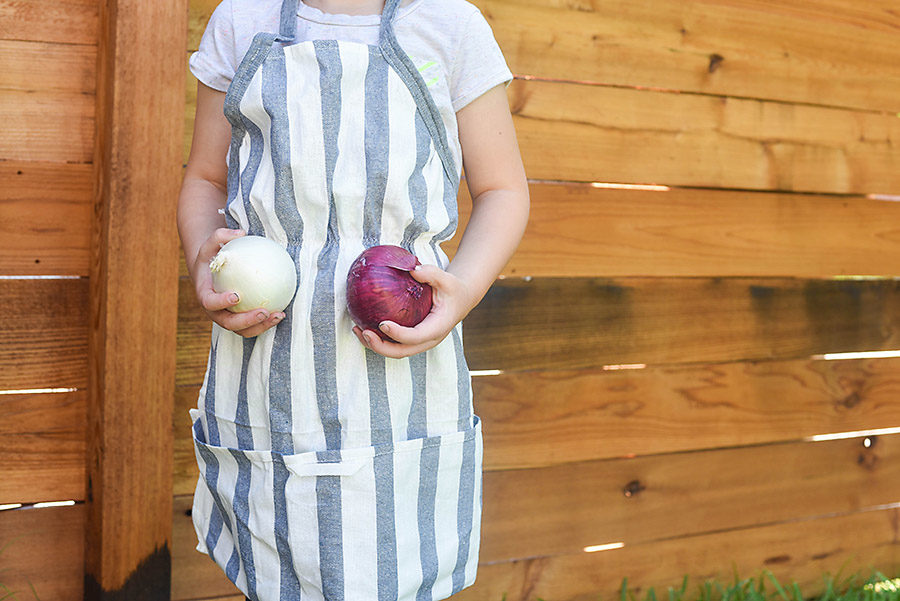
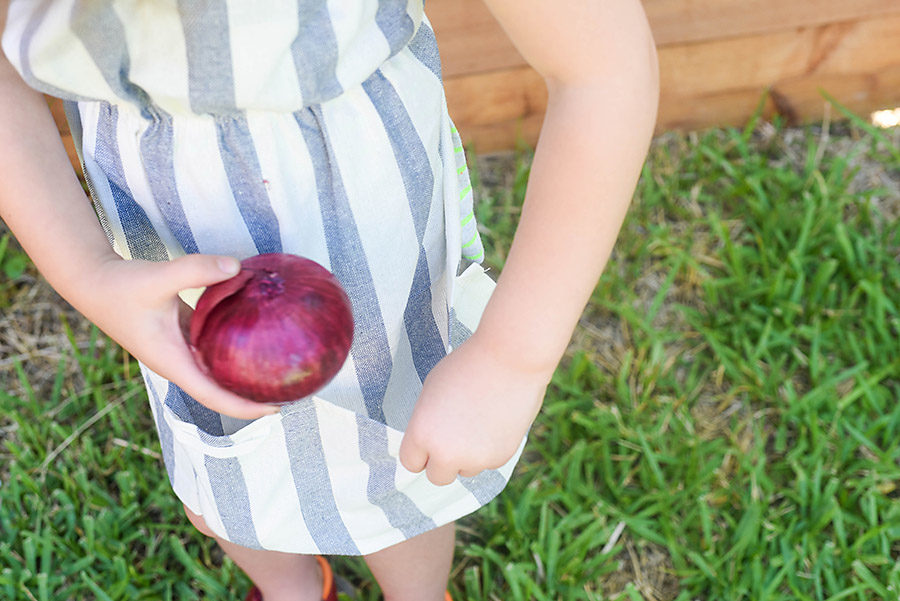
If the apron is too long for your kiddos, flip it over and fold up the bottom to create a pocket. I folded mine up 5″ and my daughter is a tall 4-year-old. This should fit her for another year or so.
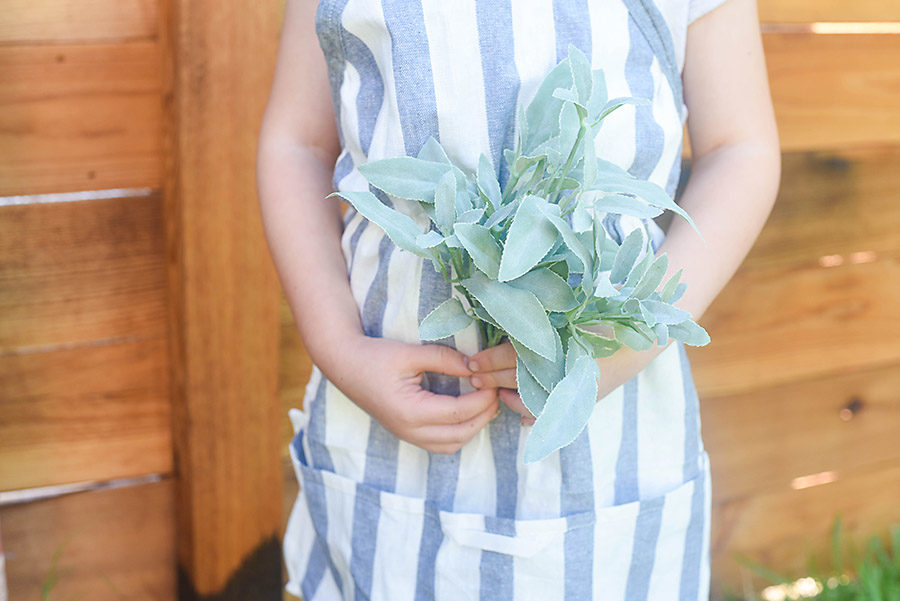
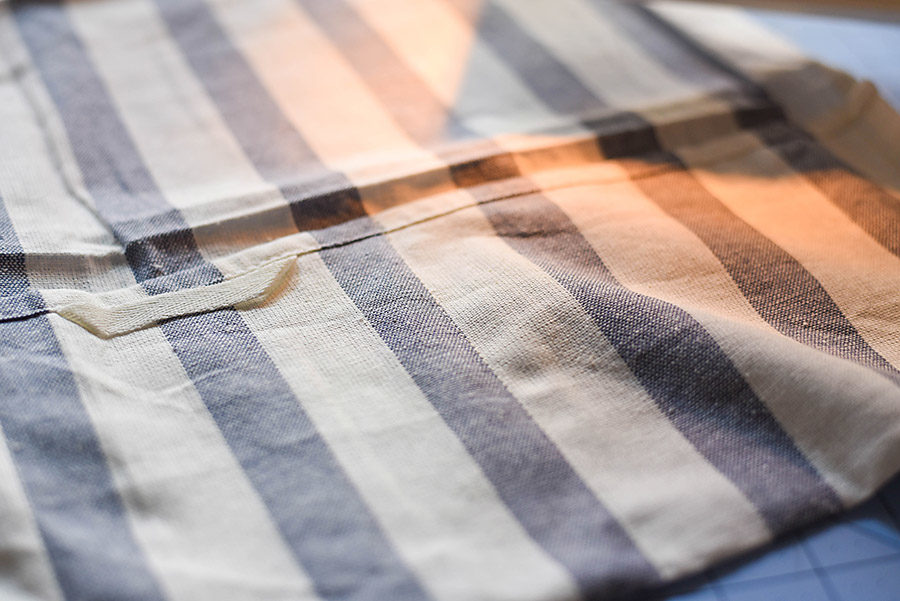
Sew along the outside of the pocket and sew two lines up the middle to create three separate pockets.
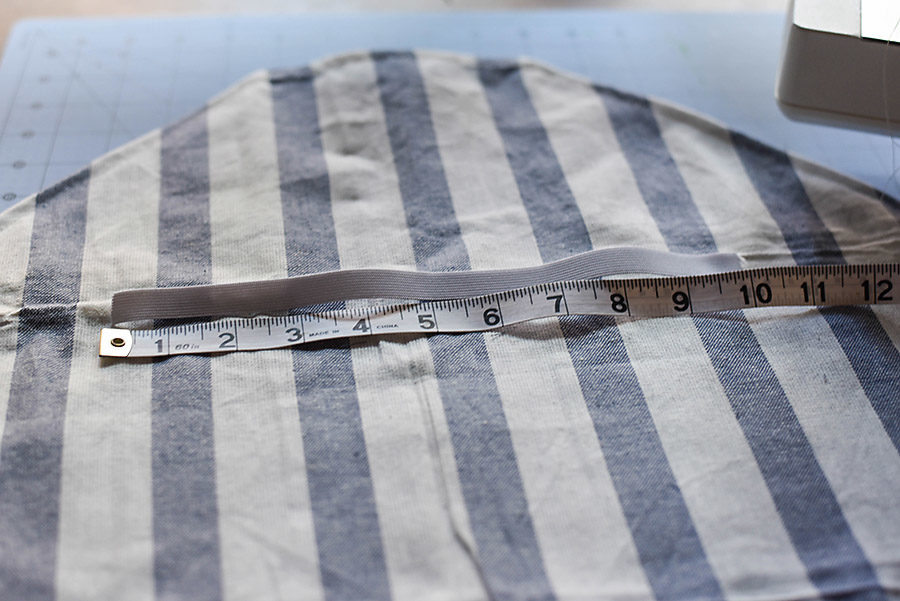
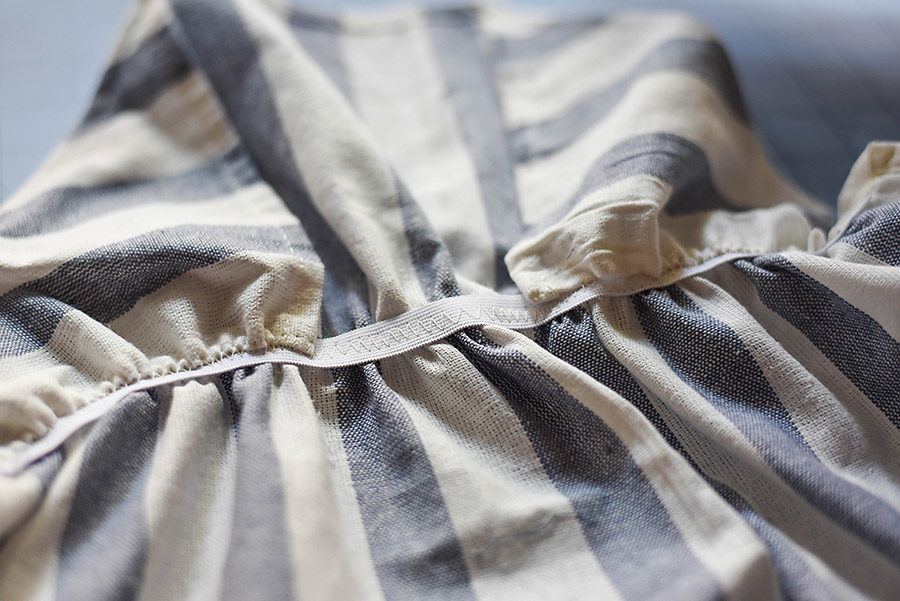
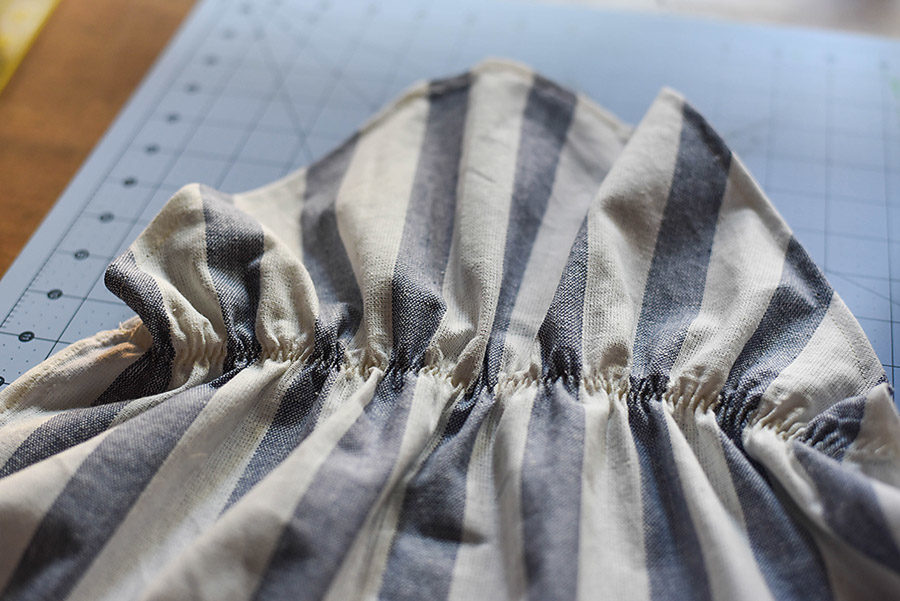
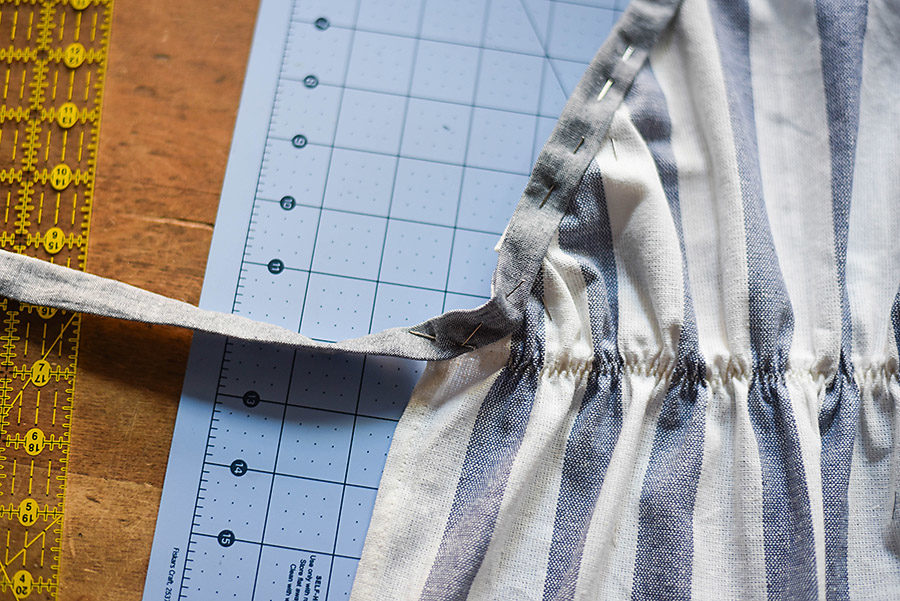
If you’re making this apron for a little girl, cut a piece of elastic 10″. Find the center of the elastic and the center of the apron and pin. Then stretch the elastic to the outside edge of the apron and pin. Pin the rest of the elastic, stretching it evenly along the waist of the apron.
Sew the elastic to the waist of the apron by stretching the elastic as you pin. Set your stitch to as wide as it will go to allow for movement in the elastic.
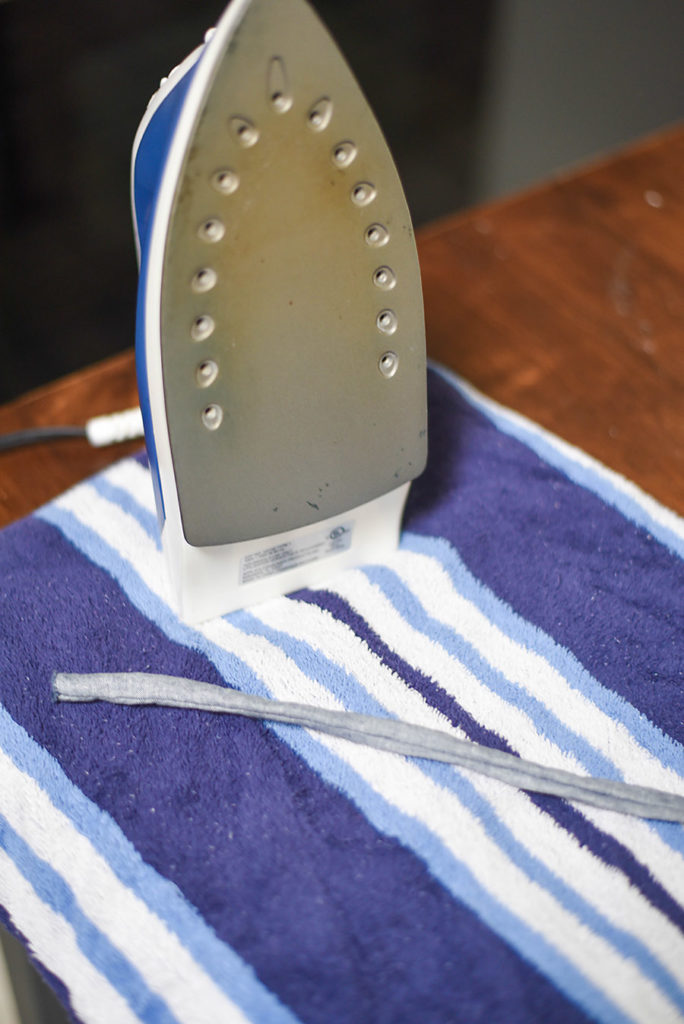
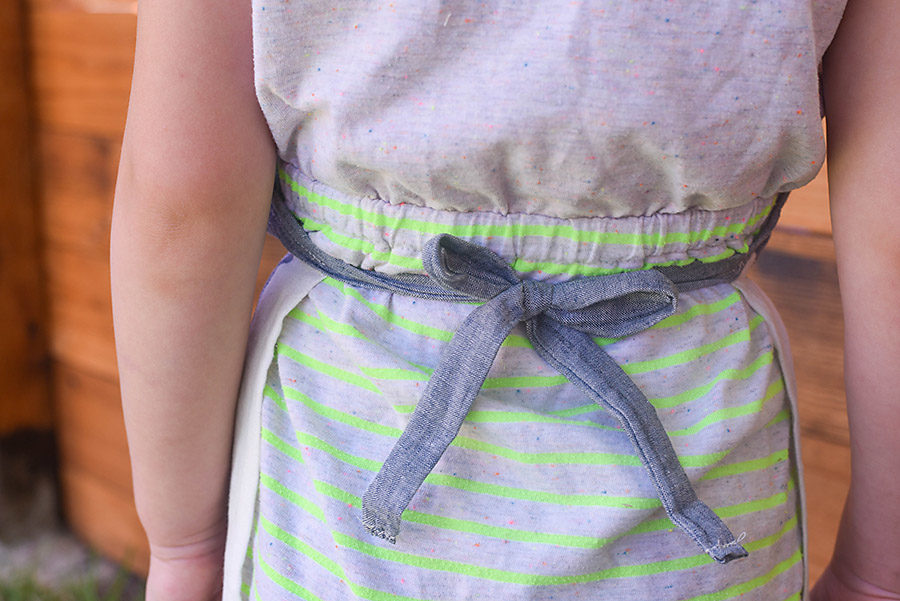
Measure your child’s waist and add 30″. Cut your ribbon or fabric to that measurement. If you’re using fabric, match the ‘right’ sides together and sew along the open fabric side. Trim off any excess fabric. Then use a safety pin to pull the fabric tube right side out. Iron the fabric tube flat and fold in the ends. Sew the ends of the fabric.
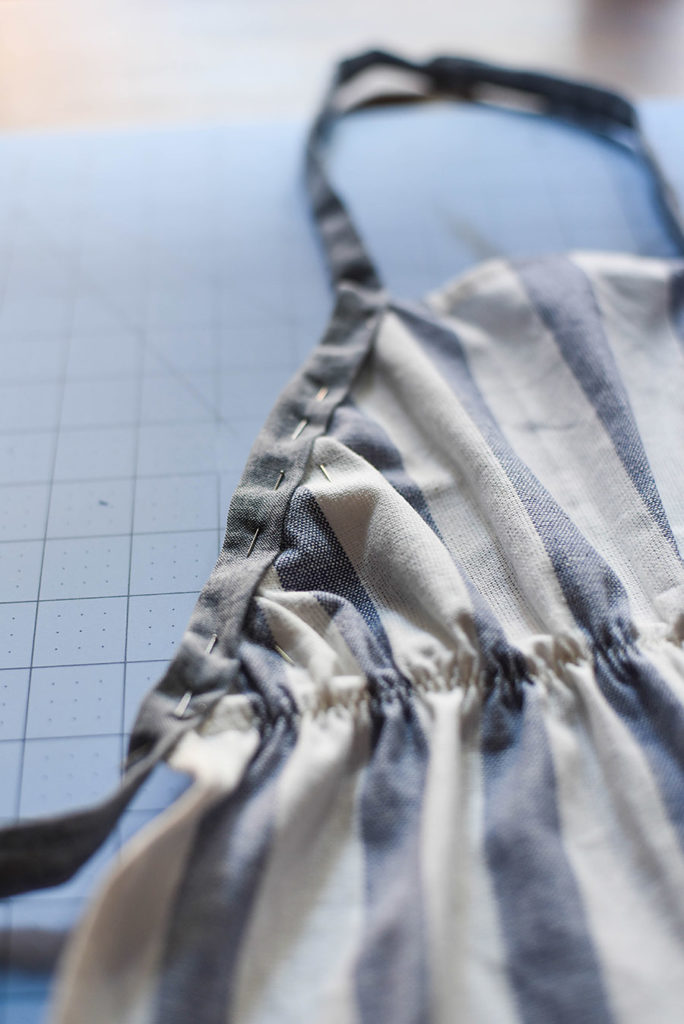
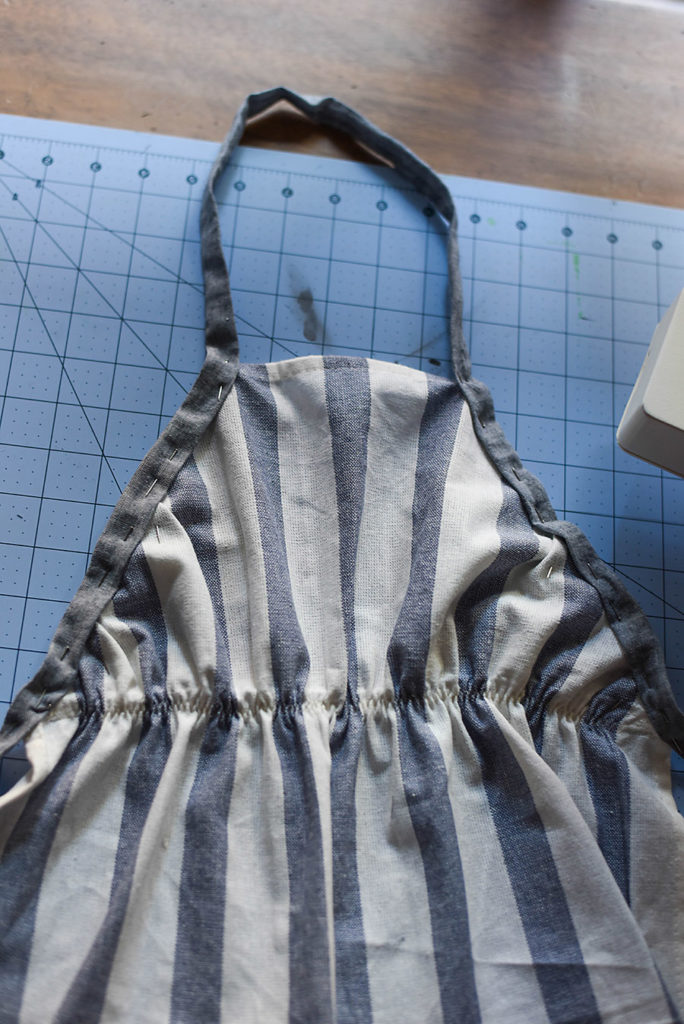
Find the center of the ribbon place it about 6″ above the top of the apron (you may want to measure here to make sure the apron will go over your kiddo’s head.) and pin the ribbon along the arm holes, making sure to curve it away from the apron at the waist to tie behind their back.
Sew the ribbon to the apron and you’re finished!
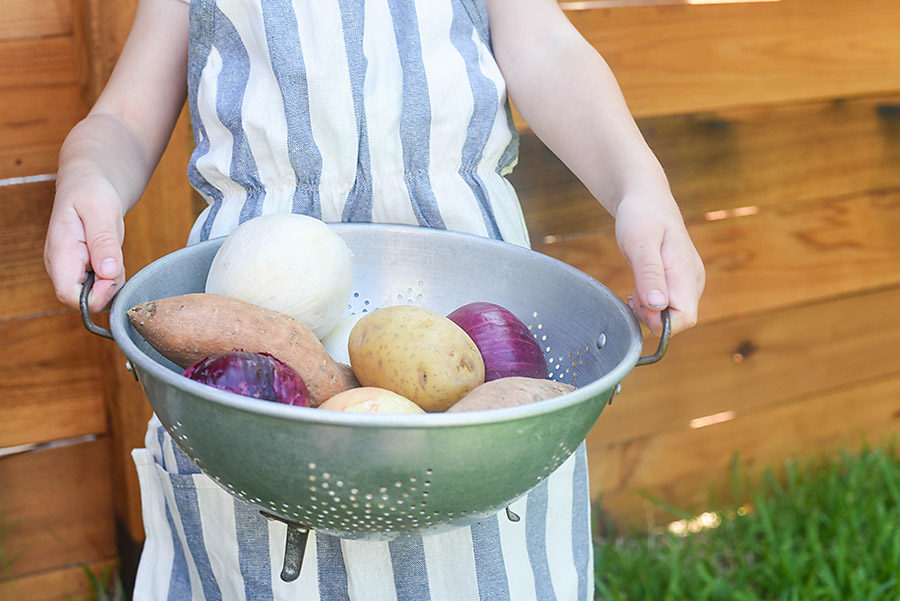
Let your child play, explore, and (of course) find new things to put in the pockets!
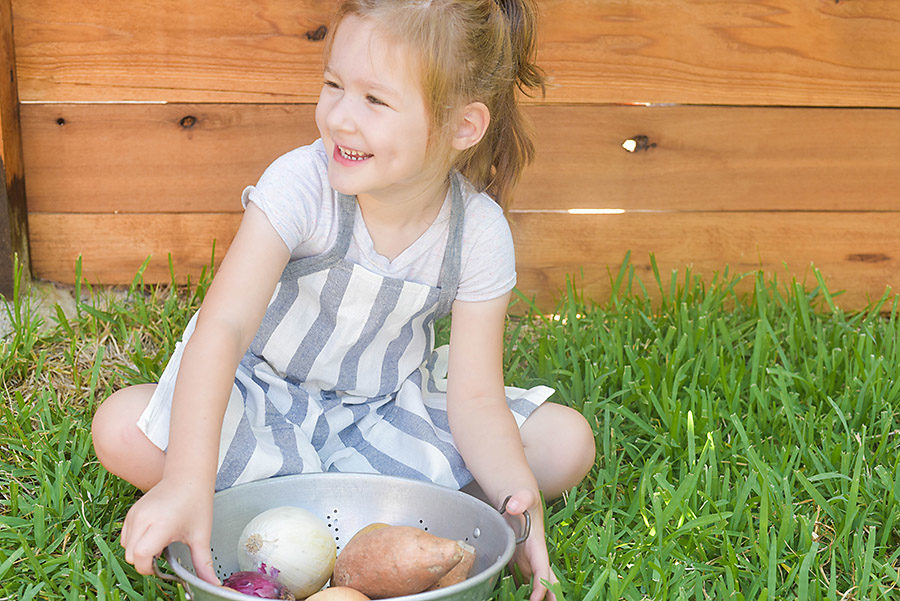
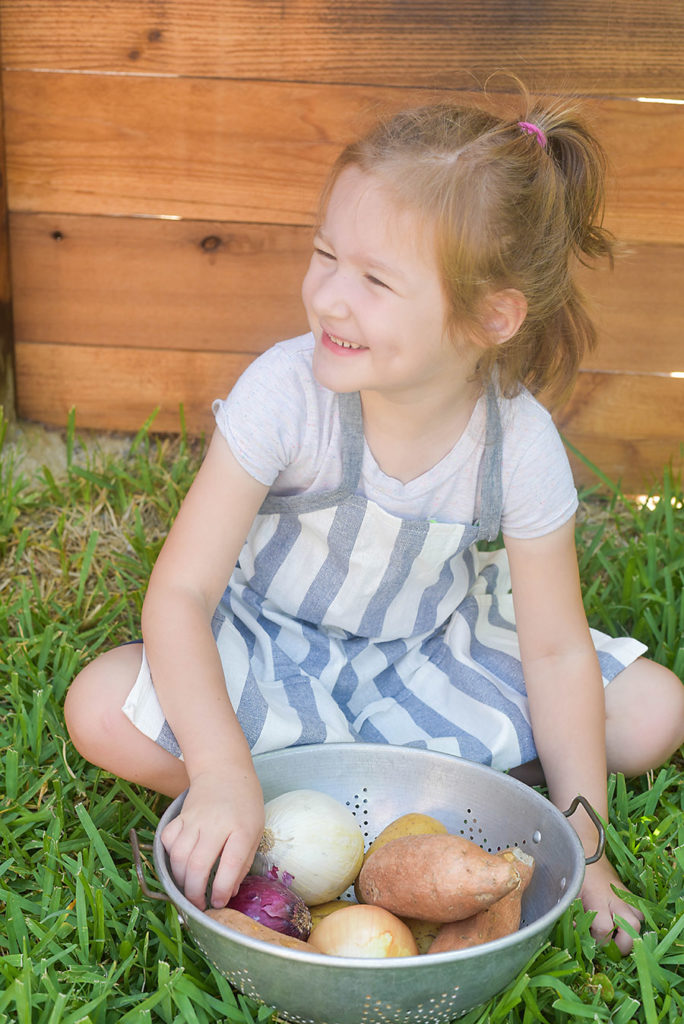
I love how this apron turned out – it’s sweet and simple, just my style.
My daughter loves the feminine flair because it makes a perfect spinning apron. (Did you even know you needed such a thing?)
Let me know in the comments below if you’d like to see more sewing tutorials. I’ve shared a few in the past, but I tend to stick to mostly woodworking DIY projects. I’d be happy to create some more sewing projects if you’re interested! I just want to create whatever’s going to help you the most!
Would you like to see what else you can make using these IKEA Dish Towels? I have a few more ideas up my sleeves, so sign up for our newsletter below to make sure you don’t miss a post!

This is adorable!
Thank you!! I love how it turned out.