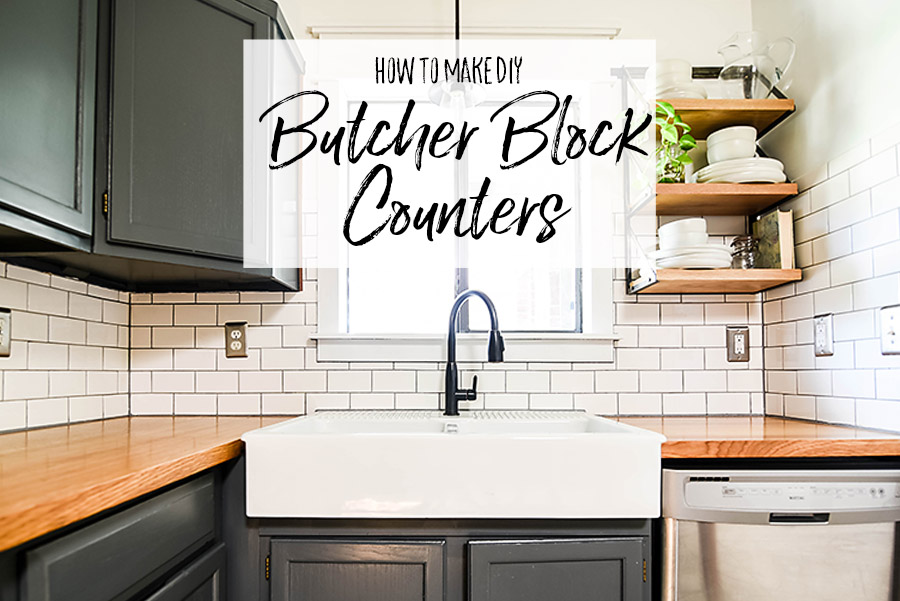
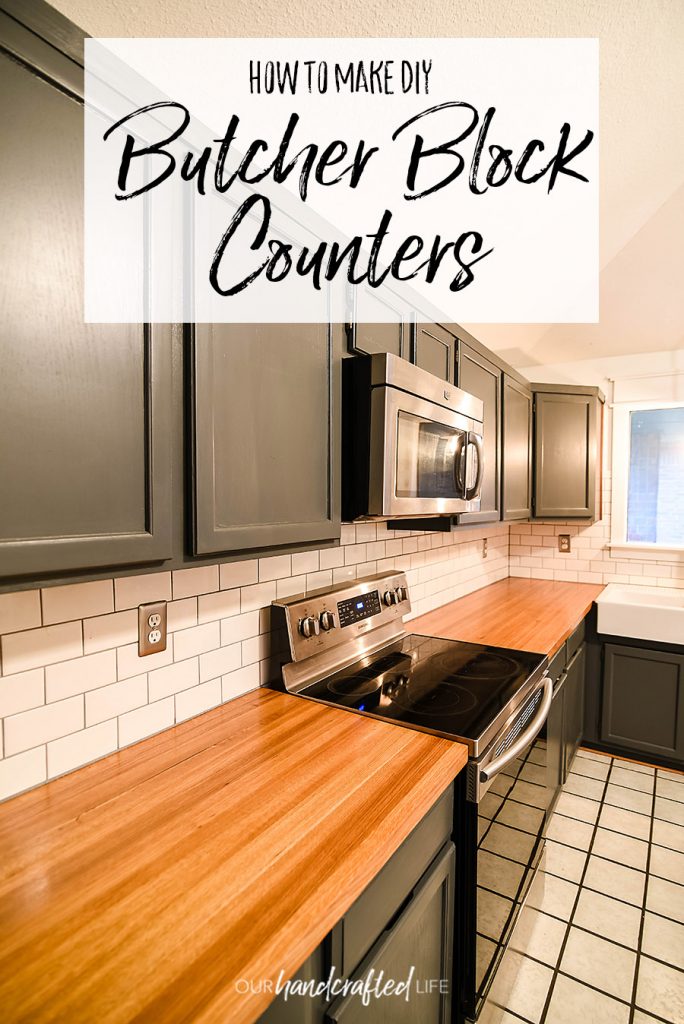
How to build your own DIY Butcher Block Counter Tops. Create gorgeous, high end counter tops at a fraction of the cost.
One of the things that will make or break the budget of any kitchen renovation is the countertops.
Counters can range from inexpensive laminate to outrageously expensive solid stone. Like any card carrying Joanna Gaines fan, I love a good carrera marble countertop. Unfortunately, I’ve got messy kids and a knack for leaving spills unnoticed for too long. A porous surface like carrera marble would soak up every speck of spaghetti sauce and every drop of grape juice. I can’t justify spending thousands of dollars on a countertop that would look tie dyed in 2 months.
I needed my countertops to be a little more durable, but I didn’t want to sacrifice the look of my kitchen.
When I came across butcher clock countertops while watching Escape to the Country on Netflix, my little heart exploded. I fell in love with the look – the comfort of the country mixed with the appeal of custom woodworking.
But of course, I stopped in my tracks when I started pricing out butcher block countertops. So, I let the idea sit for a few months. Daniel priced out some white oak boards at our local lumber yard and we decided to dive into the project.
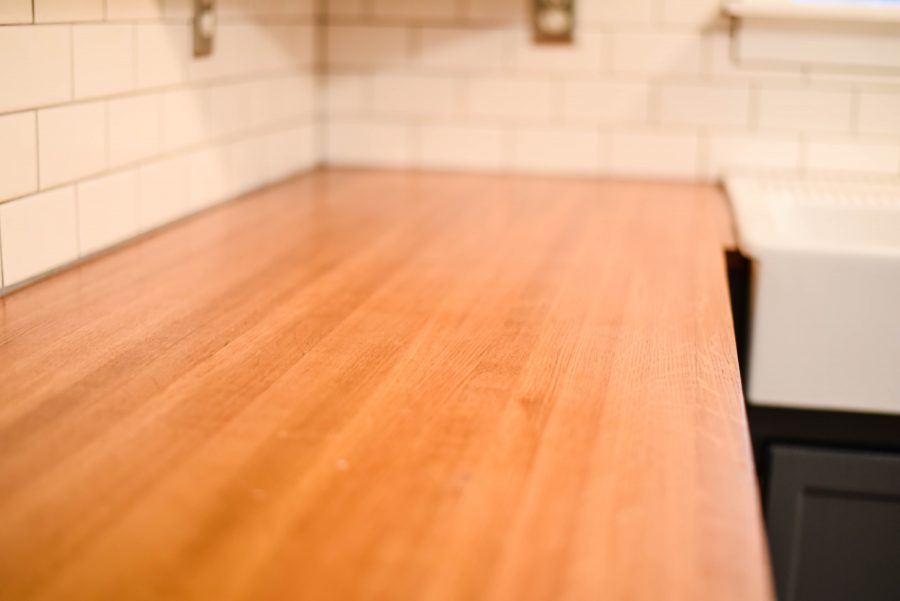
And so, our beauty was born – a lot of effort, a lot of time (a lot of it spent in waiting for things to dry), and an absolutely perfect end product.
Here’s everything we learned while making and installing butcher block counter tops.
How to Make a Butcher Block
Creating butcher block is a process. The foundation of the butcher block countertops is strips of wood that are perfectly straight. So the first step is select boards with straight grain and minimal knots, otherwise you will be fighting with your boards through every step of the process. So be picky and get the right boards in the first place.
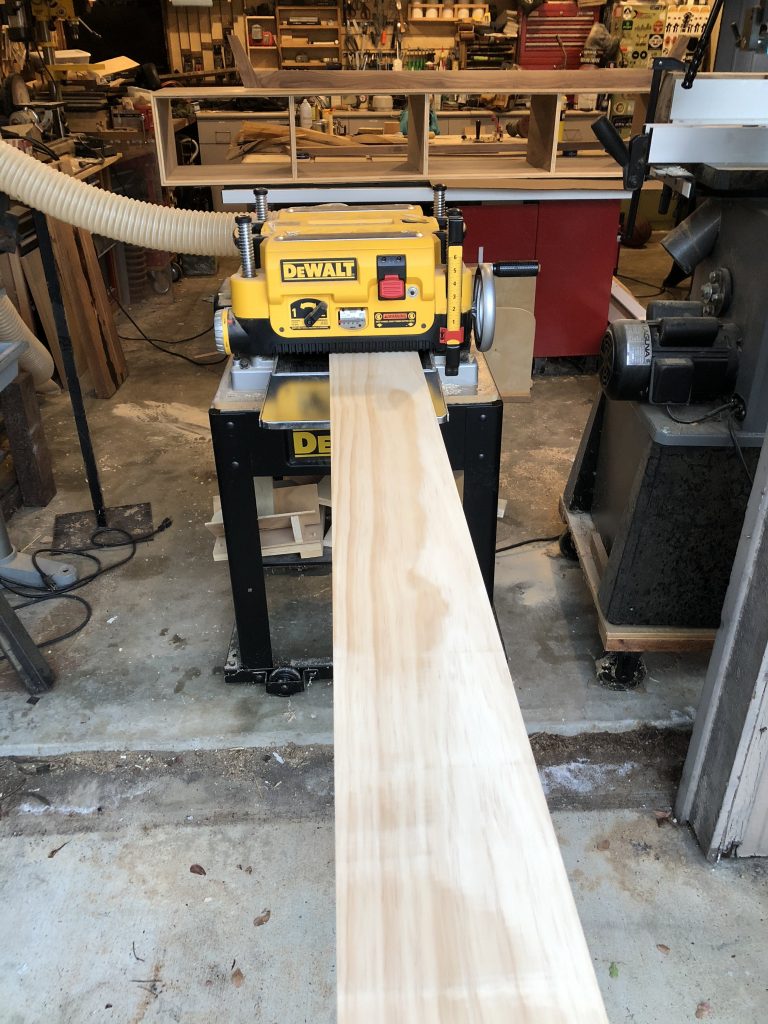
Some lumber yards will straight line, plane, and rip the boards for you so that all your boards are straight. Otherwise, you can do it yourself using a combination of a jointer, planer, and a table saw. Daniel went through that process and if you ask him about it, he’ll give a heavy sigh and say it isn’t so simple.
But, we did it! We planed the wood and cut it into 1 1/2″ strips. To get the look we wanted, we rotated the strips so the cut side of the wood was up.
Then we careful glued the strips together using a wood glue like Titebond and clamped them firmly. You’ll have to follow the manufacturers instructions for curing times.
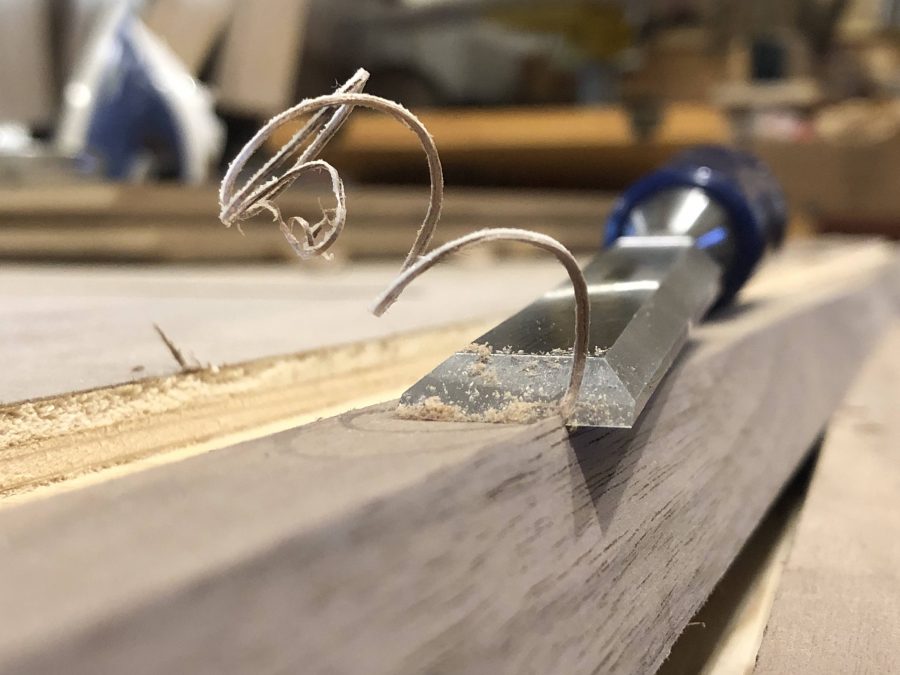
Then we scraped off the excess glue. Depending on how your glued strips turned out, you may need to use an electric planer or a hand planer to flatten the wood.
Then sand, sand, and sand again. You want to get to a point that there are no ridges, bumps, or hollows. Especially if you’re making countertops, you’ll want to ensure that the top is parallel to the underside.
How to Finish Butcher Block Countertops
Because our butcher block was going to be used near the sink and in high traffic (aka high mess!) areas, we used a Waterlox film finish. It’s a protective layer on top of the wood, as opposed to a butcher block oil which soaks into the wood and allows more scrapes and dings on the wood.
We didn’t want a glossy finish, but in order to protect the wood, we built up several layers using the Waterlox high gloss finish before finishing with the Waterlox satin finish.
How to Seal Butcher Block Countertops
We began by caulking around the edges using caulk that matched the color of our grout from our Subway Tile Installation. We used Mapie Unsanded Caulk in Timberwolf. Then we used a clear silicone caulk around the sink.
Caulking is pretty simple – basically, you draw a line of caulk smooth it out with a wet finger. For a cleaner look, Daniel taped a smooth edge before squeezing a small line of caulk and pulled off the tape before the caulk had fully dried.
Make sure to seal the edges surrounding the sink well to make sure water doesn’t seep through.
How to Care for Butcher Block Countertops
Here are a few “do’s and don’ts” to keep your counters in good condition.
- DO wipe up spills quickly, especially acidic foods and juices.
- DON’T put hot items directly on the surface.
- DO keep water from sitting on the counters. Water will cause the wood grain to raise, making the surface rough. So, splashes from the sink won’t hurt them, but don’t dry your dishes overnight on the countertop.
- DON’T cut directly on the countertop.
Overall, these butcher block countertops are my favorite part of our kitchen renovation. We took care of them, but they naturally gained a few imperfections over the course of several years. I think that added to their charm. If they ever got really damaged, it would be possible to sand them down and re-seal them.
If you have any questions about our butcher block counter tops, I would be happy to answer them!

