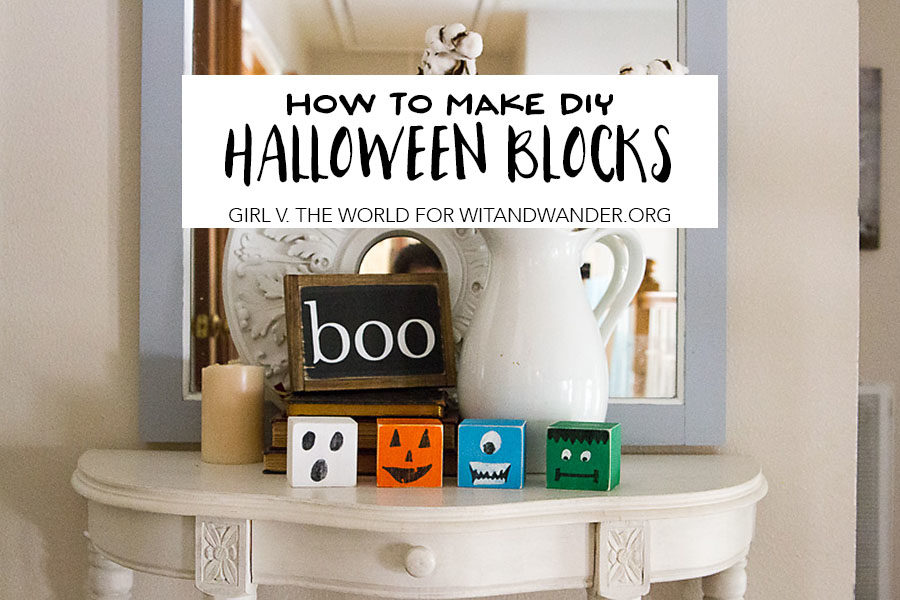
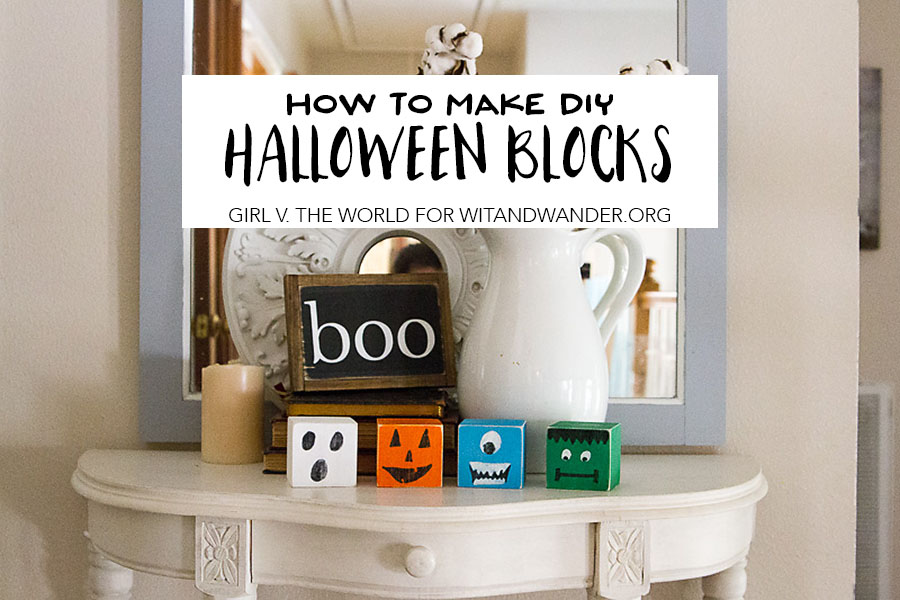
These toddler-friendly DIY Halloween Blocks are a creative and cute way to decorate for Halloween!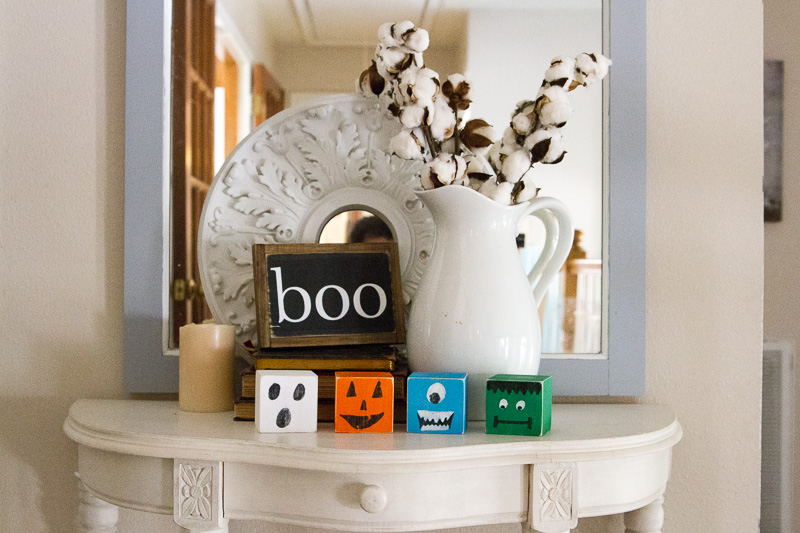 According to my friends, I am “that girl.” You know, that one friend you love to hate because she decorates her house seasonally. I admit it: I do decorate my house seasonally and I love it! I can’t help myself, it’s a involuntary response to the seasons and I just roll with it. Judge away!
As much as I love it, one thing that I have found a little more difficult about decorating for the seasons, or various holidays within those seasons, is doing it with two toddlers around. Let’s face it, if there is something within those tiny little fingers’ reach, you better believe one or both of my kiddos is going to play with it. That doesn’t bode well for all the pretty, shiny things I like to decorate with!
So quickly after my first kid became mobile I realized I needed to try to decorate with things that I didn’t mind getting played with and one way I love doing that is by creating themed blocks. Today, I’m going to show you how to make some easy and toddler-friendly Halloween blocks that you can use in your decor!
DIY Halloween Blocks
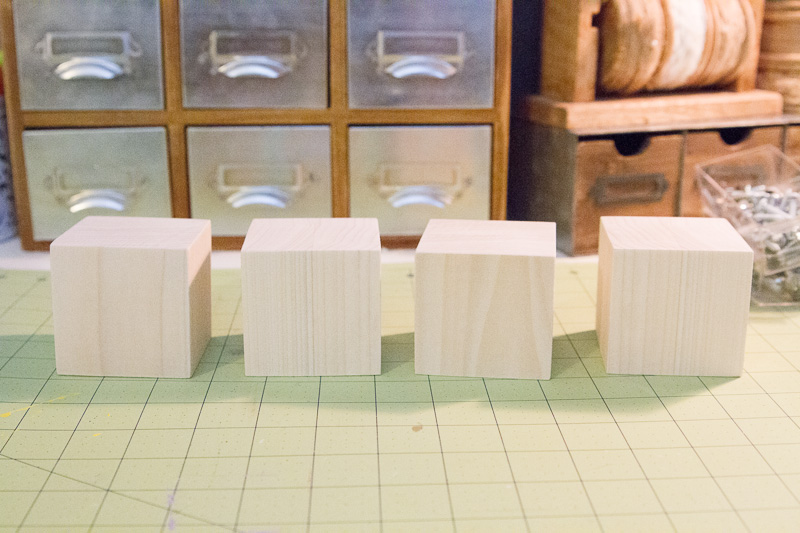
- 2-3 inch wooden blocks (I cut mine from a 2.5″ square wooden board I grabbed at the hardware store, but you can order raw wood blocks on Amazon).
- Acrylic paint in various colors.
- Paint pens (I used black and white pens).
- Sandpaper.
- First, prep your wood blocks by sanding any rough edges. Clean with a clean, soft cloth.
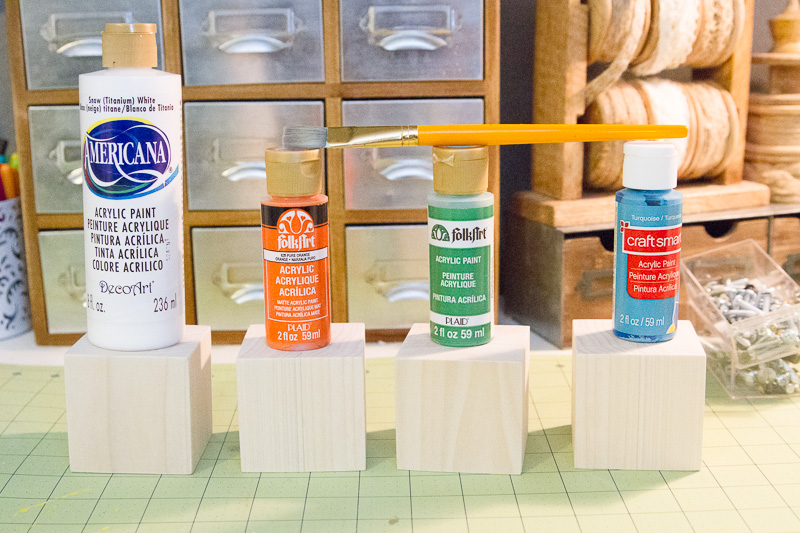
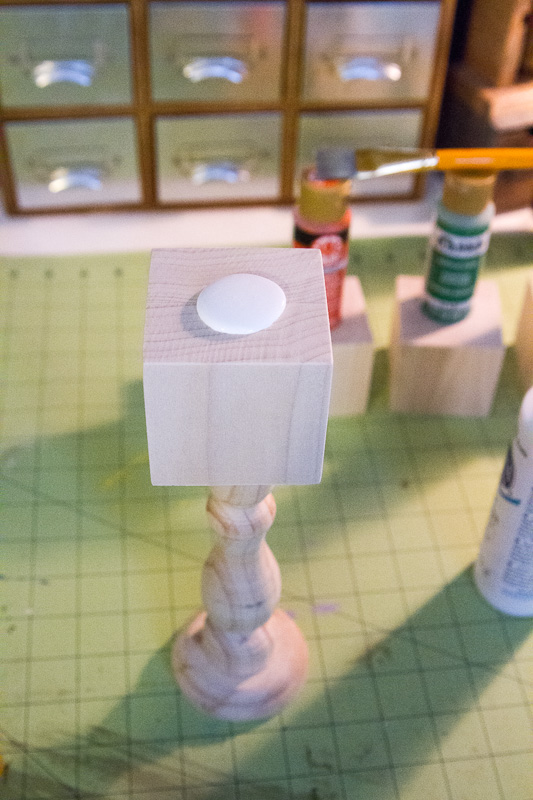
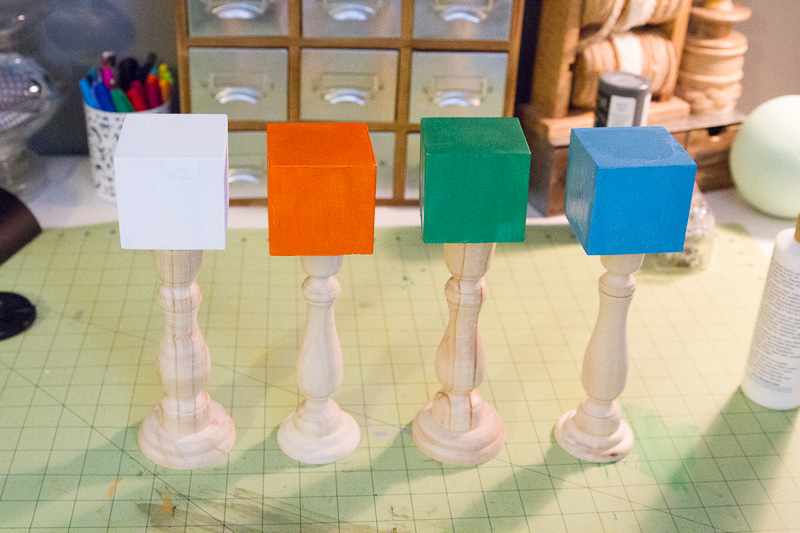
- Then, start painting each of your blocks with their assigned color of paint. I used some random candlesticks I had lying around my craft room to prop my block up and then I just poured a bit of paint on the top of the block and used that as my paint palette. I painted two coats of paint on each block.

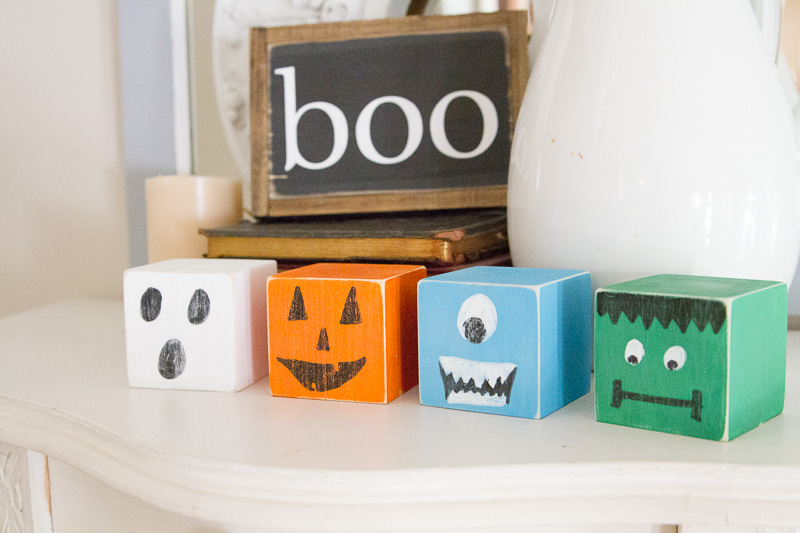
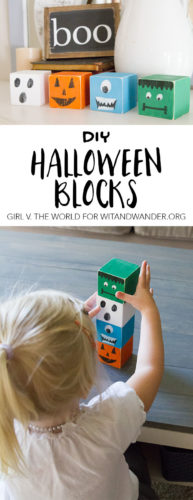
- After you let your painted blocks dry, start drawing the faces. I chose to draw a Frankenstein on the green block, a ghost on the white block, a jack-o-lantern on the orange block, and a one-eyed monster on the blue block. I used paint pens for this, although you could use a paint brush and paint but, again, I am lazy.
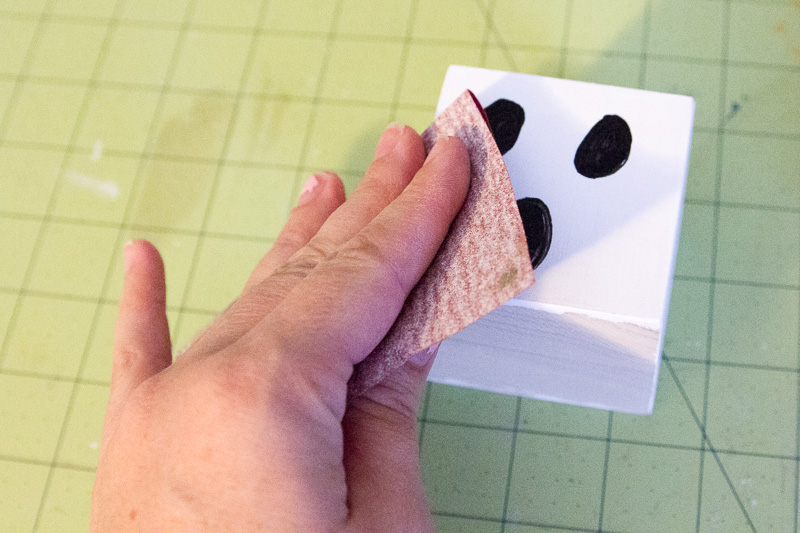
- Once your faces are drawn and dried, take your piece of sandpaper and distress the edges and corners of each block as well as a bit on the face, just to give it a rustic look. Wipe all the dust off with a clean cloth. You’re done!
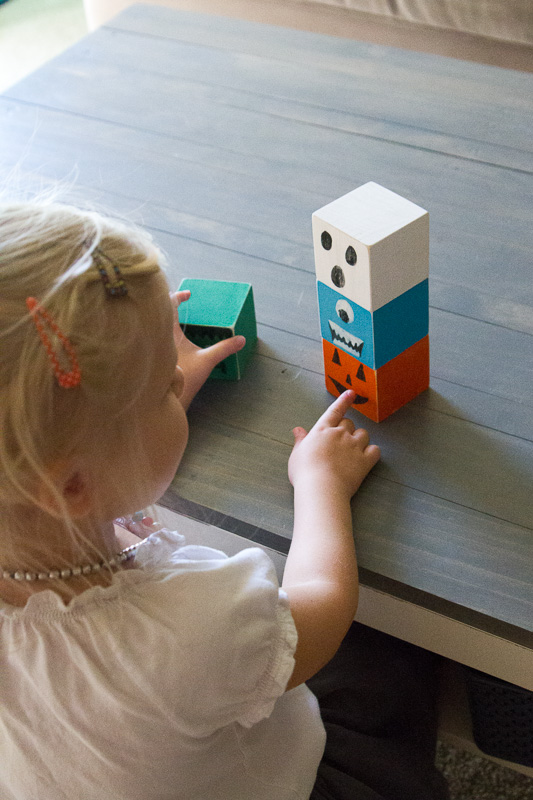
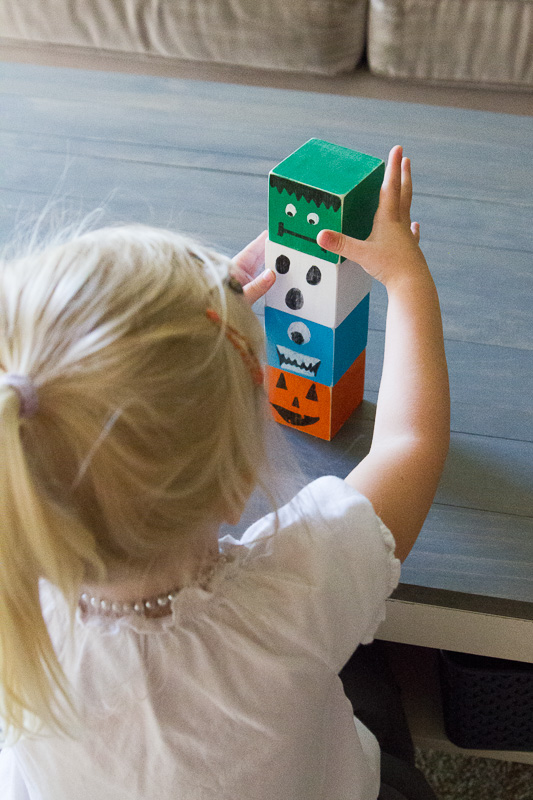
 I just happened to finish my blocks right as my oldest was waking up from her nap so she was the first to get to play with them. She loved stacking the faces and building a “monster tower,” but she especially loved imitating the faces.
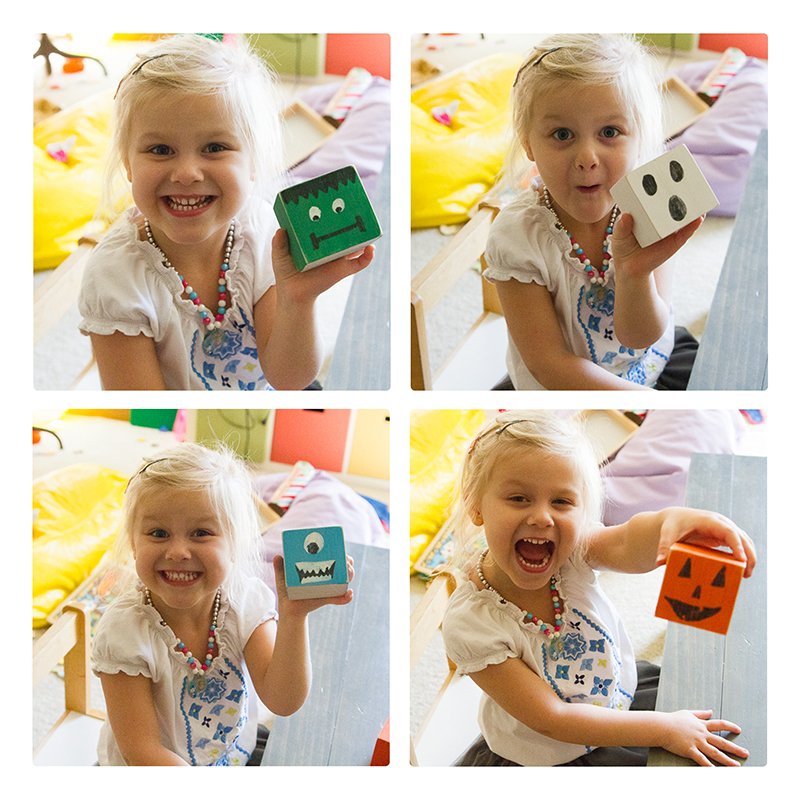 She’s so shy and demure (pfffft!).
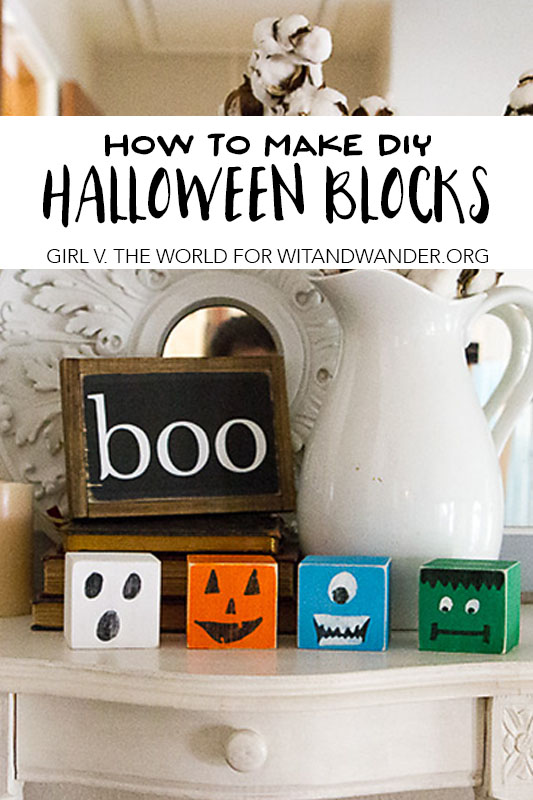
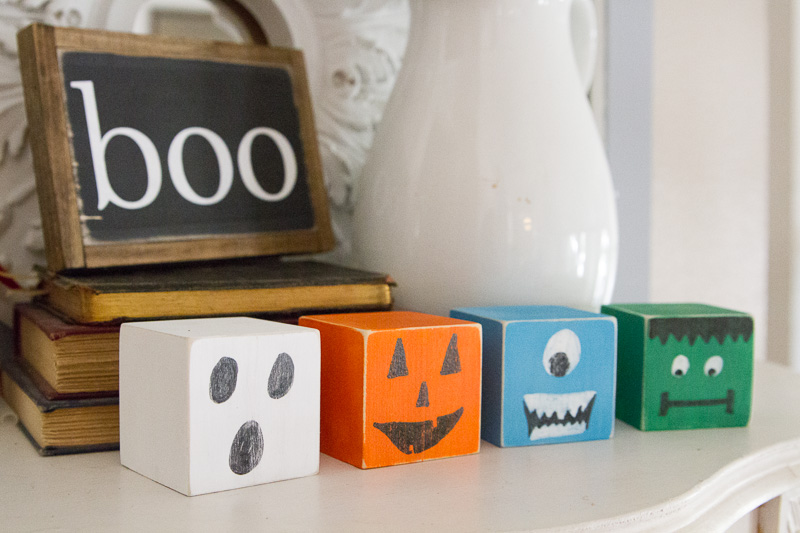
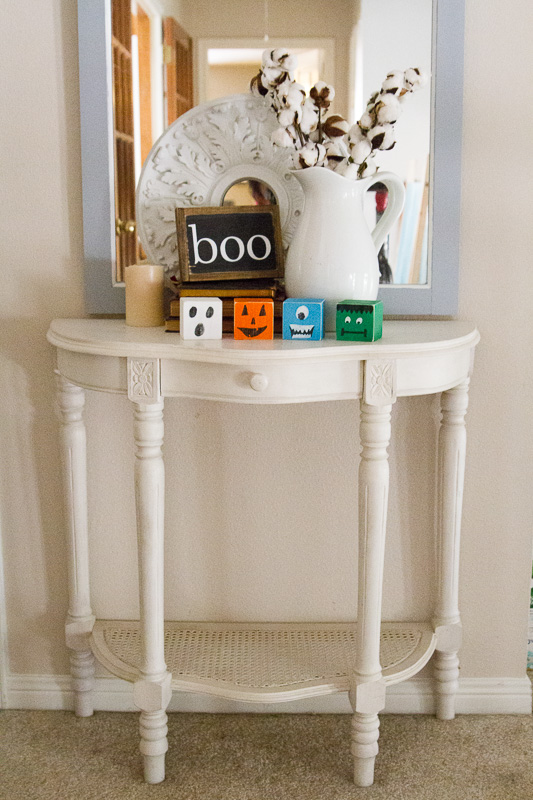
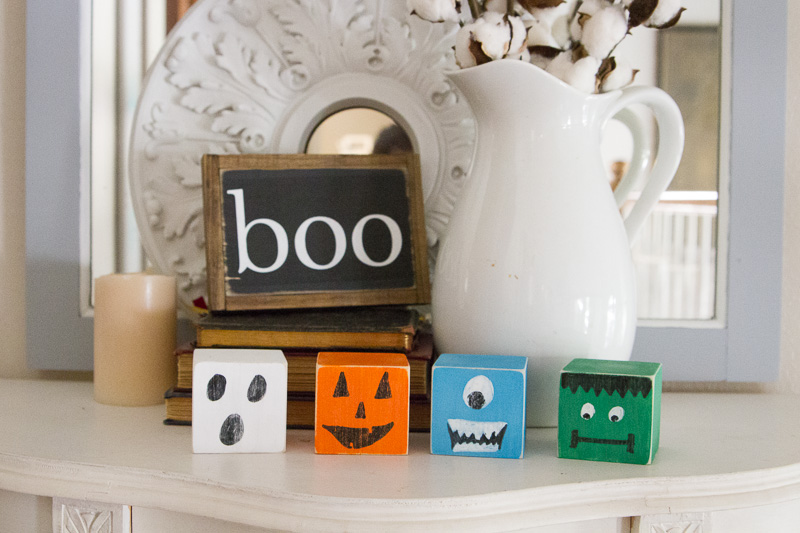 The kids love the blocks and I love displaying them when my kids aren’t playing with them. I think they add a charming little Halloween touch to our decor, but the best part is that I’m not worried about it if my kids decide they want to play with them. Win-win!

Very cute!